by
by You’re looking for a crochet flower tutorial for beginners – that’s a fantastic place to start! Crochet flowers are quick, use minimal yarn, and are perfect for practicing basic stitches. They’re also incredibly versatile for embellishing all sorts of projects.
Just to clarify, crochet uses a single hook, while knitting uses two needles. This tutorial will focus entirely on how to crochet a flower.
Given that you’re in Phnom Penh, where it’s warm and humid, 100% cotton yarn is an excellent choice for beginners. Here’s why:
- Good Stitch Definition: Cotton yarn clearly shows your stitches, which is very helpful when you’re learning.
- Less Splitting: Many cotton yarns are less prone to splitting than some acrylics, making them easier to work with.
- Durability & Washability: Great for practicing, as your finished flowers can be easily washed and will hold their shape.
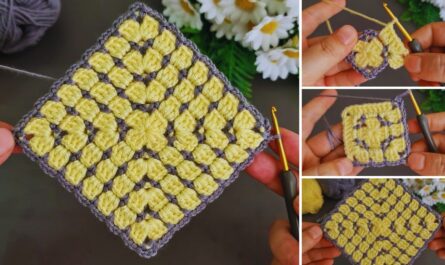
How to Crochet a Simple 5-Petal Flower (Beginner-Friendly)
This tutorial will guide you step-by-step to create a charming, flat 5-petal flower. This pattern is ideal for learning the fundamental techniques of working in the round and creating basic stitches.
1. Essential Materials You’ll Need
- Yarn:
- Fiber: 100% Cotton Yarn (Worsted Weight or DK Weight is recommended). Look for a smooth, non-fuzzy yarn.
- Weight: Worsted Weight (Aran / Medium / Category 4) is easiest to start with.
- Color(s): Choose any color you like! A light, solid color often makes it easier to see your stitches.
- Quantity: You’ll only need a small amount, a few meters per flower.
- Crochet Hook:
- For Worsted Weight cotton: A 4.0mm (US G/6) or 4.5mm (US 7) hook.
- For DK Weight cotton: A 3.5mm (US E/4) or 4.0mm (US G/6) hook.
- Check your yarn label for the recommended hook size, then choose a hook within that range or slightly smaller if you want a firmer flower.
- Scissors: For cutting your yarn.
- Yarn Needle (Tapestry Needle): Essential for neatly weaving in your yarn tails at the end.
2. Basic Crochet Stitches You’ll Learn/Use
This pattern primarily uses fundamental crochet stitches:
- Chain (ch): The most basic stitch, used to begin your work and create spaces.
- How to: Yarn over (YO) your hook, pull through the loop on your hook.
- Slip Knot: The very first step to start crocheting.
- How to: Make a loop, put the tail end behind the working yarn. Insert hook into the loop, YO the working yarn, pull it through the loop. Pull both ends to tighten onto your hook.
- Slip Stitch (sl st): Used for joining rounds or neatening.
- How to: Insert hook into the stitch, YO, pull through the stitch AND the loop on your hook.
- Single Crochet (sc): A dense, short stitch.
- How to: Insert hook into stitch, YO, pull up a loop (2 loops on hook). YO, pull through both loops on hook.
- Double Crochet (dc): A taller stitch.
- How to: YO, insert hook into stitch, YO, pull up a loop (3 loops on hook). YO, pull through 2 loops (2 loops on hook). YO, pull through remaining 2 loops.
Step-by-Step Crochet Flower Tutorial
We’ll use a Magic Ring to start for a nice tight center. If the Magic Ring is too tricky initially, a chain-based alternative is provided.
Abbreviations (US Crochet Terms):
- ch: chain
- sl st: slip stitch
- sc: single crochet
- dc: double crochet
- MR: magic ring
- st(s): stitch(es)
(...): indicates stitches worked into the same stitch or space.
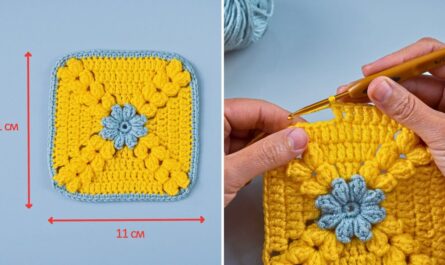
Part 1: Creating the Flower Center
This is the very middle of your flower.
- Start (Choose ONE method):
- Method A: Magic Ring (Recommended for a tighter center)
- Make a Magic Ring (MR). (If you’re unsure how, search for a quick video tutorial on “crochet magic ring” – it’s a super useful skill!).
- Ch 1 (this chain does NOT count as a stitch).
- Work 10 sc (single crochet) stitches into the Magic Ring.
- Gently pull the yarn tail to close the center hole tightly.
- Join with a sl st (slip stitch) to the top of the first sc you made. (You should have 10 sc stitches in a small circle.)
- Method B: Chain Method (Easier for Absolute Beginners)
- Make a slip knot on your hook.
- Ch 4.
- Join with a sl st to the first chain you made to form a small ring.
- Ch 1 (does NOT count as a stitch).
- Work 10 sc (single crochet) stitches into the center of the ring you just formed.
- Join with a sl st to the top of the first sc you made. (You should have 10 sc stitches in a small circle.)
- Method A: Magic Ring (Recommended for a tighter center)

Part 2: Crocheting the Petals
Now we’ll create the petals directly into the stitches of your flower center.
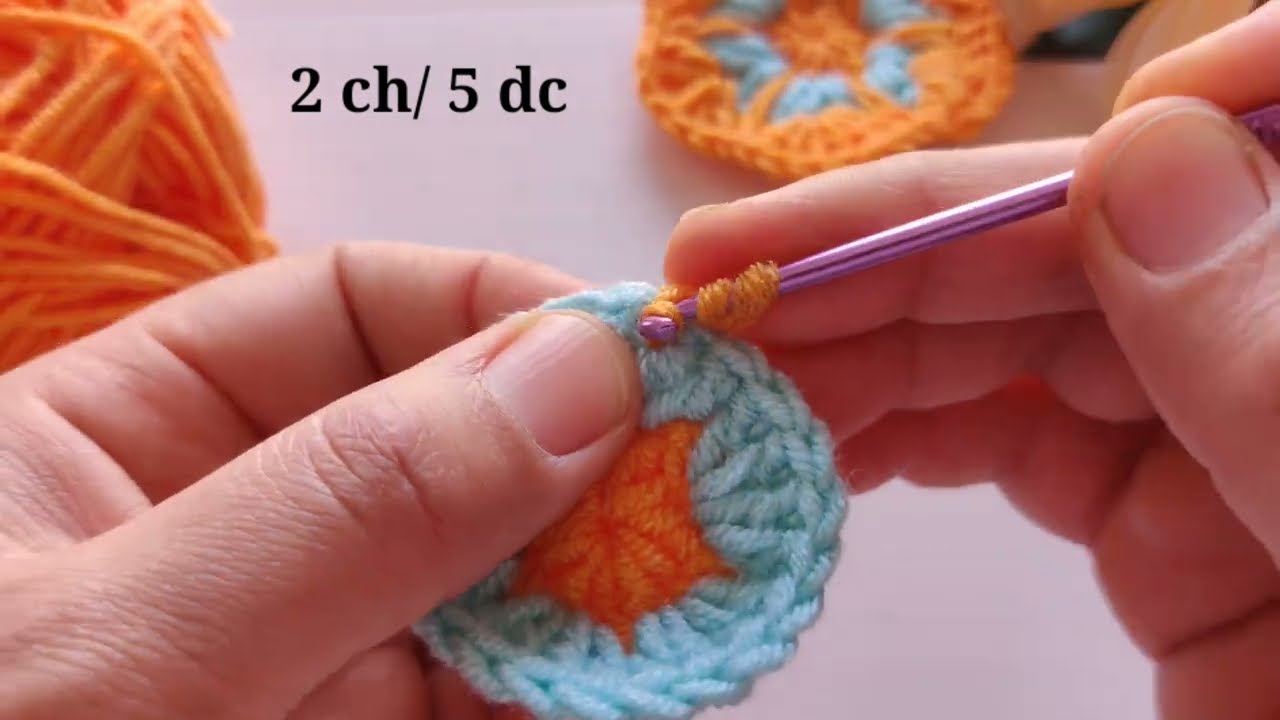
- Round 2 (Creating the petals):
- Ch 2 (this chain does NOT count as a stitch and just gives height for your first petal).
- Work (1 dc, 1 ch, 1 dc) all into the same stitch where you just joined the previous round. (This creates the first half of your first petal.)
- Sl st into the next sc stitch from the previous round. (This anchors your petal to the center.)
- Repeat the following sequence 4 more times:
- Ch 2.
- Work (1 dc, 1 ch, 1 dc) all into the same stitch where you just made the sl st. (This forms a new petal.)
- Sl st into the next sc stitch from the previous round. (Anchor the petal.)
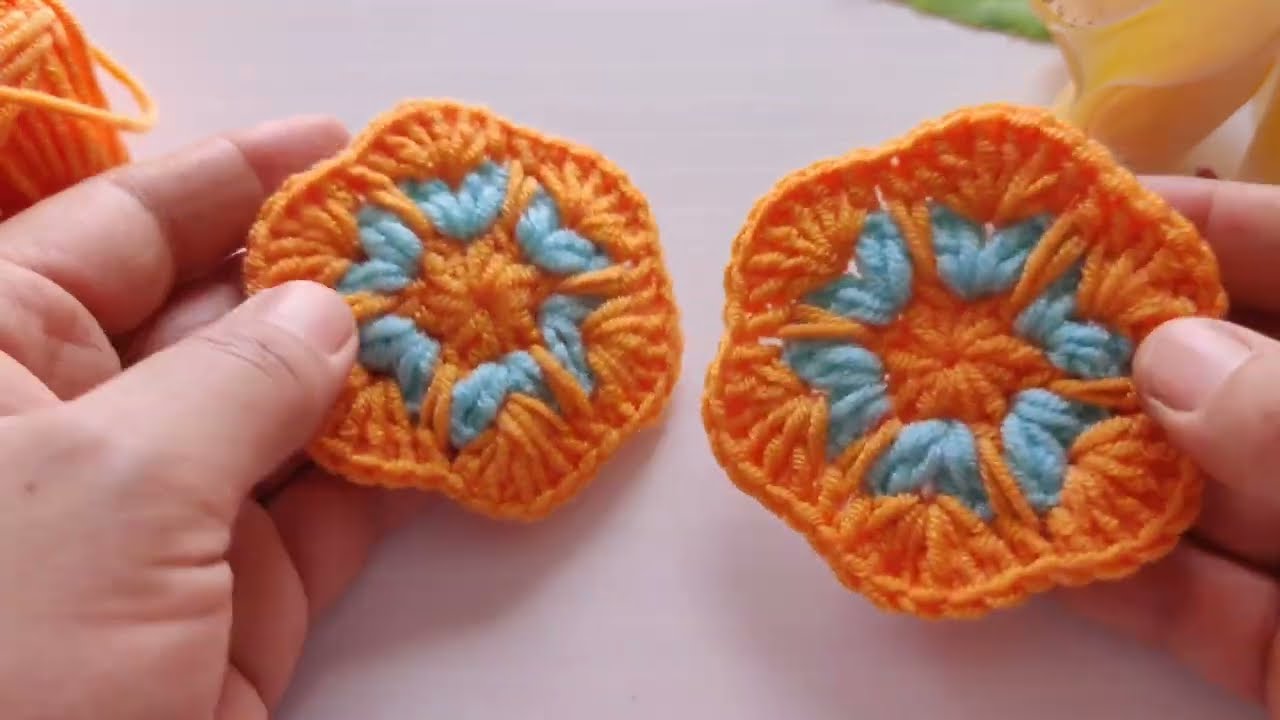
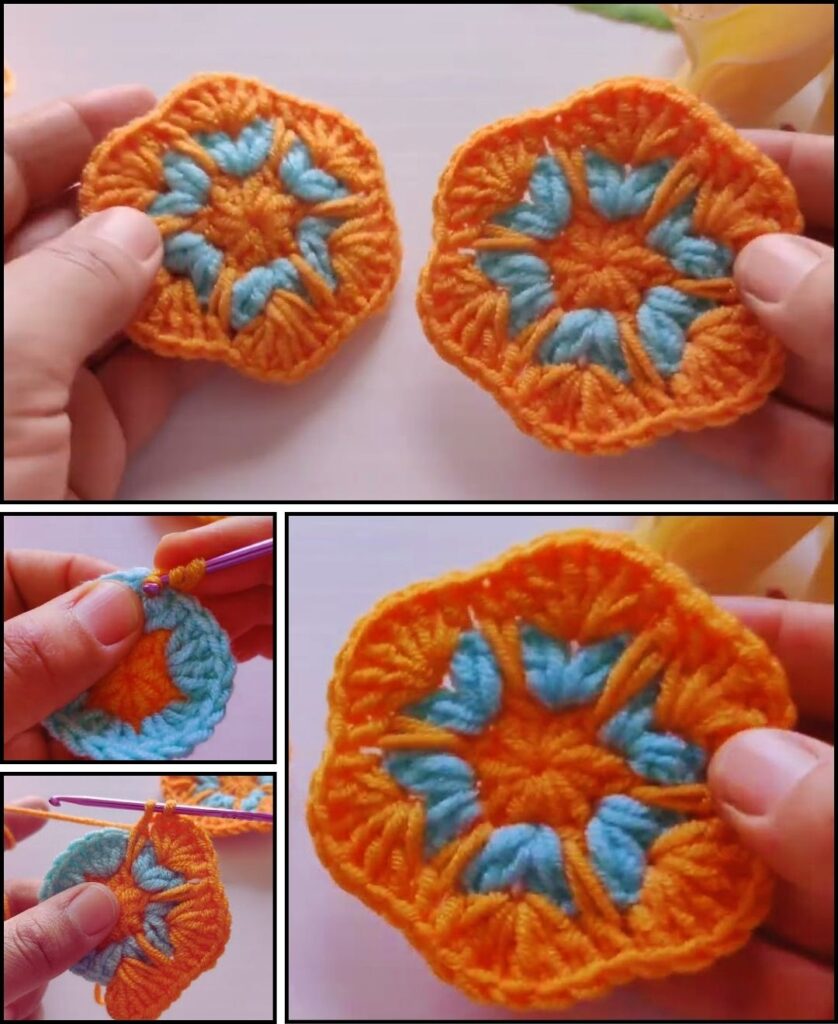
- You should now have 5 petals formed around the center.
- To finish the round, make a final sl st into the very first sl st you made at the beginning of this round (at the base of your first petal).
3. Finishing Your Crocheted Flower (Crucial Step!)
Proper finishing makes your flower look neat and prevents it from unraveling.
- Fasten Off: Cut your yarn, leaving a tail about 6 inches (15 cm) long. Yarn over your hook one last time, and pull the cut tail completely through the loop on your hook. Pull it tight to secure the last stitch.
- Weave in All Ends NEATLY: This is the most important step for a professional-looking finish.
- Thread one of your yarn tails (either the one from the center or the one from fastening off) onto your yarn needle.
- Carefully weave the tail through several stitches on the back of your flower. Try to go through the dense part of stitches so the tail is hidden and secure.
- Trim any excess yarn close to the fabric, but be careful not to cut the actual stitches.
- Repeat for any other yarn tails.
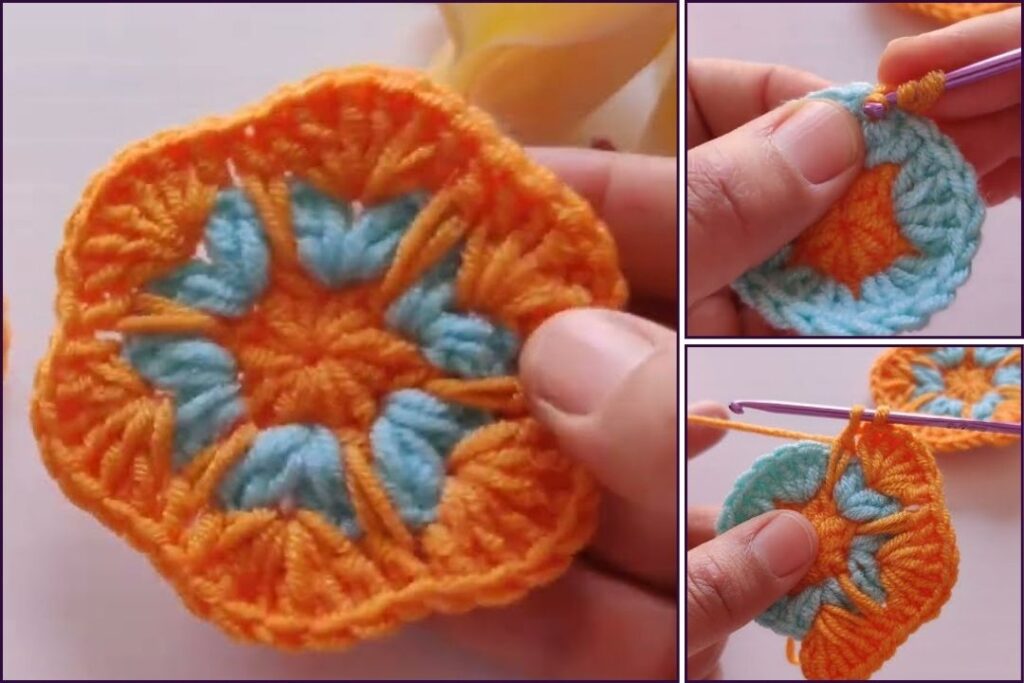
4. Tips for Making Your Crocheted Flowers Gorgeous (Even as a Beginner!)
- Consistent Tension: Try to maintain an even tension as you crochet. This makes your stitches uniform and your flower neat and flat. If your flower is cupping, you might be crocheting too tightly. If it’s ruffling, you might be too loose or have too many stitches.
- Count Your Stitches: Especially important in the center round. Counting ensures you have the right number of petals.
- Practice Each Stitch: Before starting the flower, practice chaining, single crochet, and double crochet separately until you feel comfortable.
- Watch Videos: If a step is confusing, search for video tutorials on “crochet magic ring,” “single crochet,” “double crochet,” etc. Seeing it done can be incredibly helpful.
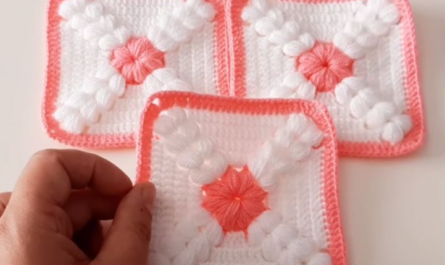
- Experiment with Colors: Once you’re comfortable with one color, try making the center one color and the petals another! (You’d just “fasten off” the center color and “join” the new petal color when you start the petal round).
- Uses for Your Flowers:
- Sew them onto hats, headbands, or bags.
- Glue them to hair clips or brooches.
- Use them as appliques on blankets or clothing.
- String multiple flowers together to make a cute garland.
- Embellish gift wrapping.
You’ve now got a detailed tutorial on how to crochet a simple yet beautiful flower! Enjoy your crocheting journey!