 by
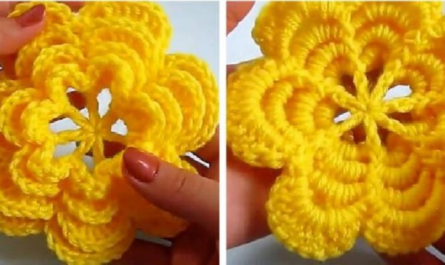
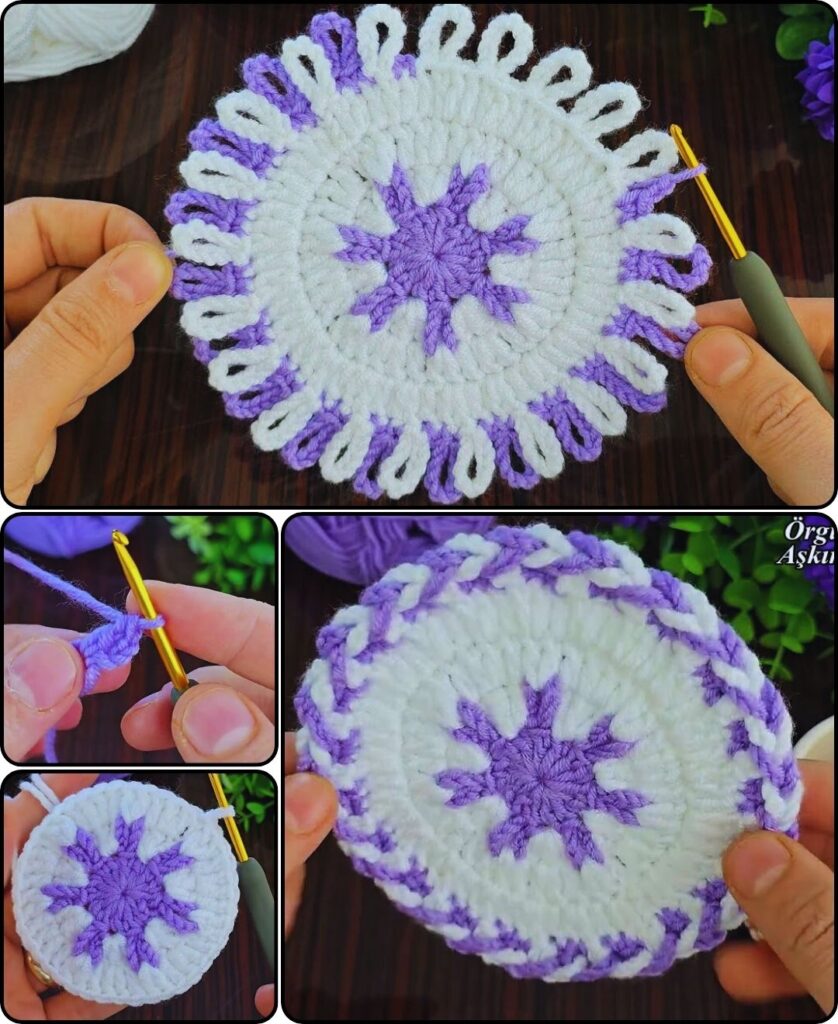
by Creating a “coaster supla motif” suggests a desire for a coaster that is not just functional, but also highly decorative, perhaps with a more intricate or textured design similar to a small placemat (sousplat/charger). This tutorial will guide you through making a beautiful, textured round coaster using common stitches in a way that creates a lovely, defined motif.
How to Crochet a Coaster Supla Motif
Project Overview: This pattern creates a sturdy, circular coaster with a distinct textured motif, reminiscent of the decorative quality found in larger sousplats. It incorporates basic stitches and introduces post stitches to create raised elements, giving your coaster a beautiful tactile and visual appeal.
Skill Level: Intermediate (Requires comfortable knowledge of chain, slip stitch, single crochet, double crochet, and understanding of front post double crochet (fpdc)).
Finished Coaster Dimensions (Approximate):
- Diameter: 5 – 5.5 inches (12.5 – 14 cm)
Materials You’ll Need:
- Yarn:
- Worsted Weight (Medium #4) Cotton Yarn: Approximately 30-40 yards (27-37 meters) per coaster. Cotton is highly recommended for coasters due to its absorbency, heat resistance, and excellent stitch definition, which is crucial for motif work.
- Crochet Hook:
- Size H/5.0mm (or the hook size that gives you a dense, firm fabric without large gaps. Consistent gauge is important for a flat coaster).
- Yarn Needle (Tapestry Needle): For weaving in loose ends.
- Scissors
- Stitch Marker (Optional but Recommended): To mark the beginning of each round.
Gauge (Important for Flatness and Consistency):
With your H/5.0mm hook, working in double crochet:
- Approximately 13 dc = 4 inches (10 cm)
- Your fabric should be dense and firm. If your coaster ruffles, your gauge might be too loose or you’re adding too many stitches. If it cups, it might be too tight.
Abbreviations Used:
- ch: chain
- sl st: slip stitch
- sc: single crochet
- hdc: half double crochet
- dc: double crochet
- fpdc: front post double crochet (See “Special Stitches” below)
- st(s): stitch(es)
- inc: increase (work 2 stitches into the same stitch)
- MR: Magic Ring (also known as Magic Circle or Adjustable Ring)
Special Stitches:
- Front Post Double Crochet (fpdc): Yarn over, insert your hook from front to back around the post of the designated stitch (not into the top loops), yarn over, pull up a loop (3 loops on hook), yarn over, pull through 2 loops (2 loops on hook), yarn over, pull through last 2 loops. (This creates a raised, textured stitch).
Let’s Start Crocheting Your Coaster Supla Motif!
We’ll start in the center and work in joined rounds. Each round will begin with a chain (which counts as a stitch only when specified) and end with a slip stitch to the first stitch of the round.
Part 1: The Coaster Base (Dense Center)
Option A: Starting with a Magic Ring (Recommended for a tight center)
- Start: Make a Magic Ring (MR).
- Round 1: Ch 2 (does NOT count as a stitch). Work 12 dc into the MR. Pull the tail tight to close the ring. Sl st to the top of the first dc to join. (Total: 12 dc).
Option B: Starting with Chain 4 Method (Alternative)
- Start: Ch 4. Sl st into the first ch to form a ring.
- Round 1: Ch 2 (does NOT count as a stitch). Work 12 dc into the ring. Sl st to the top of the first dc to join. (Total: 12 dc).
Part 2: Building the Motif (Textured Rounds)
Round 2:
- Ch 2 (does NOT count as a stitch).
- Work 1 fpdc around the post of the first dc from Round 1.
- Inc (2 dc) into the top loops of the next dc from Round 1.
- Work 1 fpdc around the post of the next dc, inc (2 dc) into the top loops of the next dc. Repeat from * to * 4 more times.
- Sl st to the top of the first fpdc to join. (Total: 12 fpdc, 12 dc = 24 stitches).
Round 3:
- Ch 2 (does NOT count as a stitch).
- Inc (2 dc) into the top loops of the first fpdc from Round 2.
- Work 1 fpdc around the post of the next dc.
- Work 1 dc into the top loops of the next dc.
- Inc (2 dc) into the top loops of the next fpdc, 1 fpdc around the post of the next dc, 1 dc into the top loops of the next dc. Repeat from * to * 4 more times.
- Sl st to the top of the first dc to join. (Total: 12 fpdc, 24 dc = 36 stitches).
Round 4:
- Ch 2 (does NOT count as a stitch).
- Work 1 dc into the top loops of the first dc from Round 3.
- Inc (2 dc) into the top loops of the next dc.
- Work 1 fpdc around the post of the next fpdc.
- 1 dc into the next dc, inc (2 dc) into the next dc, 1 fpdc around the post of the next fpdc. Repeat from * to * 4 more times.
- Sl st to the top of the first dc to join. (Total: 12 fpdc, 36 dc = 48 stitches).
Round 5:
- Ch 2 (does NOT count as a stitch).
- Work 1 dc into each of the first 2 dc from Round 4.
- Inc (2 dc) into the top loops of the next dc.
- Work 1 fpdc around the post of the next fpdc.
- 1 dc into each of the next 2 dc, inc (2 dc) into the next dc, 1 fpdc around the post of the next fpdc. Repeat from * to * 4 more times.
- Sl st to the top of the first dc to join. (Total: 12 fpdc, 48 dc = 60 stitches).
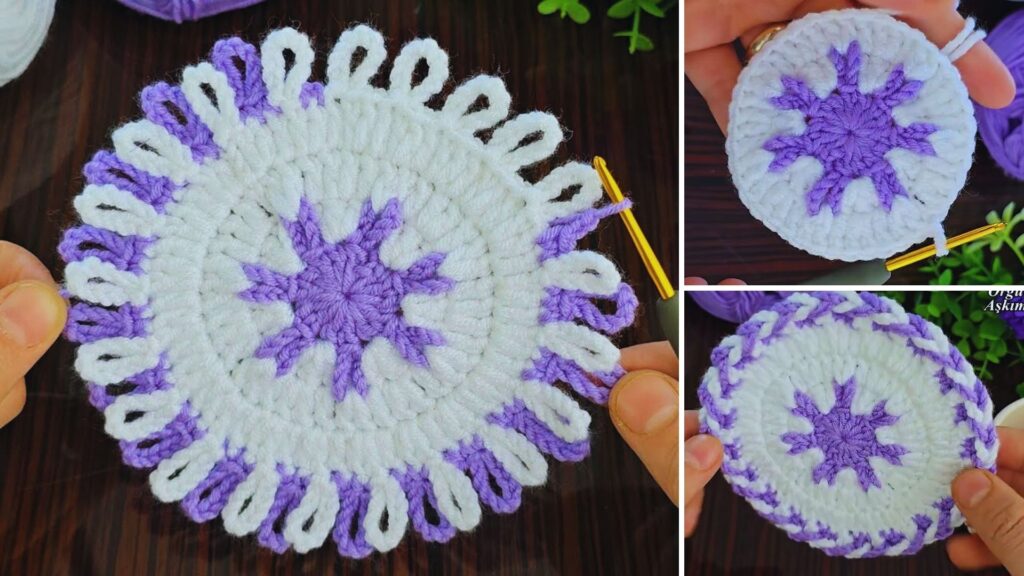
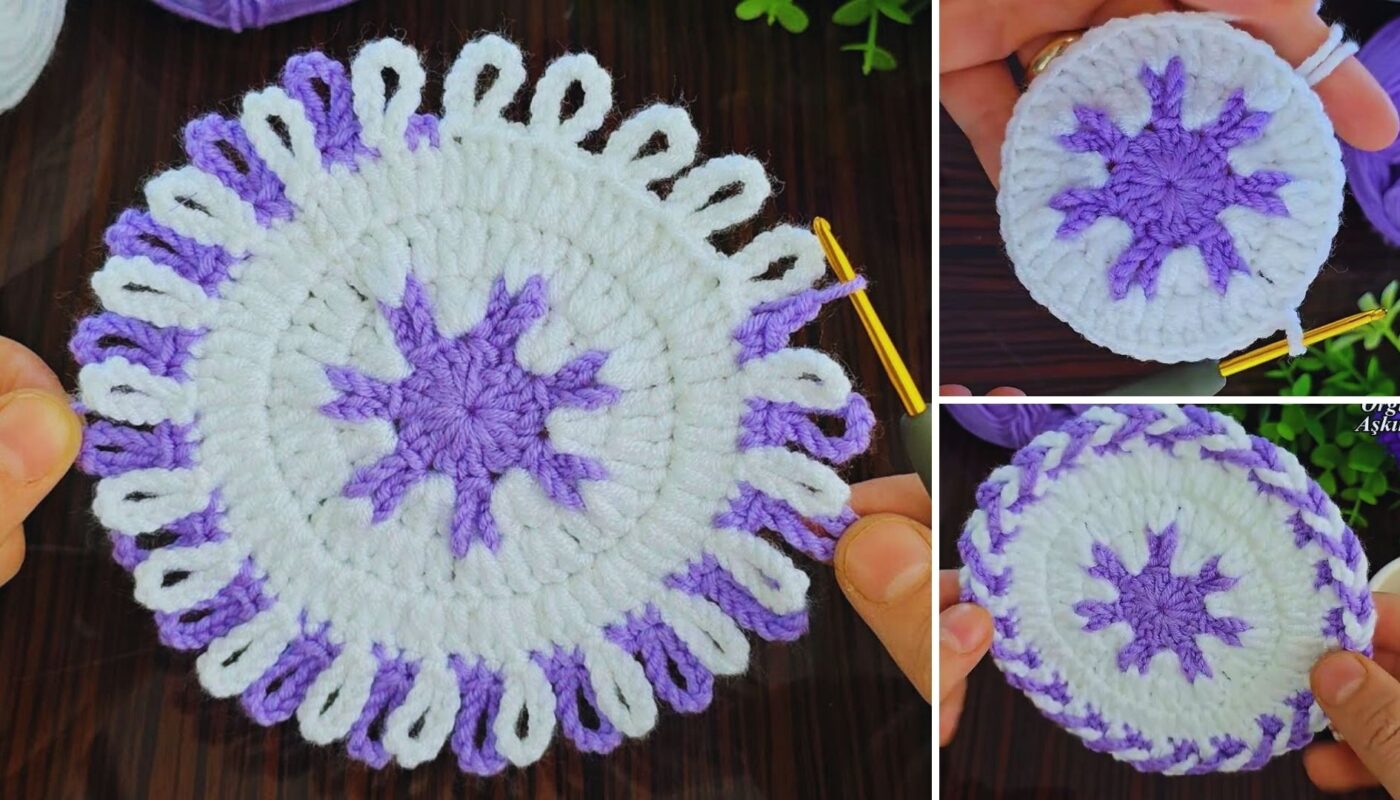
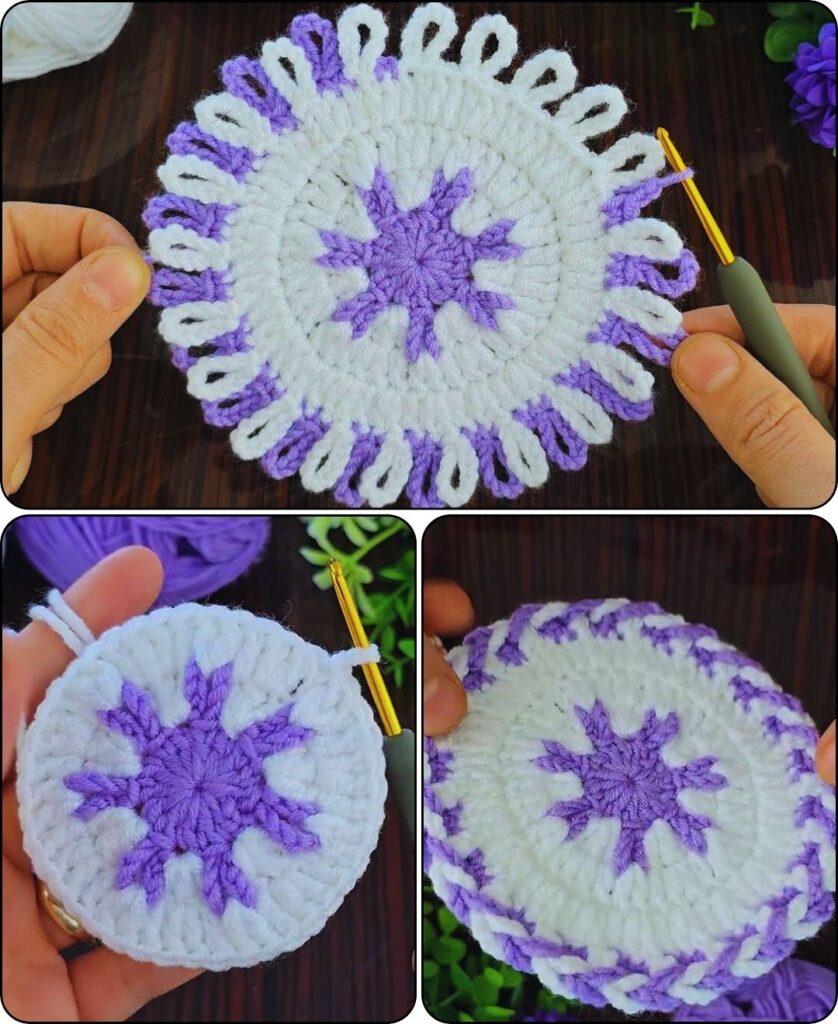
Part 3: The Decorative Edging
This final round adds a lovely, slightly open finish to your motif.
Round 6:
- Ch 1 (does NOT count as a stitch).
- Sc in the same st where you joined.
- Ch 3, sk 2 sts, sc in the next st.
- Ch 3, sk 2 sts, sc in the next st. Repeat from * to * around the entire coaster.
- You should end with a ch 3, then sl st to the first sc to join. (Total: 20 sc, 20 ch-3 sps).
Part 4: Finishing & Blocking (Crucial for a Flat Coaster Motif!)
- Fasten Off: Cut your yarn, leaving a tail about 4-6 inches (10-15 cm) long. Pull the tail through the loop on your hook to secure it.
- Weave in All Ends: Thread the yarn tail onto your yarn needle. Carefully weave the tail through several stitches on the back side of your coaster, securing it invisibly. If you used a Magic Ring, ensure the starting tail is pulled very tight and also woven in securely.
- Blocking (Highly Recommended!): This step is essential for your coaster to lie perfectly flat and for the motif to be clearly defined.
- Method: Gently wet your coaster (either by misting with water or a quick dip and gentle squeeze). Lay it flat on a clean blocking mat or a thick towel. Gently stretch and pin the coaster into a perfect circle, ensuring the texture pops and the edges are even. Allow it to air dry completely.
Tips for Success & Customization:
- Yarn Choice: Stick to cotton or a cotton blend for the best results in terms of absorbency and heat resistance. The stitch definition of cotton also makes the motif stand out beautifully.
- Consistent Tension: This is key! If your coaster starts to ruffle, your tension might be too loose, or you might need to try a slightly smaller hook. If it starts to cup, your tension might be too tight, or you might need a slightly larger hook.
- Post Stitch Practice: If fpdc is new to you, practice a few before starting. Once you get the hang of it, it’s very rewarding!
- Color Play: While traditional doilies are often one color, you could make each round a different color, or alternate colors every two rounds, to highlight the motif in different ways.
- Size Adjustment: To make a slightly larger or smaller coaster, you can adjust your hook size. Alternatively, you can add an extra round of increases (e.g., in Round 5, if your increases were
(dc in 3 sts, inc) * repeat, then Round 6 would be(dc in 4 sts, inc) * repeatbefore the final edging). - Alternative Textures: Once you’re comfortable with this, you can experiment with other textured stitches like back post double crochet (bpdc), puff stitches, or popcorn stitches to create different motif effects.
Enjoy making your beautiful and functional coaster supla motif!