by
by Crochet work has always been a cherished part of handmade traditions, and among its many beautiful creations, the Thalposh Crochet Rumal holds a special place. A thalposh rumal is not just a decorative cloth—it is a symbol of care, patience, and artistic expression. Often used to cover food plates, trays, or serving bowls, this crochet piece adds elegance and warmth to any home setting.
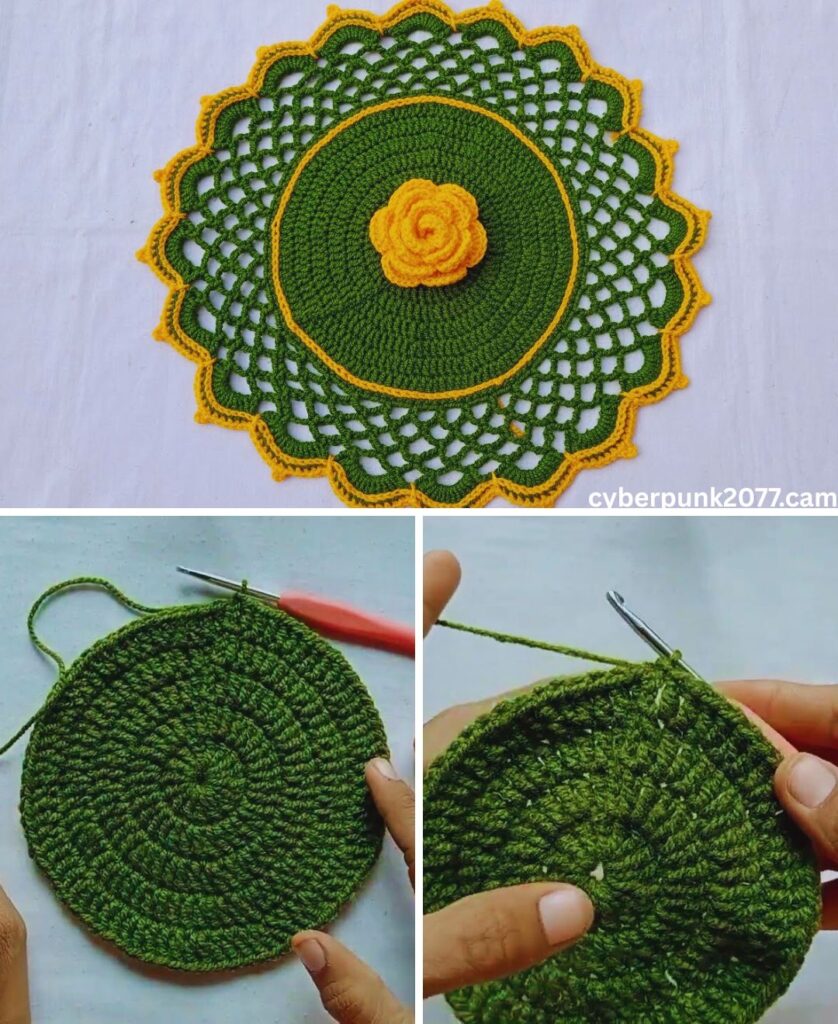
The design shown here is a beautiful new Crosia (crochet) thalposh design, featuring a rich circular pattern, elegant lace borders, and a stunning floral centerpiece. This article explains the design in detail and guides you through the process of creating a similar thalposh rumal step by step.
Understanding the Thalposh Crochet Rumal
A thalposh rumal is traditionally round in shape and made using fine crochet stitches. It serves both decorative and practical purposes—protecting food from dust while enhancing the presentation of the dining area.
The featured design combines:
- A solid circular center
- A raised crochet flower
- An open lacework border
- A scalloped outer edge
This balance between solid and airy crochet gives the rumal a graceful and professional look.
Materials Required
To create this beautiful crochet thalposh design, you will need:
- Cotton crochet yarn (green and yellow colors)
- Crochet hook (2.5 mm – 3.5 mm depending on yarn thickness)
- Scissors
- Yarn needle
- Stitch markers (optional)
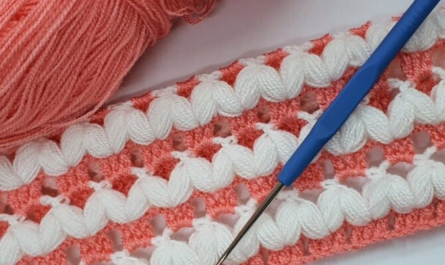
Cotton yarn is preferred because it is durable, washable, and holds stitch definition very well.
Color Combination and Design Inspiration
The green and yellow color combination used in this design is inspired by nature and freshness. The deep green base represents leaves, while the bright yellow border and flower resemble a blooming blossom. This contrast makes the design eye-catching yet soothing.
You can change colors according to your preference, but keeping a light border with a darker base often gives the best visual balance.
Step 1: Starting the Center Circle
The thalposh begins with a round solid base, which provides structure and stability.
- Start with a magic ring or chain loop
- Work single crochet or double crochet stitches evenly into the ring
- Increase stitches in each round to keep the circle flat
- Continue until the center reaches the desired size
This part should be firm and evenly shaped, as it forms the foundation of the entire rumal.
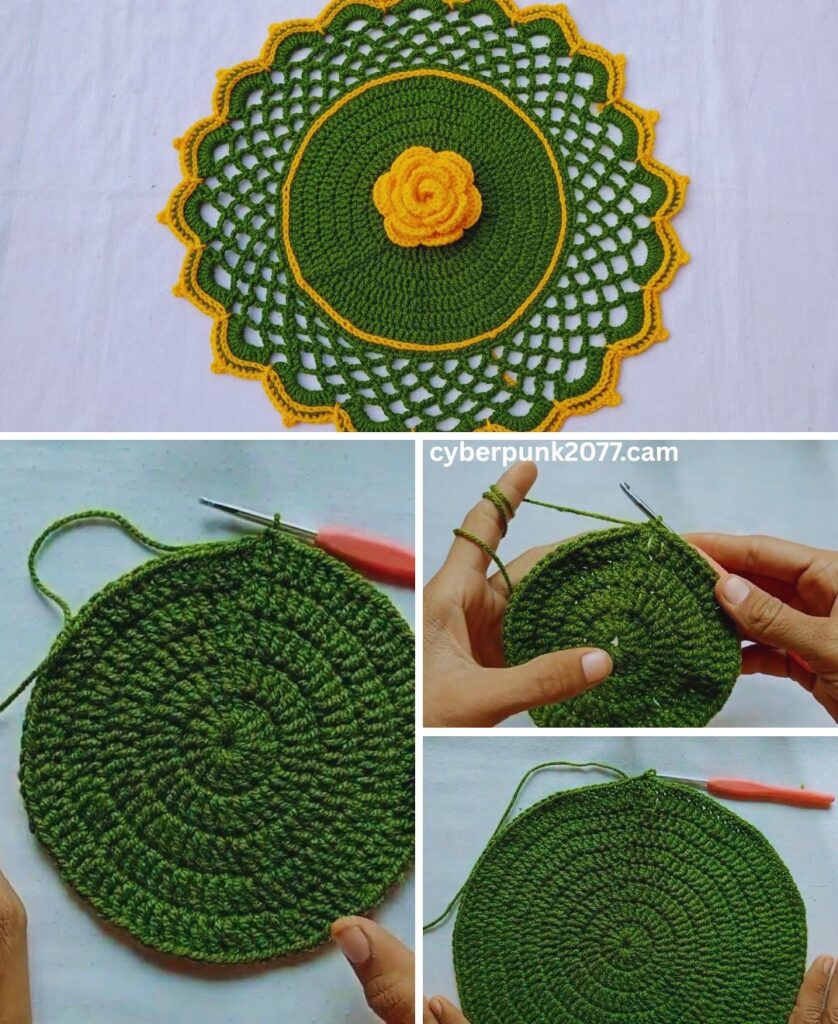
Step 2: Adding the Circular Border Line
Once the center is complete, a thin contrasting border is added.
- Change yarn color (yellow in this design)
- Crochet one neat round using simple stitches
- This border separates the solid center from the lace section
This line enhances the design and gives a clean, finished appearance.
Step 3: Creating the Lacework Section
The lace section is what gives the thalposh its delicate beauty.
- Switch back to the main color (green)
- Use chain spaces, double crochet clusters, and skips
- Work evenly around the circle
- Maintain consistent stitch tension for symmetry
This open crochet pattern allows air to pass through while still covering the food below.
Step 4: Designing the Scalloped Outer Edge
The scalloped edge is the most decorative part of the thalposh.
- Change to the contrasting color (yellow)
- Work shell stitches or fan patterns
- Each scallop is evenly spaced
- This border adds softness and elegance
The layered green-and-yellow edging creates depth and highlights the craftsmanship.
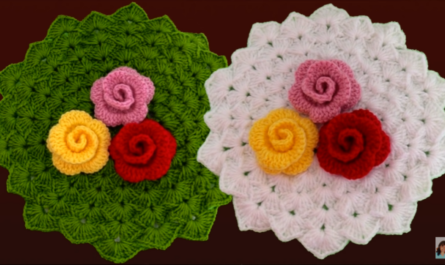
Step 5: Making the Crochet Flower (Centerpiece)
The raised crochet flower in the center is the highlight of this design.
- Crochet a small spiral base
- Build petals using layered stitches
- Roll or shape the flower naturally
- Secure it firmly at the center of the rumal
This flower gives the thalposh a three-dimensional look and adds a handcrafted charm.
Step 6: Finishing and Blocking
After completing the design:
- Cut yarn neatly
- Weave in all loose ends
- Gently block the thalposh to shape
- Lay flat to dry
Blocking helps open the lace pattern and ensures the rumal lies perfectly flat.
Tips for Perfect Results
- Keep stitch counts accurate in each round
- Do not crochet too tightly
- Use stitch markers to track pattern repeats
- Practice lace stitches before starting
- Choose high-quality cotton yarn for durability
Patience and consistency are key to achieving a professional-looking thalposh.
Uses of Thalposh Crochet Rumal
This beautiful crochet rumal can be used for:
- Covering serving plates and bowls
- Dining table decoration
- Festive occasions
- Gift items
- Home décor accents
It is both functional and artistic, making it a valuable handmade piece.
Why This Design Is Special
This new Crosia thalposh design stands out because:
- It blends solid and lace crochet beautifully
- The floral centerpiece adds uniqueness
- The scalloped border enhances elegance
- The color contrast is visually pleasing
It reflects both traditional craftsmanship and modern design sense.
Final Thoughts
Creating a Thalposh Crochet Rumal Design is a rewarding and peaceful craft experience. This beautiful crosia design not only enhances your crochet skills but also brings warmth and beauty into your home. With simple stitches, thoughtful color choices, and careful finishing, you can create a stunning thalposh that reflects creativity and tradition.
Whether you are making it for personal use or as a gift, this crochet rumal design is sure to be admired and cherished.
If you like, I can also:
- Write this as a step-by-step pattern
- Create a YouTube tutorial script
- Simplify it for beginners
- Translate it into simple Hindi or Urdu style
Just let me know 🌸