by
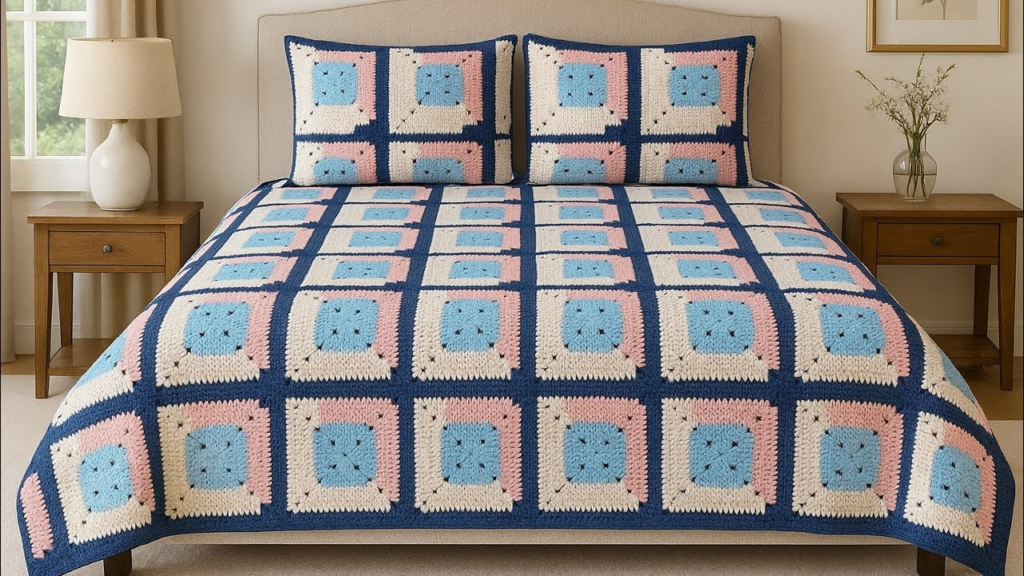
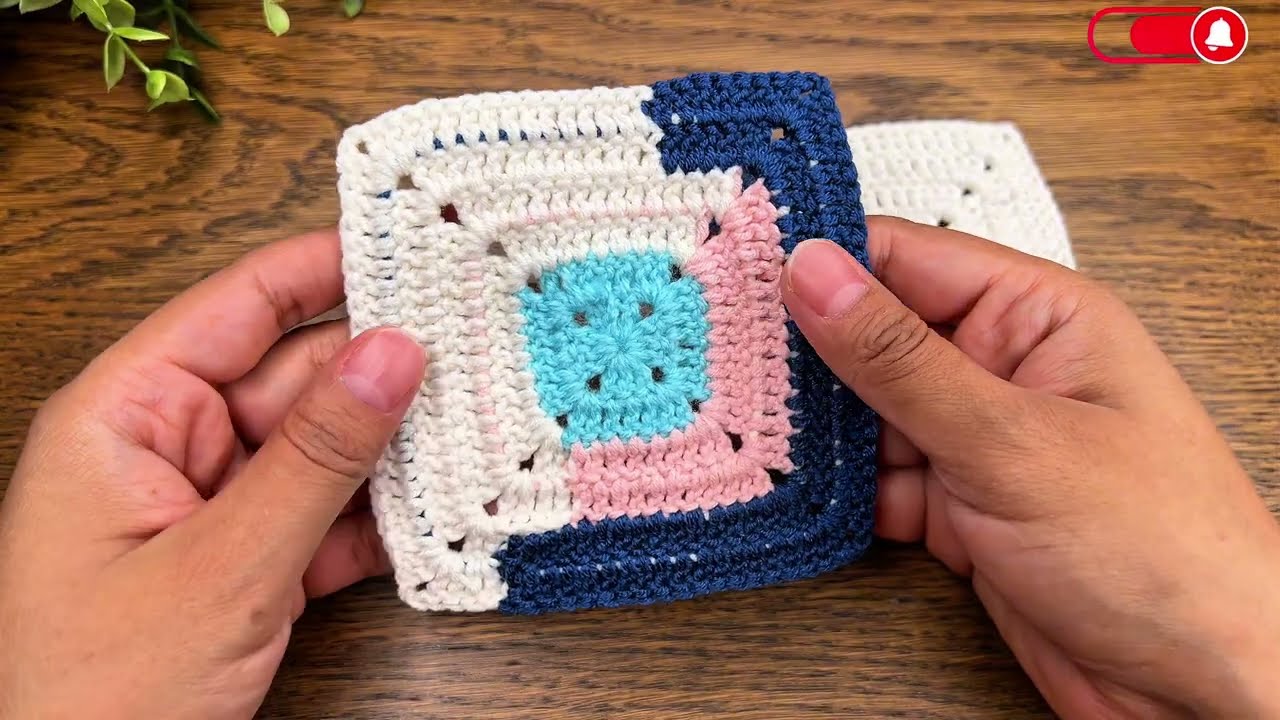
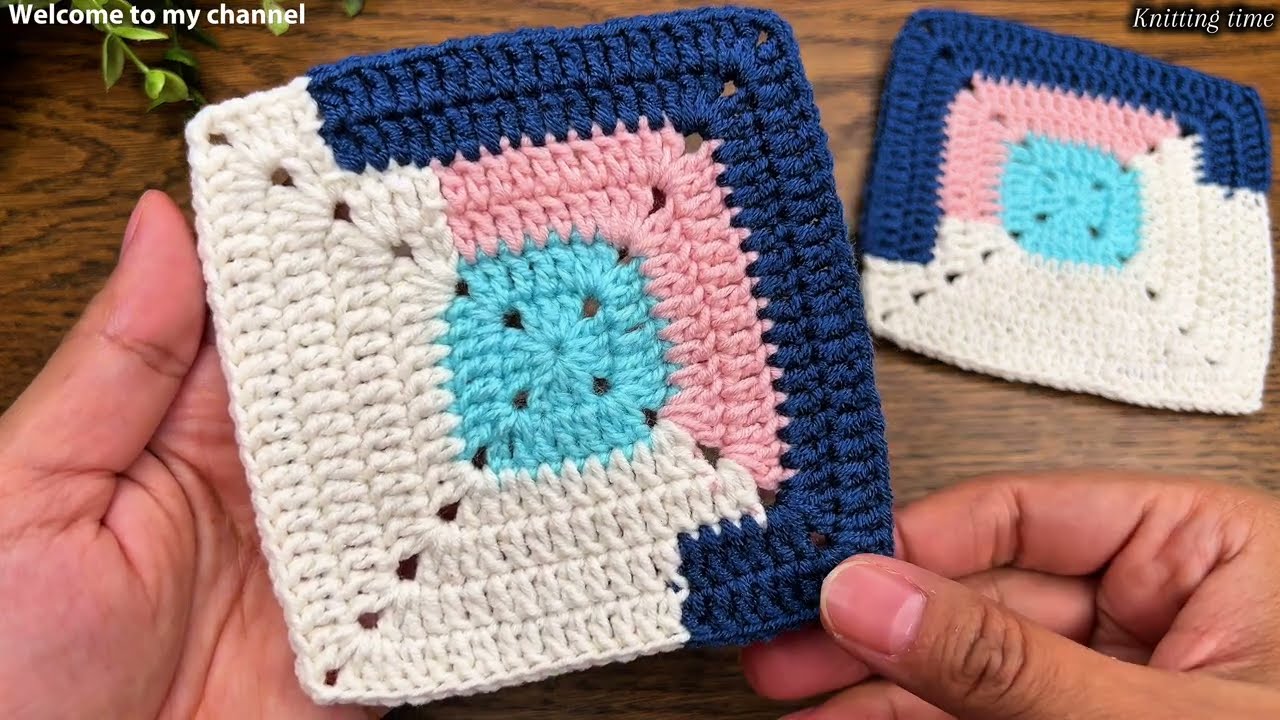
by The Modern Geometric Square is the sophisticated cousin of the classic granny square. While traditional squares are “loopy” and nostalgic, the modern version is defined by solid stitches, sharp corners, and high-contrast color blocking.
This tutorial focuses on the Solid Two-Tone Diagonal, a geometric staple that looks like a high-end floor tile when joined into a blanket or pillow cover.
🧶 The Modern Maker’s Kit
For a geometric look, you want “stitch definition.” Avoid “fuzzy” yarns (like mohair) that hide the clean lines.
| Item | Recommendation | Why? |
| Yarn | 100% Cotton or Mercerized Cotton (DK Weight) | Provides a crisp, matte finish and holds its shape. |
| Hook | 3.5 mm or 4.0 mm | Use a slightly smaller hook than the yarn suggests to keep the “holes” small. |
| Colors | Two high-contrast solids (e.g., Navy and Cream) | Essential for the “diagonal split” effect. |
🛠 Step-by-Step Tutorial: The Diagonal Split
This square is worked in the round, but we will carry the second color along the back to create a perfect $45^\circ$ geometric split.
Round 1: The Foundation (Color A)
- Start: Make a Magic Ring.
- First Half: ch 3 (counts as dc), 2 dc, ch 2, 3 dc.
- The Switch: On the very last “pull through” of that 3rd dc, drop Color A and pull through with Color B.
- Second Half: Using Color B, work ch 2, 3 dc, ch 2, 3 dc, ch 2.
- Join: sl st to the top of the starting ch 3.
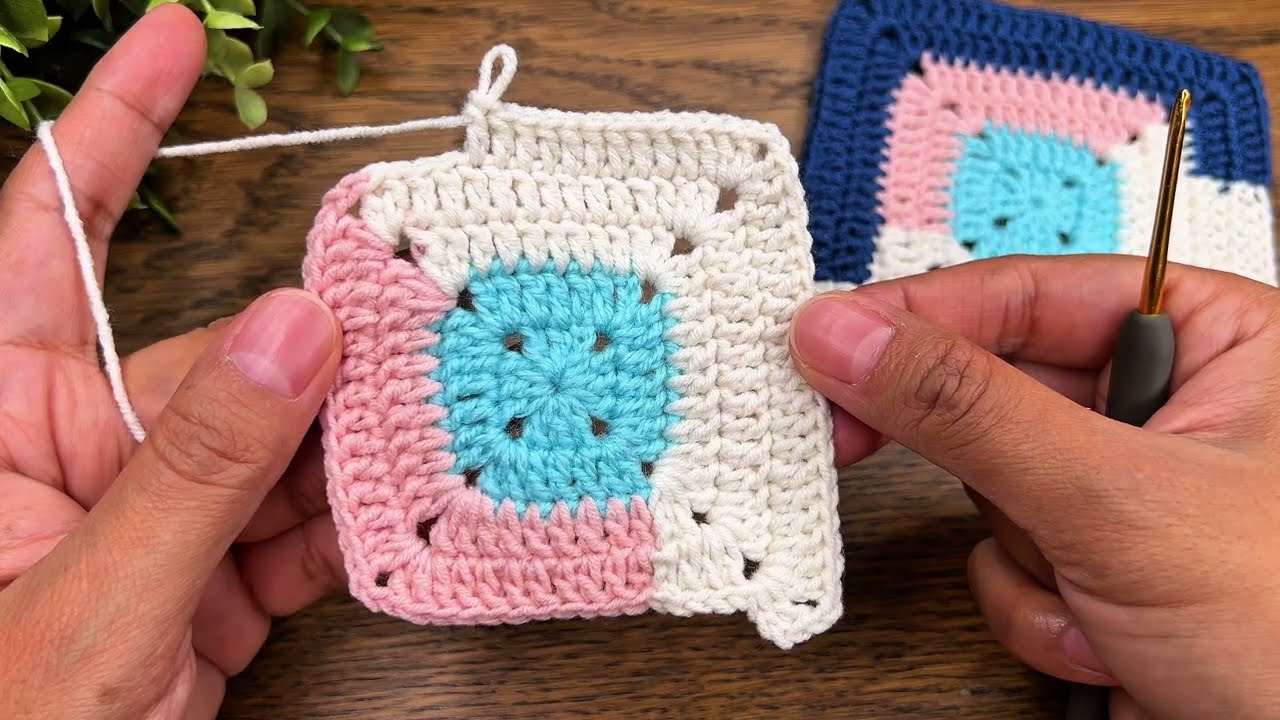
Geometric Tip: You now have a tiny square that is exactly half-and-half.
Round 2: The Solid Block
To keep the edges straight, we will work in the Back Loops Only (BLO).
- Color B: ch 3. Work 1 dc in each stitch until you reach the corner.
- Corner: In the ch-2 space, work (2 dc, ch 2, 2 dc).
- The Midpoint: When you reach the side where the colors change, make sure to change colors on the last pull-through of the dc stitch before the corner.
- Color A: Continue with 1 dc in each stitch and (2 dc, ch 2, 2 dc) in the corners.
- Join: sl st to the top of the ch 3.
Round 3: Finishing the Tile
- Repeat Round 2, ensuring your corners are worked into the ch-2 spaces.
- Fasten off both colors and leave a 10 cm tail for weaving.
📐 The Math of Modern Design
When assembling these squares, you are essentially playing with tessellation. Depending on how you rotate the squares, you can create entirely different patterns:
- The Large Diamond: Point all Color A sections toward a central axis.
- The Chevron: Align the diagonals in a zig-zag “V” shape.
If your square has a side length of $s$, the total area ($A$) of your finished project is determined by:
$$A = (n \times s)^2$$
(where $n$ is the number of squares per side).
💡 Gemini’s Professional Secrets
- The “Anti-Spiral” Turn: Traditional squares often look like they are “leaning” or spiraling. To prevent this, turn your work after every round. This keeps the stitches perfectly vertical and the geometric lines razor-sharp.
- Invisible Joins: Don’t just knot the yarn. Use a tapestry needle to create an “invisible join” by mimicking the top of a stitch. This is the difference between a “craft store” look and a “boutique” look.
- Blocking is Non-Negotiable: Because you are carrying two colors of yarn, one side of the square might be slightly denser. Pin your squares to a blocking board and hit them with a blast of steam. This “sets” the geometry.
✨ Style Note
“If your diagonal line looks a bit ‘stair-stepped’ at first, don’t panic. That’s the nature of crochet stitches. Once you block the square and join it to its neighbor, that line will smooth out into a beautiful, architectural edge.”
Would you like me to explain the “Flat Slip Stitch Join” so your squares look like a single piece of continuous fabric?