 by
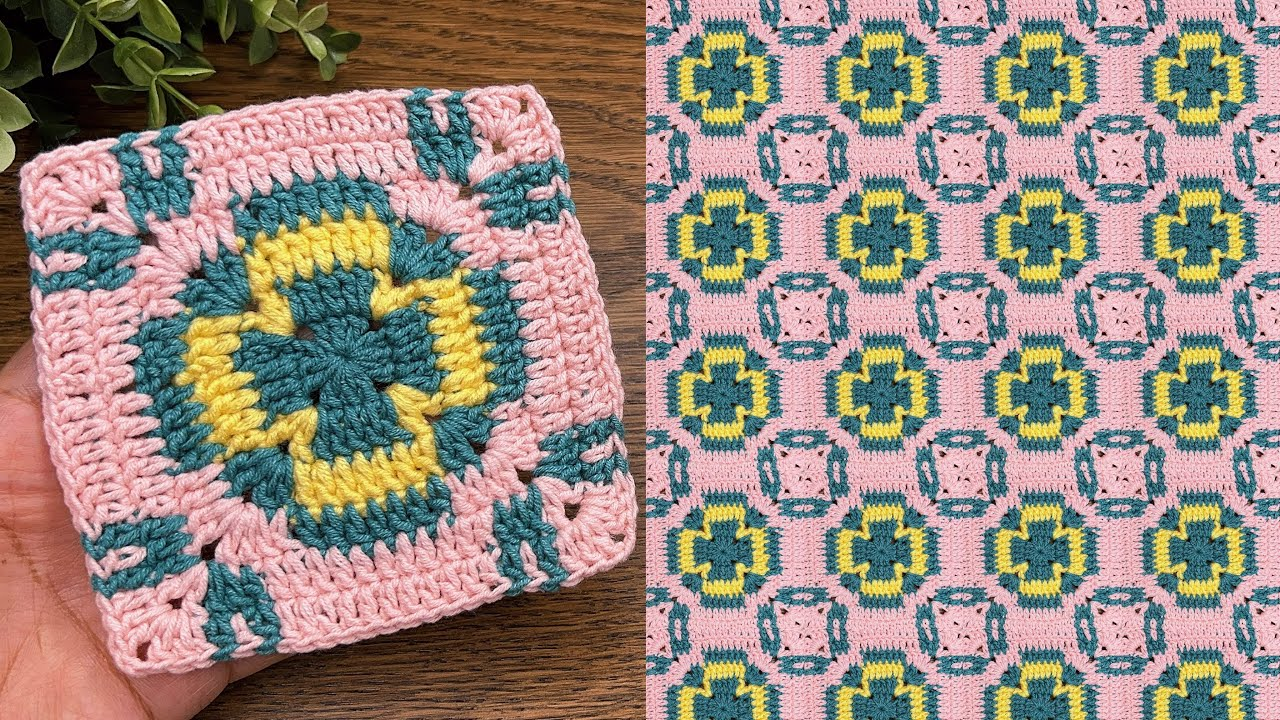
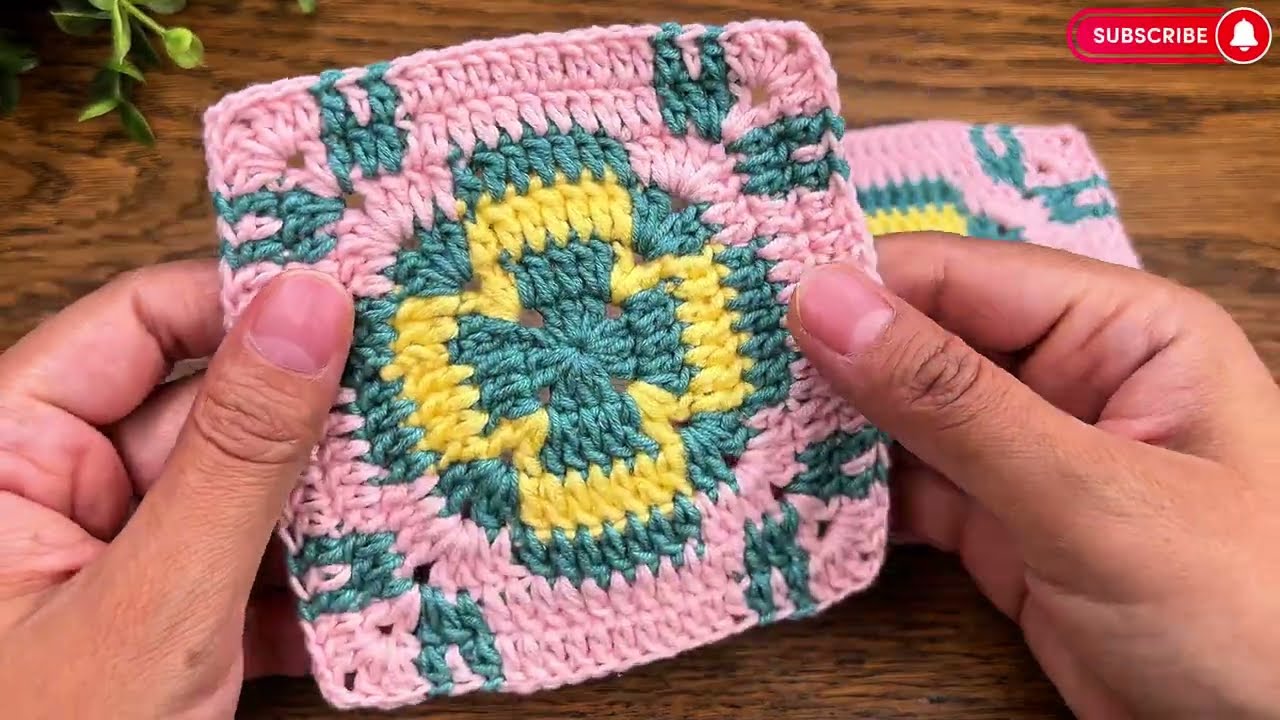
by The Modern Geometric Square is the architectural upgrade to the classic granny square. While traditional squares are known for their “loopy” clusters, a geometric square focuses on solid stitch density, sharp 90° angles, and clean lines.
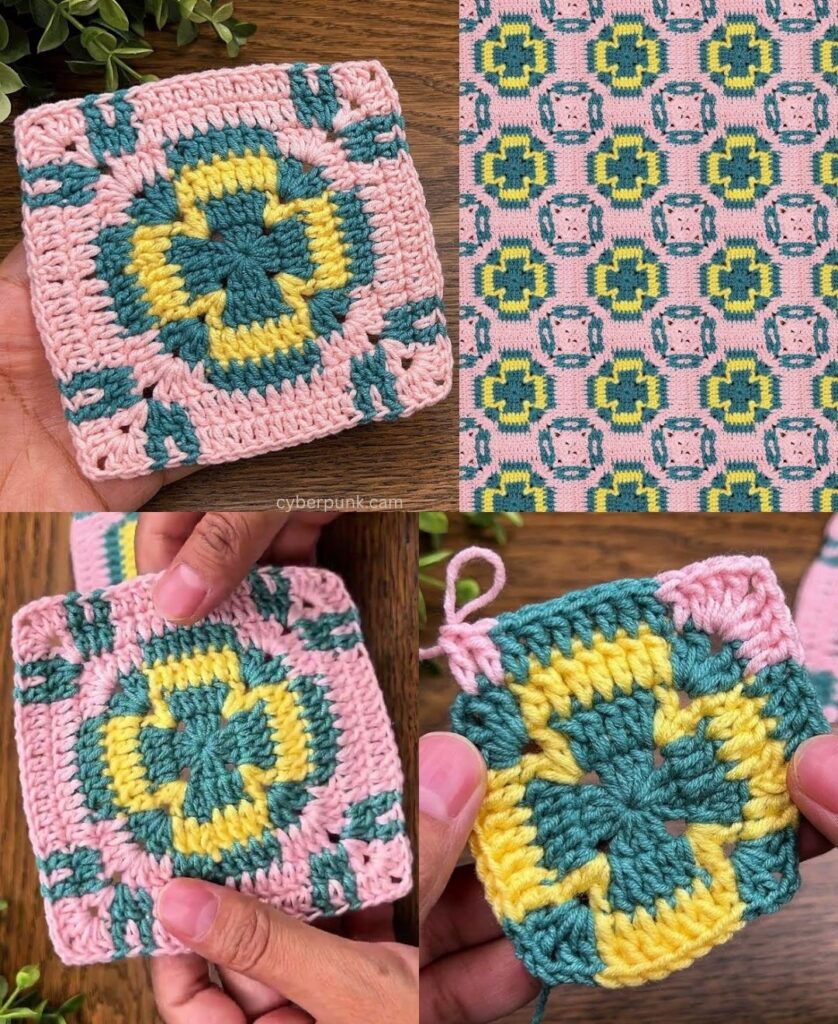
This pattern creates a “Solid Geometric Tile”—perfect for structured projects like heavy throw blankets, minimalist pillows, or even a structured tote bag.

🧶 The Geometric Toolkit
To get those crisp, “store-bought” lines, your choice of yarn and hook is everything. You want a yarn that has great “stitch definition,” meaning it doesn’t have a lot of fuzz (halo) to blur the geometry.
| Item | Recommendation | Why? |
| Yarn | 100% Mercerized Cotton or Smooth Acrylic | It’s dense and doesn’t stretch out of shape, keeping the square… well, square. |
| Hook | 4.0 mm (G/6) or 4.5 mm | Use a slightly smaller hook than the yarn label suggests to close any gaps. |
| Colors | Two high-contrast solids | For a geometric look, try Navy and White or Terracotta and Cream. |
Stitch Key (US Terms)
- ch: Chain
- sl st: Slip Stitch
- dc: Double Crochet
- Corner: 2 dc, ch 2, 2 dc (all in the same space).
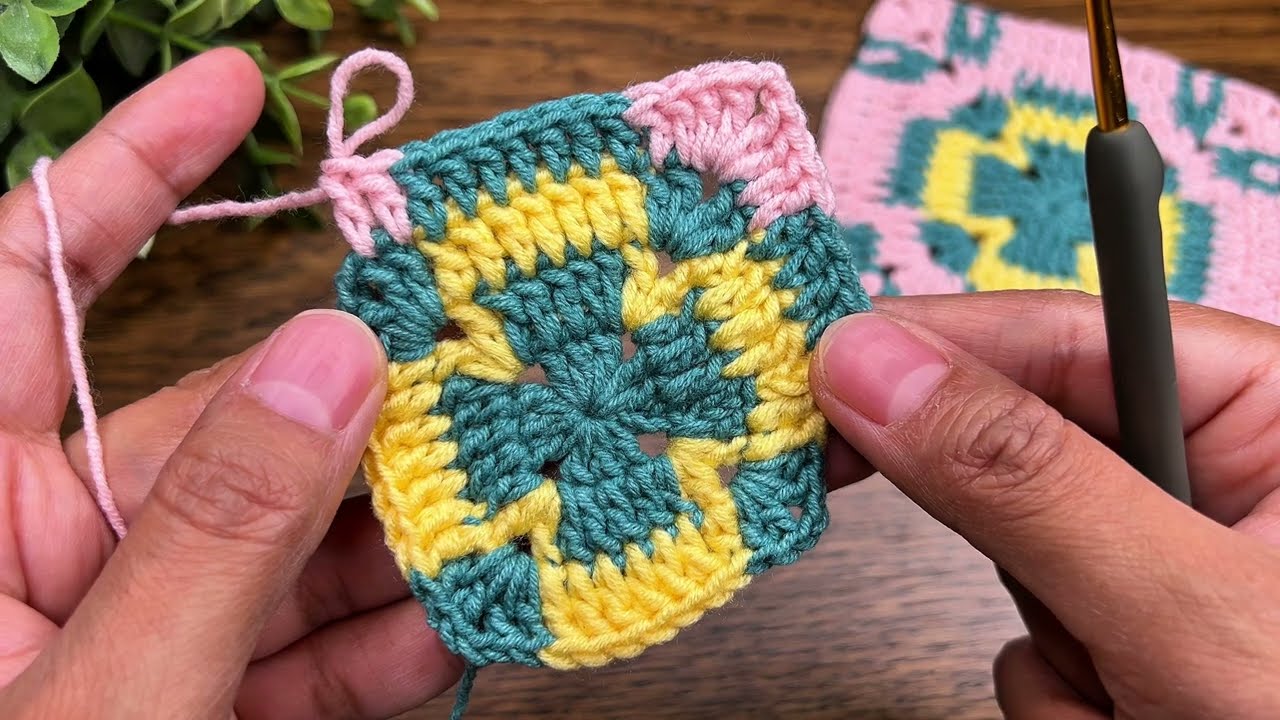
🛠 Step-by-Step: The Solid Geometric Square
Round 1: The Foundation
- Start: Make a Magic Ring. (This is the professional way to start; it allows you to pull the center completely closed).
- Stitches: ch 3 (counts as your first dc). Work 2 dc, ch 2.
- Repeat: [3 dc, ch 2] three more times.
- Finish: Pull the magic ring tight. sl st to the top of the ch 3.
Geometric Tip: You should have a tiny square with no hole in the middle.
Round 2: Filling the Gaps
- Move: sl st across to the first ch-2 corner space.
- First Corner: ch 3, dc, ch 2, 2 dc. (This is your first completed corner).
- The Side: Work 1 dc into each of the next 3 dc from the previous round.
- The Corners: In the corner hole, work (2 dc, ch 2, 2 dc).
- Repeat: 1 dc in each side stitch, and (2 dc, ch 2, 2 dc) in every corner.
- Join: sl st to the top of the starting ch 3.
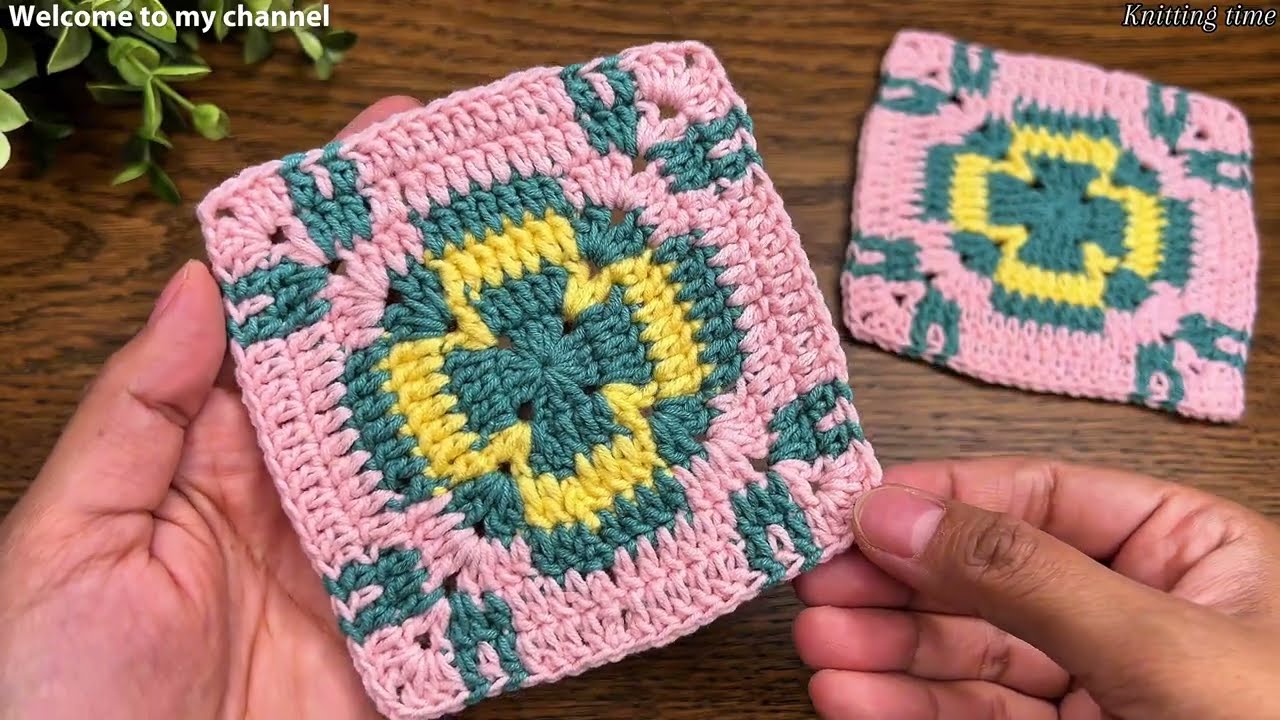
Round 3: The Geometric Growth
- Travel: sl st over to the corner space.
- Pattern: Work (2 dc, ch 2, 2 dc) in every corner.
- Sides: Work 1 dc into every dc stitch along the sides.
- The Formula: Every round, your “side” count will increase by 4 stitches (2 from each corner).
📐 The Math of the Masterpiece
If you are planning a large project, you can calculate the total area ($A$) of your finished blanket using the side length ($s$) of a single square and the number of squares used ($n$):
$$A = (n \times s)^2$$
For example, if your square is 15 cm and you make a grid of 10 x 10 squares, your blanket will be 150 cm x 150 cm.
✨ 3 Secrets for a Professional Finish
1. The “Back Loop Only” (BLO) Trick
If you want your square to have a 3D geometric texture, work all your side dc stitches into the Back Loop Only. This creates a raised horizontal ridge on every round, making the square look like a topographical map or a modern piece of art.
2. The Invisible Join
When you finish your final round, don’t just knot the yarn. Cut a 15 cm tail, pull it through, and use a tapestry needle to “sew” a fake stitch over the beginning chain. This makes the edge perfectly smooth for joining.
3. Steam Blocking (The Non-Negotiable)
Geometric squares often “bowl” or curl at the edges.
- Pin your square to a foam board.
- Use a steamer or a steam iron (held 2 inches away—never touch the iron to the yarn!).
- Let it dry completely. This “kills” the yarn’s memory and forces it to stay in a perfect, sharp-edged square.
Would you like me to show you how to join these solid squares together using a “Flat Slip Stitch” so the seams are completely invisible?