 by
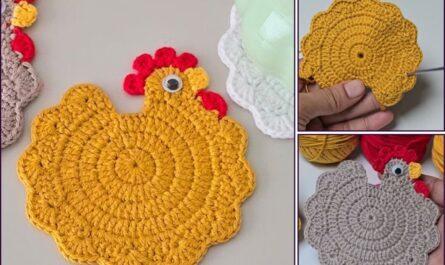
by Crocheting a hexagon star is a beautiful project that combines the geometry of a hexagon with the sharp points of a star.1 It’s often used for blankets, scarves, or decorative mats.2 The star shape is created by using a sequence of varying stitch heights (like single crochet, double crochet, and treble crochet) within the corners of a classic hexagon base.
Here is a detailed guide on how to crochet a hexagon star motif.

Materials and Abbreviations
- Yarn: Medium-weight yarn (worsted/size 4) works well. Choose contrasting colors if you want to emphasize the star points.
- Crochet Hook: Size recommended for your yarn.
- Scissors
- Tapestry Needle: For weaving in ends.
Key Crochet Terms
| Abbreviation | Stitch Name |
| ch | Chain |
| sl st | Slip Stitch |
| sc | Single Crochet |
| hdc | Half Double Crochet |
| dc | Double Crochet |
| tr | Treble Crochet (Triple Crochet) |
| st(s) | Stitch(es) |
Step-by-Step Hexagon Star Pattern
The pattern first creates a simple hexagon and then uses specific increases and stitch heights in the final round to form the six star points.
Part 1: Creating the Hexagon Base
- Round 1 (Center): Make a Magic Ring. ch 3 (counts as first dc).3 Work 11 dc into the ring. Join with a sl st to the top of the beginning ch 3. (12 sts).
- Round 2 (Defining Corners): ch 3 (counts as dc). Work 1 dc into the same stitch. [ch 1. Work 2 dc into the next stitch] 11 times. ch 1. Join with a sl st to the top of the beginning ch 3. (24 dc stitches, 12 ch-1 spaces).
- Round 3 (Forming Hexagon Sides):sl st into the next dc, and sl st into the ch-1 space.
- ch 3 (counts as dc).4 Work 2 dc into the same ch-1 sp.
- [ch 1. Work 3 dc into the next ch-1 sp] 11 times. ch 1.
- Join with a sl st to the top of the beginning ch 3. (12 clusters of 3 dc).
- Round 4 (Setting Up Corners):sl st into the next two dc’s, and sl st into the ch-1 space.
- ch 1 (does not count as st). Work sc into the same ch-1 sp.
- ch 3. sc into the next ch-1 sp.
- Repeat: [ch 3, sc into the next ch-1 sp] around. You should have 12 ch-3 loops.
- Join with a sl st to the first sc.

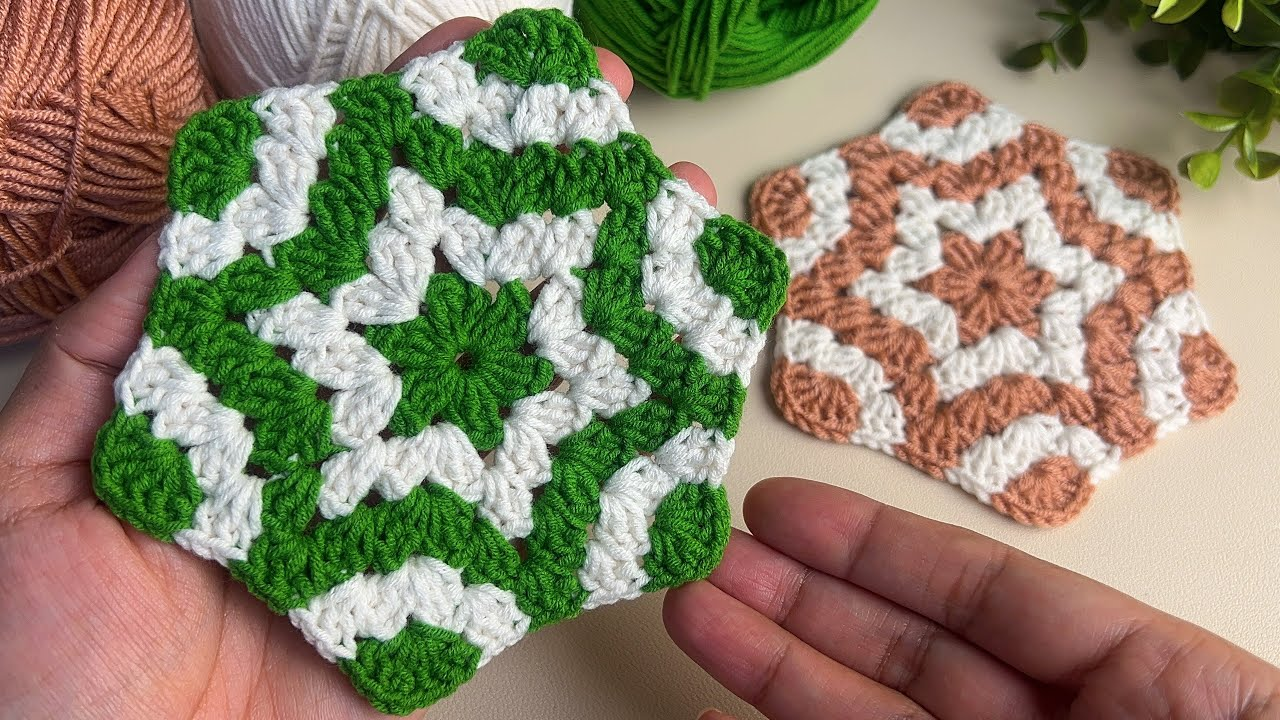
Part 2: Forming the Star Points
In this final round, we use the 12 ch-3 loops created in Round 4. We will alternate between working a tall star point and a short valley to create the zigzag shape.
- Move to First Loop: sl st into the first ch-3 space.
- First Star Point (Tall Stitches):
- Work [2 dc, 2 tr, ch 2, sl st in the 2nd ch from hook (picot), 2 tr, 2 dc] all into the same ch-3 space.
- (This sequence creates a tall, sharp point with a small decorative loop at the very top.)
- First Valley (Short Stitches):
- Work sl st into the next sc anchor stitch.
- Work [3 hdc] into the next ch-3 space.
- Repeat Sequence:
- Work sl st into the next sc anchor stitch.
- Work a Star Point into the next ch-3 space: [2 dc, 2 tr, picot, 2 tr, 2 dc].
- Work sl st into the next sc anchor stitch.
- Work a Valley into the next ch-3 space: [3 hdc].
- Continue alternating Star Point and Valley until you have completed all 6 points.
- Finish: Join with a sl st to the first sl st.

Finishing Touches
- Weave in Ends: Fasten off and use your tapestry needle to securely weave in all tails on the back side of the motif.
- Blocking (Recommended): For the points to truly stand out, gently block the star. Wet the piece, stretch the points firmly outward, and pin them down on a foam board. Allow it to dry completely. This step is essential for lace-like designs.
Your crocheted hexagon star is now complete! It’s a great geometric motif that adds visual interest to any project.
Video tutorial: