by
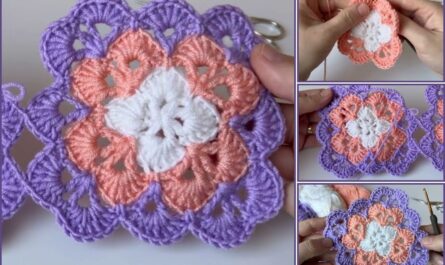
by Crochet coasters are small, practical projects that are perfect for both beginners and advanced crafters. Among the many styles available, the 3D flower motif coaster stands out for its texture, elegance, and handmade charm. With its raised petals and solid base, this coaster not only protects surfaces from heat and moisture but also works as a decorative accent for tables, gifts, or home décor.
In this article, you will learn step by step how to crochet a beautiful 3D flower motif coaster—from choosing materials to forming the raised petals and finishing the edges neatly.
Why Choose a 3D Flower Motif Coaster?
A 3D flower motif coaster is special because:
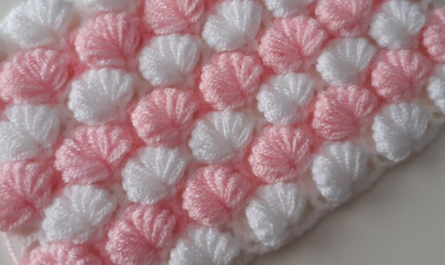
- It adds depth and texture with layered petals
- It looks attractive even when not in use
- It can be made in many color combinations
- It is small and quick to complete
- It helps practice important crochet skills such as working in the round, front post stitches, and layered motifs
These coasters are ideal for tea tables, coffee corners, handmade gifts, or even as decorative wall motifs when joined together.
Materials Needed
Before starting, gather the following supplies:
Yarn
- Medium-weight cotton yarn (worsted weight) is best
- Cotton is preferred because it is heat-resistant and absorbent
- Use:
- One color for the flower center
- One or more colors for the petals
- Optional: a different color for the coaster base
Crochet Hook
- 4.0 mm or 4.5 mm crochet hook (adjust based on yarn tension)
Other Tools
- Scissors
- Yarn needle (for weaving in ends)
Basic Crochet Skills Required
To make a 3D flower motif coaster, you should be familiar with:
- Chain stitch (ch)
- Slip stitch (sl st)
- Single crochet (sc)
- Half double crochet (hdc)
- Double crochet (dc)
- Treble crochet (tr)
- Working in the round
Even if you are a beginner, this project is a great way to practice and improve your skills.
Step-by-Step Instructions
Step 1: Create the Magic Ring (Flower Center)
- Start with a magic ring using your center color.
- Chain 1 (this does not count as a stitch).
- Work 10–12 single crochet stitches into the ring.
- Pull the ring tight to close the center.
- Join with a slip stitch to the first single crochet.
This forms the compact center of the flower and provides a strong base for the petals.
Step 2: Prepare the Petal Base Round
- Chain 2.
- Work 2 double crochets into each stitch around.
- Join with a slip stitch.
This round increases the stitch count and creates enough space for the petals to sit evenly.
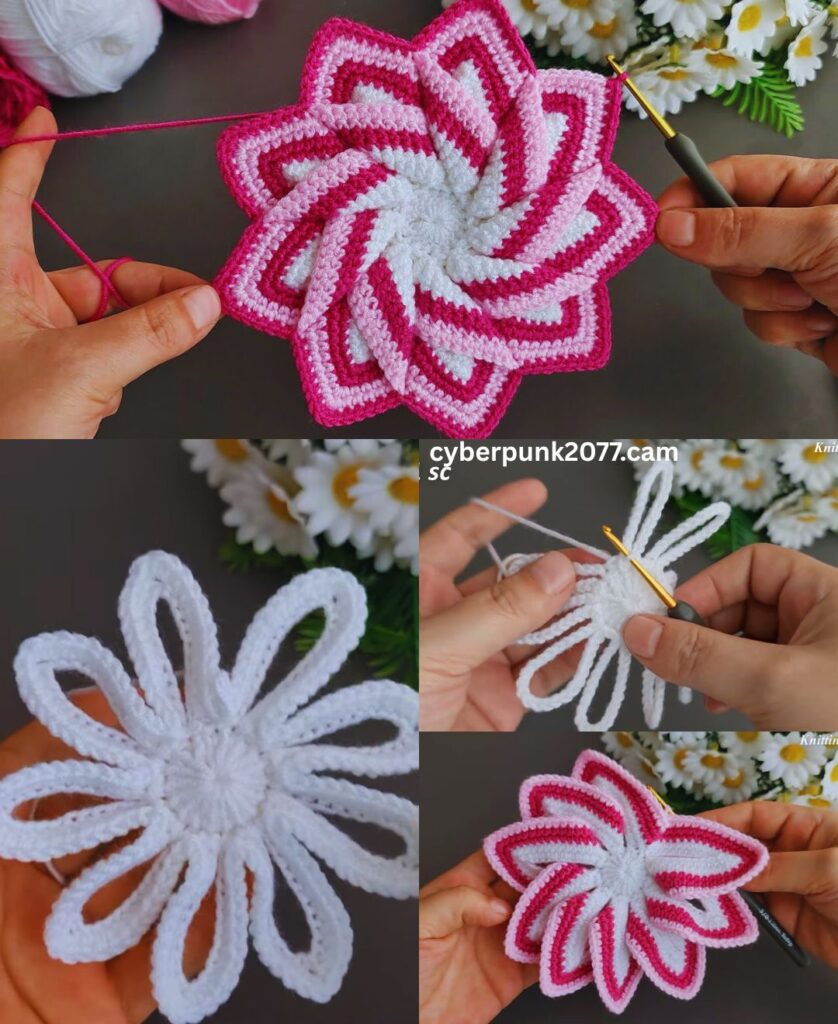
Step 3: Crocheting the 3D Flower Petals
This is the most beautiful part of the coaster.
- Change to your petal color.
- Slip stitch into the next stitch.
- Chain 3.
- In the same stitch, work:
- 2 double crochets
- 1 treble crochet
- 2 double crochets
- Chain 3 and slip stitch into the next stitch.
This creates one raised petal.
Repeat this process around the circle, placing one petal in each stitch. As you continue, you will see the flower begin to rise and take shape, creating the 3D effect.
Step 4: Securing the Flower Motif
After completing all petals:
- Join with a slip stitch.
- Fasten off and weave in the ends carefully at the back.
- Gently shape the petals with your fingers so they sit evenly.
At this stage, you have a completed 3D flower motif that can already be used as a decorative element or joined into other projects.
Turning the Flower Motif into a Coaster
To make the flower functional as a coaster, we add a flat base underneath.
Step 5: Adding the Coaster Base
- Attach yarn at the back of the flower.
- Chain 1 and work single crochet stitches evenly around, placing stitches between the petals.
- Join with a slip stitch.
This round anchors the flower and helps flatten the base.

Step 6: Expanding the Coaster
- Chain 2.
- Work half double crochet stitches around, increasing evenly to keep the coaster flat.
- Join with a slip stitch.
You can add one more round of double crochet if you want a slightly larger coaster.
Step 7: Final Border (Optional)
For a polished look:
- Work a round of single crochet
- Or add a picot or scalloped edge
- Or crochet slip stitches all around for a clean finish
Fasten off and weave in all ends securely.
Blocking the Coaster
Blocking helps your coaster look neat and professional.
- Lightly dampen the coaster.
- Place it on a flat surface.
- Shape it into a perfect circle.
- Allow it to dry completely.
Color and Design Variations
You can customize your 3D flower motif coaster in many ways:
- Use pastel shades for a soft, elegant look
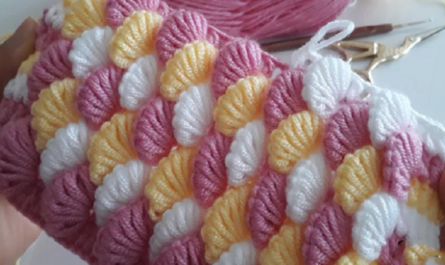
- Use bright colors for a cheerful table setting
- Make each petal a different color
- Create matching sets with seasonal themes
Uses for 3D Flower Motif Coasters
- Tea and coffee coasters
- Handmade gifts
- Table décor
- Wall art (when joined together)
- Crochet practice motifs
Final Thoughts
Crocheting a 3D flower motif coaster is a rewarding project that combines beauty and practicality. With its raised petals, textured surface, and endless color possibilities, it is a perfect example of how crochet can turn simple yarn into functional art.
Whether you are making one coaster or a full matching set, this motif allows creativity, skill-building, and relaxation—all in one project. Take your time, enjoy each stitch, and let your handmade flower bloom beautifully.
Happy crocheting! 🧶🌸