 by
by 🪡 Introduction
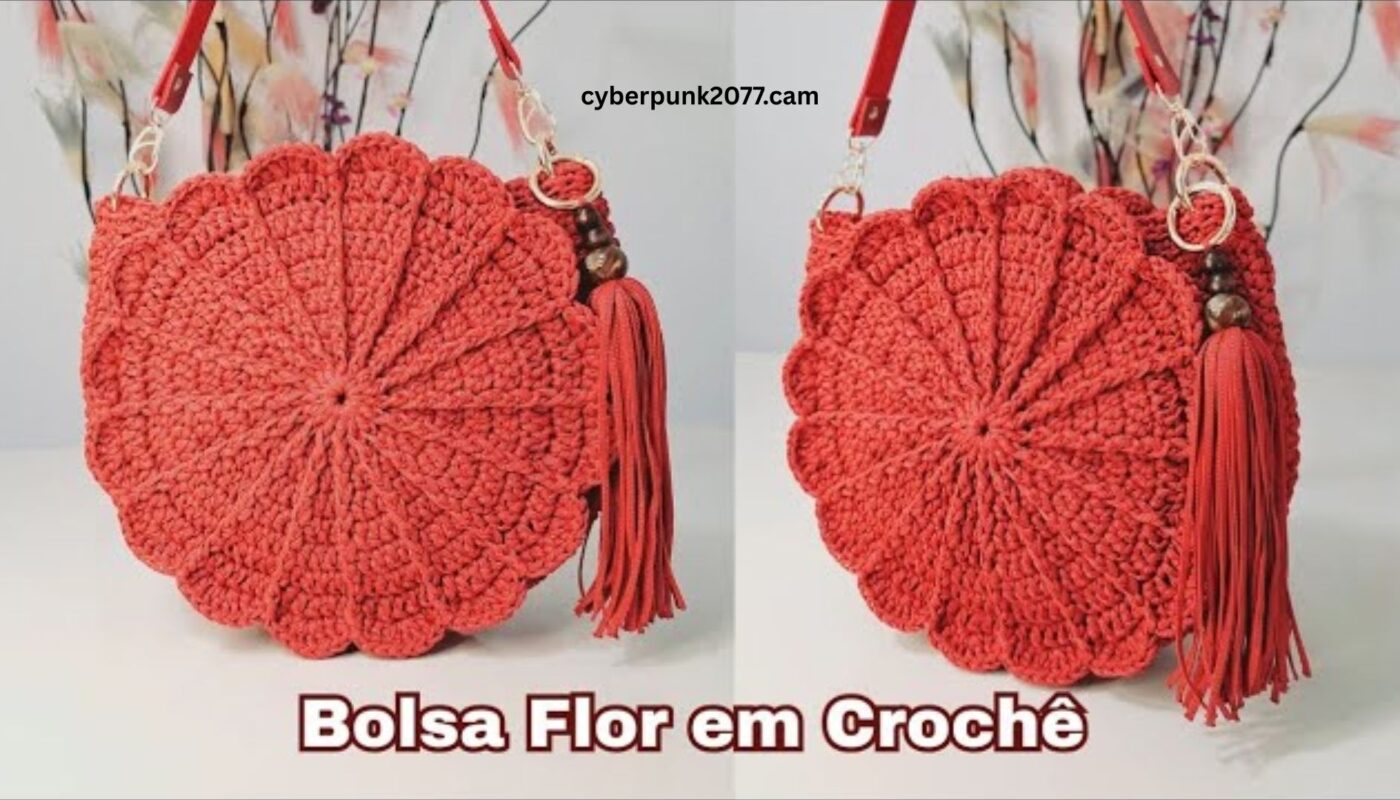
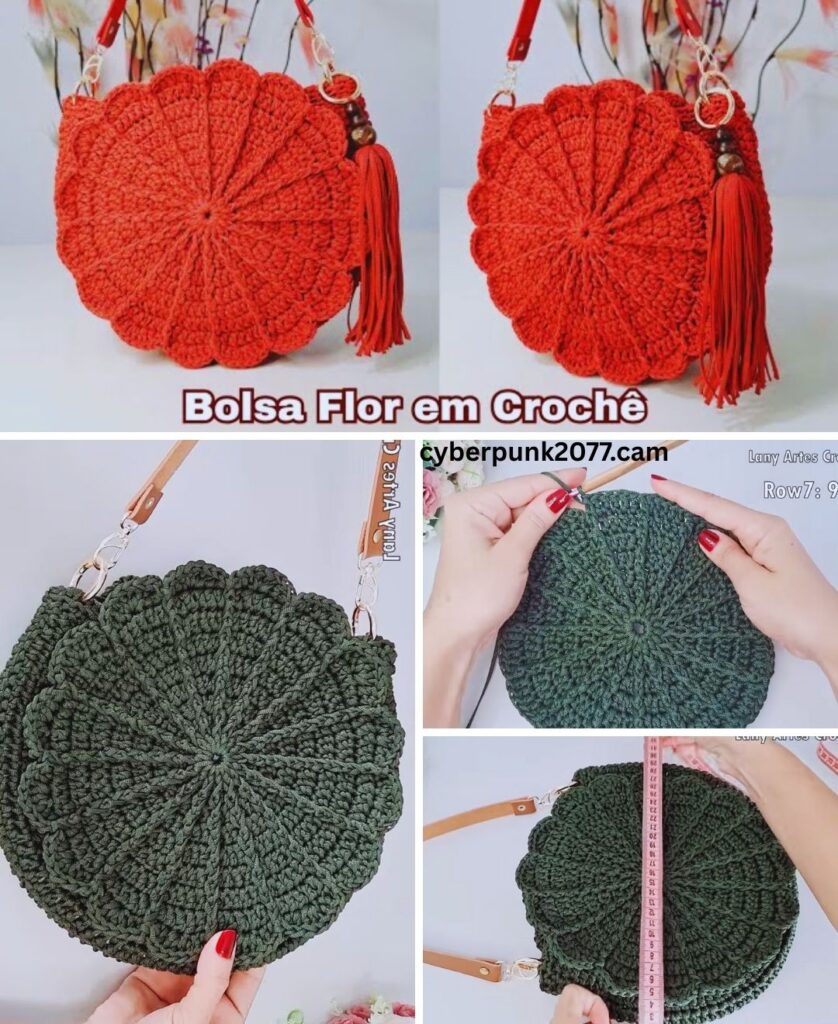
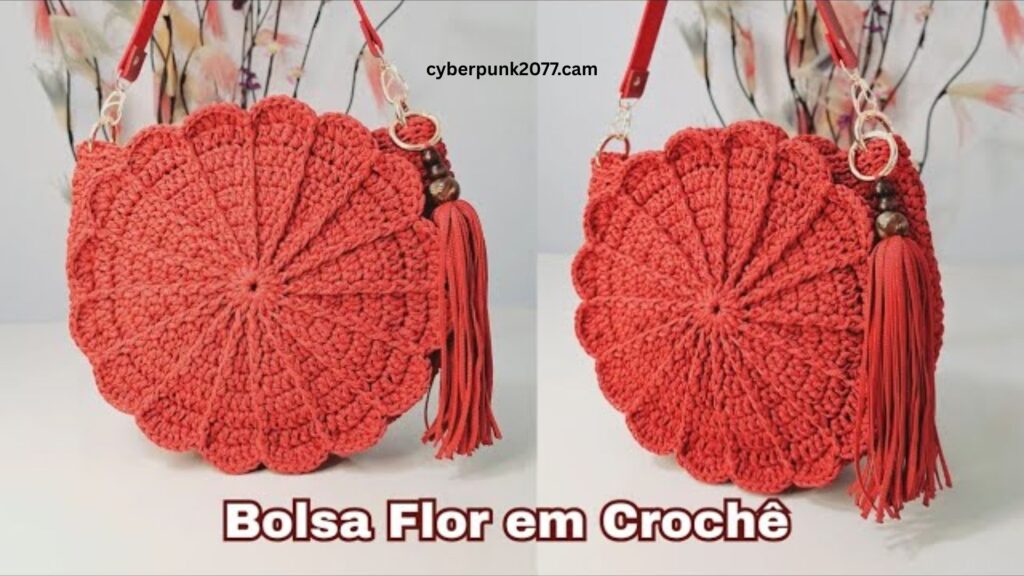
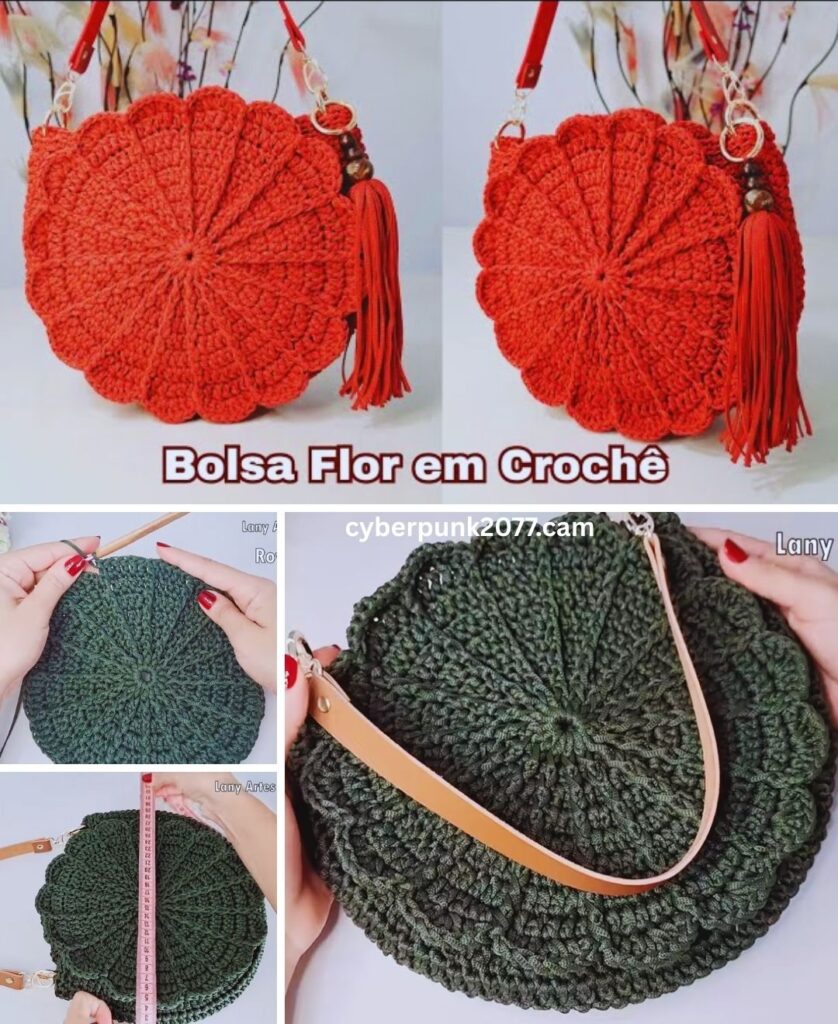
A flower crochet bag made with nautical polyester yarn is not just eye-catching — it’s incredibly durable, weather-resistant, and structured, perfect for everyday use. When you add a flap-style closure, a soft fabric lining, and beautiful crocheted flowers, it becomes a charming and functional fashion statement.
In this step-by-step tutorial, we will cover:
- Working with nautical polyester yarn
- Crocheting flower granny squares
- Joining squares into a structured bag
- Creating a flap closure
- Adding a fabric lining and magnetic snap
Whether you’re an ambitious beginner or a seasoned crocheter, this project will teach you both technique and creativity.
🧵 Why Nautical Polyester Yarn?
Nautical or polyester macramé yarn is:
- Strong and stiff, helping your bag hold shape
- Water-resistant, perfect for outdoor or beach use
- Slightly shiny, giving a polished, modern look
- Available in various thicknesses (we recommend 4mm–6mm for bags)
🧶 It’s tougher than cotton, so take breaks and use an ergonomic hook to avoid hand fatigue.
📦 Materials Needed
| Item | Details |
|---|---|
| Yarn | Nautical polyester yarn (approx. 200–300g depending on bag size) |
| Hook | 5.0 mm – 6.5 mm crochet hook |
| Yarn needle | Large eye (metal or plastic) |
| Scissors | Sharp blade for clean cuts on synthetic yarn |
| Stitch markers | Optional but useful for motif joins |
| Lining fabric | Cotton or canvas (1/4 meter or fat quarter) |
| Magnetic clasp | Or button, toggle, or zipper |
| Sewing needle & thread | To attach lining and closure |
| Optional decorations | Beads, buttons, leather tags, tassels |
✨ Skill Level
Advanced Beginner to Intermediate
You’ll need to know:
- Basic crochet stitches (ch, sc, dc, sl st)
- Working in the round
- Joining squares
- Sewing a lining by hand (or with a machine)
🔤 Stitch Abbreviations
| Abbreviation | Stitch |
|---|---|
| ch | chain |
| sc | single crochet |
| dc | double crochet |
| tr | treble crochet |
| sl st | slip stitch |
| st(s) | stitch(es) |
| sp | space |
| rnd | round |
👜 Part 1: Make the Flower Granny Squares
We’ll use flower granny squares as the main panels for the front and back of the bag.
🌼 Step 1: Crochet the Flower Center
- With Color A (flower center),
- Ch 4, sl st into first ch to form ring.
- Ch 2 (counts as dc), work 11 dc into ring (12 dc total).
- Sl st to join, fasten off.
🌺 Step 2: Make Petals
- Join Color B (petal color):
- (Ch 3, 2 dc in same st, ch 3, sl st in same st) – petal formed.
- Sl st into next st and repeat in each stitch around.
- You’ll have 12 petals. Fasten off.
🟩 Step 3: Square Off the Flower
- Join background yarn (Color C or the main bag color):
- Sl st behind a petal into a space between petals.
- Begin the granny square pattern:
(3 dc, ch 1) between corners, and
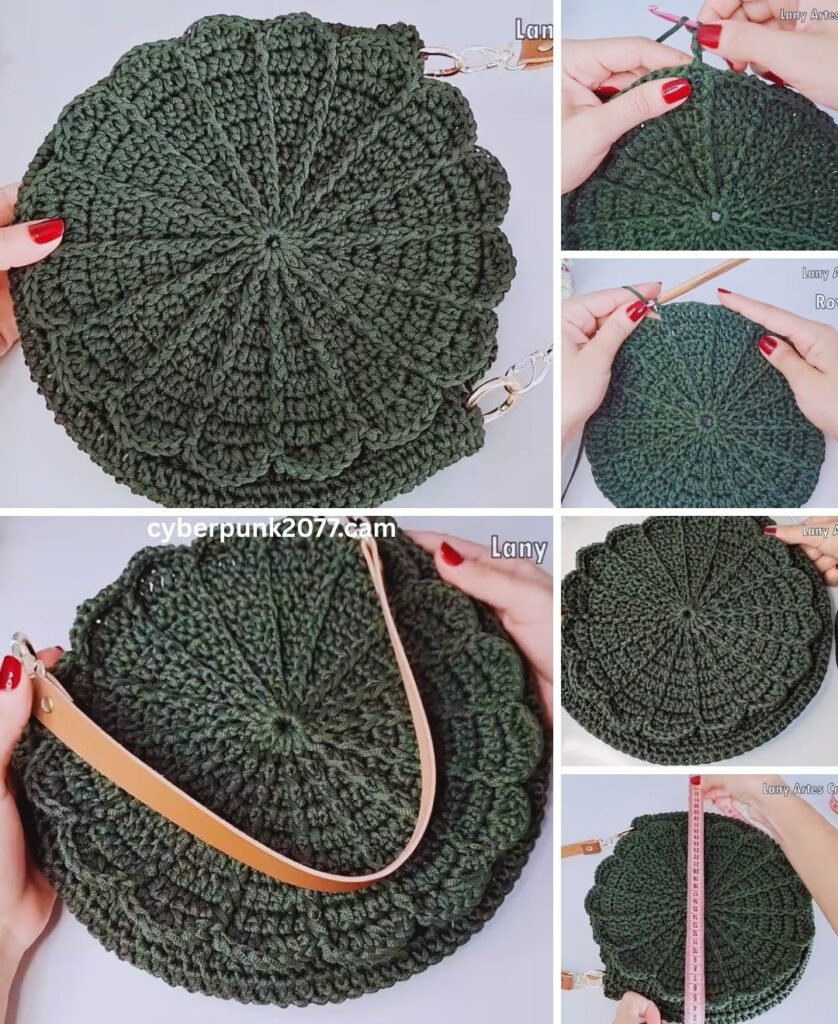
(3 dc, ch 2, 3 dc) in the four corners. - Make 2 or 3 rounds to create a square measuring 5–6 inches.
🧶 Make 4–6 flower squares depending on your desired bag size.
🧱 Part 2: Assemble the Bag Panels
🧵 Step 1: Lay Out the Squares
Arrange your squares:
- 2 squares across = width
- 2 squares tall = height
👉 Use more if you want a larger tote-style bag.
🧵 Step 2: Join Squares
- Use slip stitch, single crochet join, or whip stitch.
- Keep right sides facing outward for a flat seam.
- Join both front and back panels separately.
🧵 Step 3: Make the Side & Bottom Panel
For a structured shape, crochet a long rectangle for the bag’s side and bottom.
Pattern:
- Ch 10 (for side width),
- Sc in each row until the panel is long enough to wrap around the bottom and both sides of the bag (typically ~80–100 rows).
- This gives the bag a boxed shape and depth.
🧵 Step 4: Join All Panels Together
- Attach side/bottom strip to the front panel using sc or sl st.
- Then attach the back panel the same way.
- You should now have a complete open-top bag body.
🧳 Part 3: Create the Flap Closure
The flap is made as an extension of the back panel, folding over the front.
🧵 Step-by-Step Flap
- With yarn attached to the top edge of the back panel,
- Ch 1, sc across top edge only (approx. 24–30 stitches)
- Turn and repeat sc rows for 6–8 inches depending on desired flap length
- Optional: Create a pointed flap by decreasing 1 st at each end every 2 rows
- Optional: Add a flower appliqué on the flap
🧲 Leave a gap or loop if using a button closure.
🪡 Part 4: Add the Lining
Lining adds structure and prevents items from slipping through the crochet stitches.
🧵 Steps to Add a Lining:
- Lay the bag flat and measure its width and height.
- Cut fabric for:
- 2 rectangles (for front and back)
- 1 long strip (for side/bottom)
- 1 piece for flap
- Sew the fabric panels together like a pouch.
- Place inside the crochet bag.
- Use needle and thread to hand-stitch lining to the top edge of the crochet bag and flap (use small stitches to stay invisible).
- Optional: Add inner pockets or zipper pouch.
🧲 Part 5: Add Closure
You can choose any of the following:
✅ Magnetic Snap
- Sew the inner halves of the snap into the lining.
- Place one under the flap, and one on the front panel.
✅ Button and Loop
- Sew a button on the front panel.
- Add a ch 15–20 loop to the flap.
✅ Zipper
- Insert zipper between the lining and crochet top edge (hand-sewn or machine-sewn).
🪢 Part 6: Add the Strap
Option 1: Crochet Strap
- Ch 100–120 (for shoulder strap)
- Turn, sc across for 4–6 rows
- Sew both ends securely to inside sides of the bag
Option 2: Chain or Leather Strap
- Use grommets or D-rings
- Attach store-bought strap or chain
🎨 Customization Ideas
| Feature | Suggestions |
|---|---|
| 🌸 Flower Type | Daisies, roses, sunflowers, puff flowers |
| 🧵 Stitch Texture | Use bobble stitch or puff stitch for depth |
| 👜 Bag Shape | Make it round, oval, or rectangular |
| 🎨 Colors | Mix pastel, boho neutrals, or vibrant tones |
| ✂️ Closure | Toggle button, drawstring, flap, magnetic snap |
| 🧶 Strap Style | Braided cord, chain, crochet belt |
📐 Bag Size Guide
| Component | Recommended Size |
|---|---|
| Granny Squares | 5–6 inches each |
| Bag Width | 10–12 inches |
| Bag Height | 10–12 inches |
| Flap Length | 6–8 inches |
| Strap Length | 30–40 inches |
🧺 Care Instructions
- Hand wash in cool water
- Do not iron (polyester yarn may melt)
- Spot clean with mild soap
- Hang or lay flat to dry
✅ Final Recap
1. Crochet Flower Granny Squares
- Create 4–6 squares with flower centers
- Square off to equal size
2. Assemble Panels
- Join squares into front/back panels
- Crochet side and bottom strip
- Join panels into full bag
3. Add Flap
- Crochet from top of back panel
- Add flower or trim
4. Lining and Closure
- Sew cotton fabric lining
- Add magnetic snap or button/loop
5. Straps
- Crochet or attach ready-made strap
🌟 Final Thoughts
Making a flower crochet bag with a flap, lining, and closure using nautical yarn is not just a rewarding project — it’s a fusion of style, strength, and creativity. The sturdy material ensures the bag lasts, while the floral design keeps it playful and feminine.
With this guide, you can:
- Create your own variations in color, shape, and size
- Make matching accessories like wallets or coin purses
- Gift someone a handmade masterpiece!