 by
by Absolutely! Here’s a detailed tutorial on how to make a beautiful flower crochet bag using polyester nautical yarn, with a step-by-step pattern, expert tips, and design variations. This guide is suitable for confident beginners and intermediate crocheters, especially if you’re working with durable yarn like polyester nautical cord.
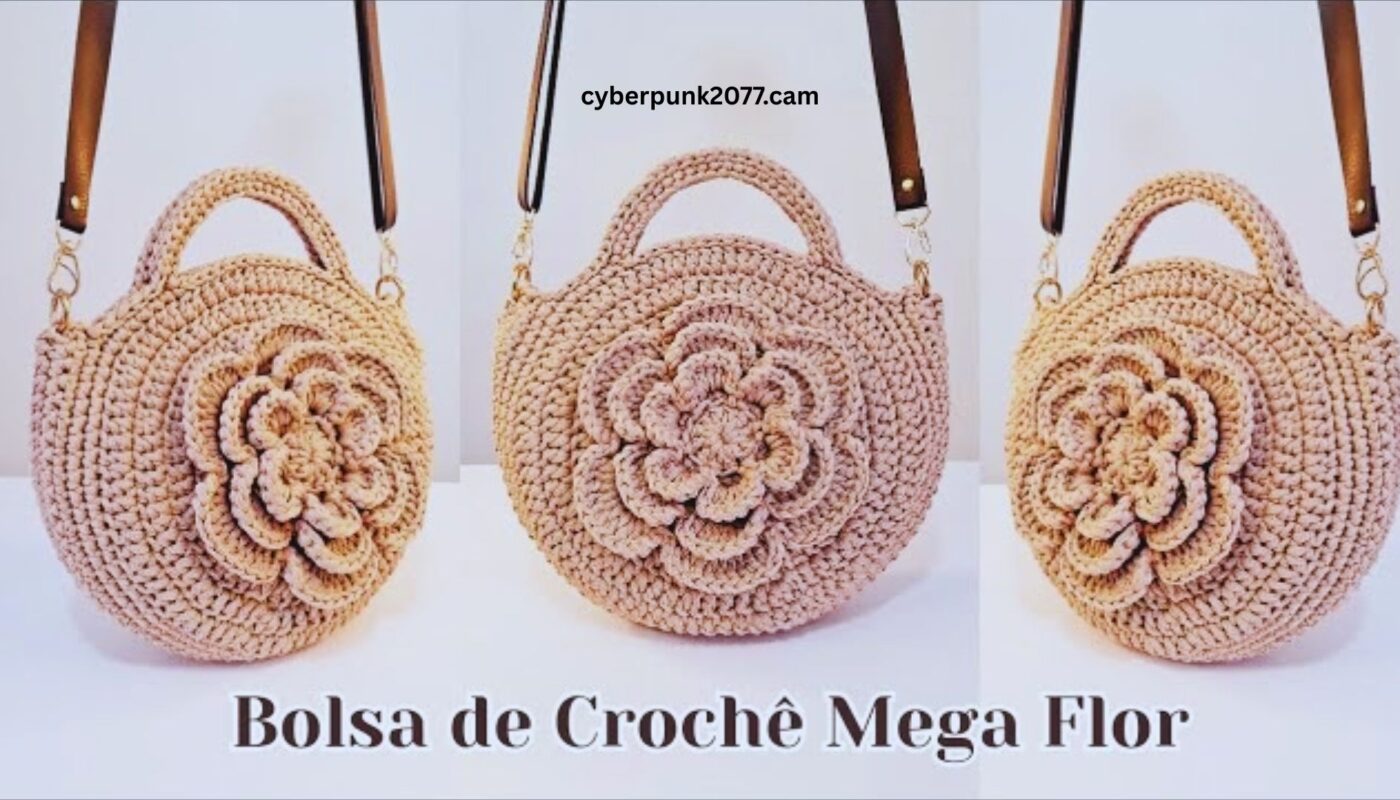
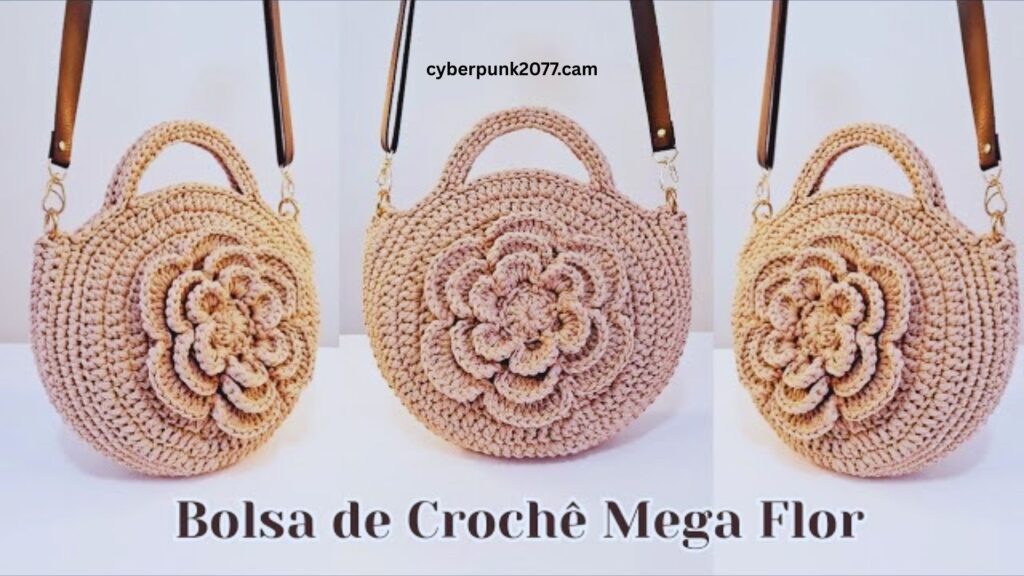
🌸 How to Make a Beautiful Flower Crochet Bag in Polyester Nautical Yarn | Step-by-Step Pattern
🪡 Introduction
Crochet bags are not just a craft — they’re a fashion statement, and when made using polyester nautical yarn, they become super durable, weather-resistant, and structurally stable. Adding 3D or granny-style flowers makes your crochet bag stand out as a piece of wearable art!
In this tutorial, you’ll learn:
- How to crochet with nautical polyester yarn
- How to make flower motifs (flat or 3D)
- How to assemble and shape the bag
- How to add straps, lining, and closures
Let’s dive in!
🧵 Why Use Polyester Nautical Yarn?
Polyester nautical yarn (also called macramé cord or paracord) is:
- Strong and durable
- Water-resistant (great for beach bags)
- Shape-holding, meaning your bag won’t sag
- Has a sleek, shiny finish that looks modern and elegant
🧶 Note: It’s slightly stiff, so it’s different from working with soft cotton yarn. Use a larger hook, keep your tension loose, and take breaks to avoid hand fatigue.
📦 Materials You’ll Need
| Item | Description |
|---|---|
| Yarn | Polyester nautical yarn / macramé cord (4–6 mm) |
| Hook | 5.5 mm to 6.5 mm (depending on yarn thickness) |
| Scissors | Sharp yarn scissors |
| Yarn needle | For weaving ends (use a large-eye metal needle) |
| Stitch markers | Helpful for tracking rounds |
| Optional extras | Bag lining, magnetic clasp, chain handles |
✨ Skill Level: Confident Beginner to Intermediate
You should know:
- Basic crochet stitches: ch, sc, dc, sl st
- Working in the round
- Joining motifs
- Changing colors (optional)
🔤 Stitches & Abbreviations
| Abbreviation | Stitch Name |
|---|---|
| ch | chain |
| sc | single crochet |
| dc | double crochet |
| tr | treble crochet |
| sl st | slip stitch |
| st(s) | stitch(es) |
| rnd | round |
| sp | space |
👜 Flower Crochet Bag Pattern – Step-by-Step
🎨 Design Overview
We’ll make multiple flower motifs, either:
- Granny-style flower squares (flat), or
- 3D flower appliqués on flat panels
Then we’ll join them into a bag, add sides and straps, and finish with optional lining or closures.
🌼 Part 1: Making the Flower Motifs
You can choose from:
- Flower Granny Squares (good for beginners)
- 3D Flower Squares (a bit more advanced)
✅ Option 1: Flat Flower Granny Squares
Step 1: Flower Center
- With Color A (center):
- Ch 4, sl st to form ring.
- Ch 2 (counts as dc), work 11 dc in ring (12 dc total).
- Sl st to join. Fasten off.
Step 2: Petals
2. Join Color B (petal color):
- (Ch 3, 2 dc in next st, ch 3, sl st into same st) – repeat in each st around.
- Makes 12 petals. Fasten off.
Step 3: Square Base
3. Join Background Color (C):
- Begin squaring off by working (3 dc, ch 2, 3 dc) in four corners, with (3 dc) between corners.
- Follow granny square pattern for 1–2 more rounds.
- Stop when square measures 5–6 inches.
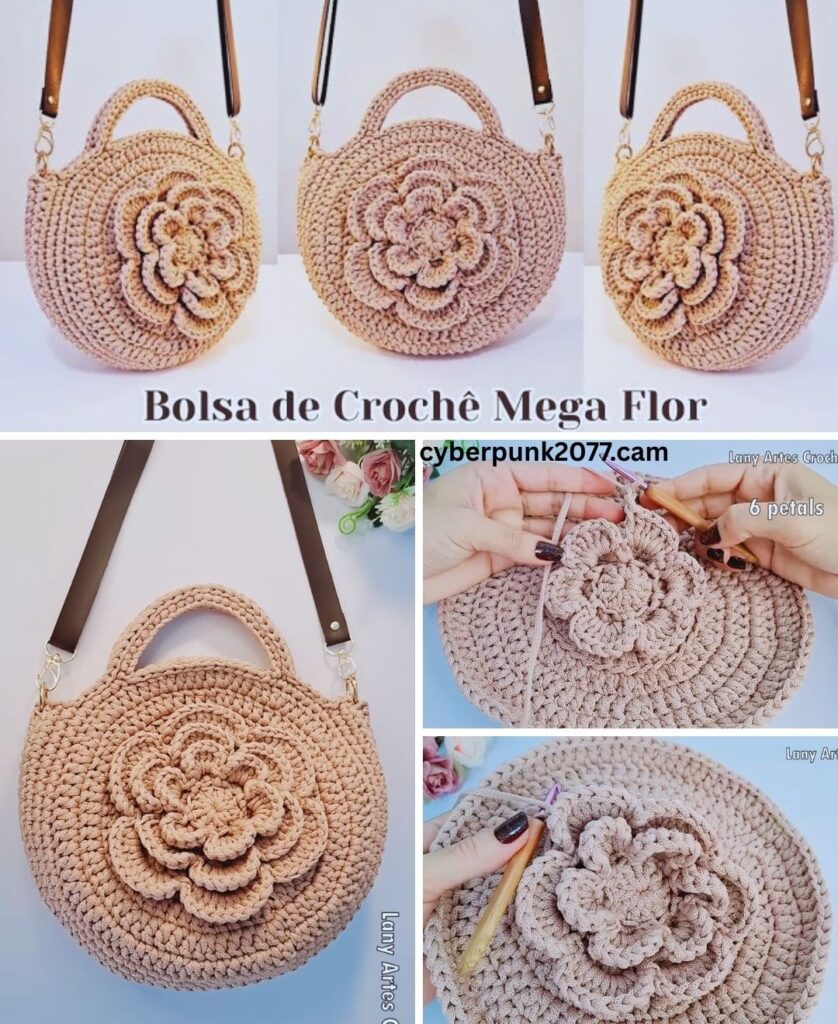
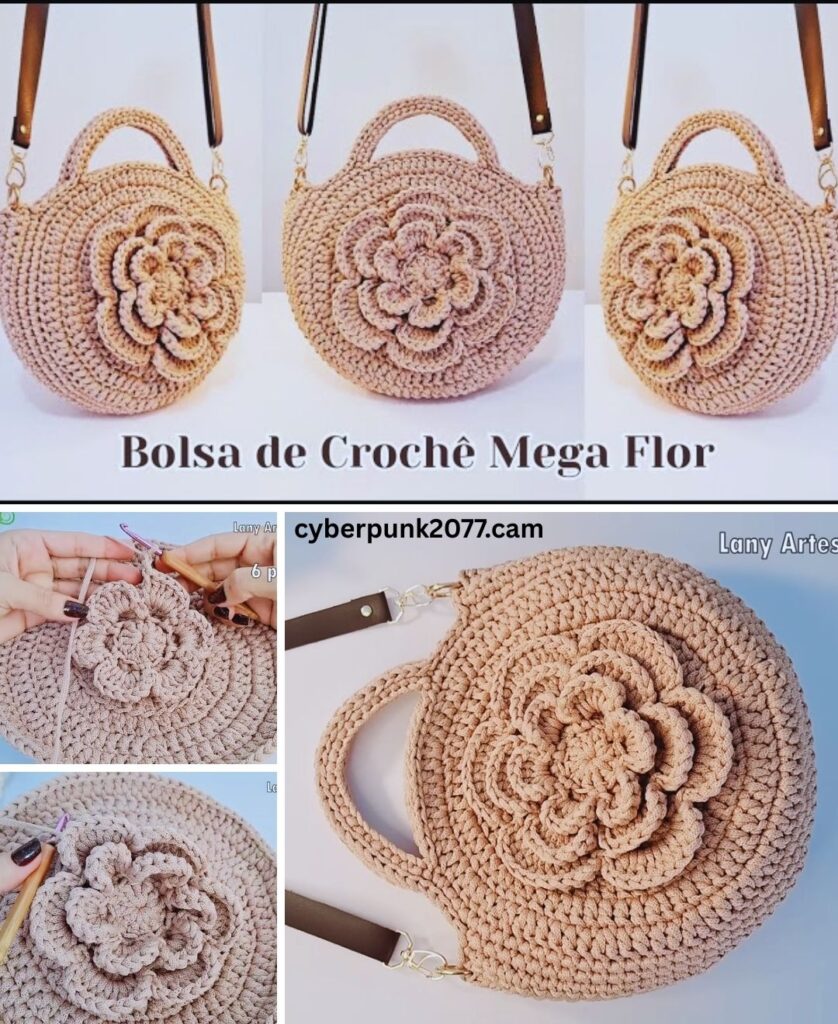
✅ Option 2: 3D Flower on Solid Square Panel
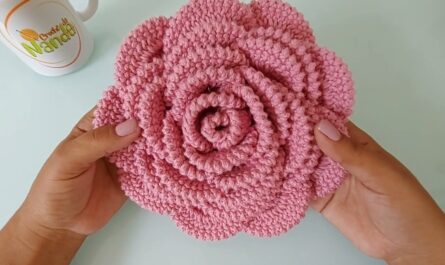
Step 1: Make 3D Flower
- Magic ring, 12 sc.
- Petal base: (ch 3, sl st in next st) – repeat around.
- Petals: (sc, hdc, 3 dc, hdc, sc) in each loop.
- Optionally, add a second petal layer using back loops from Rnd 1.
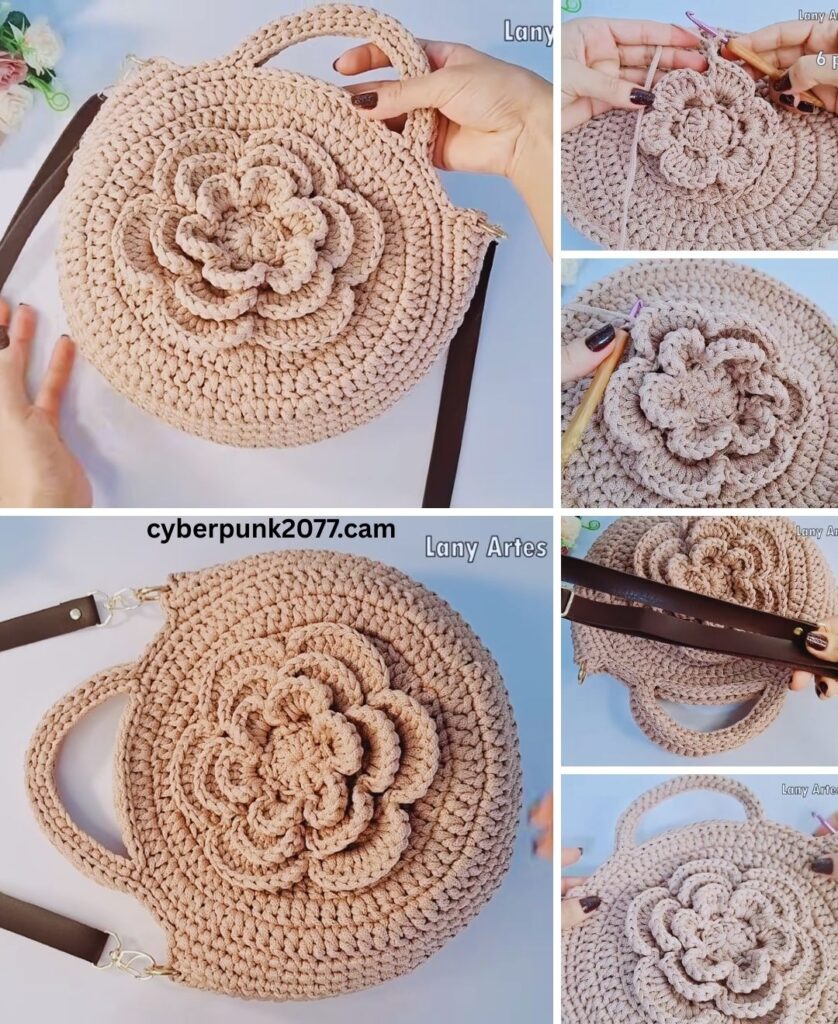
Step 2: Make Background Square
- Crochet a plain square panel (10×10 or 12×12 rows of sc or dc).
- Sew or crochet the flower to the center of the panel.
Repeat for the second panel or keep one side plain.
🧱 Part 2: Joining the Squares
Once you’ve made your squares (you can make 2, 4, or even 6 squares depending on desired size), it’s time to assemble the bag.
🧵 Step-by-Step Assembly
- Lay out the squares in your desired shape (2 for front/back, or 3×2 for a tall tote).
- Join squares together using sc join or whip stitch (right sides facing out).
- Make the bottom panel:
- Ch 15, work sc rows until it matches width of squares.
- Make side panels (optional):
- Ch 8, sc rows until it matches bag height.
Attach the bottom and sides to the front and back panels using sc or sl st. Polyester yarn is sturdy, so it holds structure well.
👜 Part 3: Add the Handles
Option 1: Crochet Handles (Matching Yarn)
- Ch 70–100 depending on desired length.
- Turn and sc across for 3–5 rows for width.
- Attach securely to top inside of bag with tight whip stitch.
Option 2: Chain or Leather Handles
- Use D-rings or grommets.
- Sew or insert hardware to top corners.
- Attach pre-made chain or leather straps.
🛠 Tip: Use round nose pliers for metal parts and strong thread if attaching hardware.
🧵 Part 4: Add Lining (Optional but Recommended)
Polyester bags may have holes between stitches, so lining helps keep your items secure.
How to Line the Bag:
- Cut fabric the same size as your finished bag (2 panels + bottom).
- Sew together with ½ inch seam allowance.
- Insert fabric lining into the crochet bag.
- Sew by hand around the top using invisible stitches or fabric glue.
Add a zipper, button, or magnetic clasp for closure.
🎨 Customization Ideas
| Feature | Options |
|---|---|
| 🌸 Flower Type | Daisy, sunflower, rosette, puff flower |
| 🧶 Color Style | Solid, striped, ombré, two-tone motifs |
| 👜 Bag Shape | Tote, handbag, crossbody, mini pouch |
| 📏 Bag Size | Adjust number of squares or size of panels |
| ✨ Embellishments | Beads, fringe, wooden buttons, tassels, metal tags |
| 🧵 Strap Style | Macramé, woven, chain, leather, rope |
📐 Bag Size Guide (Adjustable)
| Bag Type | Panel Size (Each) | Total Squares | Dimensions |
|---|---|---|---|
| Mini Handbag | 4″x4″ | 2 | 8″x6″ |
| Standard Tote | 6″x6″ | 4 (2 front, 2 back) | 12″x12″x3″ |
| Large Beach Bag | 8″x8″ | 6 (3×2 layout) | 16″x12″x4″ |
💬 FAQs
Q: Is polyester yarn hard to work with?
A: It’s stiffer than regular yarn, but once you get used to it, it works beautifully and creates very durable bags.
Q: Will the flower shape stay 3D?
A: Yes, especially when using polyester yarn. For extra definition, use puff, popcorn, or layered stitches.
Q: Can I make this as a beginner?
A: Yes! Start with basic flower granny squares and join two panels to make a beautiful beginner-friendly bag.
🧶 Care Instructions
- Hand wash or spot clean only (polyester can melt with heat)
- Do not iron
- Hang or lay flat to dry
- Avoid hot dryers
✅ Pattern Recap (TL;DR)
- Make Flower Motifs – granny square or 3D
- Make Panels – as many as needed for size
- Join Panels – sc or whip stitch
- Add Bottom & Sides – optional for depth
- Add Handles – crochet, chain, or leather
- Insert Lining – optional, recommended
- Add Closure & Decorate – snap, zipper, buttons, beads
🌟 Final Thoughts
Creating a flower crochet bag with polyester nautical yarn is both a practical and artistic project. It’s strong enough for daily use and stylish enough for special occasions. The texture and definition of flowers made in this sturdy yarn create a professional, boutique-quality finish.
This bag makes a perfect handmade gift, market tote, or statement accessory — and it will last for years.