 by
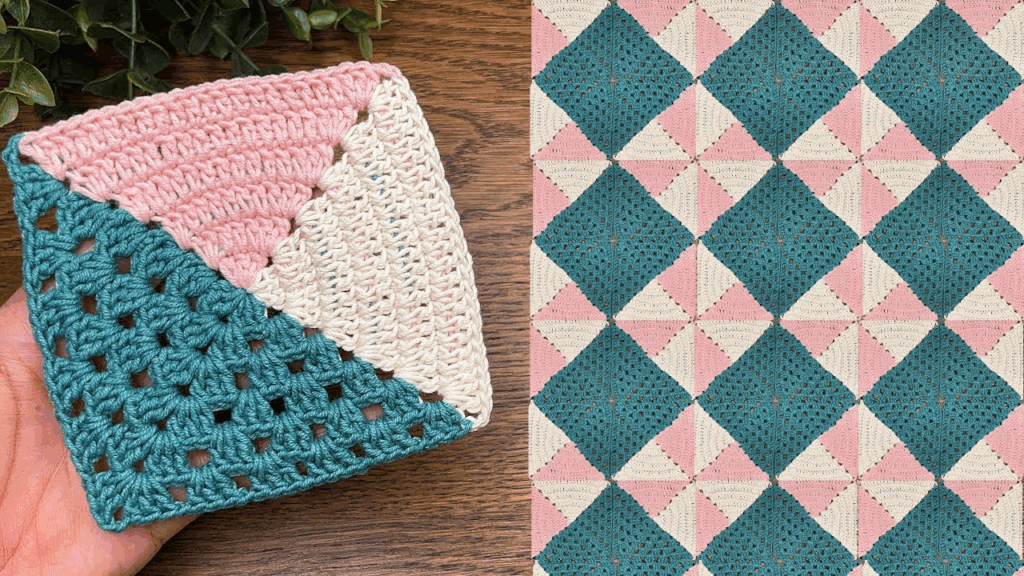
by I see you’re looking for a detailed guide on how to create a Granny Square Blanket! This is one of the most rewarding and classic crochet projects, perfect for beginners, as it relies on simple, repeatable squares.
The process involves three main steps: crocheting the individual squares, planning the layout, and finally, joining the pieces and adding a border.
Part 1: Crocheting the Individual Granny Squares
You’ll need many squares, all worked the same way. The classic granny square uses the double crochet (dc) stitch and chains.
Materials You’ll Need
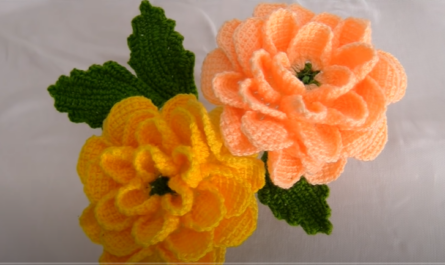
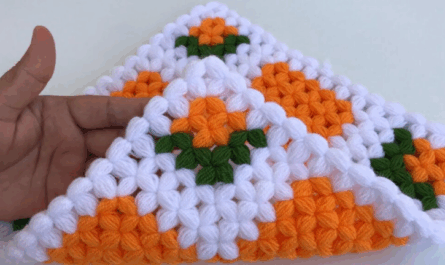
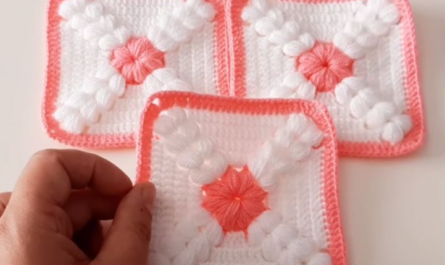
- Yarn: Medium-weight yarn (worsted/size 4) is most common. Use one color or many scraps for a vibrant look.
- Crochet Hook: The size recommended for your yarn.
- Scissors
- Tapestry Needle: Essential for weaving in ends and joining.

5-Round Granny Square Pattern
- Round 1 (Center): Make a Magic Ring (or ch 4, join). ch 3 (counts as dc), work 2 dc into the ring. [ch 2 (corner), 3 dc] 3 times. ch 2. Join with a sl st to the top of the beginning ch 3. (4 clusters, 4 ch-2 spaces).
- Round 2 (Building Corners):sl st into the next two dc’s and into the first ch-2 corner sp.
- Work the full corner cluster: (ch 3, 2 dc, ch 2, 3 dc) in the same corner sp.
- ch 1 (side space).
- Repeat: [3 dc, ch 2, 3 dc] in the next corner sp, ch 1. Repeat this sequence around. Join with a sl st to the top of the beginning ch 3.
- Round 3 (Expanding Sides):sl st to the next corner sp.
- Work the full corner cluster: (ch 3, 2 dc, ch 2, 3 dc) in the corner sp.
- Side: ch 1. Work 3 dc into the next ch-1 side sp. ch 1.
- Repeat the side and corner sequence around.
- Rounds 4 & 5 (Repeat): Continue the pattern: (3 dc, ch 2, 3 dc) in every corner sp, and (3 dc, ch 1) in every side space.
- Finish: After your final round, fasten off and weave in all ends.
Tip: If you are changing colors, fasten off after each round and rejoin the new color in a corner space to keep the edges neat.

Part 2: Planning the Layout and Blocking
Before joining, you need a plan!
- Sizing and Counting: Decide on your blanket size (e.g., 50 x 60 inches). Measure one finished, unblocked square (e.g., 5 inches). Calculate how many squares wide and long you need (50″ width / 5″ square = 10 squares wide).
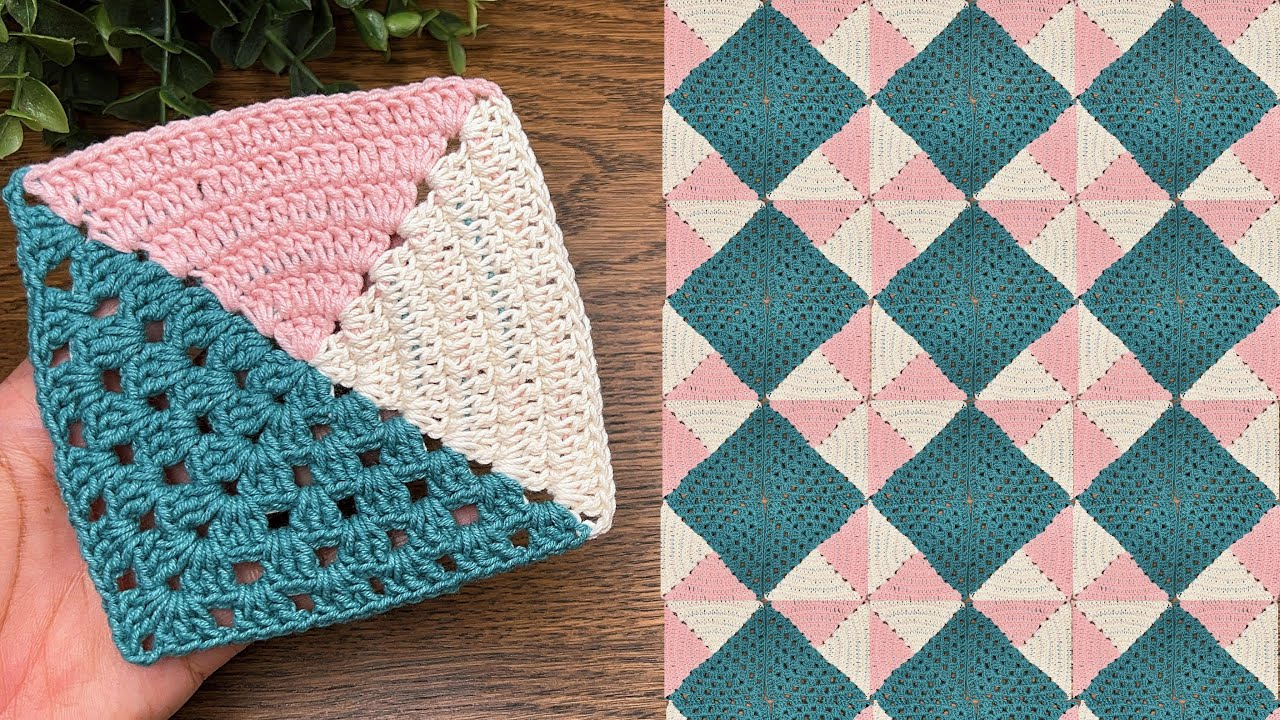
- Layout: Lay all your squares out on the floor in your desired pattern (e.g., 10 x 12). Take a picture so you can remember the sequence!
- Blocking (Crucial Step):Blocking makes your squares uniform in size and straightens the edges.
- Pin each square to a blocking board or thick towel, gently pulling it into a perfect square shape.
- Lightly spray with water or use a steam iron (without touching the yarn) to relax the fibers.
- Let the squares dry completely before moving them.
Part 3: Joining the Squares and Border
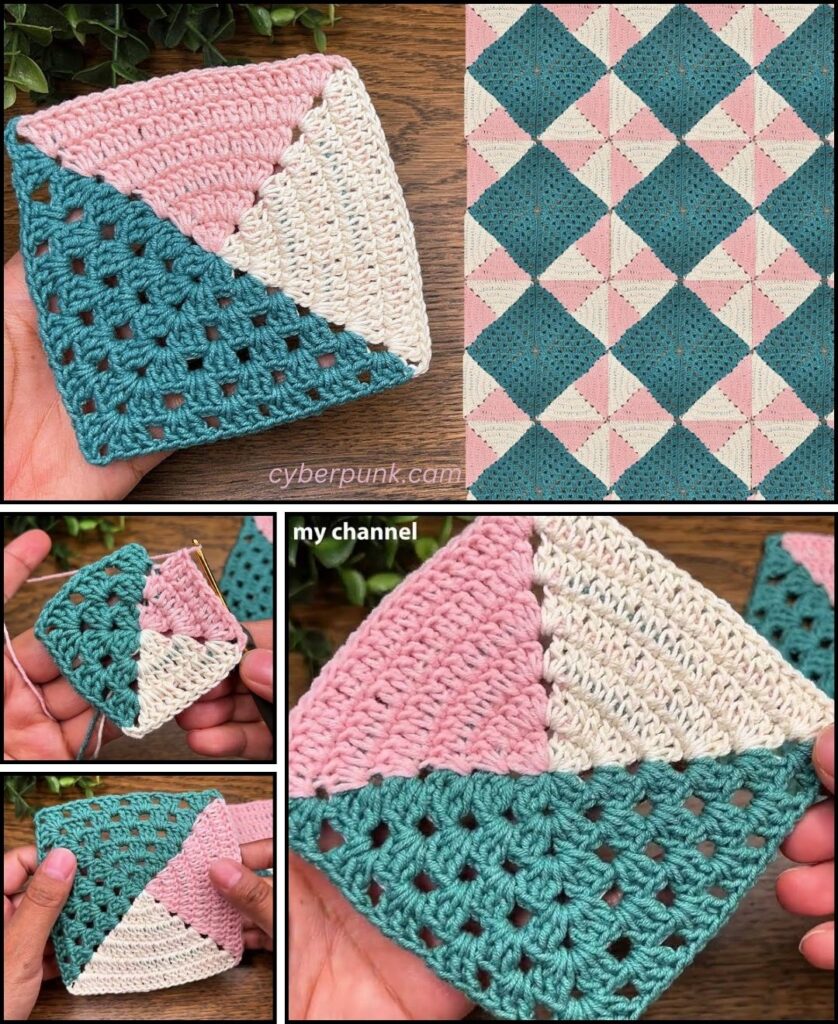
Joining Method: Slip Stitch Seam
The Slip Stitch Seam is easy, sturdy, and creates a subtle, decorative line on the right side of the work.
- Join Strips First: Work horizontally across the rows, joining squares into long strips (e.g., 10 squares long).
- Steps:
- Place two squares together with the wrong sides facing each other (right sides out).
- Rejoin your joining yarn (often the border color) in the corner stitch of the two squares.
- Insert your hook through the corresponding back loop of both squares.
- Work a sl st.
- Continue working sl st through the back loops of the matching stitches across the entire edge.
- Fasten off and secure the seam.
- Join the Strips: Repeat the slip stitch seam to join the long horizontal strips together vertically.

The Final Border
A border cleans up the edges and ties the entire blanket together.
- Round 1 (Leveling): Rejoin yarn anywhere on the edge. ch 1. Work a round of single crochet (sc) evenly around the entire perimeter of the blanket.
- Corners: Work 3 sc into each corner stitch/space to keep the edge flat.
- Joins: Try to work 1-2 sc over each seam where the squares are joined.
- Round 2 (Granny Border): Work the standard granny square pattern around the entire blanket edge.
- Corners: Work (3 dc, ch 2, 3 dc) in every corner stitch/space.
- Sides: Work 3 dc into the gaps between the clusters from the previous row. ch 1 between clusters.
- Continue: Repeat Round 2 for 3-5 rows, or until the border is the desired width.
Your beautiful granny square blanket is complete! What kind of colors are you planning to use for your squares?
Video tutorial: