by
by Gemini said
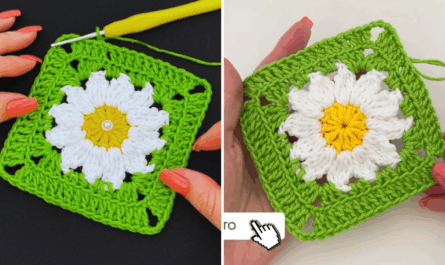
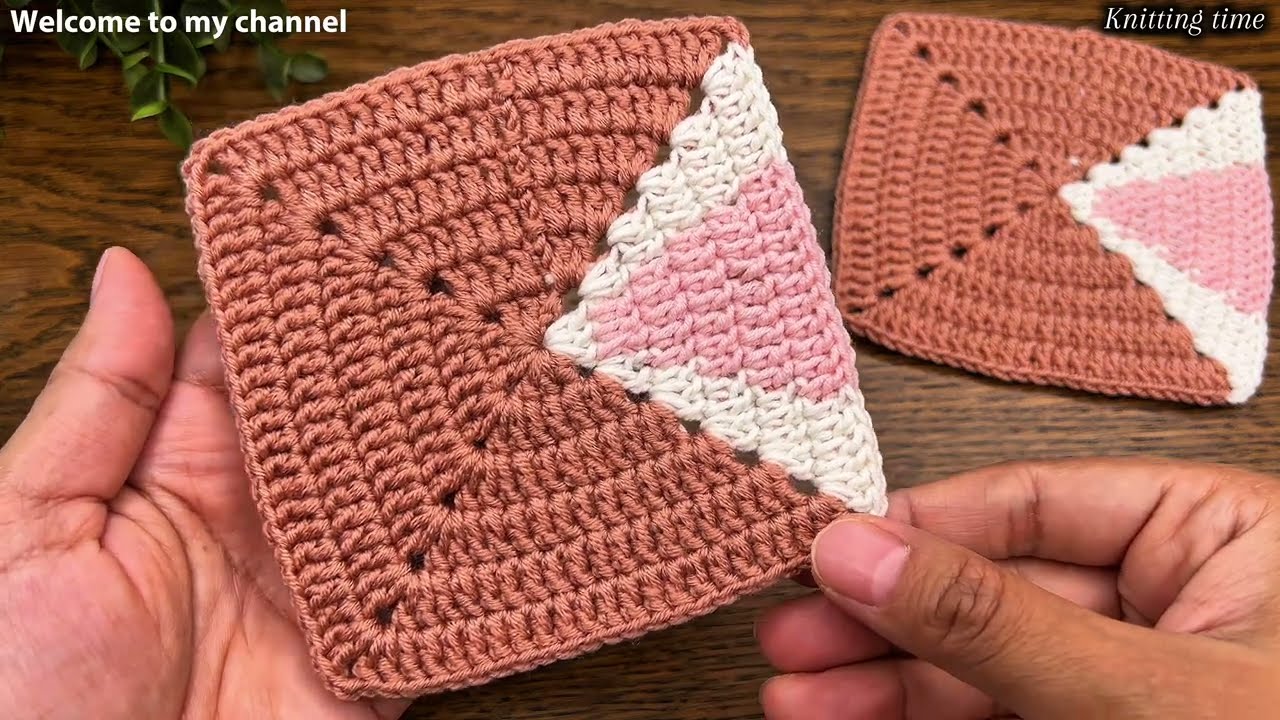
The Geometric Triangle Granny Square is the rebellious cousin of the traditional square. While it uses the same “granny cluster” logic, it creates a 3-sided motif that is essential for making bunting, triangular shawls, or “half-square” geometry in patchwork blankets.
Technically, it is a Granny Triangle, but when you join two together, they form a perfect geometric square.
🧶 The Geometric Toolkit
For geometric shapes, you want a yarn that holds its “lines.” A crisp cotton or a sturdy acrylic is better than a fuzzy mohair, which can make the corners look rounded rather than sharp.
| Item | Recommendation | Why? |
| Yarn | Worsted Weight (Size 4) | Provides the structure needed for a flat triangle. |
| Hook | 5.0 mm (H/8) | Standard size for easy tension control. |
| Colors | High-Contrast Solids | Best for showing off the geometric “spokes.” |
Stitch Key (US Terms)
- ch: Chain
- sl st: Slip Stitch
- dc: Double Crochet
- Cluster: A group of 3 dc stitches worked into the same space.
🛠 Step-by-Step: The Classic Granny Triangle
Unlike the square, which has 4 corners, this motif only has 3 corners. This requires a specific “starting” math to keep it flat.
Round 1: The Foundation
- Start: Make a Magic Ring (or ch 4 and sl st to the first ch to form a ring).
- First Side: ch 3 (counts as dc), 2 dc into the ring.
- Corner 1: ch 2.
- Second Side: 3 dc into the ring.
- Corner 2: ch 2.
- Third Side: 3 dc into the ring.
- Corner 3: ch 2.
- Join: sl st to the top of the starting ch 3.
Insight: You should now have a tiny, perfect triangle with 3 clusters and 3 corner holes.
Round 2: Growing the Angles
- Move: sl st into the next 2 stitches and into the first corner hole.
- Corner: ch 3, (2 dc, ch 2, 3 dc) in the corner hole.
- Side: ch 1.
- Repeat: Work (3 dc, ch 2, 3 dc) in the next two corner holes, with a ch 1 between them.
- Join: sl st to the top of the starting ch 3.
Round 3: The Geometric Frame
- Move: sl st over to the corner hole.
- Corner: In every corner, work (3 dc, ch 2, 3 dc).
- Sides: In every side space (the ch-1 holes), work 3 dc.
- The Rule: Always ch 1 between every cluster and ch 2 in the corners.
- Join: sl st to finish.
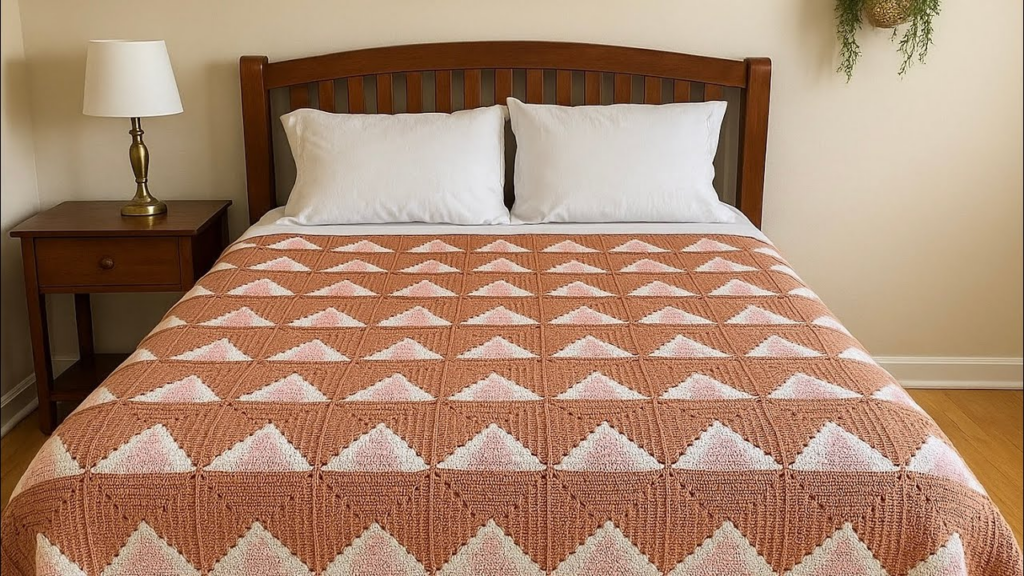
📐 The “Modern Twist”: The Half-Square Triangle (HST)
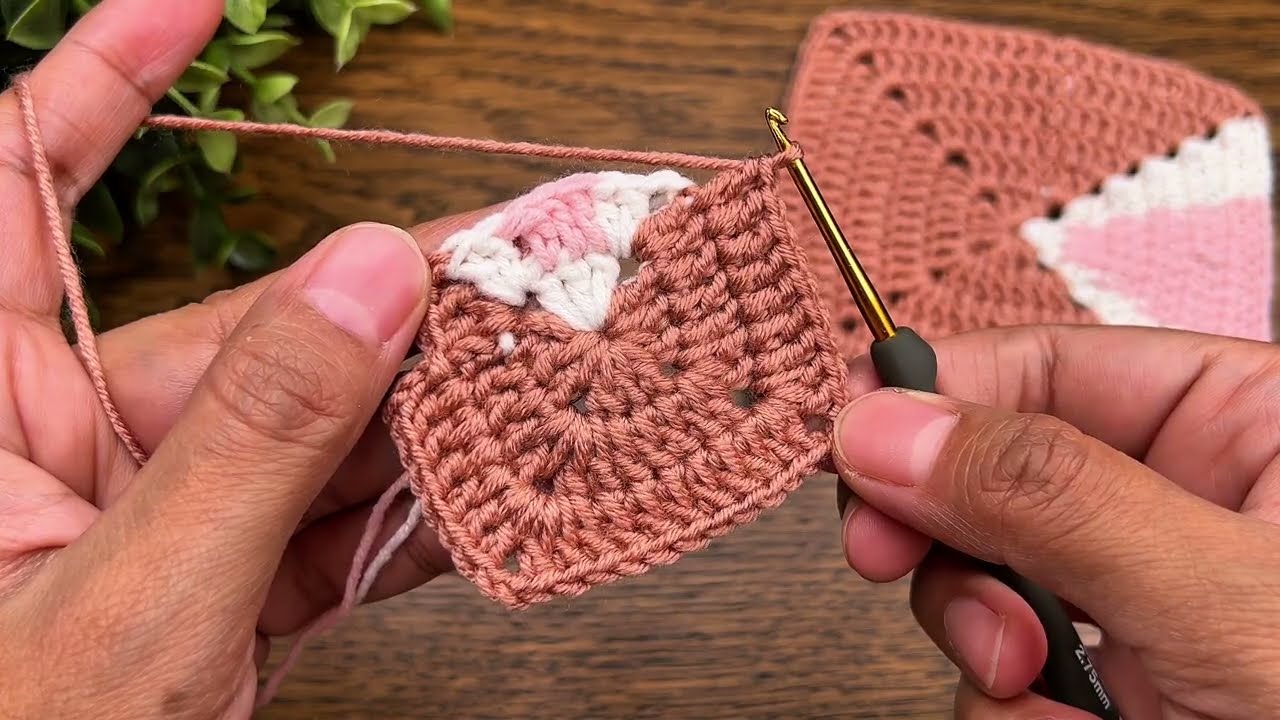
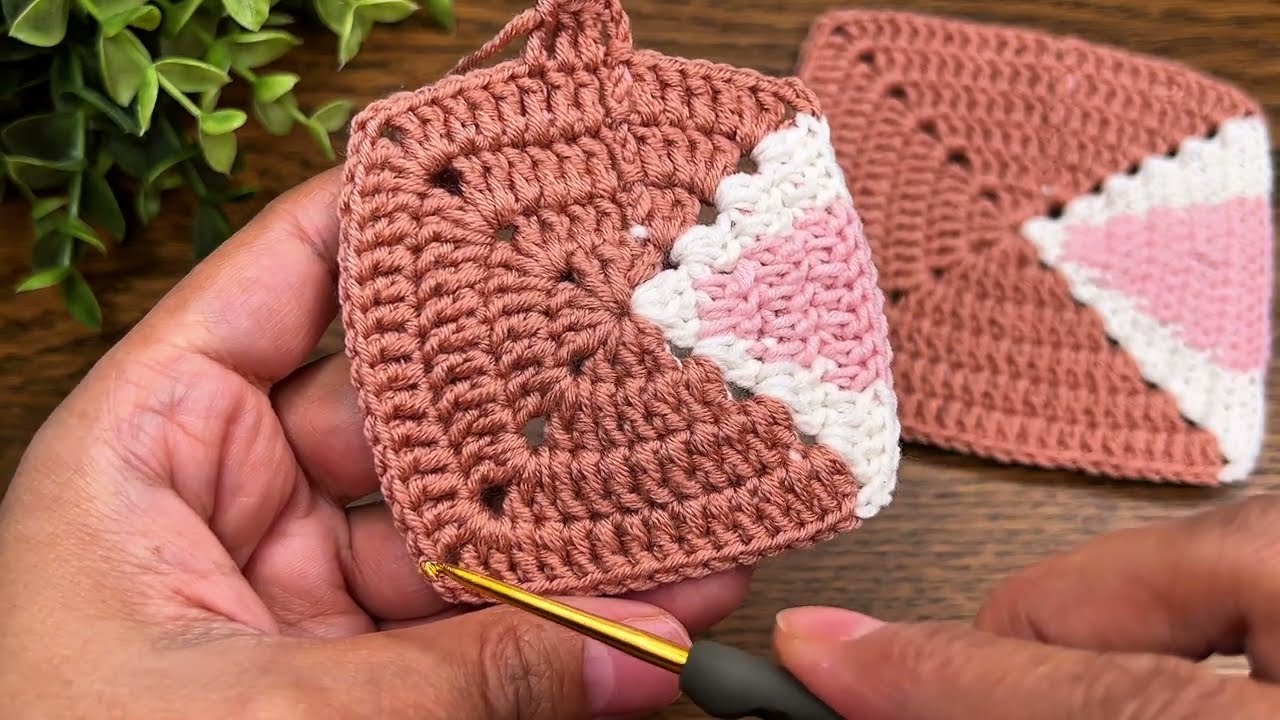
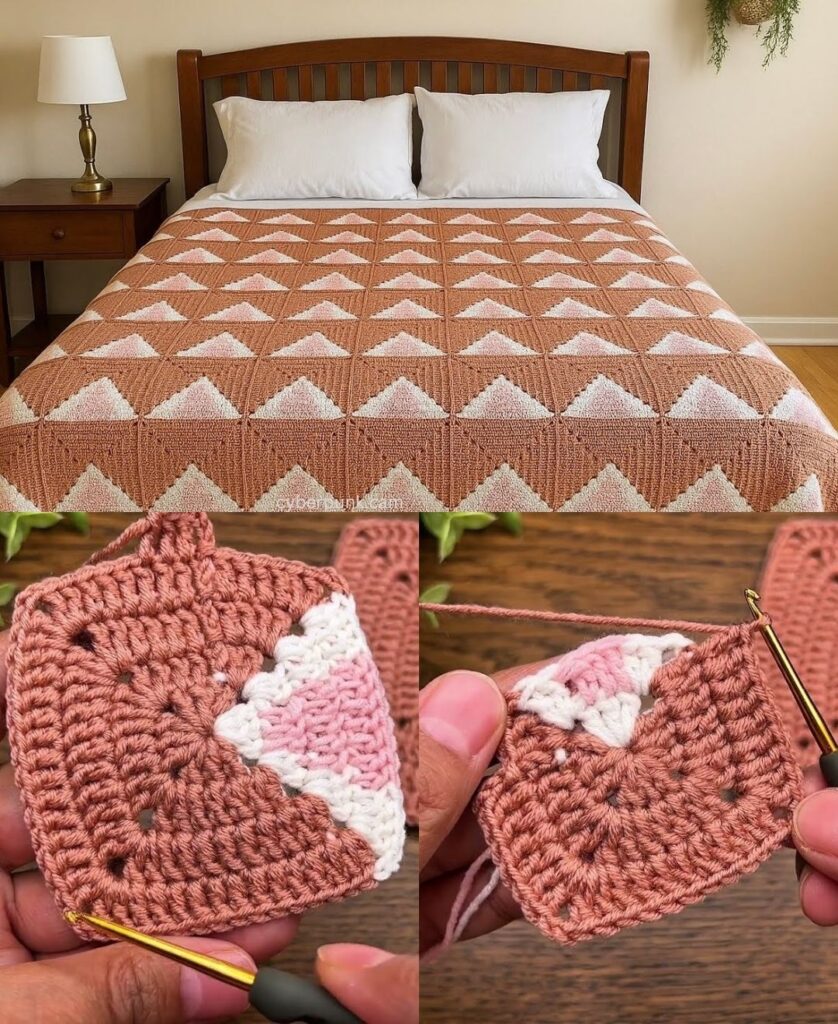
If you want a Square that contains a geometric triangle (diagonal color-blocking), use this method. It is the secret to making “Modern Minimalist” blankets.
- Round 1: Start with Color A. Work 2 clusters (3 dc, ch 2, 3 dc).
- The Switch: On the last pull-through of the 2nd corner, drop Color A and pick up Color B.
- Finish Round: Work the remaining 2 clusters and corners with Color B.
- The Result: A square split perfectly down the diagonal—one half is Color A, the other is Color B.
💡 Gemini’s Peer Tips for Sharp Edges
- The “Curling” Fix: If your triangle is curling into a bowl, your chains in the corners are too tight. Try using ch 3 for the corners instead of ch 2 to give the stitches more “breathing room” to spread out.
- The Flat Lay: Triangles are notorious for being “wonky.” Blocking is mandatory. Pin the three corners to a foam board, spray with water, and let dry. This “sets” the 60∘ angles.
- Invisible Ends: Since triangles are often used for bunting (where both sides might be seen), use a tapestry needle to weave your ends into the base of the clusters rather than just knotting them.
✨ Creative Project Idea: The Geometric Garland
Crochet 10 triangles in alternating shades (e.g., Mustard and Charcoal). Use a long piece of twine or a crocheted chain to join them at the top corners. It’s an instant, modern “Boho” decoration for a nursery or home office.
Would you like me to explain how to join these triangles together to create a “Diamond” pattern for a throw pillow?