 by
by Sure! Here’s a detailed, step-by-step article on how to crochet a coaster (supla) motif — perfect for beginners or intermediate crocheters looking to craft something both beautiful and functional.
🧶 How to Crochet a Coaster Supla Motif | Step-by-Step Pattern
Crocheting a coaster — often called a supla in some cultures — is a rewarding project that can elevate your home décor, serve as a thoughtful gift, or simply act as a quick and enjoyable craft. Whether you’re making a single statement piece or a full matching set, crochet coasters are perfect for practicing your stitches and creativity.
In this tutorial, we’ll walk through how to crochet a round coaster supla motif, using basic stitches and simple construction. By the end, you’ll have a beautiful, hand-crafted piece to be proud of.
🧵 Materials You’ll Need
Before you begin, gather the following materials:
🪡 Tools:
- Crochet Hook: 3.5mm to 4mm (US E/4 to G/6), depending on yarn weight
- Tapestry Needle: For weaving in ends
- Scissors
🧶 Yarn:
- Cotton Yarn (DK or Worsted weight preferred): Cotton is absorbent and durable, perfect for coasters. Choose one color or multiple for a colorful design.
Optional:
- Stitch marker (useful if working in the round without joining)
- Blocking materials (foam board, pins, and spray bottle) to help shape your coaster
🌸 Basic Skills Required
This project is beginner to intermediate level and includes the following techniques:
- Magic ring
- Chain (ch)
- Slip stitch (sl st)
- Single crochet (sc)
- Double crochet (dc)
- Treble crochet (tr) – optional for more decorative edging
- Increasing in the round
If you’re not familiar with these stitches, take a moment to practice them — there are many video and photo tutorials available online.
🧭 Step-by-Step Crochet Coaster (Supla) Pattern
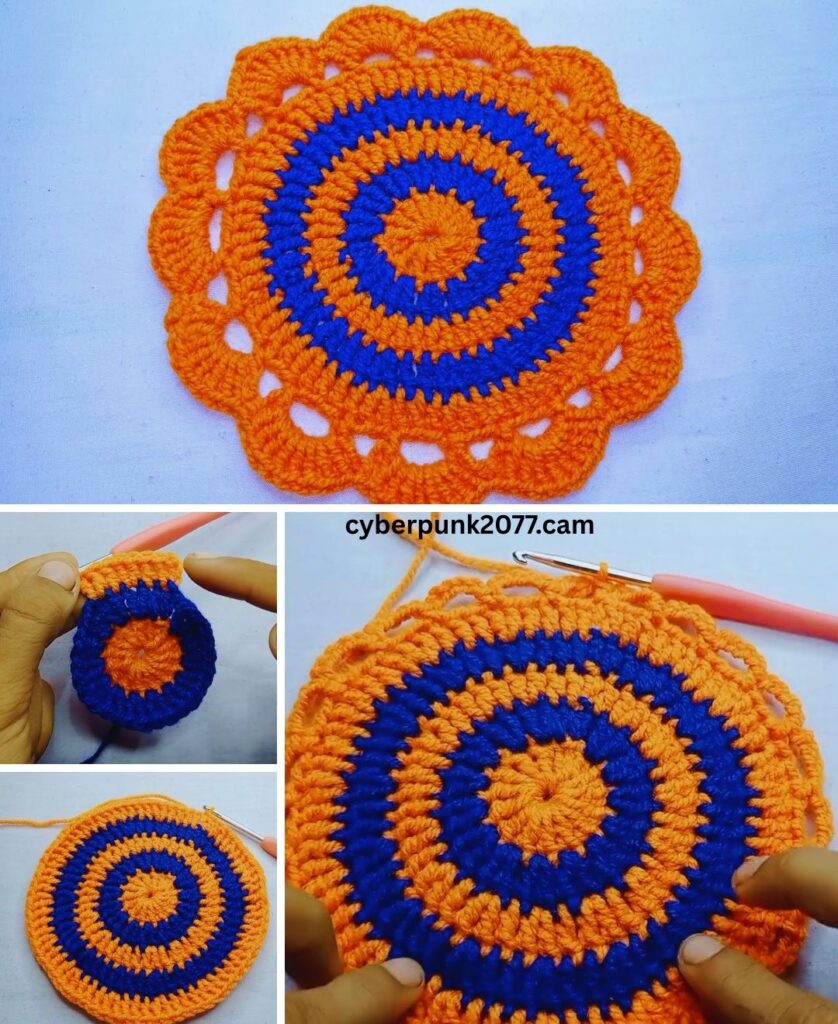
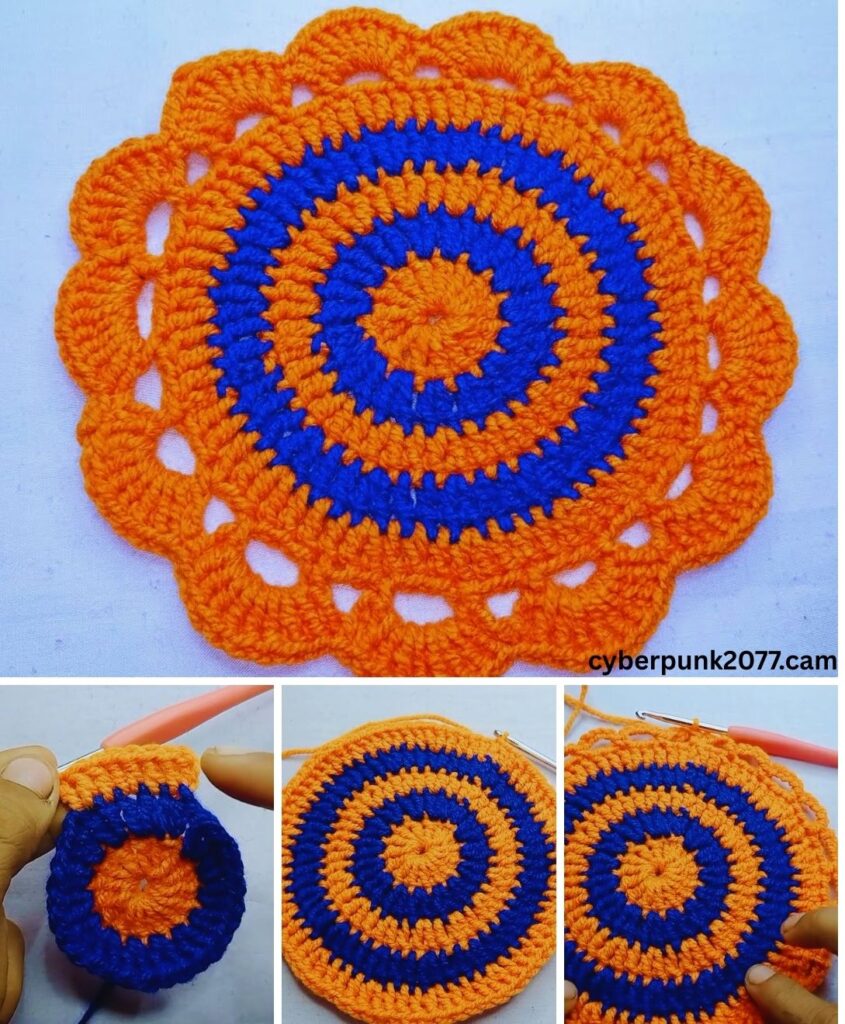
We’ll be working in the round, starting from the center and spiraling outward with increases.
🌀 Round 1: The Center Circle
- Make a Magic Ring
- Wrap yarn around your fingers to form a loop.
- Insert your hook, pull up a loop, and chain 1 to secure.
- Work 12 Double Crochets (dc) into the Magic Ring
- Yarn over, insert hook into the ring, pull up a loop.
- Yarn over again, pull through 2 loops, then yarn over and pull through the remaining 2 loops.
- Repeat until you have 12 dc.
- Join with a Slip Stitch (sl st) to the first dc.
- Tighten the magic ring by pulling the tail.
✅ You now have a neat center circle with 12 double crochets.
🔁 Round 2: Increasing the Circle
- Ch 2 (counts as first dc).
- 2 dc in each stitch around (24 dc total)
- Work 2 dc in each of the 12 stitches from the previous round.
- Join with a sl st to the top of the ch-2.
✅ You’ve doubled the stitch count for a flat circle.
🔁 Round 3: Continue Expanding
- Ch 2.
- (1 dc in the next stitch, 2 dc in the next) repeat around (36 dc total)
- This creates a gradual increase so the coaster stays flat.
- Join with a sl st.
✅ You’ve established a larger circular shape.

🎨 Optional: Color Change for Decorative Layer
- At this point, you can change yarn colors to add visual interest.
- Cut the current yarn, pull through the loop, and join a new color by tying a secure knot or pulling a loop through.
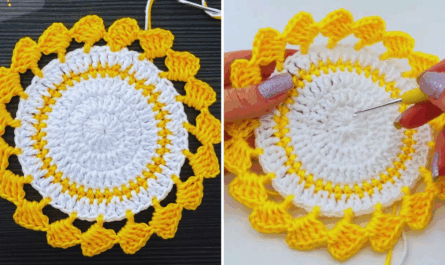
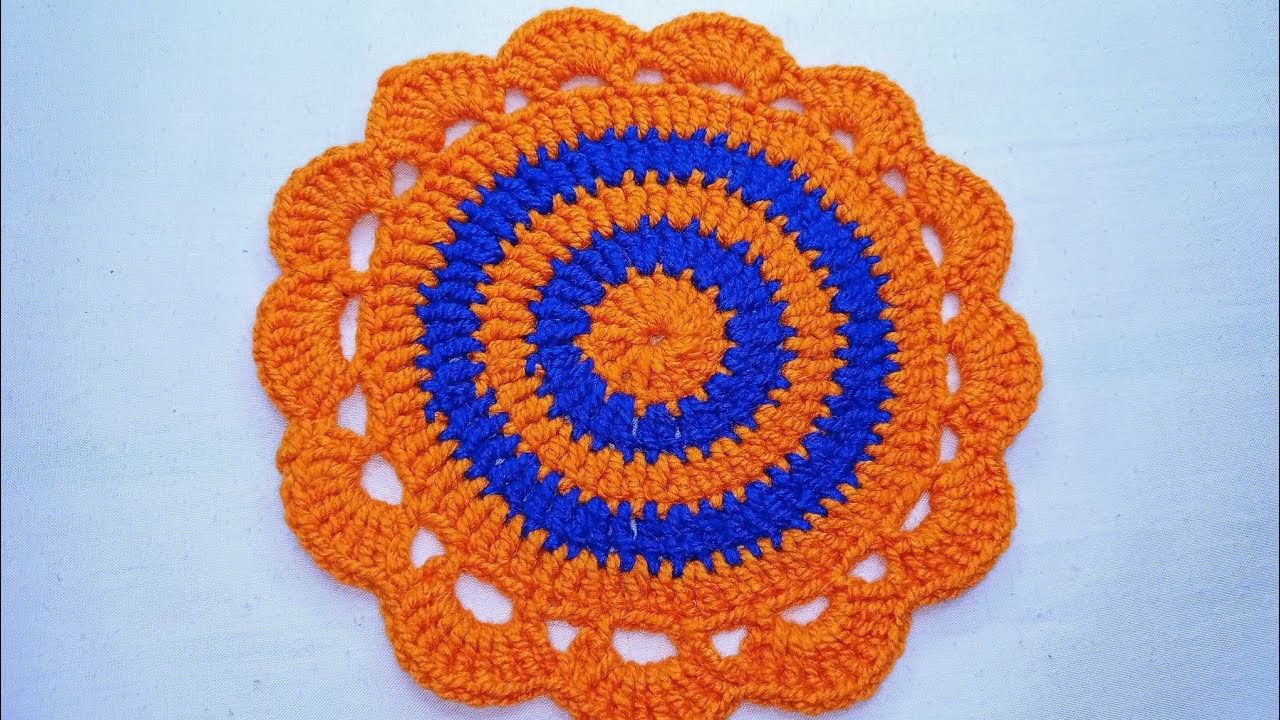
🌼 Round 4: Decorative Border (Shell or Picot)
Here are two options for a more decorative edge:
🌟 Option 1: Shell Edge
- Ch 1.
- (Skip 1 stitch, 5 dc in the next stitch, skip 1 stitch, sl st in next stitch) repeat around.
- This creates a scalloped shell border.
- Fasten off and weave in ends.
✨ Option 2: Picot Edge
- Ch 1.
- (Sc in next stitch, ch 3, sl st into first ch — this forms the picot, skip 1 stitch) repeat around.
- This gives a delicate, pointy lace-like border.
- Fasten off and weave in ends.
🔧 Finishing Touches
- Weave in all ends using a tapestry needle.
- Block the coaster: Dampen it slightly and pin it into shape on a foam board. Let it dry overnight for a polished look.
📏 Size Adjustment Tips
- Want a larger coaster (or a placemat)?
- Keep increasing in the round: Each new round adds another stitch between increases.
- Example: Round 4 – (2 dc, 2 dc in next), Round 5 – (3 dc, 2 dc in next), and so on.
- Want a smaller coaster?
- Stop after Round 2 or 3, and go straight to the edging.
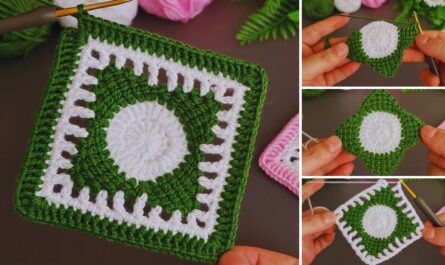
🎯 Customization Ideas
- 💡 Colors: Try alternating colors every round for a vibrant mandala effect.
- 🧶 Texture: Use front-post or back-post stitches for a raised, textured look.
- 🖼 Embroidery: Add small embroidered flowers or initials after finishing.
- 🌱 Eco-friendly: Use recycled cotton yarns or plant-dyed fibers.
🧺 Care Instructions
Since you’re using cotton yarn, most coasters are machine washable. However, for longevity:
- Wash gently in cold water
- Lay flat to dry
- Avoid bleach or harsh chemicals
🧵 Final Thoughts
Crocheting a supla-style coaster is a simple yet fulfilling project that allows you to explore creativity and practice foundational crochet skills. You can complete one in under an hour, making it perfect for a quick gift or a relaxing evening activity.
Once you’ve mastered the basic motif, try branching out into matching sets, placemats, or even wall hangings using the same principles!
📸 Share Your Work!
Proud of your creation? Share it on social media using hashtags like #CrochetCoaster or #SuplaMotif to inspire others and join a vibrant community of fellow crafters.