 by
by Absolutely! Here’s a detailed and beginner-friendly long-form article for creating a cute & easy crochet small bag, perfect for casual use, gifts, or adding a handmade touch to your style. This tutorial uses basic crochet stitches and provides a step-by-step breakdown.
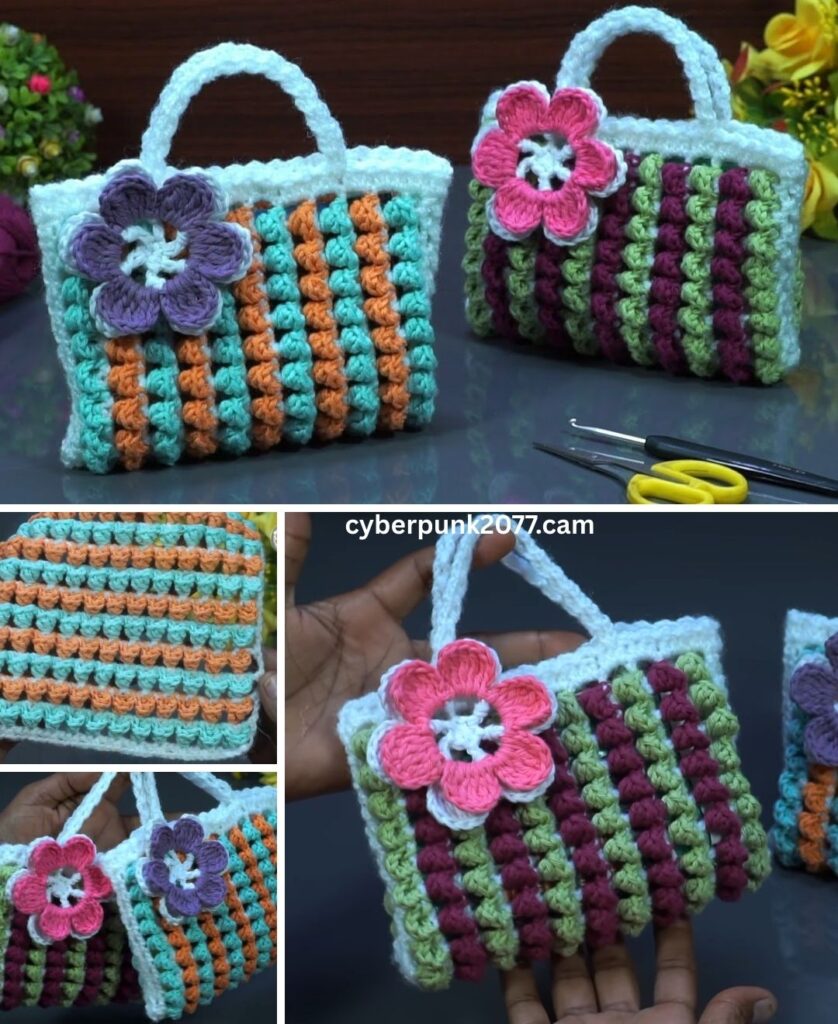
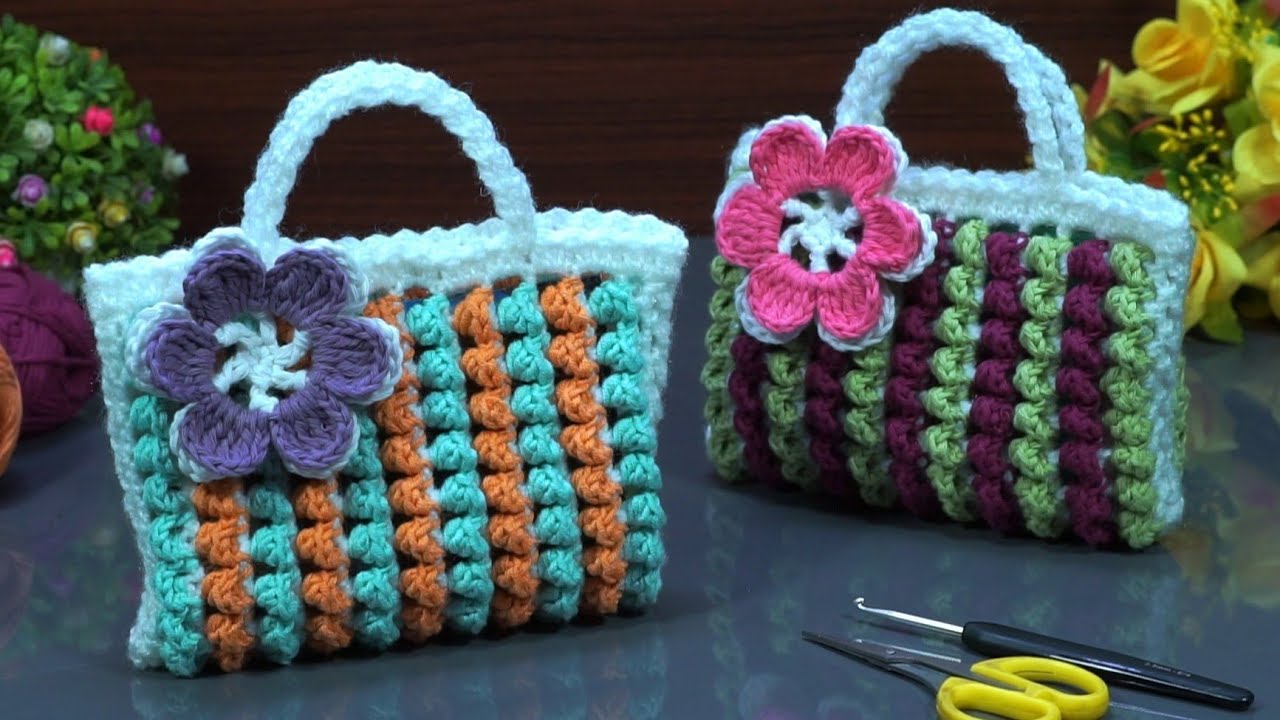
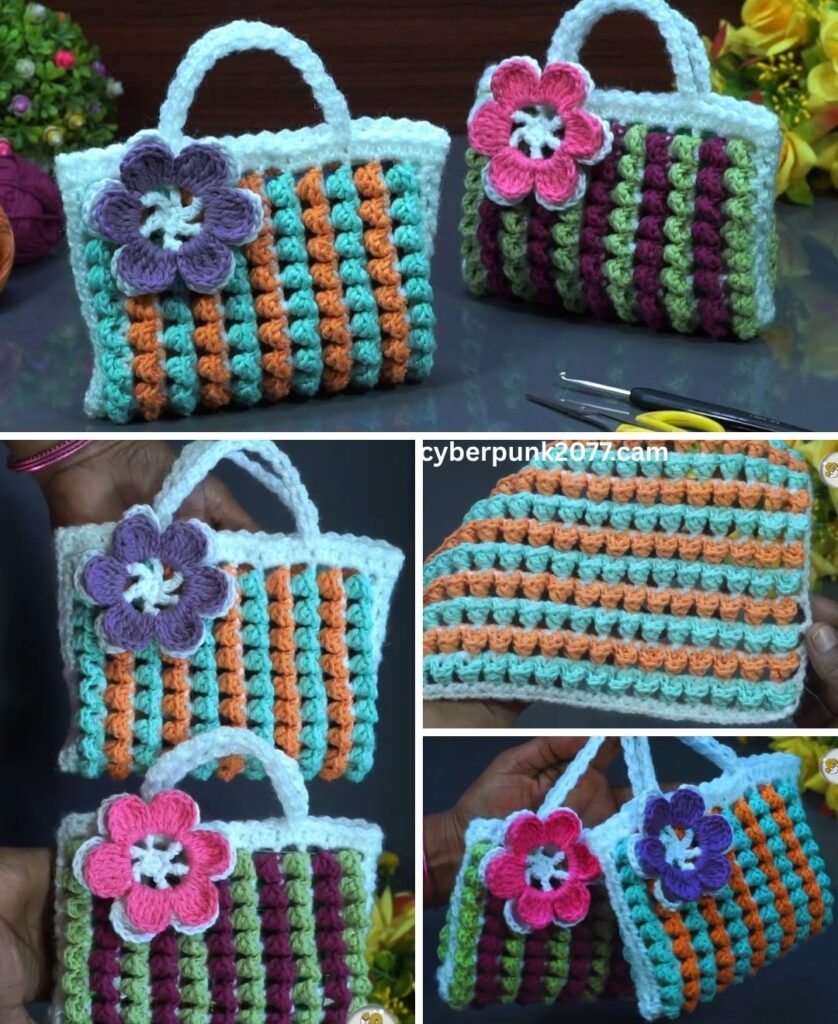
🧶 How to Make a Cute & Easy Crochet Small Bag 💗🎀 | Step-by-Step Tutorial
Crocheting a small bag is one of the most rewarding beginner projects. Whether you’re crafting it as a gift, a fashion accessory, or a fun personal project, this cute & easy crochet small bag tutorial will guide you through every step — from choosing yarn to the final finishing touches.
With simple stitches and a customizable design, this bag is great for beginners or anyone looking for a quick and satisfying make.
🧵 Materials You’ll Need
Before diving into the pattern, gather the following supplies:
🪡 Tools:
- Crochet Hook: 4mm or 4.5mm (US G/6 or US 7)
- Tapestry Needle: For sewing and weaving in ends
- Scissors
- Measuring Tape
- Optional: Stitch markers, lining fabric (if you want to line the bag), buttons or zipper
🧶 Yarn:
- Worsted Weight Cotton or Acrylic Yarn (Medium #4)
- Cotton yarn gives structure and durability, while acrylic gives a soft and stretchy feel.
- Choose your favorite color — or two for a color block style!
🎓 Skills You’ll Learn or Use
- Chain (ch)
- Slip Stitch (sl st)
- Single Crochet (sc)
- Half Double Crochet (hdc)
- Increasing
- Seaming
- Creating a strap
- Optional: Adding a button or lining
If you’re new to any of these stitches, practice a small swatch before you begin.
👜 Overview of the Bag Construction
This small crochet bag will be made in 3 main parts:
- The Body (main rectangle) — worked flat
- The Sides and Bottom — to give the bag depth
- The Strap — long or short, customizable
- Closure (optional) — button, zipper, or drawstring
Finished Size (customizable):
Approx. 7 x 6 inches (18 x 15 cm) — perfect for phone, keys, lip balm, cards.
🧭 Step-by-Step Crochet Small Bag Pattern
🧱 Step 1: Crochet the Main Body (Front & Back Panel)
We’ll crochet one rectangle and fold it in half to form both front and back sides.
- Chain 31 (This will be the width of your bag, approx. 7 inches)
- Row 1: In the 2nd ch from hook, work 1 hdc. Continue 1 hdc in each stitch across. (30 hdc)
- Ch 1 and turn.
- Rows 2–24: Repeat hdc in each stitch across. Always ch 1 and turn at the end of each row.
👉 This should give you a rectangle approx. 7″ wide and 12″ tall.
✅ You can make it taller or shorter depending on how big you want the bag.
🔁 Step 2: Fold & Seam the Sides
- Fold the rectangle in half so the short edges meet — now you have a square “pouch”.
- Use sl st or whip stitch to seam both sides from bottom up to the top.
✅ Leave the top open — that’s your bag opening!
🧩 Step 3: Add Depth (Optional but Cute)
If you want a flat bottom (so the bag can stand or carry more):
- Turn the bag inside out.
- Pinch the bottom corners into triangle shapes.
- Measure about 1 inch from the point, then sew across the triangle (about 2 inches across).
- Cut off the excess triangle if you like, or leave it tucked inside.
✅ This gives the bag a boxed base — super cute and practical!
🎀 Step 4: Make the Strap
You can make a shoulder strap, wristlet loop, or crossbody strap — your choice!
Option A: Crochet a Long Strap
- Chain 100–120 (depending on how long you want it)
- In 2nd ch from hook, sc in each chain across.
- Fasten off and sew each end to the top inside corners of your bag using a tapestry needle.
Option B: Make a Thicker Strap
- Chain 6.
- Work hdc in each ch.
- Ch 1, turn, and continue rows until it reaches desired length.
- This creates a wider, more durable strap.
🎁 Step 5: Add a Closure (Optional)
You can leave the bag open or add one of the following:
Option A: Button & Loop
- Sew a button to the front top center of the bag.
- Crochet a small chain loop on the opposite side, and sew it to the back flap to hook over the button.
Option B: Zipper
- Sew a small zipper across the top edge using thread and needle.
- This adds security, especially if you use the bag while traveling.
Option C: Drawstring
- Weave a chain through the top row (use spaces between stitches).
- Pull to close like a pouch.
🎨 Step 6: Finishing Touches
- Weave in all loose ends with a tapestry needle.
- Block the bag if you want a crisper shape — lightly spray with water and pin into shape.
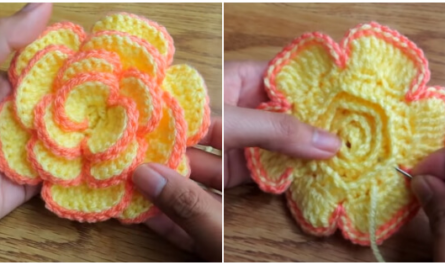
- Decorate! You can add:
- Small crocheted flowers or bows 🎀
- Tassels or pompoms 💕
- Embroidered initials ✨
- Beads or charms 🌟
🌈 Customize Your Small Bag
Want to make it truly yours? Here are a few ideas:
| Style | Custom Idea |
|---|---|
| 🧁 Cute | Add bows, pastel yarn, and mini pompoms |
| 🧘♀️ Minimalist | Solid neutral color + clean lines |
| 🎨 Boho | Use variegated yarn or granny squares |
| 🐱 Kid-friendly | Add animal ears and a face (like a cat bag) |

🧺 Care Instructions
Most bags made with cotton or acrylic yarn are machine washable, but to preserve shape and longevity:
- Hand wash or gentle machine cycle
- Lay flat to dry
- Avoid heavy items inside if the strap is delicate
🧶 Recap: Crochet Small Bag At a Glance
| Part | Stitches Used | Customizable? |
|---|---|---|
| Body | HDC | Yes |
| Seams | Slip Stitch / Sewing | No |
| Strap | Chain + SC/HDC | Yes (length/width) |
| Closure | Button / Zipper | Optional |
🌟 Final Thoughts
Crocheting your own small bag is more than just a craft — it’s a creative expression. Whether you’re gifting it, selling it at a market, or using it yourself, it brings a special charm that only handmade pieces carry.
The best part? You can make several in different colors, styles, or sizes — perfect for outfits, events, or holidays.
📸 Share Your Creation!
Show off your beautiful handmade bag on social media with hashtags like #CrochetBag or #SmallBagTutorial. You might inspire someone else to pick up a hook!