by
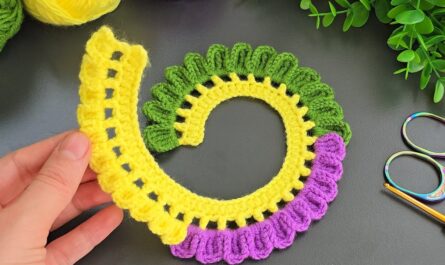
by Crocheting a square motif is a foundational skill, and the most famous and easiest motif is the Classic Granny Square. Once you master this, you can tackle almost any other square pattern!
Here is a detailed, step-by-step tutorial on how to crochet the classic granny square, perfect for beginners.

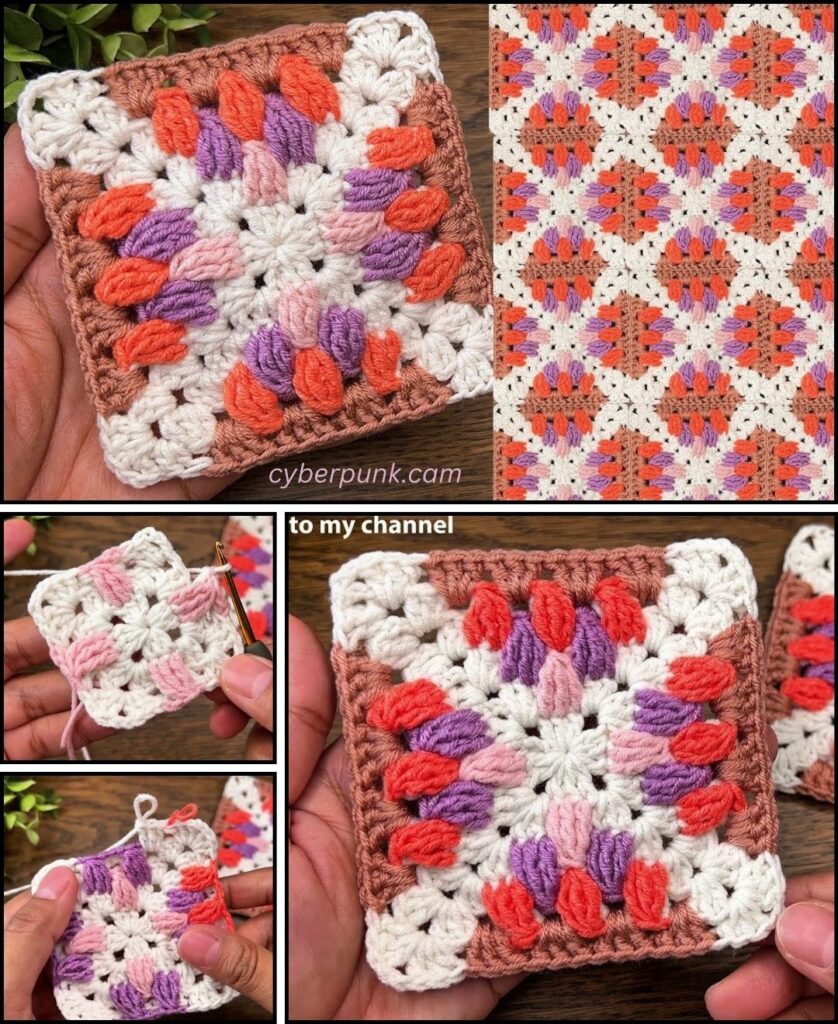
🧶 Classic Granny Square Tutorial for Beginners
The granny square is worked in rounds from the center outward, primarily using the double crochet (dc) stitch and chain spaces.
Materials You’ll Need
- Yarn: Medium-weight yarn (worsted or size 4). A lighter color helps you see the stitches clearly.
- Crochet Hook: The size recommended for your yarn (check the label).
- Scissors
- Tapestry Needle: For weaving in the yarn tails.
Key Crochet Terms
| Abbreviation | Stitch Name | Purpose in Granny Square |
| ch | Chain | Creates corners and separates clusters. |
| sl st | Slip Stitch | Joins the rounds together. |
| dc | Double Crochet | The main stitch used for the “clusters.” |
| Cluster | A group of 3 dc stitches | Forms the sides of the square. |
Step-by-Step Pattern Instructions
Round 1: Creating the Center and First Clusters
This round establishes the center and the four corners of your square.
- Start the Ring: Make a slip knot, then ch 4. Join with a sl st into the first chain to form a ring.
- First Side and Corner:
- ch 3 (This counts as your first dc).
- Work 2 dc into the center ring. (First 3-dc “cluster” made).
- ch 2 (This creates your first corner space).
- Repeat Three Times:
- Work 3 dc into the ring.
- ch 2.
- Finish the Round: You should have four 3-dc clusters and four ch-2 corner spaces. Join with a sl st to the top of the beginning ch 3.

Round 2: Building the Square Shape
In this round, we work into the chain spaces from the previous round, not into the tops of the stitches.
- Move to the Corner: sl st into the next two dc’s, and then sl st into the first ch-2 corner space. This correctly positions your hook to start the new cluster.
- First Full Corner:
- ch 3 (counts as first dc), work 2 dc into the same corner space.
- ch 2.
- Work 3 dc into the same corner space. (Complete corner: (3 dc, ch 2, 3 dc).)
- First Side Space:
- ch 1 (This chain separates the clusters along the sides).
- Repeat Three Times: Move to the next ch-2 corner space.
- Work the full corner cluster: (3 dc, ch 2, 3 dc) into that space.
- ch 1.
- Finish the Round: Join with a sl st to the top of the beginning ch 3.

Round 3 and Beyond: Making it Bigger
This is the repeating formula. You will always work a full corner cluster into every corner space and a simple cluster into every side space.
- Move to the Corner: sl st over to the next ch-2 corner space.
- Corner: Work the full corner cluster: (ch 3, 2 dc, ch 2, 3 dc) into the corner space.
- Sides:
- ch 1.
- Work the simple cluster: 3 dc into the next ch-1 side space.
- ch 1.
- (On larger squares, you would repeat the (3 dc, ch 1) sequence for every side space you encounter.)
- Next Corner: Work (3 dc, ch 2, 3 dc) into the next ch-2 corner space.
- Repeat the side and corner sequence around the square.
- Finish the Round: Join with a sl st to the top of the beginning ch 3.
Continue repeating the pattern of Round 3 until your square is the desired size!

Finishing Your Motif
- Weave in Ends: Cut your yarn, leaving a 6-inch tail. Use your tapestry needle to weave this tail securely into the stitches on the back of your square.
- Blocking (Optional): If your square is slightly uneven, wet it, pin it flat to a perfect square shape, and let it dry. This is called blocking and gives your motif a professional finish.
Now that you’ve mastered the classic granny square motif, would you like to try a solid square motif or learn how to change colors?
Video tutorial: