 by
by Crocheting a beautiful bag doesn’t have to be complicated. Many beginners believe that creating a stunning, aesthetic bag requires advanced stitches or complicated shapes—but the truth is, you can make a very beautiful crochet bag using only basic stitches and simple construction. The goal of this tutorial is to guide you through a stress-free, relaxing, and rewarding project that results in a stylish, functional bag you’ll be proud to carry.
This long guide covers:
- Materials needed
- Beginner-friendly stitches
- Step-by-step instructions
- Tips for making it more beautiful
- How to add straps and decorations
- Simple layout diagrams
- Variations for different styles
- Troubleshooting and finishing techniques
Let’s begin your crochet journey!
🧶 1. Materials You Need
You don’t need expensive tools—just a few basic items:
✔ Yarn
Choosing the right yarn makes your bag instantly beautiful.
Recommended yarns for beginners:
- Worsted weight (Medium #4) cotton → sturdy, smooth, long-lasting
- Chunky acrylic → soft, modern, aesthetic
- Cotton blend → flexible but durable
Color tips for a beautiful finish:
- Neutral tones: beige, cream, mocha, gray
- Pastels: lavender, mint, baby blue, blush
- Trendy two-tone combos: brown + cream, pink + white, black + beige
✔ Crochet Hook
Pick a hook size that matches your yarn label. Common sizes:
- 5.0 mm
- 5.5 mm
- 6.0 mm for chunkier yarn
✔ Extras
- Scissors
- Yarn needle
- Stitch markers (helpful for beginners)
- Measuring tape
✋ 2. Basic Crochet Skills You Will Use
This beautiful beginner bag uses just three simple stitches:
⭐ Slip Knot
Used to attach yarn to the hook.
⭐ Chain Stitch (ch)
The foundation row of your bag.
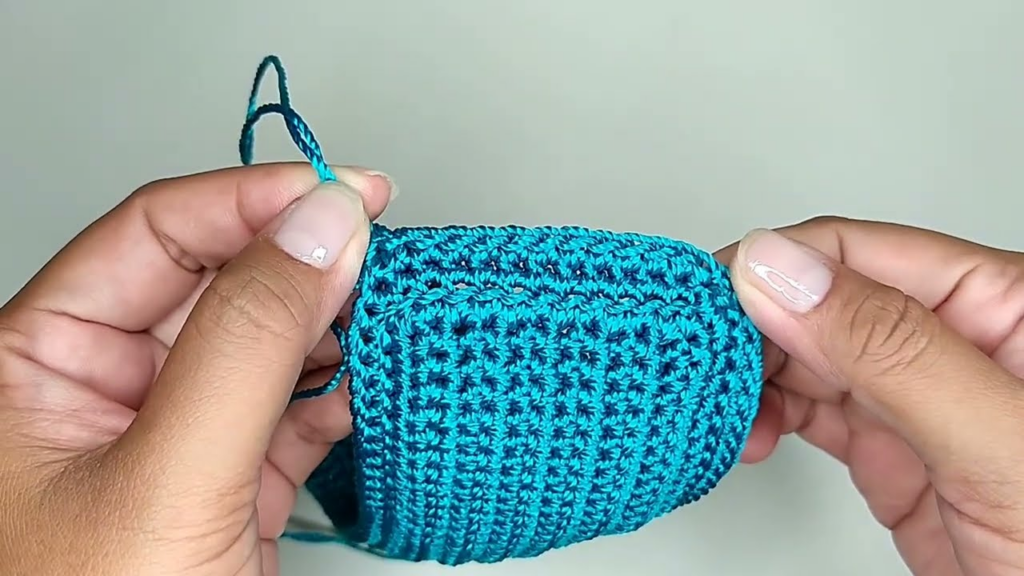
⭐ Single Crochet (sc)
Creates a strong, neat pattern that looks beautiful even without advanced techniques.
(Optional) Half-Double Crochet (hdc)
If you want a softer texture.
If you can chain and single crochet, you can make this entire bag.
👜 3. About This Bag Design
This tutorial shows you how to make a beautiful crochet bag from:
✔ One simple rectangle
You crochet a rectangle and fold it.
✔ Beginner stitches only
No difficult shapes.
✔ Elegant texture
Using single crochet creates a minimalist, high-end look.
✔ Easy to customize
Change the color, size, strap, or decorations.
🪄 4. Step-by-Step: How to Crochet the Bag
⭐ Step 1: Make the Foundation Chain
Begin with a slip knot.
Chain:
- 35–45 chains for a medium handbag
- 25–30 chains for a small purse
- 50–60 chains for a tote bag
This chain determines the width of your bag.
⭐ Step 2: Row 1 – Single Crochet
- Insert hook into the second chain from the hook.
- Make a single crochet (sc).
- Continue working sc across the entire row.
At the end of the row:
👉 chain 1, turn your work.
⭐ Step 3: Continue Crocheting Rows
Repeat rows of single crochet until your rectangle reaches the desired height.
Suggested lengths:
- Small bag: 25–28 rows
- Medium bag: 35–40 rows
- Large tote: 50–60 rows
Your finished piece should be a clean rectangle.
⭐ Step 4: Fold the Rectangle
Fold it bottom to top, so it forms a pouch shape.
The fold becomes the bottom of your bag—no sewing needed there.
⭐ Step 5: Seam the Sides
Thread a long piece of yarn through a yarn needle.
Sew the left side closed.
Sew the right side closed.
Two common stitches:
✔ Whip Stitch (easy, fast)
Great for beginners.
✔ Mattress Stitch (clean and invisible)
Creates a more professional look.
Pull the edges tightly so the bag holds weight.
⭐ Step 6: Create the Strap
There are two extremely easy strap styles:
💗 Strap Method 1: Simple Chain Strap
- Chain 100–140 chains (depending on how long you want it)
- Single crochet down the chain once
- Sew each end to the inside of your bag
This looks clean and minimalist.
💗 Strap Method 2: Sturdy Crochet Strap
- Chain 6–8 chains
- Single crochet row after row
- Continue until you reach desired length
- Sew ends securely
This is thicker and more aesthetic.
⭐ Step 7: Weave in the Ends
Use your yarn needle to carefully hide all loose yarn tails.
This small step makes your bag look very neat and beautiful.
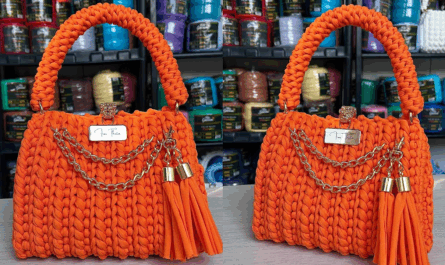
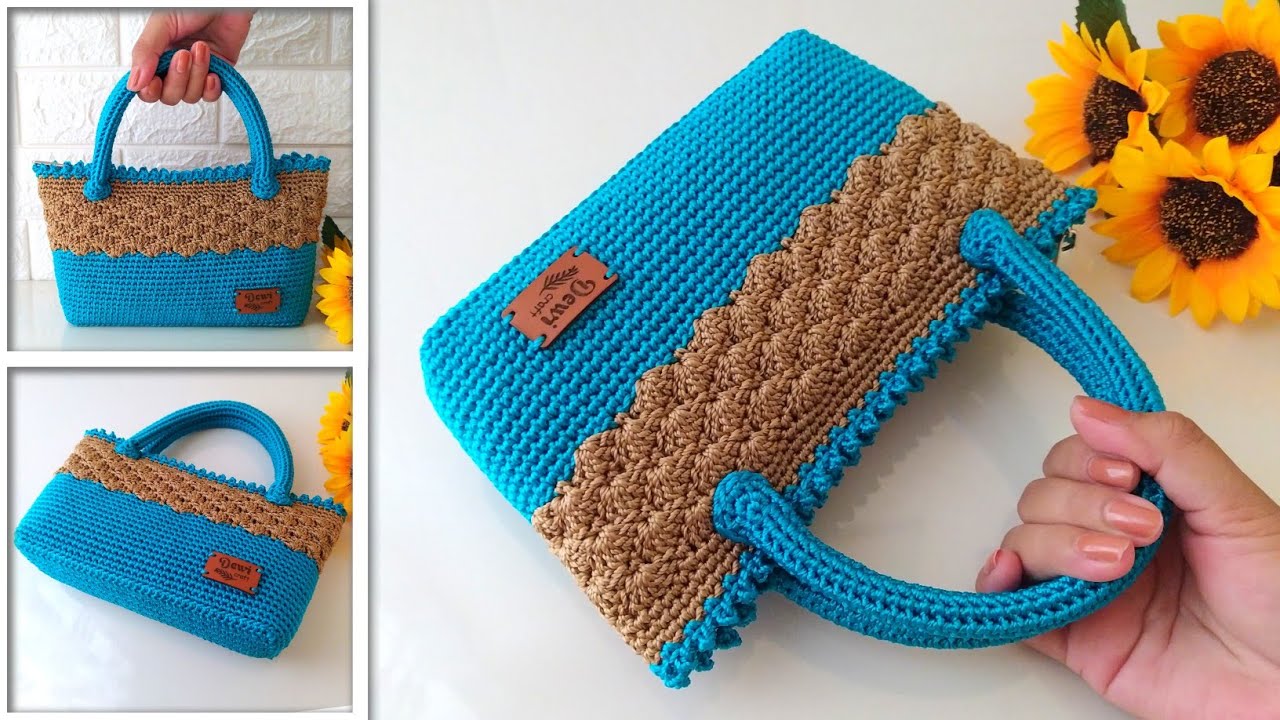
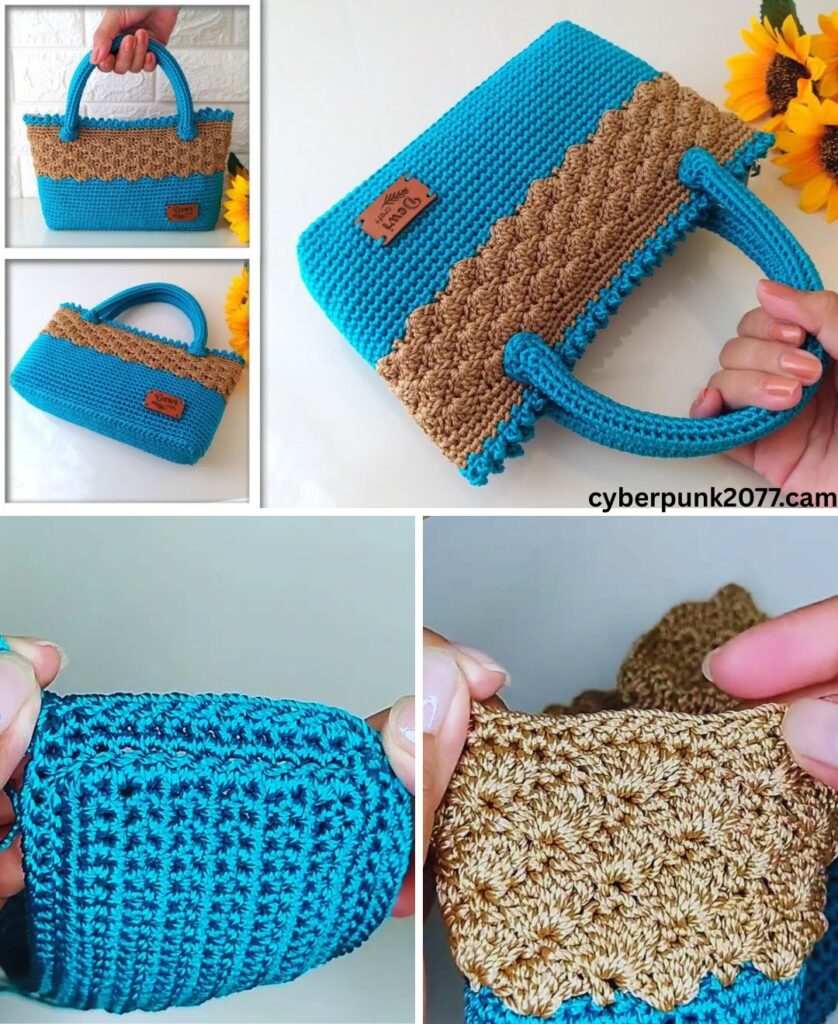
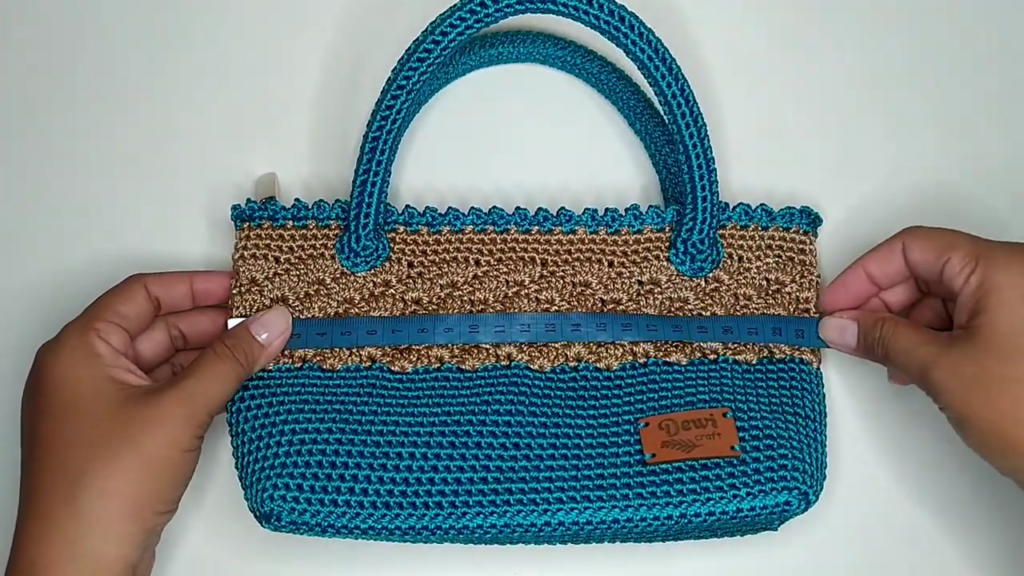
💐 5. Making Your Bag Look EXTRA Beautiful
Here are simple ways to elevate the look of your bag:
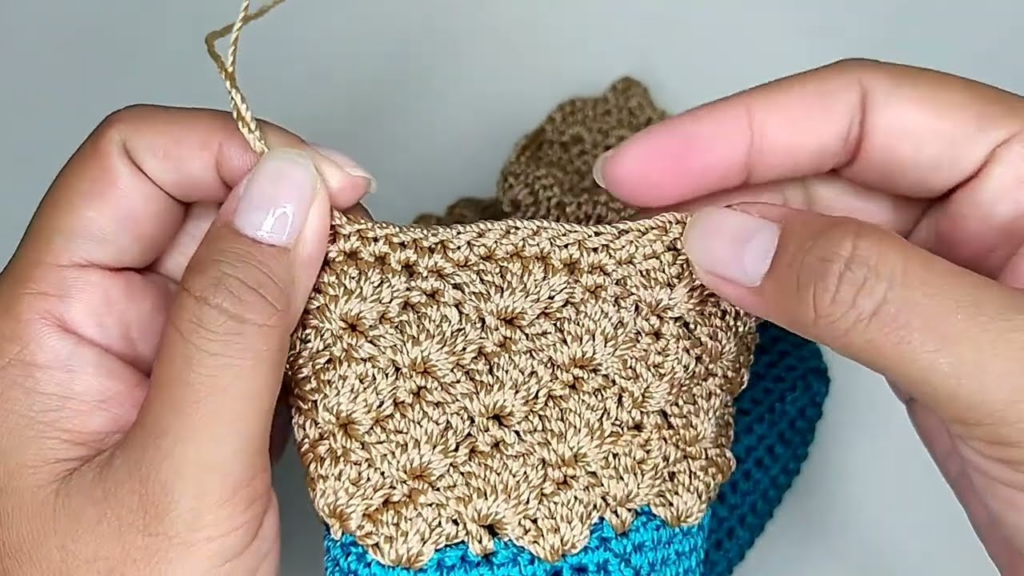
🌸 Add an Elegant Border
Choose a contrasting yarn color.
Work one round of single crochet around the top opening.
🌿 Attach Crochet Flowers
Mini flowers instantly make the bag aesthetic.
You can make:
- Daisy flowers
- Roses
- 3D puff flowers
- Simple circles that look like dots
Sew them on the corners or near the strap.
🌟 Use Two Colors
Crochet the rectangle using:
- Thick stripes
- Thin stripes
- Half-and-half design
- Border-only color change
A simple color mix makes the bag look advanced.
🎀 Add Buttons or Charms
A cute heart-shaped button or wooden button adds personality.
🧵 Optional Lining
Using thin cotton fabric, sew an inner lining to:
- Strengthen the bag
- Prevent stretching
- Make the inside smooth
Even though lining is optional, it makes the bag look store-bought.
🎨 6. Variations for a More Beautiful Style
💕 1. Puffy Texture Bag
Use half-double crochet (hdc) for a soft, plush look.
💕 2. Mesh Tote Bag
Use chains and double crochet for a summery feel.
💕 3. Granny Square Bag
Crochet two large granny squares and sew them together.
💕 4. Thick Chunky Mini Bag
Use bulky yarn for a trendy Y2K-style purse.
Each variation is beginner-friendly and looks beautiful.
🧹 7. Troubleshooting Tips for Beginners
❗ My edges look crooked.
→ You might be adding or skipping stitches.
Count your stitches every few rows.
❗ My bag looks stretched or saggy.
→ Use cotton yarn.
→ Add a lining.
→ Make the strap shorter.
❗ The shape looks uneven.
→ Lightly block the rectangle before folding.
(Place it flat and steam gently.)
❗ The strap twists while sewing.
→ Lay it flat first, then pin with stitch markers.
🌞 8. Final Finishing Touch
Before using your new beautiful bag:
- Gently stretch it to shape
- Trim hidden yarn tails
- Add your personal decorations
- Make a matching mini pouch if desired
Your handmade crochet bag is now ready!
🌟 9. Conclusion
Creating a very beautiful crochet bag is completely achievable even for beginners. With just a rectangle, simple stitches, and a little creativity, you can craft a stylish, functional, and aesthetic accessory. The most important part is enjoying the process—crochet is calming, rewarding, and wonderfully expressive.
If you’d like, I can also provide:
✅ A printable PDF version
✅ A video-style step-by-step script
✅ A pattern with diagrams
✅ Alternative bag styles (circle bag, shell stitch bag, tote bag, bucket bag)
Just tell me!