 by
by Crocheting your own bag is one of the most satisfying and beginner-friendly projects you can do. Bags work up quickly, don’t require complicated shaping, and allow endless room for creativity. Whether you want a trendy tote for daily use, a soft mini purse, or a cute gift idea, this simple tutorial will guide you through creating an aesthetic crochet bag—even if you’ve never picked up a hook before.
This guide covers:
- Materials you actually need
- How to hold the hook and yarn
- Step-by-step instructions
- Simple stitches for beginners
- How to assemble the bag
- Optional straps, lining, and decorations
- Common mistakes & how to fix them
- Variations to customize your bag
Let’s get started!
🧶 1. Materials You Need
You don’t need many supplies. A small investment gives enough material for several bags.
✔ Yarn
Choose a medium weight (4) cotton or acrylic yarn.
Cotton is best for durability—bags stretch less.
Great beginner yarns:
- 100% cotton (worsted weight)
- Acrylic blend
- Soft chunky yarn (works up faster)
✔ Crochet Hook
Use a 5 mm or 5.5 mm hook for worsted yarn.
Use a 6–7 mm hook for chunky yarn.
✔ Extras
- Scissors
- Yarn needle (for weaving in ends)
- Stitch markers (optional but recommended)
- Measuring tape
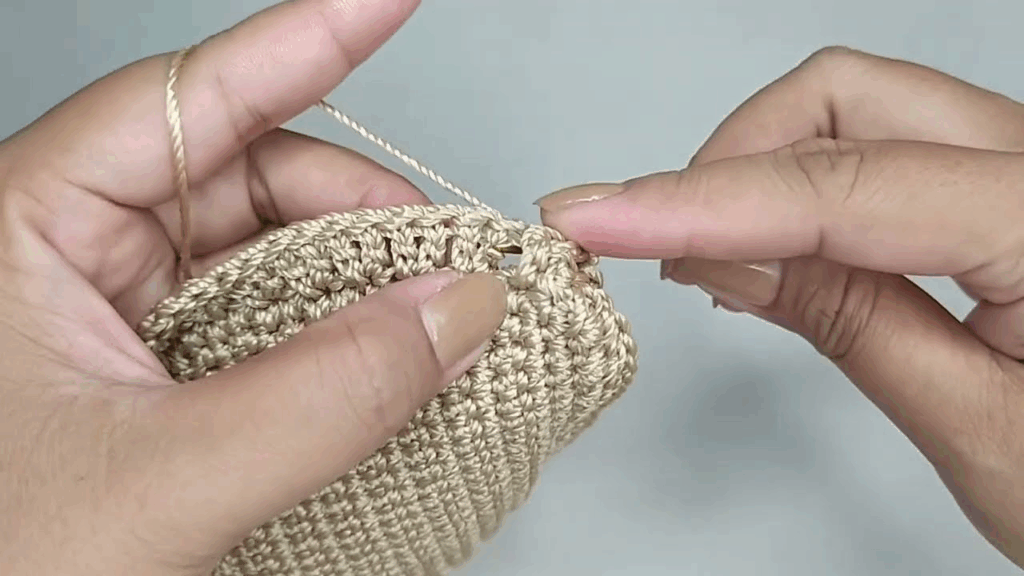
✋ 2. Basic Crochet Skills You Need (Super Easy)
You only need to know three stitches—don’t worry, they’re simple:
1. Slip Knot
This attaches yarn to your hook.
2. Chain Stitch (ch)
Forms the base of many projects.
3. Single Crochet (sc)
The easiest and most beginner-friendly stitch.
Creates a tight, strong fabric—perfect for bags.
(Optional) Half Double Crochet (hdc)
A little taller and softer than sc, useful for a more flexible bag.
If you don’t know these stitches yet, simply learn them—you’ll be able to practice them right in this project.
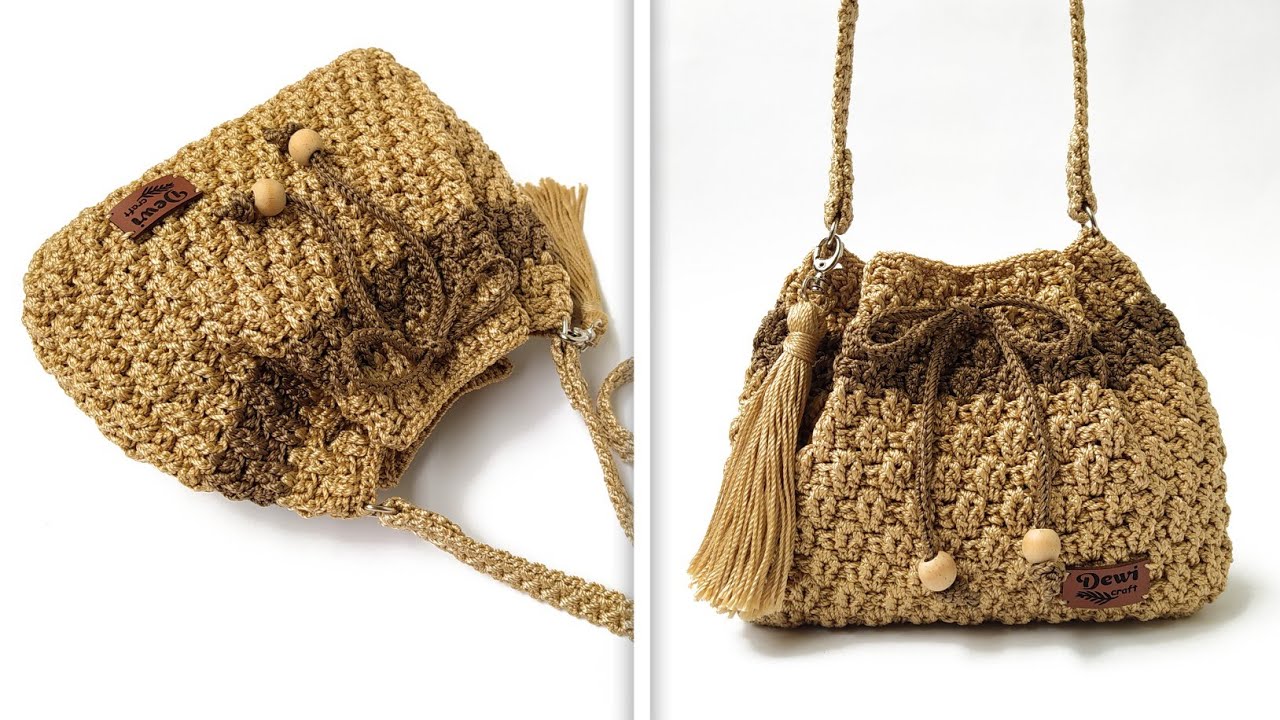
👜 3. Project Overview
This tutorial teaches you how to make the easiest aesthetic crochet bag:
✔ Simple Rectangle Bag (folded and seamed)
- Beginner-friendly
- No shaping
- Only basic stitches
- Works up quickly
- Perfect for customization
Construction Steps:
- Crochet one large rectangle.
- Fold it in half.
- Sew the sides.
- Add a strap.
- Decorate as you like!
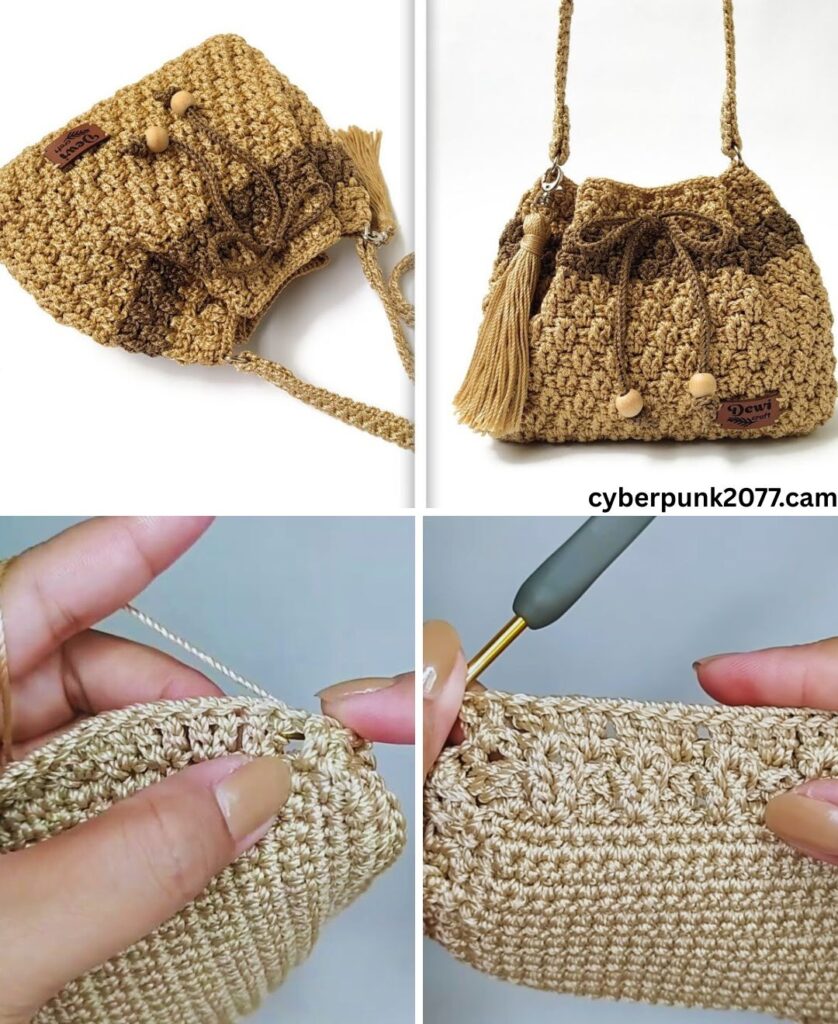
🪡 4. Step-by-Step Tutorial
⭐ Step 1: Crochet the Base Chain
- Make a slip knot.
- Chain 30–40 stitches depending on your desired width.
Tip:
The number of chains = the width of your bag.
For a small purse, chain 25.
For a medium tote, chain 40–45.
For a large bag, chain 60+.
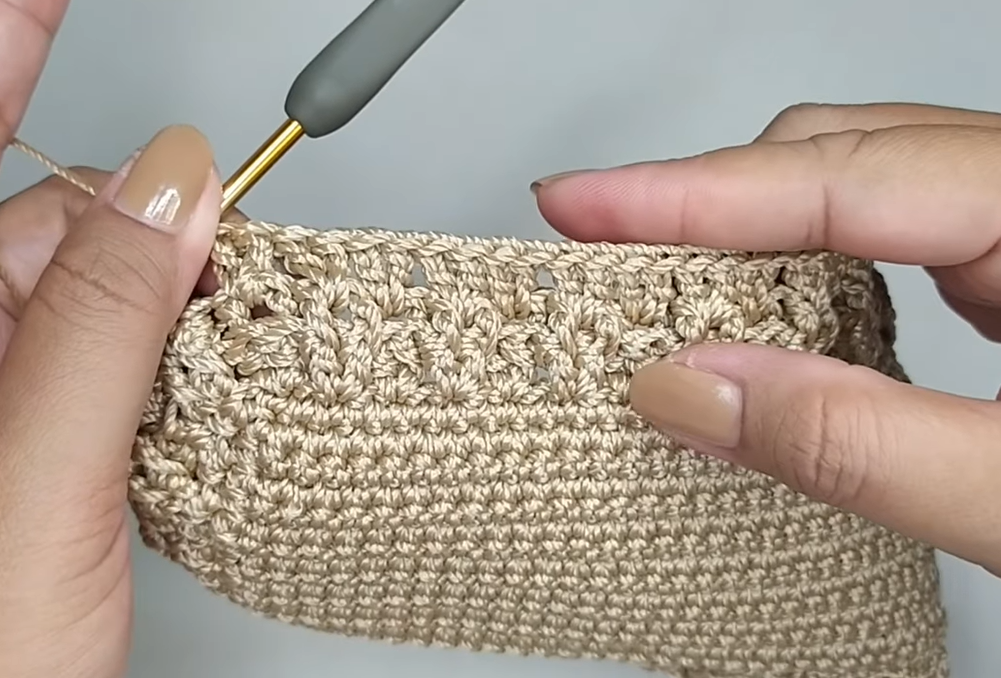
⭐ Step 2: Row 1 – Single Crochet Across
- Insert hook into the second chain from the hook.
- Work 1 single crochet (sc).
- Continue sc across the entire row.
At the end, chain 1, turn.
⭐ Step 3: Repeat Rows Until Desired Length
Crochet rows of single crochet until the piece is a long rectangle.
Length Guidelines:
- Mini purse: 20–25 rows
- Medium bag: 35–40 rows
- Tote bag: 50–55 rows
Your rectangle should look like a long placemat.
⭐ Step 4: Fold the Rectangle
Lay your work flat. Fold it like a book, lining up the edges.
This fold becomes the bottom of your bag—no sewing needed there.
⭐ Step 5: Sew the Sides
Using your yarn needle:
- Thread a long strand of yarn.
- Sew one side together with whip stitch or mattress stitch.
- Repeat on the other side.
Make sure your seams are tight so nothing falls out.
Tip: If using chunky yarn, double-check there are no gaps.
⭐ Step 6: Add a Strap
You can make an ultra-simple strap using two methods:
Method A: Chain Strap (Easy)
- Chain 100–140 stitches depending on how long you want it.
- Single crochet across the chain once to make it stronger.
- Sew each end to the inside corners of your bag.
Method B: Long Crochet Strip (Sturdy)
- Chain 6–8 stitches.
- Crochet sc rows until strap reaches desired length.
- Sew ends securely.
⭐ Step 7: Weave In Ends
Use your yarn needle to hide all loose yarn tails inside the stitches.
🌸 5. Optional Aesthetic Add-Ons
This is where your bag becomes ✨aesthetic✨.
✔ Border
Using a contrasting color, crochet a round of single crochet around the opening.
✔ Flowers
Crocheted mini flowers are adorable:
- Small circles
- Daisy clusters
- 5-petal flower motifs
Sew them onto the bag.
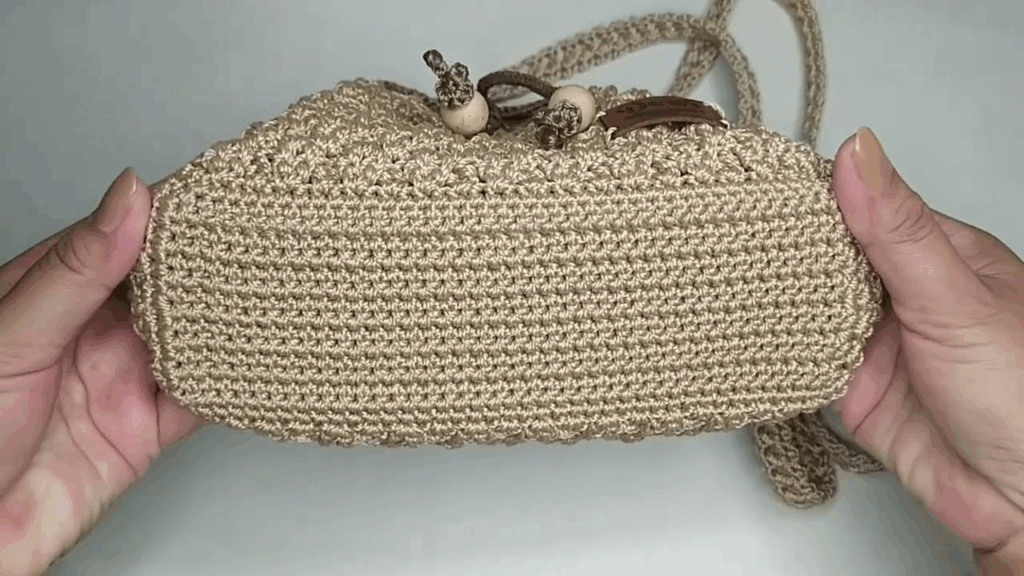
✔ Buttons or Beads
Add a button closure or decorative wooden beads.
✔ Lining (Optional)
Sew a fabric lining inside to make the bag:
- Sturdier
- More professional-looking
- Better for carrying small items
Use cotton fabric and hand stitch or machine stitch it in place.
🔧 6. Troubleshooting for Beginners
❗ The edges look uneven
→ Count your stitches each row.
→ Make sure you’re not accidentally adding or skipping stitches.
❗ The bag looks “holey”
→ Use a smaller hook.
→ Try single crochet instead of half-double or double stitches.
❗ The strap stretches too much
→ Shorten the strap or switch to cotton yarn.
→ Double the strap fabric (two layers).
❗ My rectangle curls
→ This is tension-related and normal for beginners.
→ Lightly block it (flatten with steam or gentle pressure).
🎨 7. Fun Variations to Try
🌿 Boho Mesh Bag
Use chain and double crochet stitches for an airy summer bag.
💕 Chunky Mini Purse
Use super bulky yarn and a 10 mm hook for a soft, plush aesthetic.
🧺 Tote Bag with Flat Bottom
Add simple increases to create a boxed base.
🌈 Color Stripe Bag
Change yarn colors every 5 rows.
🐻 Cute Character Bag
Add safety eyes and felt pieces for a bear, bunny, or frog bag.
🌟 8. Final Thoughts
Making your own aesthetic crochet bag is not just easy—it’s relaxing, creative, and incredibly rewarding. This beginner-friendly pattern lets you build confidence with basic stitches while crafting something beautiful and functional.
Once you make one, you’ll want to make many more. Custom bags also make great gifts, market products, or personal accessories to match your outfits.
If you want, I can also create:
✅ a printable PDF pattern
✅ a stitch diagram
✅ a video-style step guide
✅ variations like granny square bags, circle bags, mesh totes, etc.
Just tell me!