by
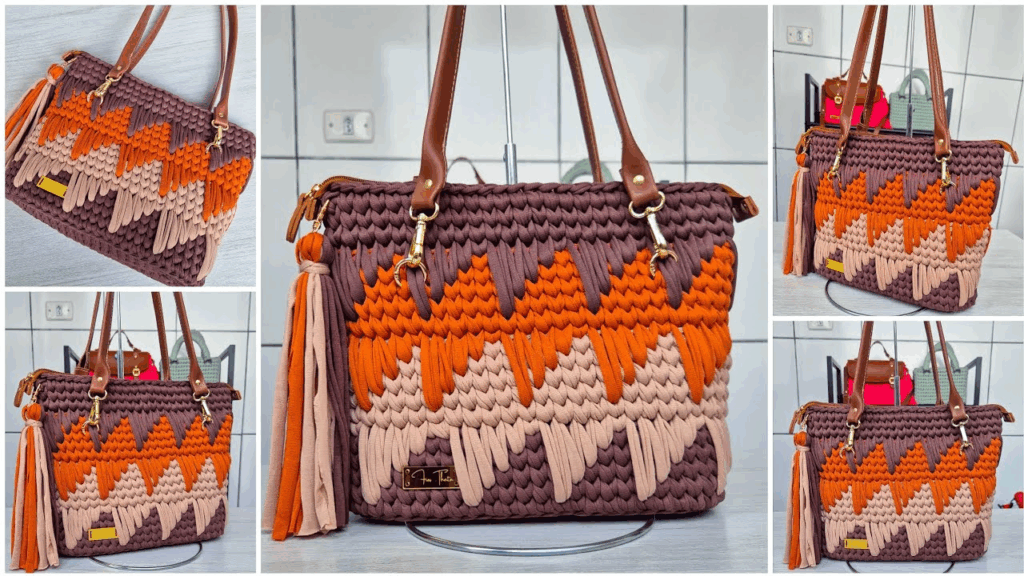
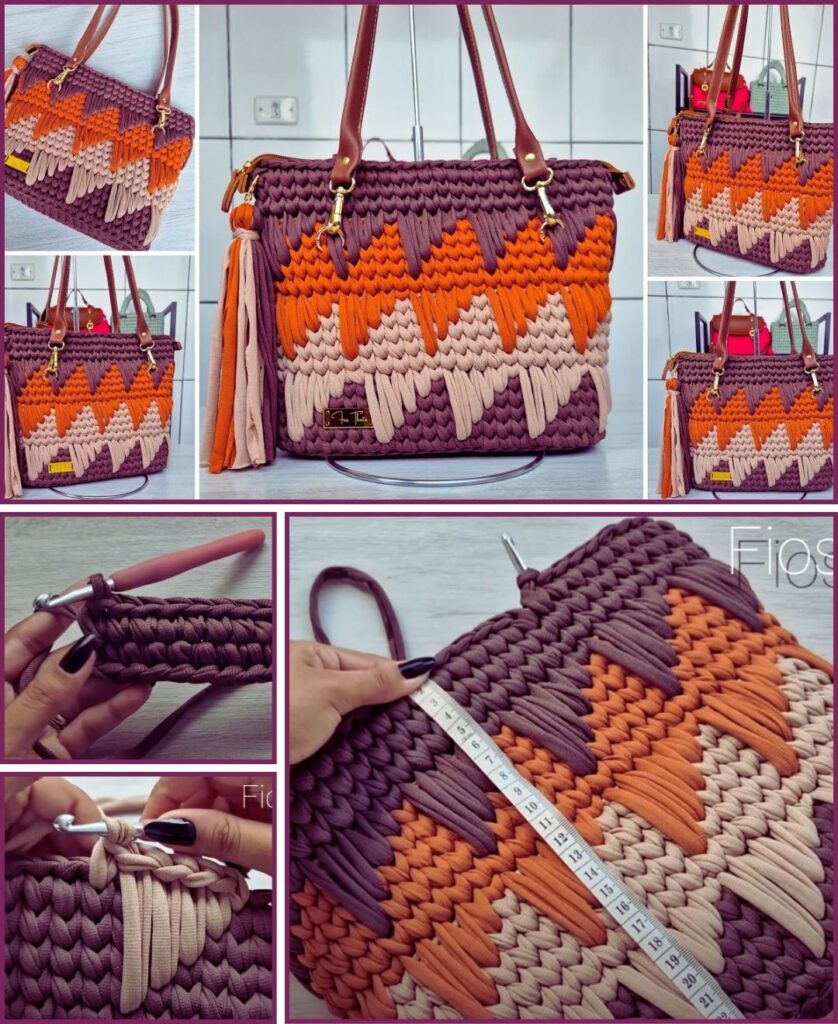
by Making a crochet striped bag is a fantastic project that allows you to play with colors and create a really unique accessory! It’s also quite beginner-friendly if you stick to simple stitches.
Here’s a detailed guide on how to make a wonderfully easy crochet striped bag, focusing on a rectangular shape with a sturdy base and simple handles.
How to Make a Crochet Striped Bag
This project primarily uses single crochet (sc) stitches for a dense fabric that holds its shape well, which is great for a bag. The magic happens with your color changes!
1. Essential Materials You’ll Need
- Yarn:
- Fiber: 100% Cotton or Cotton Blend (like cotton-acrylic) is highly recommended for bags. Cotton is durable, holds its shape, has good stitch definition, and comes in beautiful colors. It’s also less likely to stretch out over time compared to some acrylics.
- Weight: Worsted Weight (Aran – Weight 4) is ideal. It’s sturdy enough for a bag and works up at a good pace.
- Colors: Choose at least two contrasting or complementary colors for your stripes. You can use many more! Remember, even small amounts of yarn can create a stripe.
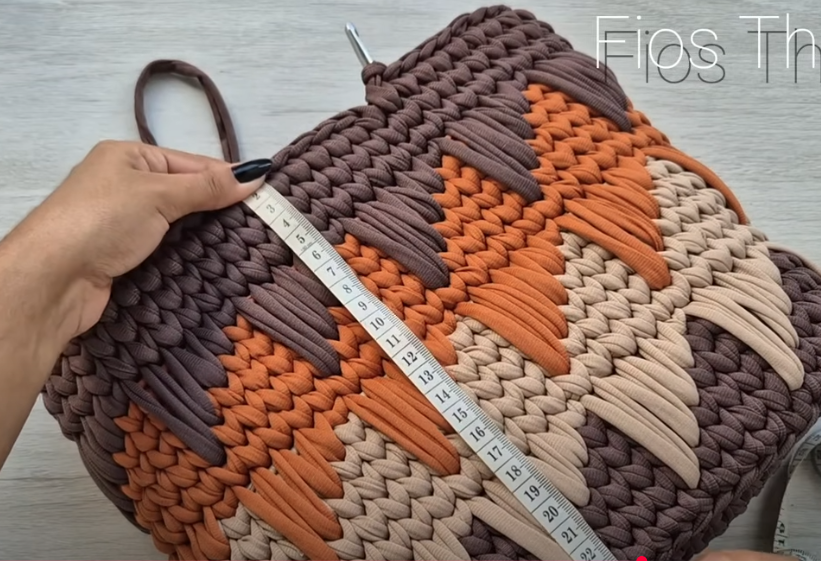
- Quantity: For a medium-sized tote bag (approx. 12×14 inches / 30×35 cm), you’ll need roughly 500-700 yards (450-640 meters) total. Divide this amount among your chosen colors based on how wide you want each stripe.
- Crochet Hook: A 4.0mm (US G/6) or 4.5mm (US 7) hook. The exact size depends on your yarn and desired fabric density. For a bag, you want your stitches to be quite tight so the bag doesn’t sag or have large gaps.
- Scissors: For cutting yarn.
- Yarn Needle (Tapestry Needle): Essential for weaving in ends and sewing on handles.
- Stitch Markers (Optional but Recommended): Very helpful for marking the beginning/end of rounds, especially when working in a spiral or for marking handle placement.
2. Basic Crochet Stitches You’ll Use
This project primarily uses just a few fundamental stitches:
- Chain (ch): To begin your project and for turning.
- Slip Stitch (sl st): For joining rounds.
- Single Crochet (sc): The main stitch for the bag’s body, creating a dense, sturdy fabric.
- Back Loop Only (BLO) / Front Loop Only (FLO) (Optional, for texture): Working into only one loop of the stitch can create subtle ribbing or seam lines.

3. Understanding Color Changes for Stripes
This is where the magic happens! To create clean stripes:
- When you’re working the last stitch of a row/round in Color A, don’t complete the very last yarn over (YO) of that stitch.
- Instead, drop Color A, pick up Color B, and complete the final YO of the stitch with Color B.
- Pull Color B through the loops on your hook to finish the stitch. Color B is now active.
- You can then crochet with Color B. To minimize weaving in ends, you can carry the inactive yarn color up the side of your work if you’re going to use it again soon (e.g., every 2-4 rows). To do this, simply drop the inactive yarn behind your work and pick it up when you need it again, making sure not to pull it too tightly.
4. Let’s Make Your Striped Bag! (Rectangular Base Method)
This method creates a sturdy rectangular base and then builds the sides upwards.
Abbreviations (US Crochet Terms):
- ch: chain
- sc: single crochet
- sl st: slip stitch
- st(s): stitch(es)
- rnd: round
- BLO: back loop only (optional for a seam look)

Part 1: The Base of the Bag
We’ll start with an oval base worked in continuous rounds (or joined rounds, your preference). Working in joined rounds often results in straighter seams for stripes.
- Starting Chain: With your first color (Color A), ch 31. (This will be the length of your bag’s base. Adjust as desired – a longer chain makes a longer bag).
- Rnd 1: Work 2 sc into the 2nd ch from hook. Sc in each of the next 28 ch. Work 4 sc into the last ch. (Now you’re working down the other side of the chain). Sc in each of the next 28 ch. Work 2 sc into the very last ch. Join with a sl st to the first sc. (64 sc)
- Self-correction: For a smoother transition and clearer understanding of the oval base, let’s simplify the first round slightly to ensure the corners are well-defined.
Revised Part 1: The Base of the Bag (Simpler Oval)
- Starting Chain: With your first color (Color A), ch 31. (This chain length will determine the length of your bag’s base. For example, a 30-stitch chain will result in a base roughly 10-12 inches long, depending on your gauge).
- Rnd 1: Work 2 sc into the 2nd ch from hook. Sc in each of the next 28 ch. Work 4 sc into the last ch. (You’ve now turned the corner and are working along the opposite side of the starting chain). Sc in each of the next 28 ch. Work 2 sc into the very last ch (this completes the second corner). Join with a sl st to the first sc. (64 sc total).
- Rnd 2: Ch 1 (does not count as a st). 2 sc in the first st. Sc in each of the next 30 sts. 2 sc in the next st. Sc in each of the next 30 sts. 2 sc in the last st. Join with a sl st to the first sc. (68 sc total).
- Note: This creates a wider, flatter base. You can add more rounds to the base if you want a wider bottom for your bag. Each subsequent round would add 4 stitches, increasing around the corners.
- For a simpler base (less flat, more like a rectangle that immediately goes up), you can just do Rnd 1 once and proceed to the sides.
Part 2: The Body of the Bag (Stripes!)
Now, we’ll build up the sides of the bag, changing colors for stripes.
- Rnd 3 (First side round): Ch 1 (does not count as a st). Work 1 sc in the BLO (back loop only) of each st around. Join with a sl st to the first sc. (68 sc).
- Working in the BLO of this first side round creates a subtle ridge that helps the bag “turn the corner” from the flat base to the upright sides. It’s optional, but gives a nice finish.
- Rnd 4: Ch 1 (does not count as a st). Work 1 sc in each st around. Join with a sl st to the first sc. (68 sc).
- Change to Color B on the last sl st of this round.
- Rnd 5 (First stripe): With Color B, Ch 1 (does not count as a st). Work 1 sc in each st around. Join with a sl st to the first sc. (68 sc).
- Rnd 6: With Color B, Ch 1 (does not count as a st). Work 1 sc in each st around. Join with a sl st to the first sc. (68 sc).
- Change to Color A on the last sl st of this round.
- Continue Pattern: Repeat Rnds 5 and 6, changing colors every 2 rounds, until your bag reaches your desired height.
- You can customize your stripe width: e.g., 2 rounds of Color A, 3 rounds of Color B, 1 round of Color C. Be creative!
- Remember the color change technique described in Section 3.
- If your bag body starts to slant, try working in a spiral (don’t join with sl st, just continue working into the first st of the next round) and use a stitch marker to mark the start of each round. However, for stripes, joining rounds usually gives cleaner lines.
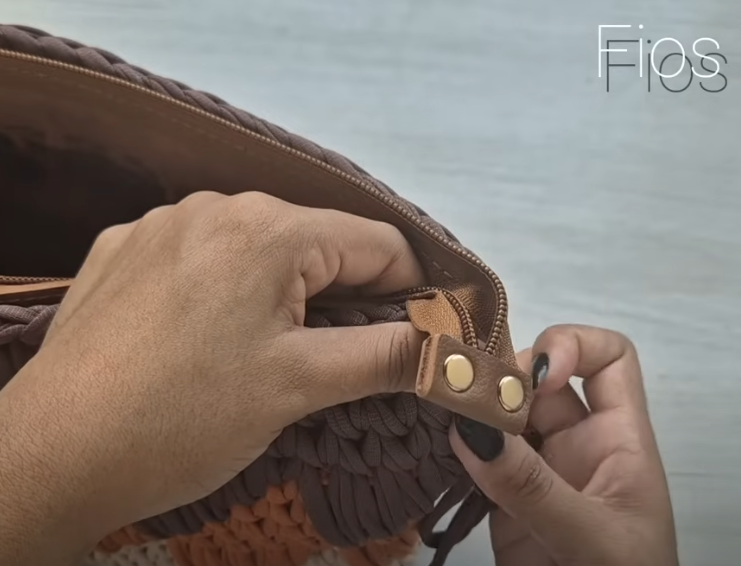
Part 3: Adding the Handles
We’ll create simple loop handles directly as part of the bag’s top edge.
- Handle Placement: Once your bag body is tall enough, decide where you want your handles. Lay your bag flat and mark the placement with stitch markers. For a 68-stitch top edge, a good general placement would be:
- Count 10 stitches in from each side (total 20 stitches for the front and back handle spans).
- This leaves a gap of 14 stitches for the handle opening on each side.
- (68 total stitches – 20 stitches for sides) / 2 = 24 stitches for the gaps. Wait, let’s re-calculate:
- Let’s say you have 68 sts total. If you want two handles, each using 2 stitches for attachment (where you work into the bag) and bridging a gap of X stitches, and two spaces between the handles (front/back).
- Simpler Handle Placement (Using your last body color, e.g., Color A):
- Rnd A (Handle Prep): Ch 1. Sc in the first 10 sts. (This is the top edge on one side).
- Ch 20 (this is one handle loop. Adjust chain length for desired handle size).
- Sk 14 sts (skip the stitches that will form the opening for the handle).
- Sc in the next 20 sts. (This is the top edge between the two handles).
- Ch 20 (this is the second handle loop).
- Sk 14 sts.
- Sc in the remaining 10 sts. Join with sl st to first sc.
- Rnd B (Handle Finish): Ch 1. Sc in each sc around and then work 20 sc evenly into each ch-20 handle loop. Join with sl st.
- Optional Rnd C (Handle Reinforcement): Ch 1. Sc in each st around. Join with sl st. (This adds strength and neatness to the handle edges).
4. Finishing Your Striped Bag
- Fasten Off: Cut your yarn, leaving a tail of about 6-8 inches. Yarn over your hook, pull the tail completely through the loop, and pull tight to secure.
- Weave in All Ends: This is the most crucial (and often least favorite!) part of any striped project. Use your yarn needle to carefully weave in every single yarn tail securely. Go back and forth through stitches on the inside of the bag to ensure they won’t unravel. Take your time here for a neat, professional finish.
- Optional Lining: For extra durability and to prevent small items from slipping through stitches, you can sew a fabric lining into your crochet bag.
- Blocking (Optional): While not strictly necessary for cotton bags (as they don’t stretch as much as acrylic), you can gently steam block your bag to even out the stitches and shape it nicely. For cotton, you can also wash it according to yarn instructions and then lay it flat to dry, shaping it as it dries.
Tips for a Wonderfully Easy Striped Bag
- Practice Color Changes: Do a small swatch just to practice the color change technique before starting your bag.
- Keep Tension Consistent: Especially important for bags. Too loose, and your bag might be floppy. Too tight, and it might be stiff. Find a comfortable tension that creates a dense fabric.
- Stitch Markers for Handles: Definitely use stitch markers to accurately place your handles before you start chaining them.
- Weave as You Go (if possible): For very short stripes, some people weave in tails every few rounds. However, for a two-round stripe, it’s often easier to carry the inactive yarn up the side and weave in larger chunks at the end.
- Experiment with Stripes: Don’t be afraid to try different stripe widths (e.g., thin stripes, thick blocks of color) or even variegated yarn for one of your stripe colors.
Enjoy crocheting your unique and wonderfully easy striped bag! It’ll be a stylish accessory you can be proud of.