by
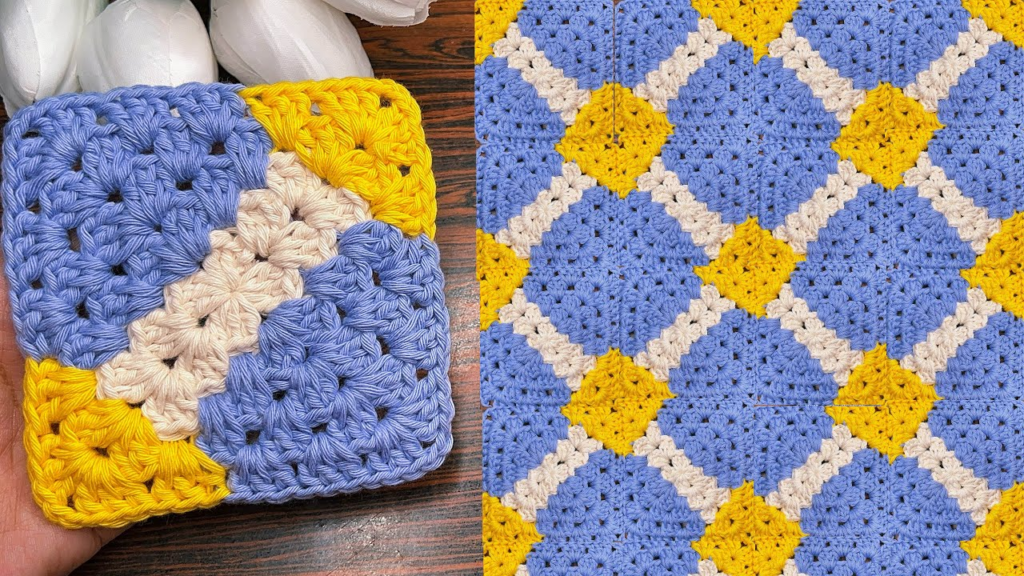
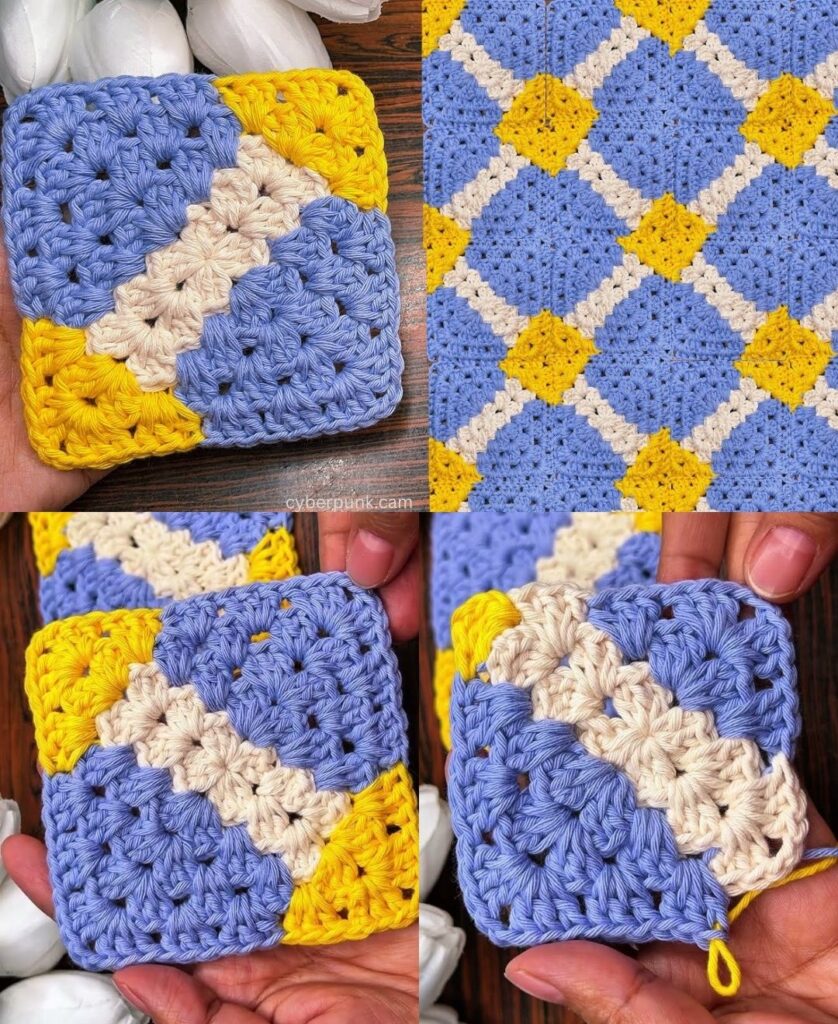
by The granny square is the ultimate “chameleon” of the crochet world. While it evokes images of vintage 1970s afghans, the Modern Granny Square has taken over high-fashion runways and minimalist home decor.
The “Modern Twist” lies in two things: color theory (using monochromatic or ombre palettes) and structural density (reducing the “holes” for a sleeker look).
🧶 The Modern Toolkit
To give this classic a contemporary feel, skip the neon scraps and opt for natural fibers or muted, “earthy” tones.
| Material | Recommendation | Why? |
| Yarn | Cotton or Merino Wool (DK Weight) | Provides “stitch definition” and a high-end matte finish. |
| Hook | 4.0 mm (G/6) | Slightly smaller than usual to create a tighter, less “holey” fabric. |
| Colors | Tone-on-tone (e.g., three shades of Sage) | Creates a sophisticated gradient rather than a “scrappy” look. |
🛠 The Step-by-Step Guide
Round 1: The Foundation
- Start: Make a Magic Ring. (This is the first “Modern Twist”—it allows you to pull the center completely closed, leaving no hole).
- First Cluster: ch 3 (counts as dc), 2 dc into the ring.
- Corner: ch 2.
- Repeat: [3 dc, ch 2] three more times.
- Close: Pull the magic ring tight. sl st to the top of the ch 3.
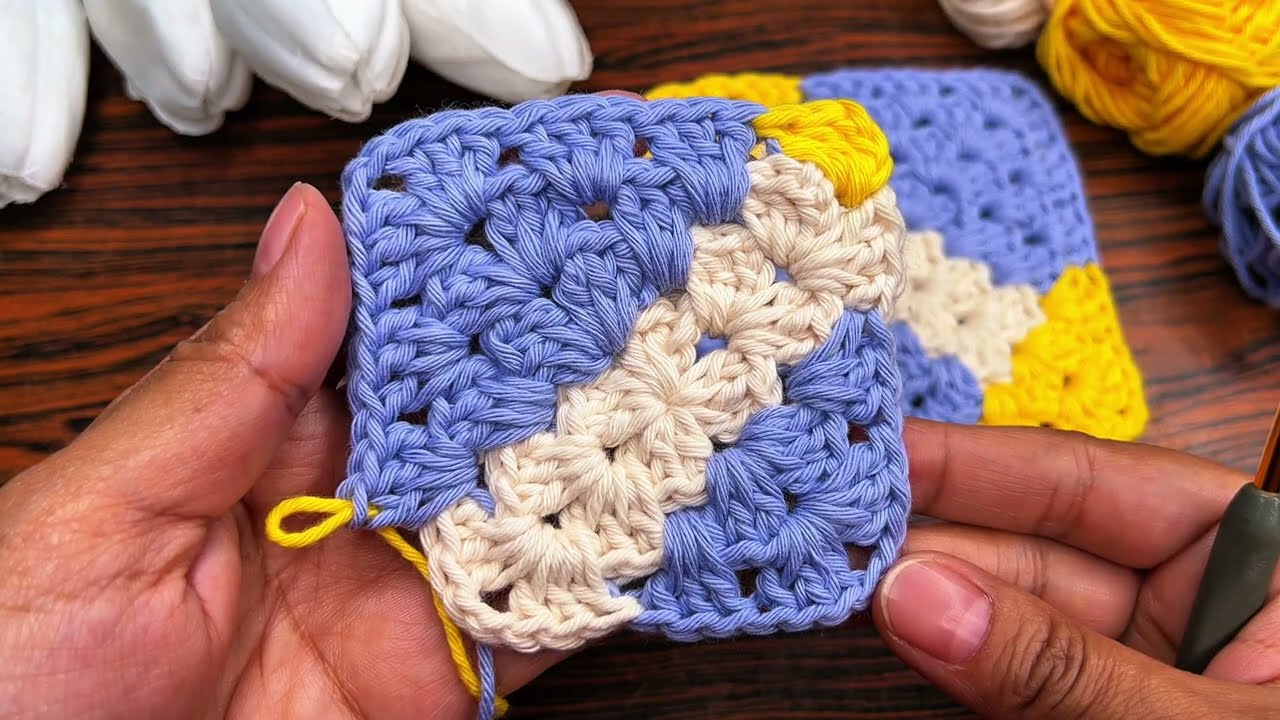
Round 2: Building Depth
- The Modern Shift: Instead of slip-stitching across to the corner, turn your work. (Turning every round keeps your square perfectly straight and prevents the “spiraling” look common in old-school squares).
- Corner: sl st into the corner space. ch 3, 2 dc, ch 2, 3 dc.
- The Side: Do not chain 1. (Another modern twist: skipping the ch-1 on the sides makes the square denser and more modern).
- Next Corners: Work (3 dc, ch 2, 3 dc) in each corner.
- Close: sl st to the top of the ch 3.
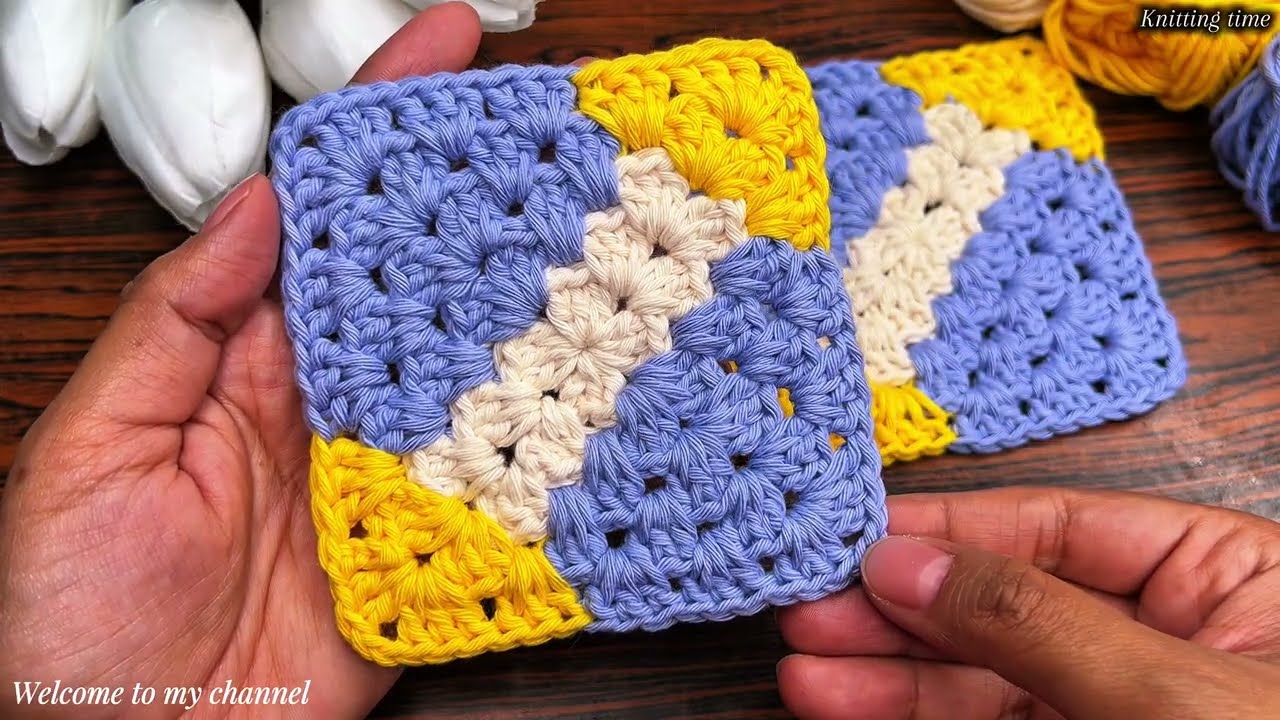
Round 3: The Finished Look
- Turn your work. sl st into the side space.
- Side Cluster: ch 3, 2 dc in the space.
- Corner: Work (3 dc, ch 2, 3 dc) in the corner space.
- Repeat: Work 3 dc in each side space and the corner cluster in each corner.
- Close: sl st to join.

✨ 3 Ways to Add a “Modern Twist”
1. The Monochromatic Gradient
Instead of changing colors randomly, pick one color family. Use Dark Charcoal for the center, Medium Grey for the middle, and Light Silver for the edge. This “Ombre” effect is very popular in modern Scandinavian decor.
2. The Invisible Join
When finishing a square, don’t just knot it. Use a tapestry needle to create a “False Stitch” over the joining slip stitch. This makes the edge look continuous, which is essential if you plan to join the squares into a garment like a crop top or a bucket hat.
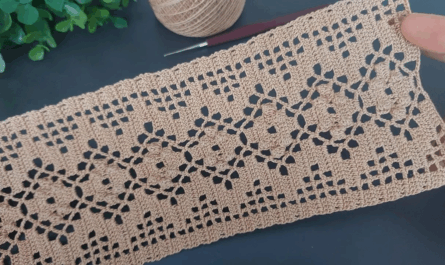
3. The “Solid” Variation
If you want a square that looks like fabric rather than lace:
- Replace all “ch-1” side spaces with double crochets.
- Only keep the ch-2 in the very corners.
- Result: A sturdy, architectural tile that looks incredible for minimalist throw pillows.
🏁 The Finishing Touch: Steam Blocking
In the past, people just sewed squares together and hoped for the best. For a modern finish, you must block your squares. Pin your squares to a foam board so they are all exactly the same size. Use a garment steamer (or a steam iron held 2 inches away—never touch the yarn!) to relax the fibers. This turns a “curly” handmade square into a professional, flat tile.
Would you like me to explain the “Join-As-You-Go” method so you can connect these squares without ever having to pick up a sewing needle?