 by
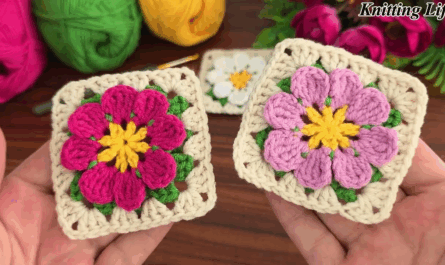
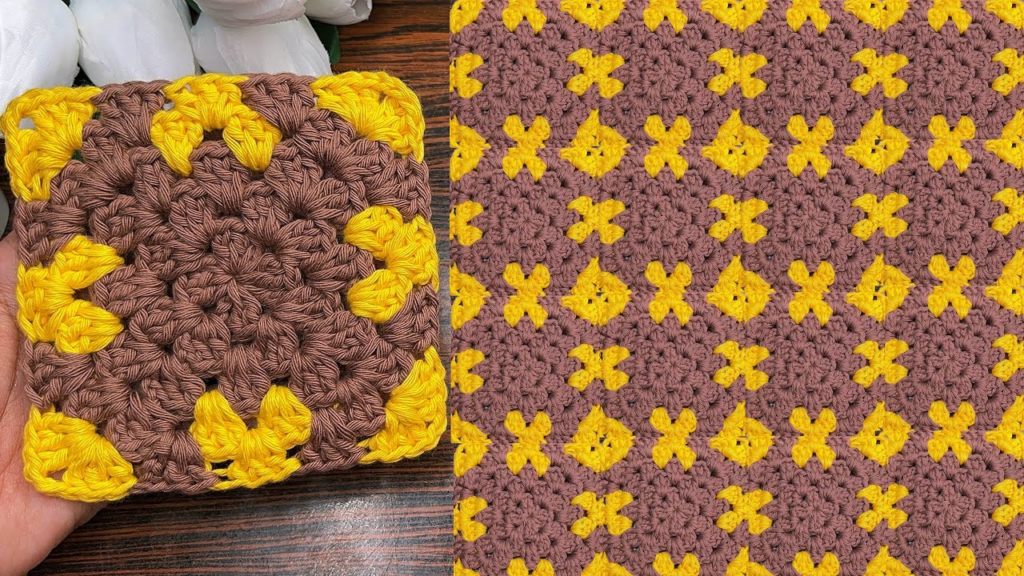
by The Granny Square is the undisputed “Lego brick” of the crochet world. For blankets, it is the perfect project because it is portable—you can crochet individual squares on the bus or while watching a movie, then join them later into a massive, cozy masterpiece.
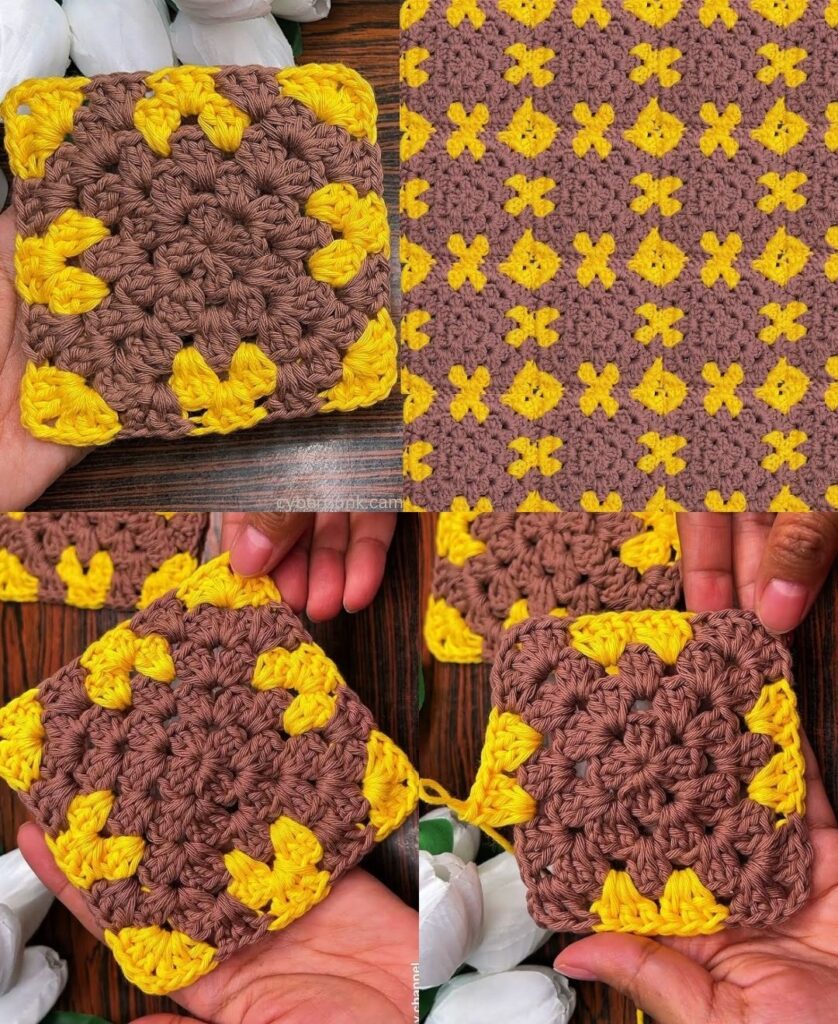
Here is the blueprint for creating the classic, timeless square that has warmed laps for generations.
🧶 The Blanket-Maker’s Toolkit
When making a blanket, you want a yarn that is soft but durable. Since blankets get washed, Acrylic or Cotton-Acrylic blends are the most practical choices.
| Item | Recommendation | Why? |
| Yarn | Worsted Weight (Size 4) | Works up quickly and provides good warmth. |
| Hook | 5.0 mm (H/8) | The “Goldilocks” size—not too tight, not too loose. |
| Notions | Tapestry needle, Scissors | To weave in the many ends a blanket creates. |
🛠 The Classic Pattern (US Terms)
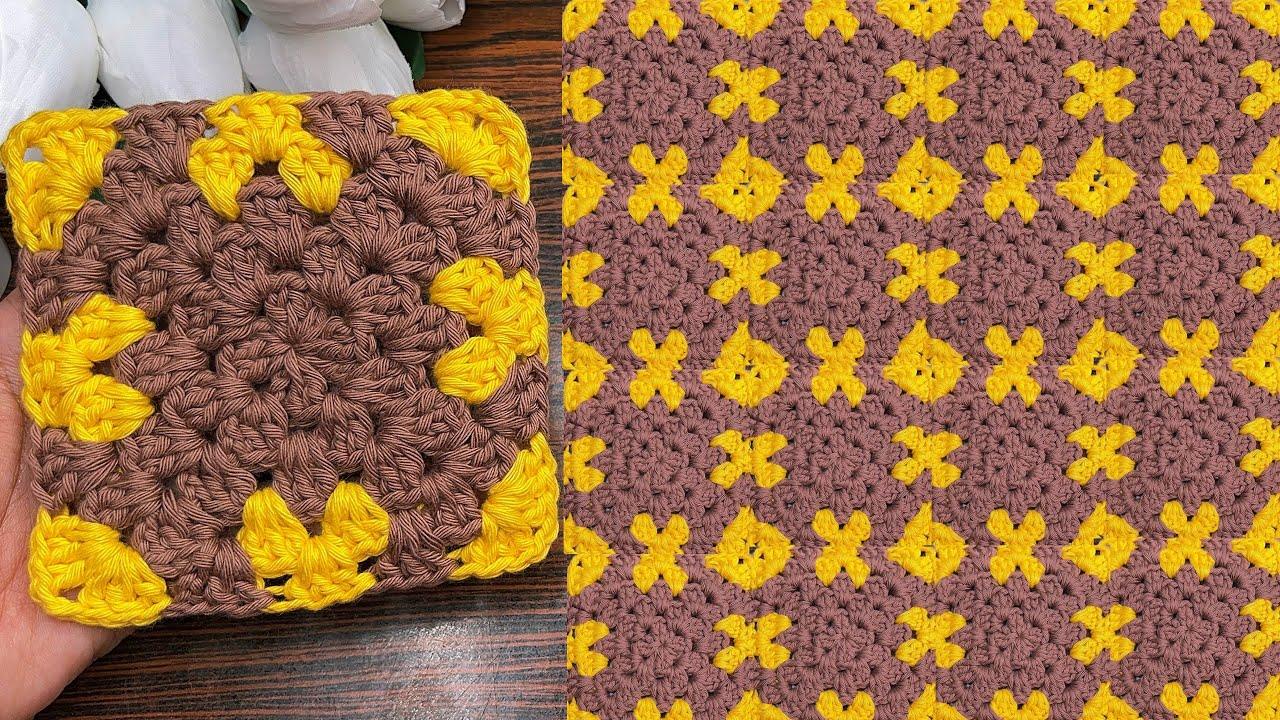
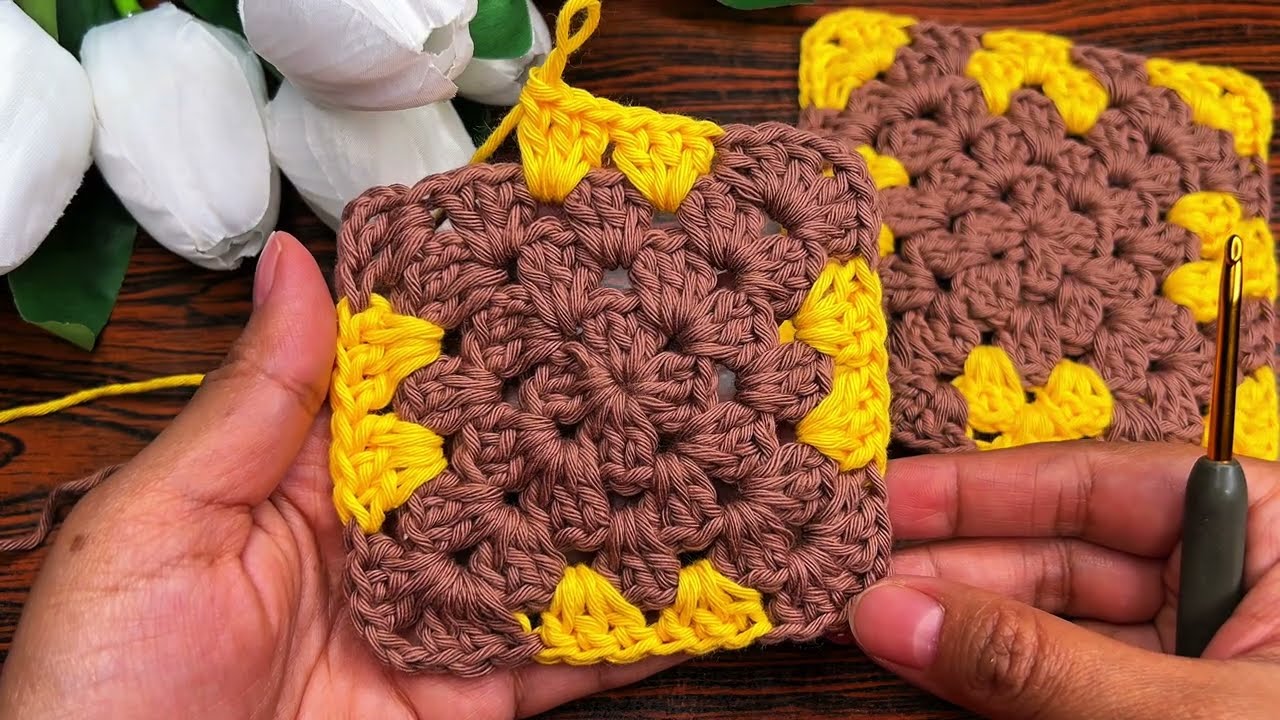
Special Stitch: The Granny Cluster
A “cluster” is simply 3 Double Crochets (dc) worked into the same space.
Round 1: The Foundation
- Make a Magic Ring (or ch 4 and sl st to the first ch to form a ring).
- ch 3 (counts as dc), work 2 dc into the ring. (First Cluster).
- ch 2 (First Corner).
- Repeat: [3 dc into ring, ch 2] three more times.
- sl st to the top of the starting ch 3.
Result: A tiny square with 4 clusters and 4 corner holes.
Round 2: The Corners
- sl st into the next two stitches and then into the first corner hole.
- ch 3, work (2 dc, ch 2, 3 dc) in that same corner hole.
- ch 1.
- Repeat: In each of the remaining 3 corner holes, work (3 dc, ch 2, 3 dc) followed by a ch 1.
- sl st to join.
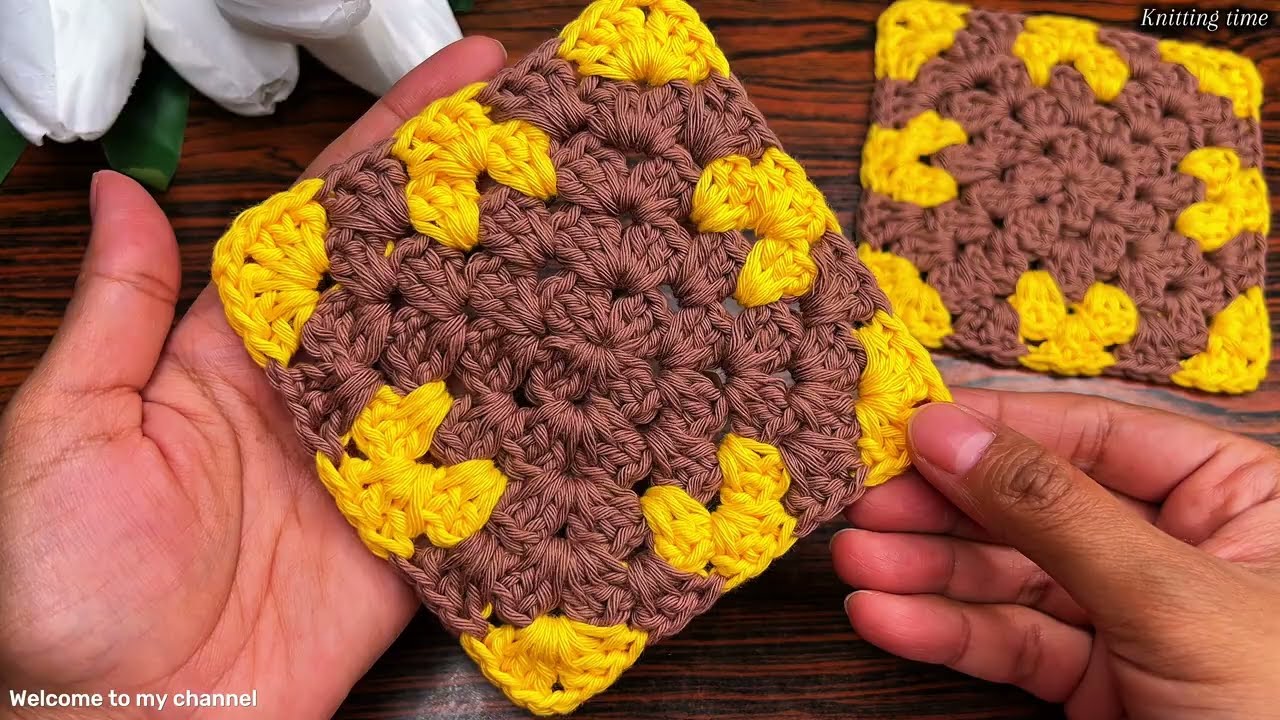
Round 3: Corners and Sides
- sl st over to the first corner hole.
- Corner: ch 3, (2 dc, ch 2, 3 dc) in the corner. ch 1.
- Side: Work 3 dc into the ch-1 space on the side. ch 1.
- Repeat: Work a Corner (3 dc, ch 2, 3 dc) in each corner and 3 dc on each side.
- sl st to join. Fasten off.
📐 How Many Squares Do You Need?
To calculate the number of squares ($N$) required for your blanket, you need to know your desired blanket dimensions and the size of your finished square.
$$N = \left( \frac{\text{Blanket Width}}{\text{Square Size}} \right) \times \left( \frac{\text{Blanket Length}}{\text{Square Size}} \right)$$
Standard Blanket Estimates (based on 5-inch squares):
- Baby Blanket (30″ x 35″): 42 squares (6 wide x 7 long)
- Throw Blanket (50″ x 60″): 120 squares (10 wide x 12 long)
- Twin Bed (65″ x 90″): 234 squares (13 wide x 18 long)
🏛 Turning Squares into a Blanket
1. The Layout
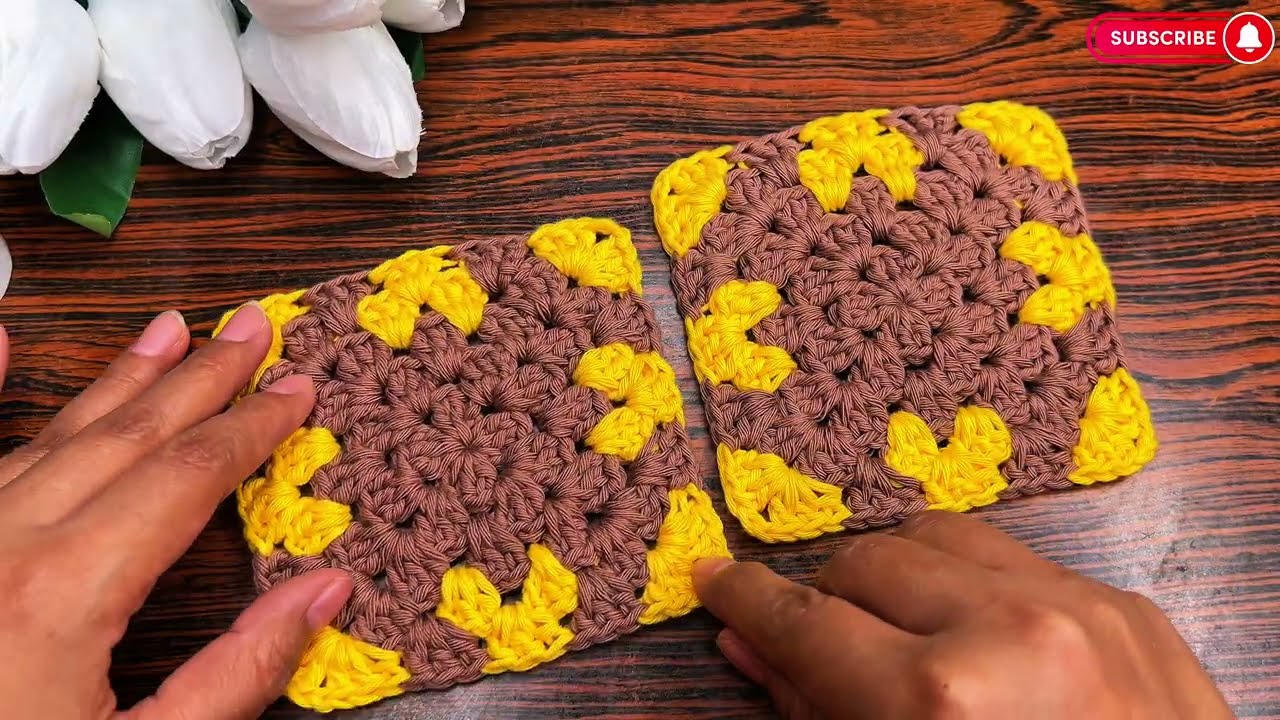
Before joining, lay your squares out on a bed or the floor. If you used multiple colors, try to balance the “heavier” dark colors so they aren’t all in one corner.
2. The Join
- The Whip Stitch: Use a tapestry needle to sew the squares together. This is the flattest, most invisible join.
- The Flat Slip Stitch: Use your hook to “surface crochet” the squares together. This creates a beautiful, decorative ridge between squares.
3. The Border
A blanket isn’t finished until it has a border. A simple round of Half Double Crochet (hdc) around the entire edge “frames” the patchwork and makes it look professional.
💡 Pro-Tips for Blanket Success
- Weave as you go: Listen to me as a friend: do not wait until you have 100 squares to weave in the tails. Spend 2 minutes weaving in the ends of each square as soon as you finish it. Future you will be so much happier.
- Blocking: If your squares look a bit “wonky” or uneven, pin them to a foam board and hit them with a burst of steam from an iron. This “sets” the shape so they line up perfectly during assembly.
- Consistency: Try to buy all your yarn at once to ensure the Dye Lot matches. Even the same “color” can look slightly different if made in different batches.
Would you like me to suggest a three-color palette that would give your blanket a modern, “Scandi-style” look?