by
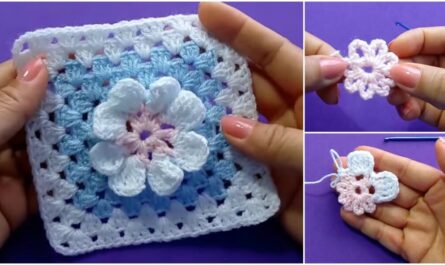
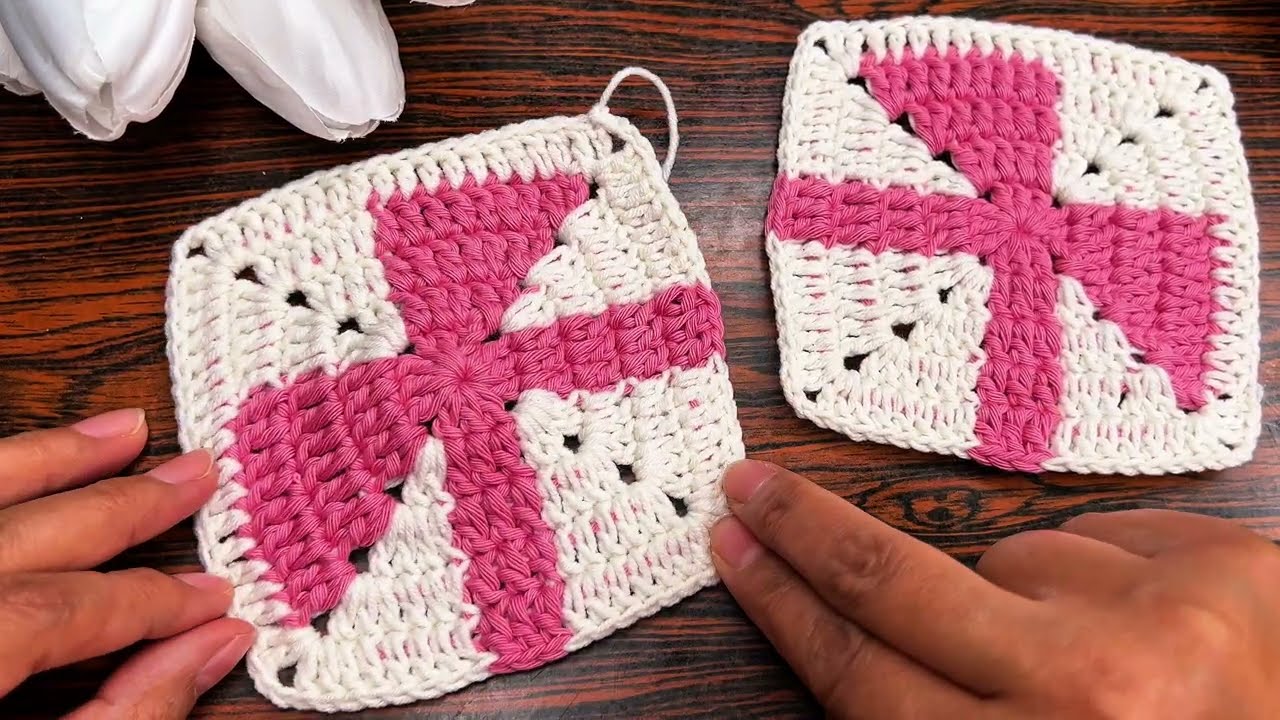
by The Classic Granny Square is the ultimate “Lego brick” of the crochet world. It is the perfect project because it is portable, meditative, and—when you play with color—absolutely stunning. Whether you are making a 1970s-style afghan or a high-fashion 2026-style crop top, this pattern is your foundation.
To make this “eye-catching,” we will focus on the Three-Color Shift, which emphasizes the geometric “bloom” of the square.
🧶 The Modern Maker’s Kit
For a square that looks professional and feels soft, your choice of fiber is everything.
| Item | Recommendation | Why? |
| Yarn | Worsted Weight (Size 4) Cotton or Acrylic | Great stitch definition and easy to handle. |
| Hook | 5.0 mm (H/8) | The “Goldilocks” size for standard yarn. |
| Colors | A (Cream), B (Terracotta), C (Sage) | Earthy tones are currently trending and very eye-catching. |
Stitch Key (US Terms)
- ch: Chain
- sl st: Slip Stitch
- dc: Double Crochet
- Cluster: A group of 3 double crochets worked into the same space.
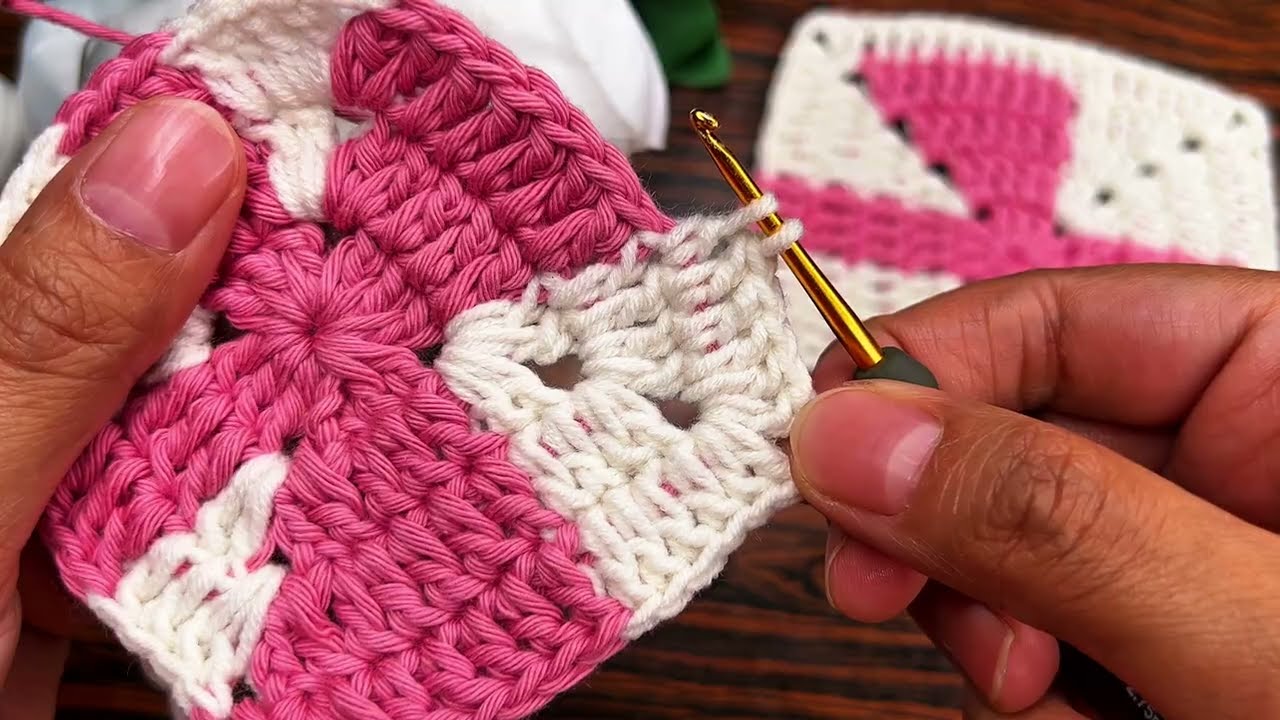
🛠 Step-by-Step Tutorial
Round 1: The Heart (Color A)
- Start: Make a Magic Ring (or ch 4 and sl st to the first ch to form a tiny circle).
- First Cluster: ch 3 (counts as your first dc). Work 2 dc into the ring.
- Corner: ch 2.
- Repeat: [3 dc into the ring, ch 2] three more times.
- Join: sl st into the top of the starting ch 3. Fasten off Color A.
Note: You should have 4 clusters and 4 corner holes.
Round 2: The Expansion (Color B)
- Join: Attach Color B in any ch-2 corner space.
- First Corner: ch 3, then work (2 dc, ch 2, 3 dc) all in that same corner hole.
- The Side: ch 1.
- Next Corners: In each of the remaining 3 corner holes, work: (3 dc, ch 2, 3 dc) followed by a ch 1.
- Join: sl st to the top of the ch 3. Fasten off Color B.
Round 3: The Frame (Color C)
- Join: Attach Color C in any corner space.
- Corner: ch 3, (2 dc, ch 2, 3 dc) in the corner. ch 1.
- Side Cluster: Look at the space on the side between corners. Work 3 dc into that hole. ch 1.
- Repeat: Work a Corner in every corner and 1 Cluster in every side space.
- Join: sl st to the top of the ch 3. Fasten off and leave a tail for weaving.
✨ How to Make it “Eye-Catching”
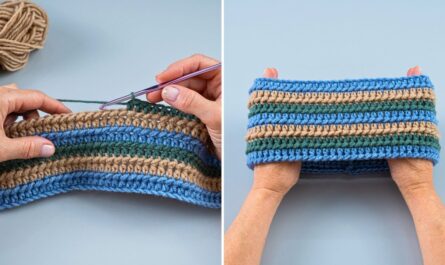
- The “Jellyfish” Prevention: To keep your square from “spiraling” or looking tilted, turn your work after every round. This ensures the stitches stay perfectly vertical.
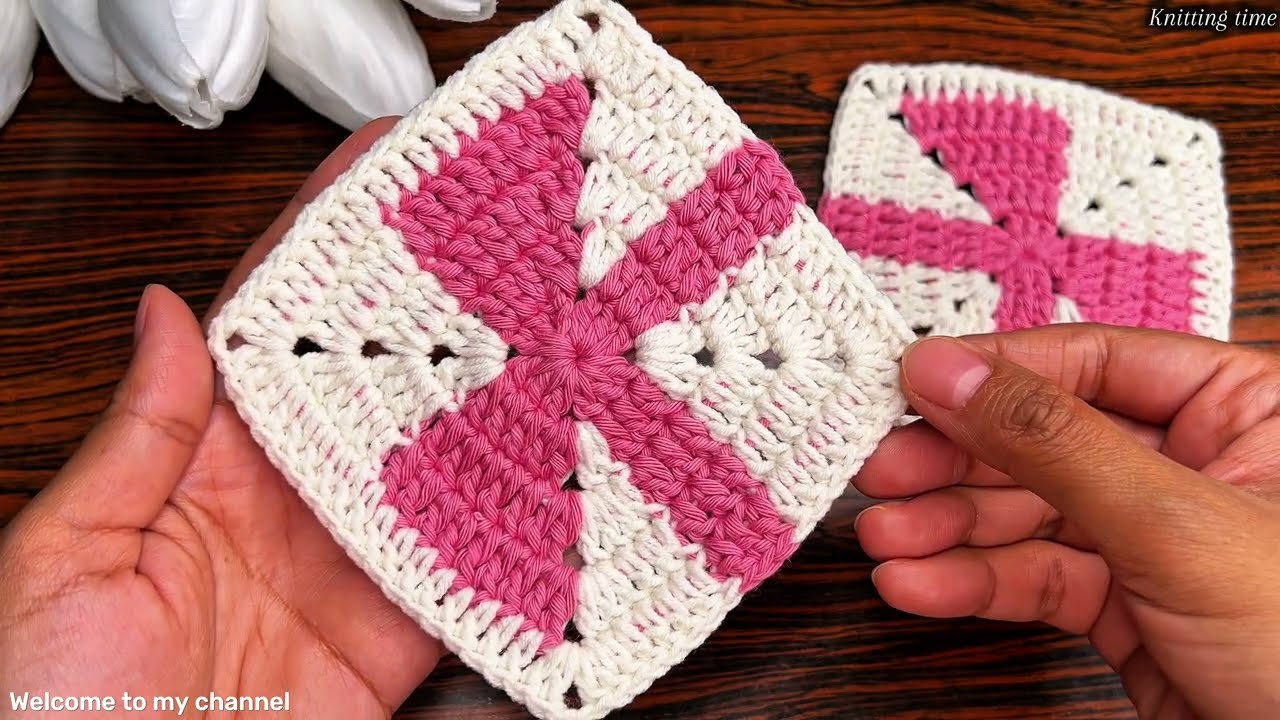
- The “Magic” Pull: If you used a Magic Ring for Round 1, pull it tight until the center hole completely disappears. This gives it a clean, modern “boutique” look.
- Color Blocking: Use a high-contrast color for Round 3 (like Black or Deep Navy). This acts as a frame and makes the inner colors “pop” like a stained-glass window.
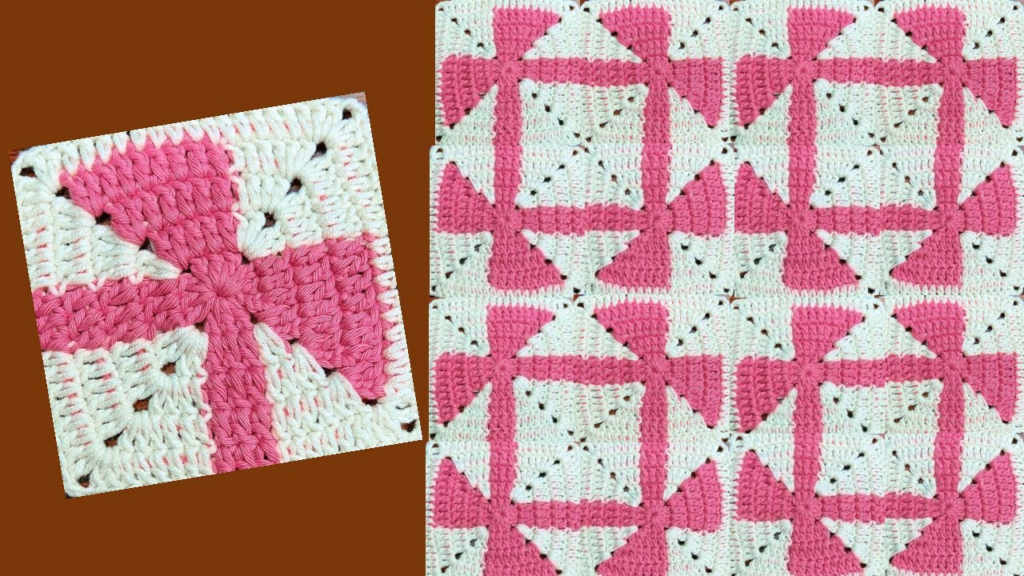
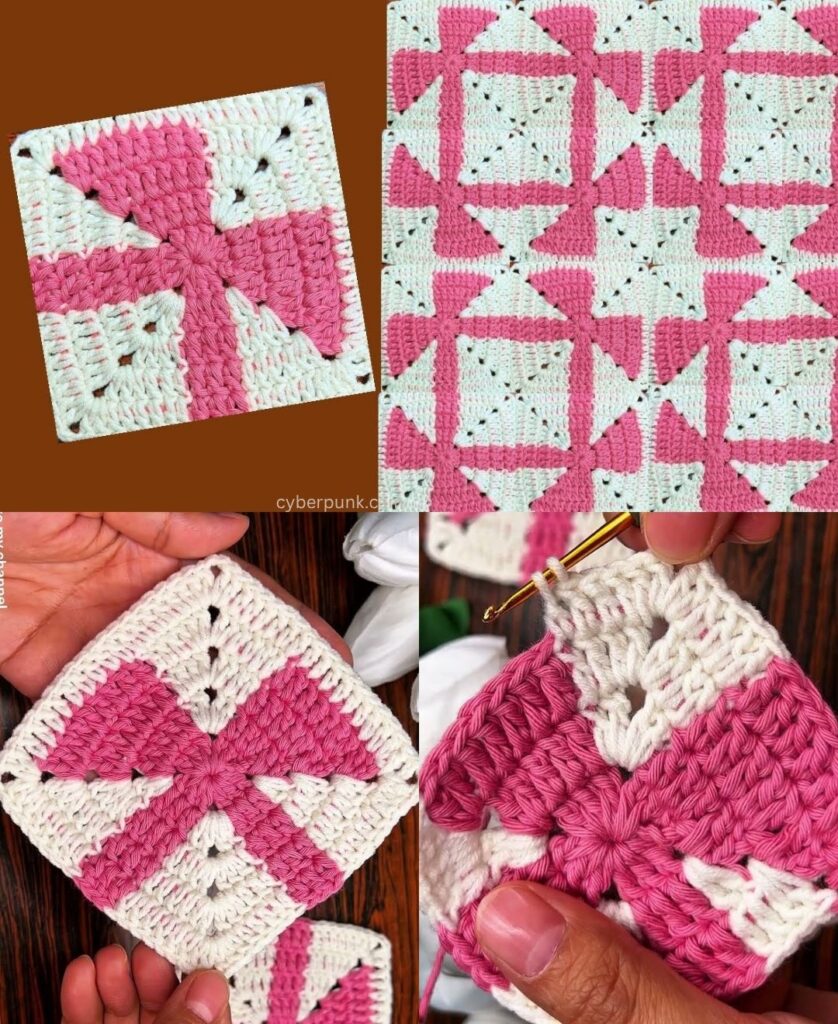
📐 The Math of the Blanket
If you are planning a full-size project, you can calculate your yarn needs easily. If your square is $s$ inches per side and you want a blanket that is $W \times L$, the total number of squares $(N)$ is:
$$N = \frac{W \times L}{s^2}$$
Pro-Tip: Always make one extra square for a “gauge swatch.” This lets you practice your tension and see how the colors look together before you commit to 100 of them.
💡 A Touch of Candor
Weaving in ends is the “existential dread” of every crocheter. Since you are changing colors every round, you will have multiple tails. Do not wait until the end of the project to weave them in. Weave them in as soon as you finish each square. Trust me, your future self will thank you for not having to deal with a 200-tail “spaghetti monster” at the end.
Would you like me to show you how to join these squares together using the “Invisible Join” for a seamless look?