 by
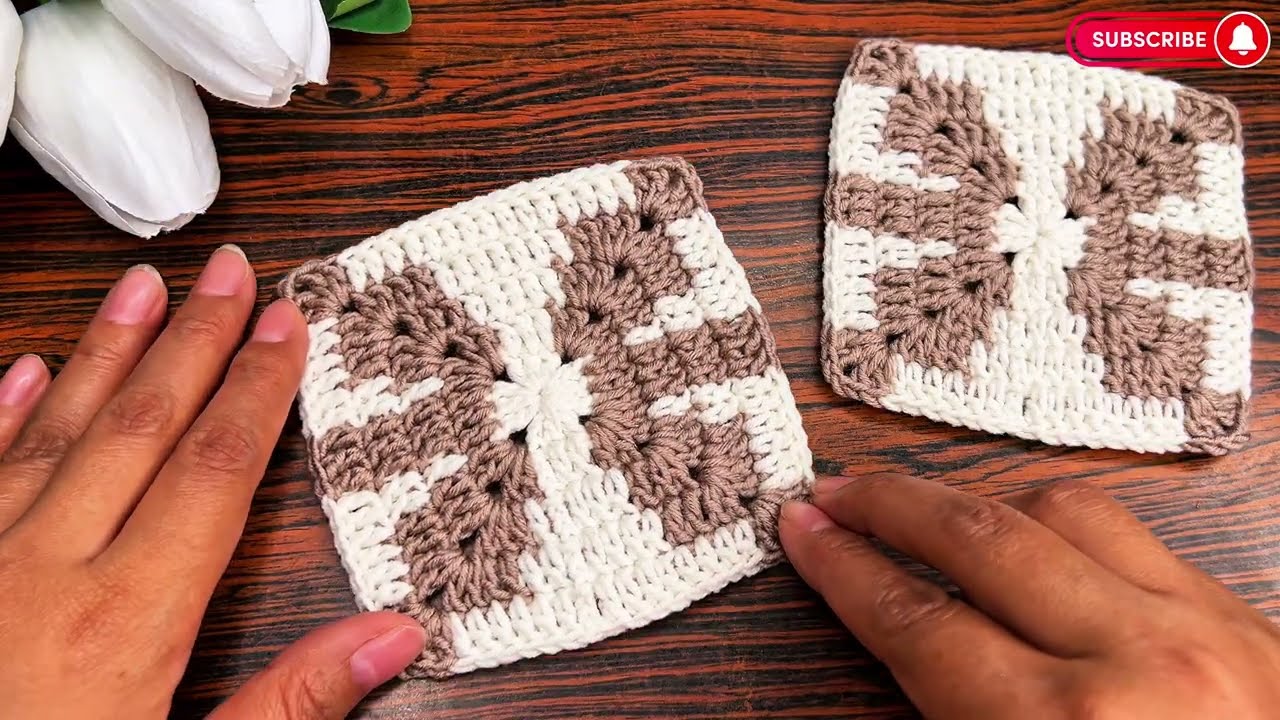
by The “Giant Granny Square” is the holy grail for crochet beginners. Unlike a standard blanket that requires a long, intimidating starting chain (where one missed stitch ruins the whole row), a square blanket starts from the center and grows outward.
If you make a mistake, you’ll catch it within a few inches, not three feet later. Plus, it’s a “mindless” project—once you master the first three rounds, you can finish the rest while binge-watching your favorite show.
🧶 The Beginner’s Survival Kit
For your first blanket, don’t buy “novelty” yarn (fuzzy, sparkly, or black). You won’t be able to see where to put your hook, and you’ll want to throw the whole project out the window.
| Item | Recommendation | Why? |
| Yarn | 4-5 Skeins of Worsted Weight (Size 4) Acrylic | Durable, washable, and easy to handle. |
| Hook | 5.5 mm (I/9) | Slightly larger than “standard” to keep your stitches soft and cozy. |
| Tools | 2 Stitch Markers | To mark your corners so you don’t get lost. |
| The “Vibe” | A light color (Cream, Soft Blue, Grey) | Essential for seeing the “eyes” of your stitches. |
🛠 Step 1: The Vocabulary (US Terms)
- ch (Chain): The foundation.
- sl st (Slip Stitch): A flat stitch used to join the end of a round to the beginning.
- dc (Double Crochet): The “workhorse” stitch of this blanket.
- The Granny Cluster: This is just a fancy name for 3 dc stitches worked into the same hole.
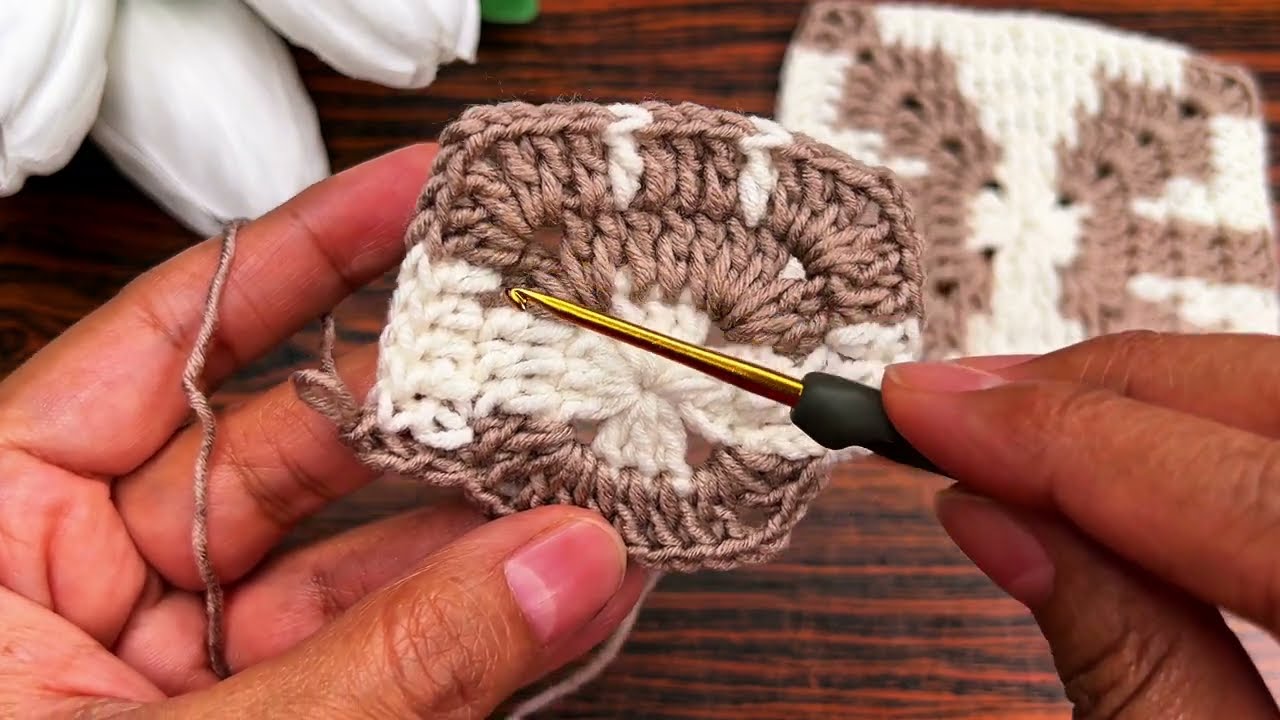
🚀 Step 2: The Step-by-Step Guide
Round 1: The Foundation
- Start: ch 4. Insert your hook into the first chain you made and work a sl st to form a tiny ring.
- The First Cluster: ch 3 (this counts as your first dc). Work 2 dc into the center of the ring.
- The Corner: ch 2.
- Repeat: Work [3 dc into the ring, ch 2] three more times.
- Join: sl st into the top of your starting ch 3.
Insight: You should now see a tiny square with 4 clusters and 4 corner holes.
Round 2: Setting the Corners
- Travel: sl st into the next two dc stitches and then into the first ch-2 corner hole. (This puts your hook in the right spot to start).
- First Corner: ch 3, then work (2 dc, ch 2, 3 dc) all in that same corner hole.
- The Side: ch 1. (This creates the space for the next round).
- Next Corners: In each of the remaining 3 corner holes, work: (3 dc, ch 2, 3 dc) followed by a ch 1.
- Join: sl st into the top of the ch 3.
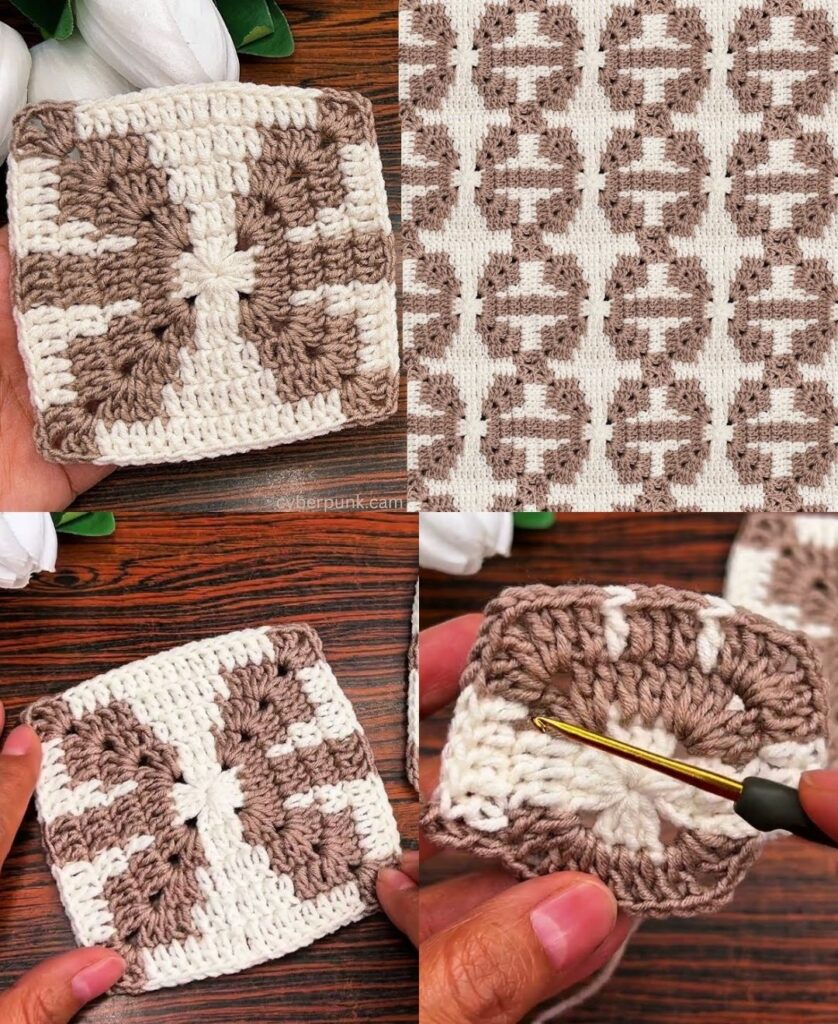
Round 3: The “Growth” Round
From here on, the pattern never changes. You are just repeating this logic.
- Travel: sl st over to the corner hole.
- Corners: In every corner hole, always work (3 dc, ch 2, 3 dc).
- Sides: In every side hole (the ch-1 spaces), work 3 dc.
- The Rule: Always ch 1 between every cluster, except in the corners where you ch 2.
- Join: sl st to the beginning.
📐 Step 3: When Do I Stop?
The beauty of the square blanket is that you stop whenever you run out of yarn or the blanket is big enough to cover your toes.
If you want to plan for a specific size, remember the area of your square ($A$) is the side length ($s$) squared:
$$A = s^2$$
Standard Sizes:
- Baby Security Blanket: 15″ x 15″
- Lapghan: 35″ x 35″
- Standard Throw: 50″ x 50″
💡 Gemini’s Peer-to-Peer Tips
- The “Wandering” Square: If you notice your square is starting to look like a spiral or looks “tilted,” turn your work over after every round. This keeps the stitches perfectly vertical.
- Yarn Chicken: When you get close to the end of a skein, make sure you have enough yarn to finish the entire round. There is nothing more heartbreaking than being 4 stitches away from finishing a 200-stitch round and running out of yarn.
- The Dreaded Tails: Weave in your yarn ends every 5 rounds. If you wait until the blanket is 4 feet wide, you will have a “spaghetti monster” of 50 tails to hide, and you will hate your life for three hours.
Would you like me to explain the “Magic Ring” technique? It’s a slightly more advanced way to start that leaves zero hole in the very center of your blanket.