by
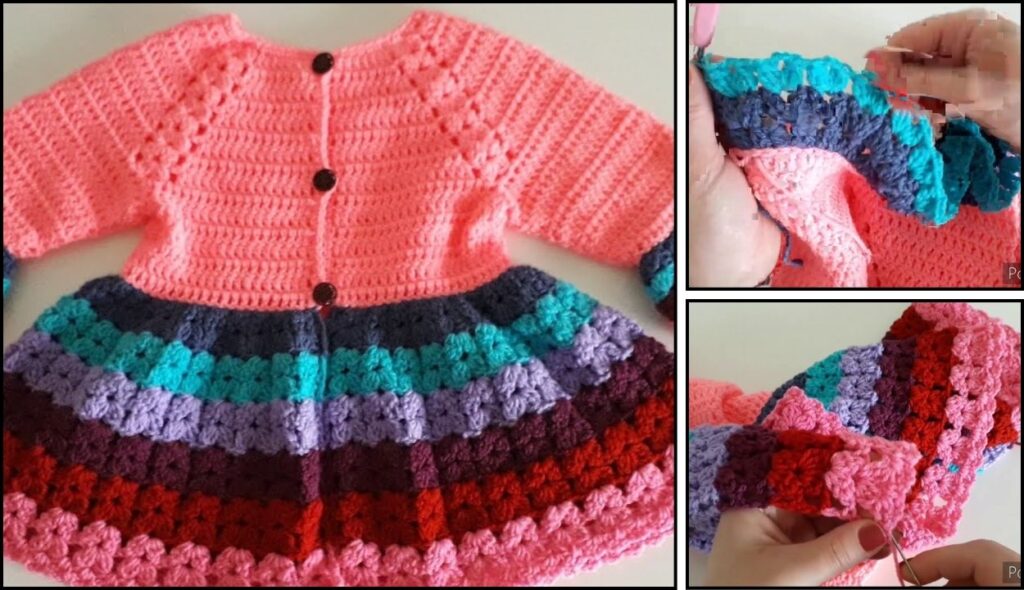
by Crocheting a “Cluster” Spring/Summer Cardigan for Girls sounds absolutely lovely! The cluster stitch is a fantastic choice for a warm-weather garment because it creates a beautiful, textured fabric with inherent “holes” or open spaces, making it breathable and light. It offers a wonderful drape and a visually interesting texture, perfect for a stylish yet comfortable cardigan.
Given that it’s currently warm in Phnom Penh, selecting the right yarn is paramount for this project. You’ll want something that ensures the cardigan is light, airy, and comfortable for a girl in a hot climate.
Choosing the Right Yarn for a Spring/Summer Cardigan
For a spring/summer cardigan, especially in a warm climate, prioritize breathability, softness, and drape.
- 100% Cotton: This is the top recommendation.
- Pros: Highly breathable, absorbent, incredibly soft, durable, easy to wash, and excellent for stitch definition, which will make your cluster stitches pop. It drapes beautifully and will feel cool against the skin.
- Cons: Can be less stretchy than some other fibers, but for a cluster stitch, the natural drape compensates for this.
- Cotton/Bamboo Blend:
- Pros: Combines the breathability of cotton with the luxurious softness and silky drape of bamboo. Bamboo is also naturally cooling and has moisture-wicking properties, making it ideal for warm weather.
- Cons: Can be a bit pricier.
- Linen or Cotton/Linen Blend:
- Pros: Extremely breathable, excellent wicking properties, and creates a beautiful, rustic drape that softens beautifully with washing. Perfect for a very airy garment.
- Cons: Can feel a bit stiff before washing, less elasticity, and might be prone to wrinkling.
- Lightweight Acrylic (e.g., “DK” or “Sport” weight):
- Pros: Very affordable, widely available, easy to care for (machine washable/dryable), and comes in a vast array of colors. Some acrylics are specifically designed to be soft and lightweight.
- Cons: Less breathable than natural fibers, so choose carefully. Look for “sport” or “DK” weight rather than “worsted” for a lighter feel.
- Yarn Weight: For a light spring/summer cardigan, DK (Double Knitting / Light Worsted / Category 3) or even Sport Weight (Category 2) would be ideal. Avoid worsted weight unless the pattern specifically calls for it and uses a very open stitch, as it might be too warm.
How to Crochet a “Cluster” Spring/Summer Cardigan for Girls: General Principles & Outline
Important Note: Crocheting a garment, especially one with specific sizing and shaping like a cardigan, is best done by following a detailed, tested pattern. This guide will provide the general steps, key considerations, and an example of a cluster stitch, but you will need to find and use a complete pattern for the specific size, style, and fit you desire. Many excellent patterns (free and paid) are available on platforms like Ravelry, Etsy, and designer blogs.
1. Essential Materials You’ll Need
- Yarn: Chosen based on the climate and pattern’s recommendation (e.g., 200-500 grams of DK or Sport weight cotton/blend for sizes 2-10 years, depending on size and pattern).
- Crochet Hook: Size recommended by your chosen pattern, typically suited for your yarn weight (e.g., 3.5mm-4.5mm, US E/4 to G/6).
- Scissors: For cutting yarn.
- Yarn Needle (Tapestry Needle): Essential for weaving in ends and seaming.
- Stitch Markers: Very useful for marking armholes, necklines, and specific pattern repeats.
- Measuring Tape: Crucial for checking gauge and garment dimensions.
- Buttons (Optional): If the cardigan has a closure (2-4 buttons, depending on design). Choose flat, child-safe buttons.

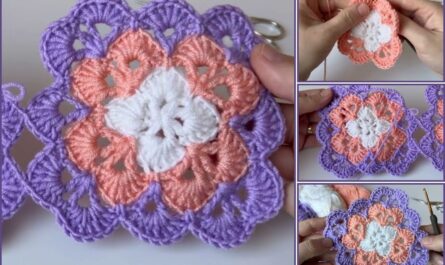
2. Understanding the “Cluster Stitch”
A cluster stitch typically involves working multiple partial stitches into the same stitch or space, and then joining them together with a final yarn over. This creates a textured “puff” or “bubble.”
Example: 3-dc Cluster Stitch (common for cardigans):
- Yarn over (yo), insert hook into specified stitch/space, yo, pull up a loop. (3 loops on hook)
- Yo, pull through 2 loops. (2 loops on hook – this is your first “partial” dc).
- Yo, insert hook into the same stitch/space, yo, pull up a loop. (4 loops on hook)
- Yo, pull through 2 loops. (3 loops on hook – this is your second “partial” dc).
- Yo, insert hook into the same stitch/space, yo, pull up a loop. (5 loops on hook)
- Yo, pull through 2 loops. (4 loops on hook – this is your third “partial” dc).
- Yo, pull through all 4 loops on hook. (This completes your 3-dc cluster).
- Often followed by a ch 1 or ch 2 for spacing, depending on the pattern.
How it works in a pattern: Cluster stitches are often worked into chain spaces created in the previous row, which adds to the open, lacy effect. They usually alternate with chain spaces across a row.
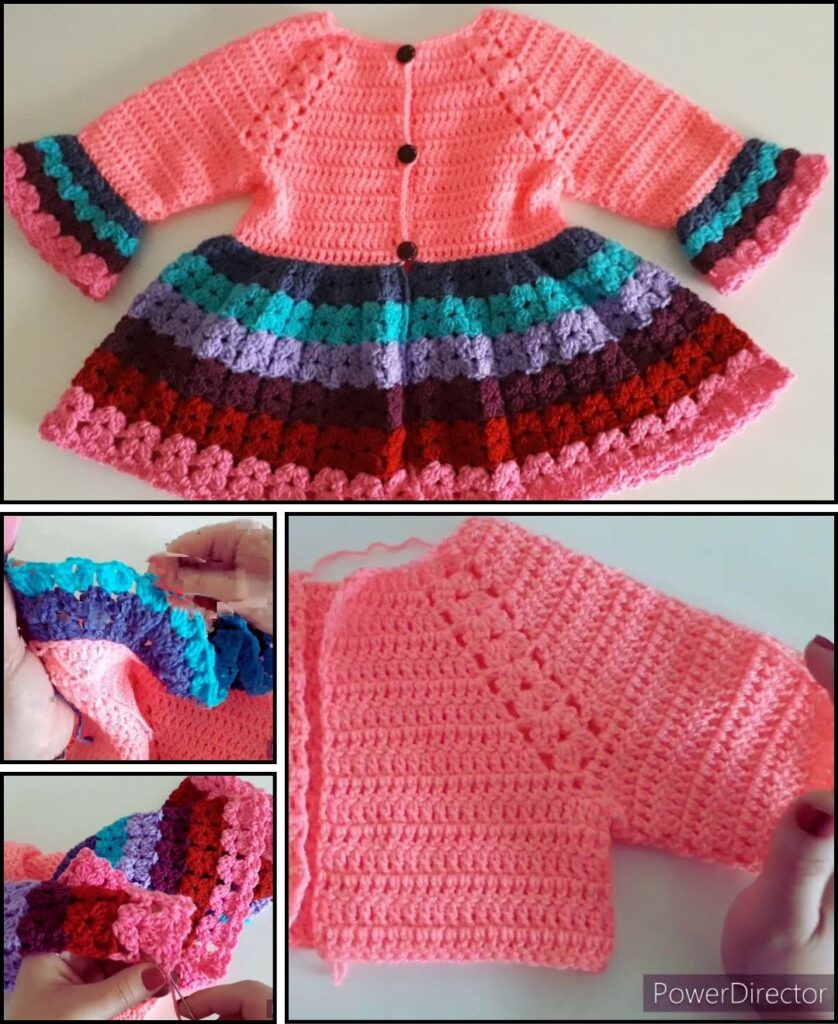
3. General Construction Steps for a Cardigan
Most cardigans are constructed in one of two ways:
- Bottom-Up (Panels): Back, two fronts, and two sleeves crocheted separately, then seamed.
- Top-Down (Yoke First): Started from the neckline, increased for the yoke, then divided for body and sleeves.
For a beginner-friendly approach to a cluster stitch cardigan, the Bottom-Up (Panels) method is often easier to manage, as you focus on one flat piece at a time.
Step 1: Choose Your Size & Gauge Swatch (CRUCIAL!)
- Girl’s Sizing: Patterns will specify ages (e.g., 2T, 4T, 6, 8, 10). Always check the actual garment measurements (chest circumference, sleeve length, overall length) against the child’s measurements for the best fit.
- Gauge Swatch: This is non-negotiable for garments.
- Chain more stitches than your pattern’s stated gauge width (e.g., if gauge is 4 inches/10 cm for 16 stitches, chain 20-25).
- Work about 10-15 rows in the main cluster stitch pattern your cardigan will use. (This is important, as the cluster stitch affects gauge differently than basic stitches).
- Measure a 4×4 inch (10×10 cm) square within your swatch.
- Compare your stitch and row count to the pattern’s gauge. Adjust your hook size until your gauge matches the pattern. This ensures the finished cardigan will be the correct size.
Step 2: Create the Back Panel

- Foundation Chain: Chain the specified number of stitches for the back panel width. The starting chain for cluster stitches often needs to be a multiple of the pattern repeat (e.g., multiples of 3 + 2).
- Establish Cluster Stitch Pattern: Work in rows, following your pattern’s instructions for the cluster stitch repeat. The first few rows will establish the pattern.
- Work Body: Continue working straight in the pattern until you reach the desired height before the armholes.
- Shape Armholes: Your pattern will instruct you to decrease or skip stitches at the beginning and end of certain rows to create armhole shaping. This is often done by slip stitching over stitches or skipping stitches at the start of a row.
- Work to Shoulder: Continue working straight or with slight shaping until the desired back height is reached.
- Fasten Off.
Step 3: Create the Front Panels (Left and Right)
Each front panel will be narrower than the back.
- Foundation Chain: Chain for the width of one front panel.
- Establish Cluster Stitch Pattern: Work in the same pattern as the back.
- Shape Armhole: Similar to the back, shape the armhole on one side of the panel.
- Shape Neckline: This is where the cardigan’s opening is formed. You’ll typically begin decreasing stitches or stopping short of the edge stitches from the inner edge (the side that forms the front opening) as you work up towards the shoulder. This creates the V-neck or rounded neck shaping.
- Work to Shoulder: Continue until the desired height, matching the back panel.
- Fasten Off.
- Repeat for the Second Front Panel: Make a mirror image of the first front panel. Ensure the armhole and neckline shaping are on the correct sides for a left and right front.
Step 4: Create the Sleeves (Make Two)
Sleeves can be worked flat and seamed, or in the round (often preferred for less bulk at the seam).
- Cuff: Start with a foundation chain for the cuff width, or work a ribbed cuff (e.g., using FPhdc/BPhdc for elasticity).
- Body of Sleeve: Work in rows or rounds in your chosen stitch pattern, gradually increasing stitches evenly to widen the sleeve towards the armpit. This is usually done by adding an extra cluster or stitches at regular intervals.
- Armhole Shaping (if working flat): If working flat, you might shape the top of the sleeve cap with decreases to fit the armhole.
- Fasten Off.

Step 5: Assembly (Seaming)
- Shoulder Seams: Align the shoulders of the front panels with the back panel. Use a neat seaming method (like mattress stitch for an invisible seam, or slip stitch seam for a durable one) to join them.
- Side Seams: Join the side edges of the front panels to the side edges of the back panel, from the bottom hem up to the armholes.
- Sleeve Seams: If working sleeves flat, seam them into tubes.
- Attach Sleeves: Insert the sleeves into the armholes and seam them securely all around the armhole opening.
Step 6: Finishing Touches (Borders, Buttons, Weaving in Ends, Blocking)
- Front Edging & Button Band:
- Work an even border (often several rows of single crochet (sc) or half double crochet (hdc)) along the entire front opening (from the bottom hem, up one front, around the neck, and down the other front to the bottom hem). This creates a neat, sturdy edge.
- Buttonholes (if applicable): If your pattern includes buttons, you’ll incorporate buttonholes on one of the front bands (e.g., by chaining 1-2 stitches, skipping 1-2 stitches, and working into the chain space on the next row).
- Button Band: The opposing front band will be a solid band where the buttons are sewn.
- Bottom Hem & Cuffs: If you haven’t already, add a finished edge (e.g., ribbing, or a simple sc border) to the bottom of the cardigan and the sleeve cuffs.
- Weave in All Ends: This is where that yarn needle comes in handy! Securely weave in every last tail for a professional finish.
- Attach Buttons (if applicable): Carefully sew the buttons onto the solid button band, directly opposite the buttonholes. Choose child-safe buttons and sew them on very securely.
- Blocking: Wet block your finished cardigan. Gently wet it, shape it to the correct dimensions (chest, length, sleeve length) on a flat surface (using pins if needed), and allow it to air dry completely. Blocking will relax the stitches, open up the cluster pattern, improve drape, and make the cardigan look incredibly polished.
Tips for Crocheting a Cluster Stitch Cardigan
- Read the Pattern Thoroughly: Understand the cluster stitch definition and how it’s integrated into the rows. Some patterns have a turning chain that counts as a stitch, others don’t.
- Yarn Over Method: Ensure you consistently use the same yarn over method (yarn over from back to front or front to back) for your cluster stitches to keep them uniform.
- Stitch Markers: Use them to mark the beginning of rows, decreases/increases, and buttonhole placements.
- Seaming Quality: A neatly seamed garment looks much more professional. Practice your seaming techniques (mattress stitch is excellent for an invisible seam).
- Child Safety: Always prioritize child-safe materials and secure attachment of buttons.
- Enjoy the Process: Crocheting a garment is a significant accomplishment. Take your time, enjoy the rhythm of the stitches, and celebrate your progress!
With the right pattern and attention to detail, you’ll create a beautiful and cherished “Cluster” Spring/Summer Cardigan for a special girl!