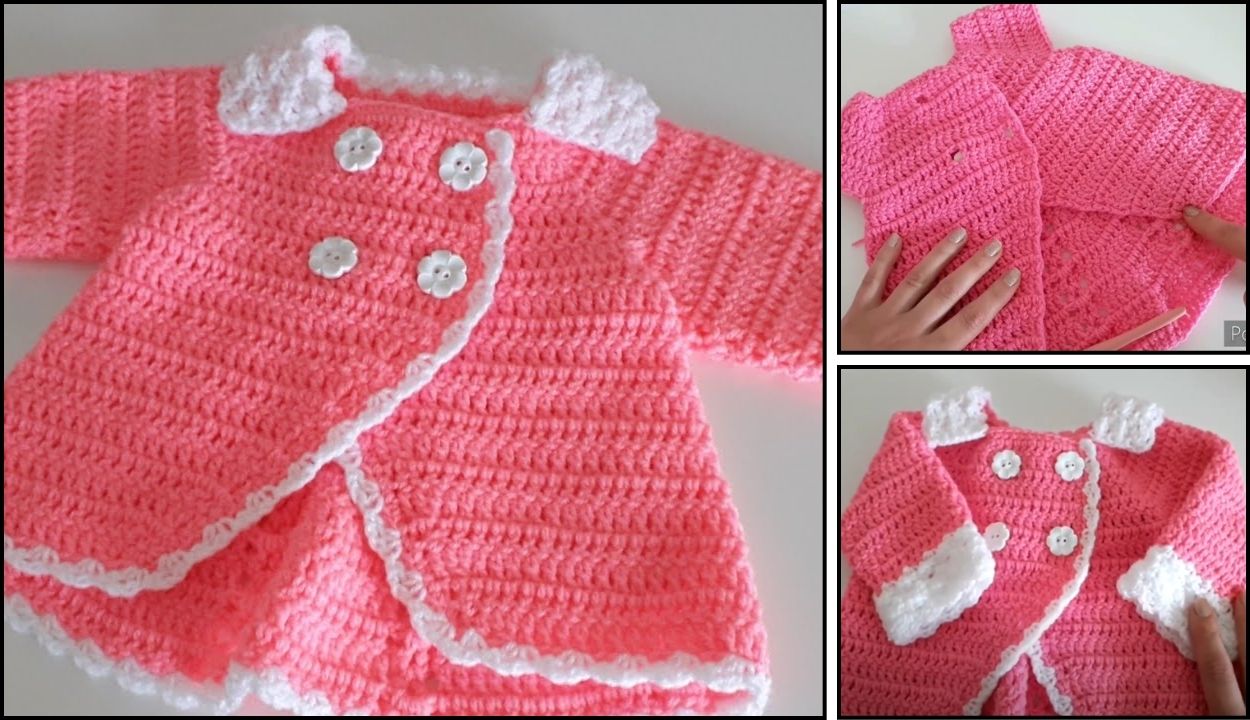
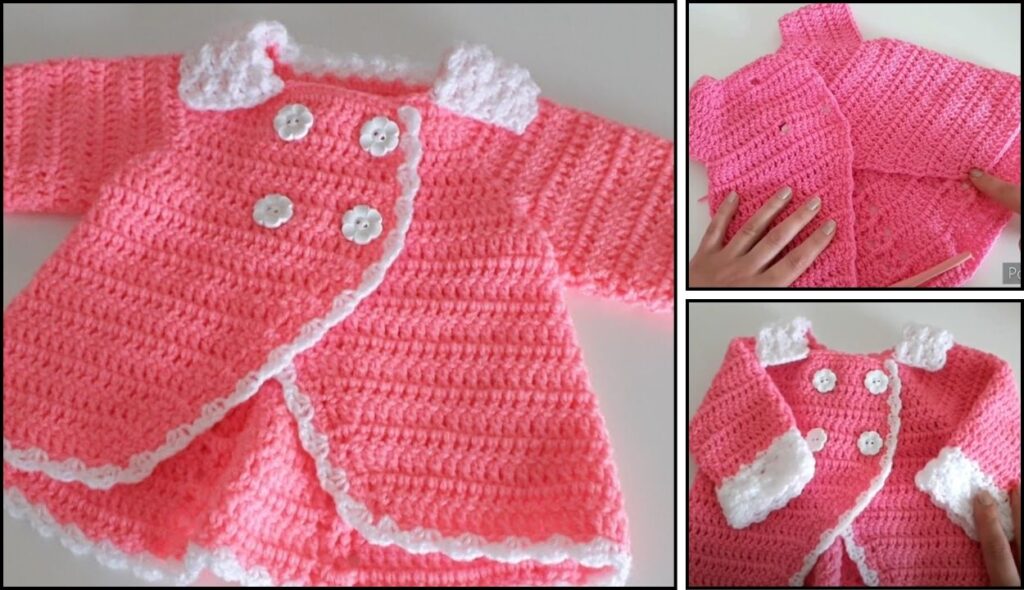
Crocheting a double-breasted baby coat is a truly rewarding project that creates a classic, charming, and practical garment for a little one. While it might sound complex, it’s typically built upon basic garment construction principles like creating a back panel, two front panels, and sleeves, then adding the double-breasted overlap and buttonholes.
Given that you’re in Phnom Penh, where the climate is warm, yarn choice is particularly important for a baby coat. You want something breathable, soft against delicate skin, and easy to care for.
Choosing the Right Yarn for a Baby Coat in a Warm Climate
For a baby coat in Phnom Penh, avoid wool or thick acrylics that would be too warm. Prioritize these fibers:
- 100% Cotton: This is your best bet.
- Pros: Highly breathable, absorbent, soft, durable, easy to wash, and excellent for stitch definition. It will keep the baby comfortable without overheating.
- Cons: Less stretchy than some other fibers, which can sometimes make achieving gauge tricky or result in a slightly less “drapey” fabric. However, for a structured coat, its firmness can be an advantage.
- Cotton/Bamboo Blend:
- Pros: Combines the breathability of cotton with the incredible softness and beautiful drape of bamboo. Bamboo is also naturally antibacterial and cool to the touch.
- Cons: Can be a bit pricier than pure cotton or acrylic, and some bamboo fibers might be processed in less eco-friendly ways (though there are sustainable options).
- Lightweight Acrylic (Baby Acrylic):
- Pros: Widely available, very affordable, excellent stitch definition, hypoallergenic, and extremely easy to care for (machine washable and dryable). Many baby-specific acrylics are incredibly soft.
- Cons: Less breathable than natural fibers, which could be a factor in very hot and humid weather, but for a coat that might only be worn for short periods or in air-conditioned environments, it’s a viable choice.
- Yarn Weight: For a baby coat, DK (Double Knitting/Light Worsted/Category 3) or Worsted Weight (Aran/Medium/Category 4) is common. DK will create a lighter fabric, while worsted will be a bit more substantial.
How to Crochet a Double-Breasted Baby Coat: General Principles & Step-by-Step Outline
Important Note: Crocheting a garment, especially one with shaping like a coat, is best done by following a specific, tested pattern. This guide will provide the general steps and considerations involved, but to achieve a well-fitting and polished coat, you will need to find and follow a detailed pattern for the specific size you intend to make. Many designers offer free or paid patterns on Ravelry, Etsy, or their blogs.
1. Essential Materials You’ll Need
- Yarn: Chosen based on the climate and pattern’s recommendation (e.g., 300-600g of cotton/DK weight for 0-12 months, depending on size and stitch).
- Crochet Hook: Size recommended by your chosen pattern (e.g., 3.5mm-5.0mm, US E/4 to H/8).
- Scissors: For cutting yarn.
- Yarn Needle (Tapestry Needle): For weaving in ends and seaming.
- Stitch Markers: Absolutely essential for marking armholes, necklines, and buttonhole placement.
- Buttons: (4-8 buttons, depending on size and pattern) Choose flat buttons that are safe for babies (no choking hazard).
- Measuring Tape: For checking gauge and garment dimensions.

2. Key Crochet Stitches & Techniques You’ll Likely Use
- Foundation Chain (ch): To start panels.
- Slip Stitch (sl st): For joining and sometimes for neat edges.
- Single Crochet (sc): Creates a dense, sturdy fabric, good for edges and button bands.
- Half Double Crochet (hdc): A good balance of speed and density, often used for garment bodies.
- Double Crochet (dc): Works up quickly, creates a softer drape, might be used for parts of the coat or decorative stitches.
- Front Post/Back Post Stitches (fpdc/bpdc or fphdc/bphdc): Often used for ribbed cuffs, hems, and necklines, providing stretch and structure.
- Increases (inc): Usually working 2 stitches into one to widen a piece (e.g., for shoulders or collar).
- Decreases (dec): Combining stitches to narrow a piece (e.g., for armholes, neckline shaping).
- Working in Rows: Most of the coat will be worked flat in rows.
- Working in the Round: Sleeves might be worked in the round from the armhole down.
- Seaming: Techniques to join pieces together (e.g., mattress stitch, slip stitch seam).
- Buttonholes: Creating small openings for buttons.
- Attaching Buttons: Sewing on buttons securely.

3. General Construction Steps (Most Common Method: Bottom-Up or Panel-Based)
Many baby coats are constructed in pieces (back, two fronts, two sleeves) and then seamed together. Some might be worked from the top down (yoke first). We’ll outline the panel method:
Step 1: Choose Your Size & Gauge Swatch
- Baby Sizing: Baby patterns are typically given by age (e.g., 0-3 months, 3-6 months, 6-12 months, 12-18 months). Check the actual garment measurements (chest circumference, sleeve length) against standard baby size charts or against the baby you’re making it for.
- Crucial: Gauge Swatch! This is non-negotiable for garments.
- Chain about 20 stitches more than the pattern’s stated gauge width.
- Work about 10-15 rows in the main stitch pattern the coat will use.
- Measure a 4×4 inch (10×10 cm) square within your swatch.
- Compare your stitch and row count to the pattern’s gauge. If you have too many stitches/rows, go up a hook size. If too few, go down a hook size. Adjust until your gauge matches the pattern. This ensures the coat will be the correct size.
Step 2: Create the Back Panel
- Foundation Chain: Chain the number of stitches specified for the back panel width.
- Establish Stitch Pattern: Work in your chosen stitch pattern (e.g., hdc, dc, or a textured stitch) in rows.
- Shape Armholes (if applicable): As you reach the underarm, the pattern will instruct you to decrease stitches at the beginning and end of certain rows to create armhole shaping.
- Work to Shoulder: Continue working straight or with slight shaping until the desired back height is reached.
- Fasten Off.
Step 3: Create the Front Panels (Left and Right)
This is where the “double-breasted” aspect comes in. Each front panel will be wider than a standard single-breasted front to create the overlap.
- Foundation Chain: Chain for the width of one front panel.
- Establish Stitch Pattern: Work in the same stitch pattern as the back.
- Shape Armhole: Similar to the back, shape the armhole on one side of the panel.
- Shape Neckline: This is critical. For a V-neck or crew neck, you’ll typically begin decreasing stitches from the inner edge (the side that will meet the other front panel) as you work up towards the shoulder.
- Work to Shoulder: Continue until the desired height, matching the back panel.
- Fasten Off.
- Repeat for the Second Front Panel: Make a mirror image of the first front panel. Ensure the armhole and neckline shaping are on the correct sides for a left and right front.
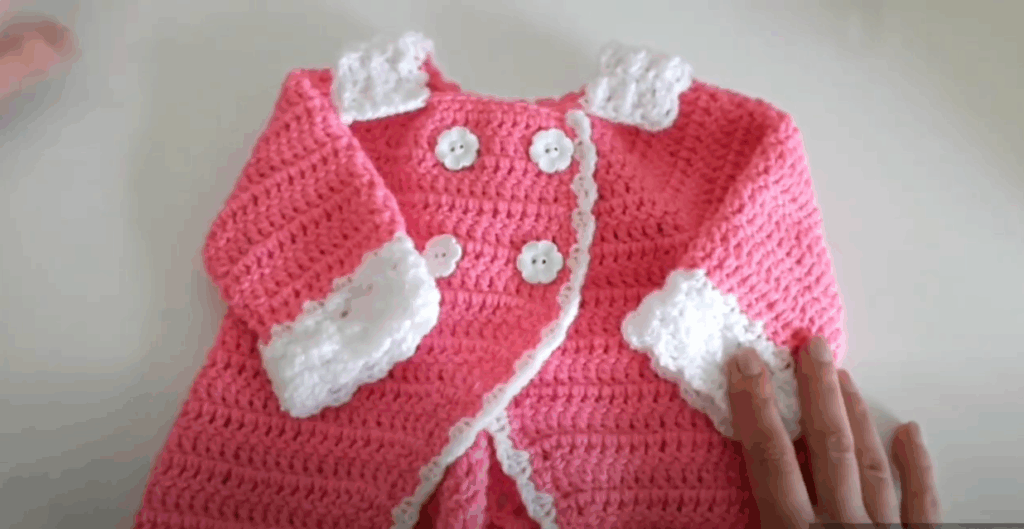
Step 4: Create the Sleeves (Make Two)
Sleeves can be worked flat and seamed, or in the round (often preferred for less bulk).
- Cuff: Start with a foundation chain for the cuff width, or work a ribbed cuff (e.g., using FPhdc/BPhdc).
- Body of Sleeve: Work in rows or rounds, increasing stitches evenly to widen the sleeve towards the armpit.
- Armhole Shaping (if working flat): If working flat, you might shape the top of the sleeve cap with decreases to fit the armhole. If working in the round from the armhole, this might be less pronounced.
- Fasten Off.
Step 5: Assembly (Seaming)
- Shoulder Seams: Align the shoulders of the front panels with the back panel. Use a neat seaming method (like mattress stitch for an invisible seam) to join them.
- Side Seams: Join the side edges of the front panels to the side edges of the back panel, from the bottom hem up to the armholes.
- Sleeve Seams: If working sleeves flat, seam them into tubes.
- Attach Sleeves: Insert the sleeves into the armholes and seam them securely all around the armhole opening.
Step 6: Finishing Touches (Borders, Buttonholes, Buttons)
- Button Bands/Front Edging:
- Along the entire front opening (from bottom hem, up one front, around the neck, and down the other front to the bottom hem), work an even border. This often involves several rows of single crochet (sc) or half double crochet (hdc) to create a neat, sturdy edge.
- Buttonholes: As you work one of the front bands (usually the right front for girls, left for boys, but check your pattern!), you’ll incorporate buttonholes. A common way is to
ch 1-2(depending on button size), skip 1-2 stitches, and then continue your sc/hdc. In the next row, work into the chain space. Mark buttonhole positions evenly. - Button Placement: The other front band will just be a solid band where the buttons will be sewn.
- Bottom Hem & Cuffs: If you haven’t already, add a finished edge (e.g., ribbing with FPhdc/BPhdc, or a simple sc border) to the bottom of the coat and the sleeve cuffs.
- Neckline: Work a neat border around the neckline (again, usually sc or ribbing) to give it a polished finish.
- Weave in All Ends: This is where that yarn needle earns its keep! Securely weave in every last tail.
- Attach Buttons: Carefully sew the buttons onto the solid button band, directly opposite the buttonholes.
- Blocking: Wet block your finished coat by gently wetting it, shaping it to the correct dimensions on a flat surface (using pins if needed), and allowing it to air dry completely. This will even out stitches, improve drape, and make the coat look professional.
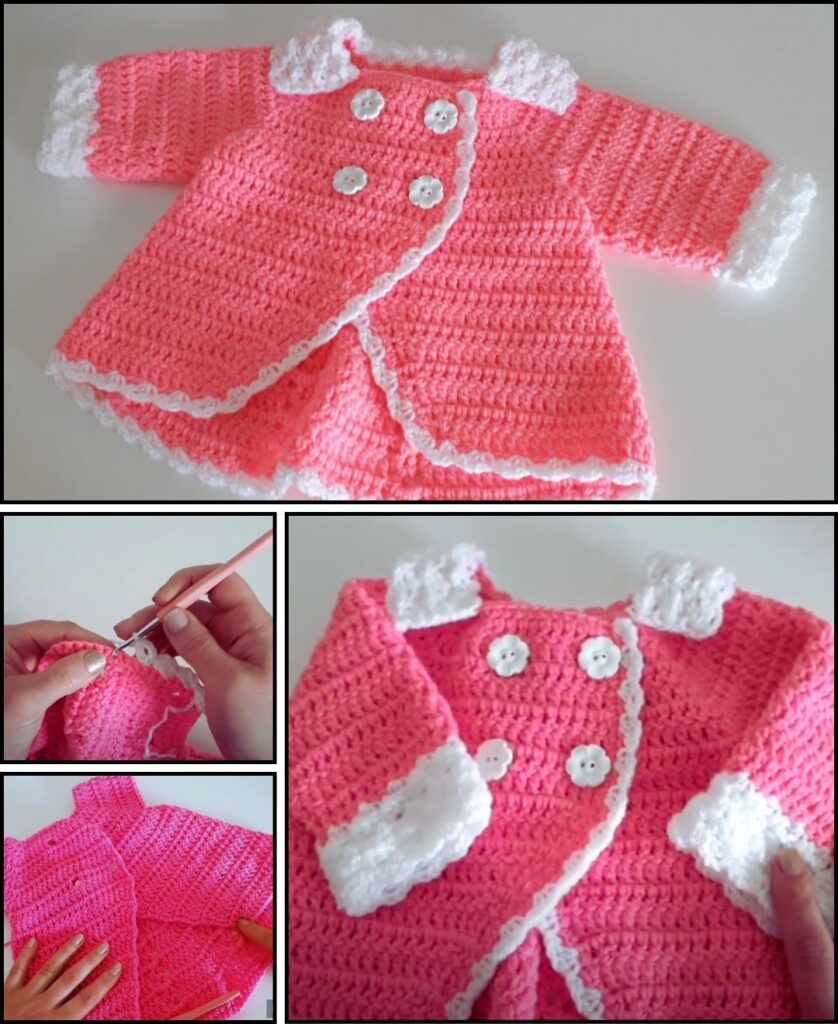
Tips for Crocheting a Baby Coat
- Read the Entire Pattern First: Before you even pick up your hook, read through the entire pattern. Understand the construction, stitches, and shaping instructions.
- Gauge is King: Seriously, for garments, gauge is the most important factor for success. Don’t skip it.
- Use Stitch Markers Liberally: Mark the start of rows, increases/decreases, buttonhole positions, and specific points for seaming.
- Seaming Matters: A neatly seamed garment looks much more professional. Practice your seaming techniques (mattress stitch is great for an invisible seam).
- Buttons: Choose buttons that are appropriately sized for the buttonholes and securely sewn on. Ensure they are too large to be a choking hazard for the baby’s age.
- Washability: Since it’s for a baby, ensure the yarn you choose is machine washable for easy care for the parents.
Creating a double-breasted baby coat is a lovely project that builds on core crochet skills. With a good pattern and attention to detail, you’ll craft a cherished heirloom.
