 by
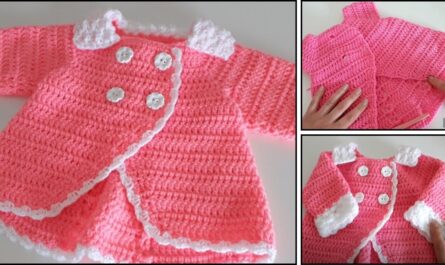
by Creating individual crochet squares for a baby blanket is a wonderful way to combine various colors, textures, and even different stitch patterns into one cozy masterpiece. For a “beautiful” baby blanket square, we’ll focus on the Moss Stitch (also known as Granite Stitch or Linen Stitch), which creates a lovely textured, dense, and soft fabric that is perfect for little ones. It’s also very beginner-friendly and looks fantastic in multiple colors or a single shade.
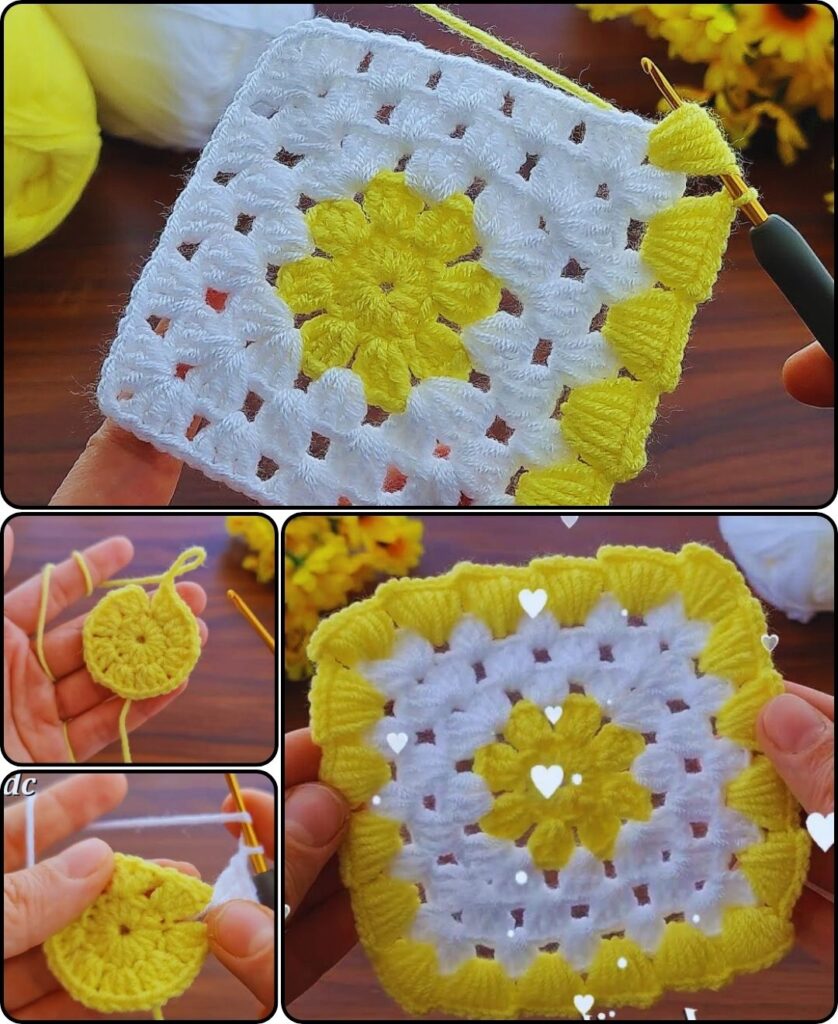
How to Make a Beautiful Crochet Baby Blanket Square: The Moss Stitch
Project Overview: This tutorial will guide you step-by-step to create a single 6×6 inch (15×15 cm) square using the elegant and simple Moss Stitch. This stitch creates a dense, non-holey fabric with a lovely textured appearance, making it ideal for a soft and warm baby blanket.
Skill Level: Beginner (Requires knowledge of chain, single crochet, and skipping stitches).
Finished Square Dimensions (Approximate):
- Size: 6 x 6 inches (15 x 15 cm)
- This size is perfect for joining multiple squares to create a larger blanket.
Materials You’ll Need:
- Yarn:
- DK Weight (#3 Light Worsted) or Worsted Weight (#4 Medium) Baby-Friendly Yarn: Choose a soft yarn like acrylic, cotton blend, or superwash merino wool. You’ll need about 20-30 yards (18-27 meters) per square. You can use one color per square, or change colors every few rows for stripes within the square.
- Why these yarns? Softness against baby’s skin, durability for frequent washing, and good drape are important.
- Crochet Hook:
- Size G/4.0mm (for DK weight yarn) or H/5.0mm (for worsted weight yarn), or the hook size recommended on your yarn label. Aim for a fabric that is firm enough to be durable but flexible and soft, not stiff.
- Yarn Needle (Tapestry Needle): Essential for weaving in loose yarn ends.
- Scissors
Gauge (Crucial for Consistent Square Size!):
Achieving consistent gauge is very important if you plan to make multiple squares to join into a blanket. It ensures all your squares are the same size and will connect neatly.
- With your chosen yarn and hook, 16 stitches (sc and ch-1 spaces combined) and 16 rows of Moss Stitch should measure approximately 4×4 inches (10×10 cm).
- Work a swatch: Chain 17. Follow Row 1 and Row 2 of the Moss Stitch pattern below for about 16 rows. Measure the central 4×4 inches. Adjust your hook size if your swatch is larger (go down a hook size) or smaller (go up a hook size).
Abbreviations Used:
- ch: chain
- sc: single crochet
- sk: skip
- sp: space
- ch-sp: chain space
- sl st: slip stitch
- st(s): stitch(es)
- FO: fasten off
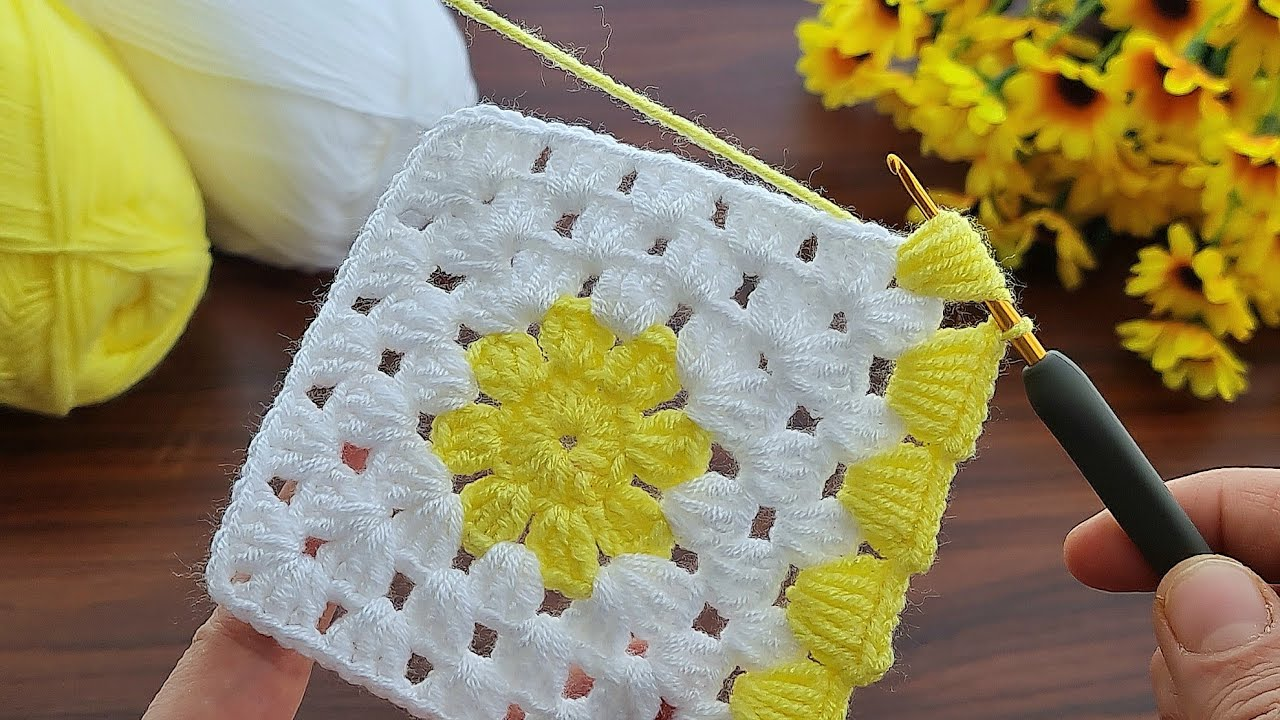
Understanding the Moss Stitch:
The Moss Stitch is created by alternating single crochet (sc) stitches with chain 1 (ch 1) spaces. In subsequent rows, you work the single crochets into the chain-1 spaces from the previous row. This creates a beautifully textured, slightly ridged fabric that is quite dense without being stiff.
Part 1: Crocheting Your Moss Stitch Square
For a 6×6 inch square, we’ll aim for approximately 25 rows, with 25 stitches/spaces across.
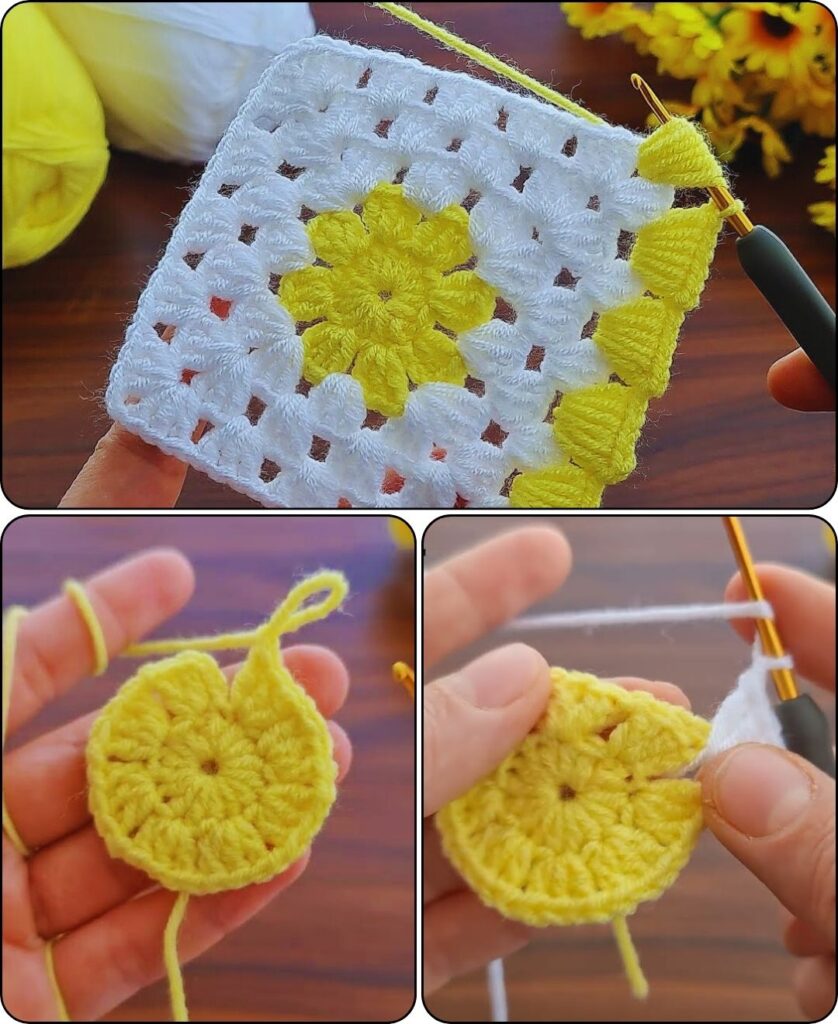
- Starting Chain: Ch 26. (This chain is the foundation for your first row. The number of stitches/spaces in your first row will be 25).
- Row 1:
- Sc in the 4th ch from hook (the first 3 chs count as ch 1, sk 1 ch).
- Ch 1, sk next ch, sc in next ch. Repeat from * to * across the row.
- You should end with an sc in the very last chain. (Total: 12 sc, 12 ch-1 sps).
- Ch 2, turn. (The ch 2 at the end of each row counts as a ch 1 and sk 1 for the next row’s first stitch).
- Row 2:
- Sc in the first ch-1 sp from the previous row.
- Ch 1, sk next sc, sc in next ch-1 sp. Repeat from * to * across the row.
- When you reach the end, you will have one sc to work into the initial ch-3 sp from Row 1. Work (ch 1, sk next sc, sc) into that ch-3 sp.
- Ch 2, turn.
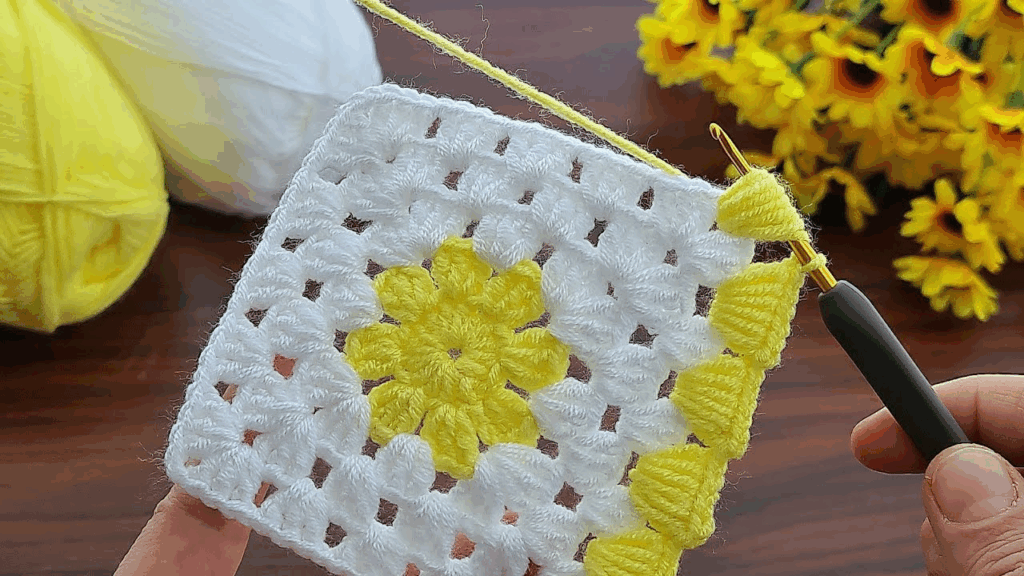
- Rows 3-25 (or until square measures 6 inches):
- Repeat Row 2 for all subsequent rows.
- Always start by working an sc into the first ch-1 sp.
- Always end by working a (ch 1, sk next sc, sc) into the turning ch-2 sp from the previous row.
- Count your stitches/spaces occasionally to ensure you maintain 25 across.
- Tip for Multi-Color Stripes within the Square: If you want stripes, change colors after every 2 or 3 rows. To change color, on the last stitch (sc) of the row, stop when you have two loops on your hook. Drop the current color, pick up the new color, yarn over with the new color, and pull through the two loops to complete the stitch. Then ch 2 and turn. Cut the old color yarn, leaving a tail to weave in.
- Final Row (Approx. Row 25): When your square measures about 6 inches, complete your last row.
- After the last sc of the row, instead of ch 2 and turning, simply ch 1.
Part 2: Finishing Your Square
- Fasten Off: Cut your yarn, leaving a tail about 6 inches (15 cm) long. Pull the tail through the loop on your hook to secure it.
- Weave in Ends: Thread the yarn tail onto your yarn needle. Carefully weave the tail through several stitches on the back side of your square. Take your time to weave it securely and invisibly to prevent unraveling. If you changed colors, weave in all those tails too!
Part 3: Tips for a Beautiful Baby Blanket Square
- Yarn Choice: Softness is paramount for baby blankets. Always choose yarns specifically labeled “baby yarn” or those that are known for softness and easy care (machine washable and dryable). Acrylic, cotton blends, or superwash merino wool are excellent.
- Consistent Tension: Try to maintain an even tension throughout your square. This is key for the Moss Stitch to look uniform and for your square to lie flat. Inconsistent tension can lead to wavy edges or a non-square shape.
- Counting: While the Moss Stitch is simple, it’s easy to accidentally add or skip a stitch at the beginning or end of rows, or confuse the ch-1 sp with the sc stitch. Count your stitches/spaces frequently to ensure you have the correct number (e.g., 25 across for a 6-inch square).
- Blocking (Highly Recommended!): Blocking your finished squares is a game-changer! It evens out any irregularities, makes the stitches look more defined, and ensures all your squares are the exact same size and perfectly square. This makes joining them much easier and gives your final blanket a professional finish.
- Method: Gently wet your square (either by misting with water or a quick dip and gentle squeeze). Lay it flat on a blocking mat or a clean towel. Gently stretch and pin the square to the exact 6×6 inch dimensions, ensuring the corners are true 90-degree angles. Allow it to air dry completely.
- Adding a Simple Border to the Square (Optional but Nice for Joining): For an even neater joining experience, you can add a simple single crochet border to each square.
- Join yarn with a sl st to any corner of your finished square.
- Ch 1. Work 1 sc into each sc and each ch-1 sp across the top/bottom edges. Work 1 sc for approximately every 2 rows along the sides (aim for consistent spacing).
- In each corner, work (sc, ch 1, sc).
- Sl st to join. FO and weave in end. This extra border makes the edges very neat for joining.
Once you have made all your beautiful Moss Stitch squares, you can join them together using a variety of methods (like the slip stitch join, single crochet join, or whip stitch) to create a lovely multicolor baby blanket. Enjoy the process!