 by
by t’s wonderful that you’re eager to learn how to create crochet flower motifs! Just to clarify, there might be a slight mix-up in terminology. Crochet uses a single hook to form stitches, while knitting uses two needles. This guide will focus entirely on how to crochet flower motifs.
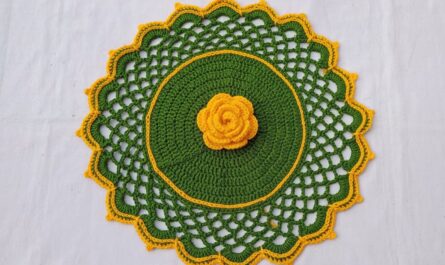
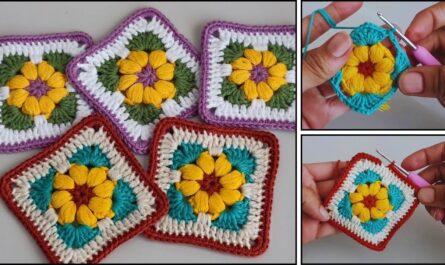
Crocheted flower motifs are fantastic for beginners because they’re small, quick to complete, and use very little yarn. They’re incredibly versatile, perfect for embellishing blankets, hats, bags, headbands, or even creating jewelry or decorative garlands.
Given that you’re in Phnom Penh, where the climate is warm, 100% cotton yarn is an excellent choice for these motifs. Cotton offers great stitch definition, is durable, and holds its shape well, which is ideal for a structured motif. Plus, it’s perfect for using up those small bits of leftover yarn!
How to Crochet a Flower Motif for Beginners
This guide will walk you through making a classic, layered crochet flower motif. You’ll create a central base and then build layers of petals around it, giving your flower a beautiful three-dimensional look.
1. Essential Materials You’ll Need
- Yarn:
- Fiber: 100% Cotton Yarn is highly recommended for its crisp stitch definition and ability to hold shape. A soft, high-quality acrylic yarn can also work well.
- Weight: Worsted Weight (Aran / Medium / Category 4) is perfect for beginners, as it’s easy to see your stitches, and the motifs work up quickly. DK (Double Knitting / Category 3) can be used for smaller, more delicate flowers.
- Colors: Pick at least two colors for a layered flower: one for the center (e.g., yellow, white, cream) and one or more for the petals (e.g., pink, blue, purple, green). This is a fantastic project for using up yarn scraps!
- Quantity: You’ll only need small amounts of each color for individual motifs.
- Crochet Hook:
- For Worsted Weight yarn, a 4.0mm (US G/6) or 4.5mm (US 7) hook.
- For DK Weight yarn, a 3.5mm (US E/4) or 4.0mm (US G/6) hook.
- Choose a hook size appropriate for your yarn weight. You want your stitches to be neat and the motif to hold its shape, so a slightly smaller hook than you might use for a blanket can be beneficial.
- Scissors: For cutting your yarn.
- Yarn Needle (Tapestry Needle): Absolutely essential for neatly weaving in all your yarn ends.
2. Basic Crochet Stitches You’ll Use
This flower motif pattern uses several fundamental crochet stitches, making it an excellent way to practice and build your skills:
- Chain (ch): Used to begin your work and create spaces within the pattern.
- Slip Stitch (sl st): For joining rounds and neatening.
- Single Crochet (sc): Creates a dense, sturdy fabric, often used for flower centers.
- Half Double Crochet (hdc): A medium-height stitch, useful for shaping petals.
- Double Crochet (dc): A taller stitch, frequently used for the main part of petals.
- Triple/Treble Crochet (tr): An even taller stitch, used for more prominent or pointed petals.
- Magic Ring (MR): (Also known as Magic Circle or Adjustable Ring). This is the best way to start the center of your flower for a perfectly tight, hole-free beginning. An alternative chain method is also provided.
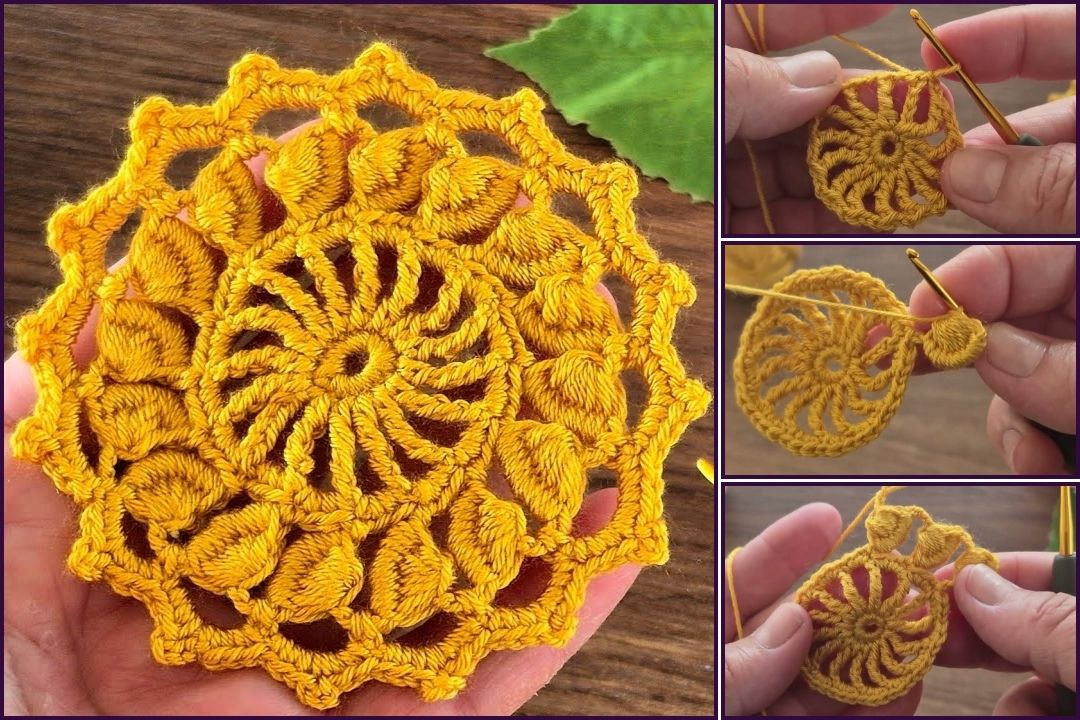
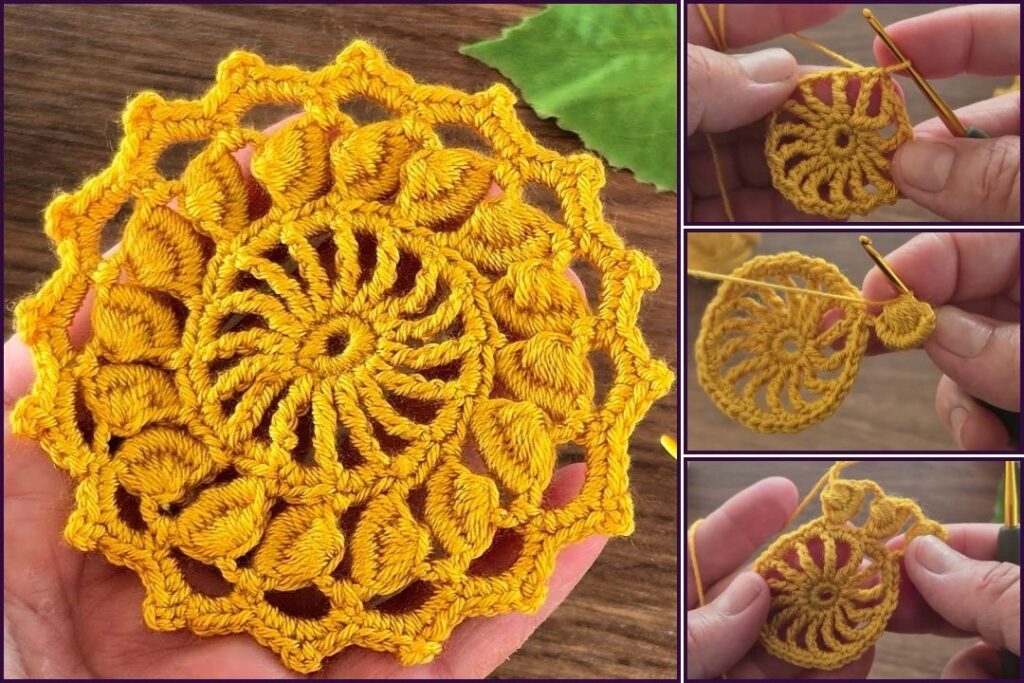
The Classic Layered Crochet Flower Motif Pattern
This pattern creates a lovely flower with a distinct center and two distinct layers of petals, giving it a beautiful three-dimensional look.
Abbreviations (US Crochet Terms):
- ch: chain
- sl st: slip stitch
- sc: single crochet
- hdc: half double crochet
- dc: double crochet
- tr: triple crochet (or treble crochet)
- MR: magic ring
- st(s): stitch(es)
- sp: space
- *: repeat instructions between asterisks
Part 1: Flower Center (Color A – e.g., Yellow)
- Start (Choose ONE method for your center):
- Method A: Magic Ring (Recommended for a tighter center)
- Create a Magic Ring (MR). (If you’re new to this, a quick video tutorial on “crochet magic ring” can be incredibly helpful – it’s a great skill to learn!).
- Ch 1 (this does NOT count as a stitch).
- Work 8 sc into the Magic Ring.
- Gently pull the yarn tail to close the center hole tightly.
- Join with a sl st to the top of the first sc. (8 sc)
- Method B: Chain Method (Easier for Beginners)
- Ch 2.
- Work 8 sc into the second chain from your hook.
- Join with a sl st to the top of the first sc. (8 sc)
- Method A: Magic Ring (Recommended for a tighter center)
- Fasten off Color A, leaving a short tail (about 4 inches / 10 cm) to weave in later.

Part 2: First Petal Layer (Color B – e.g., Pink)
This layer of petals will sit directly around your flower’s center.
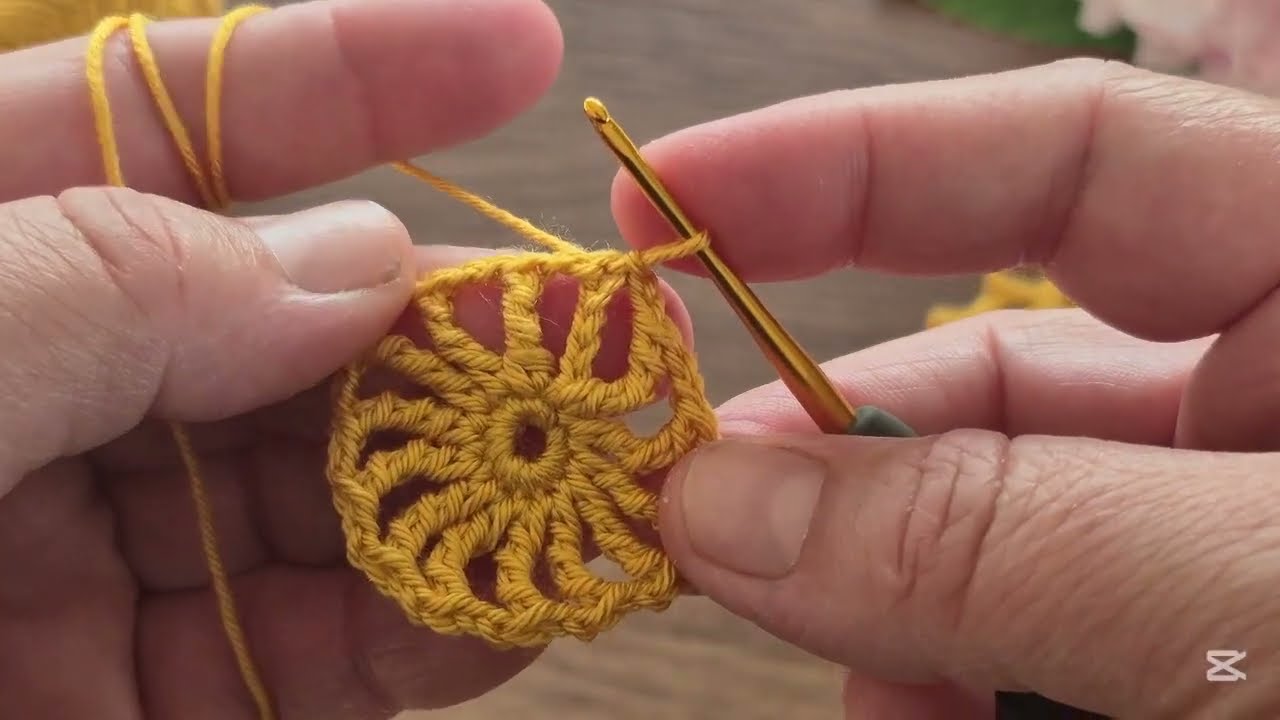
- Join Color B with a sl st into any sc from the previous round (Round 1).
- Round 2: *Ch 2 (this does NOT count as a stitch). Work (1 hdc, 1 dc, 1 hdc) all into the same stitch where you just joined Color B. Then, sl st into the next sc stitch from Round 1.* Repeat this sequence from * to * 7 more times.
- (You’ll have created 8 small petals, each made of hdc-dc-hdc, with a slip stitch in between them connecting to the next base stitch.)
- Join with a sl st to the very first sl st of the round.
- Fasten off Color B, leaving a short tail to weave in later.
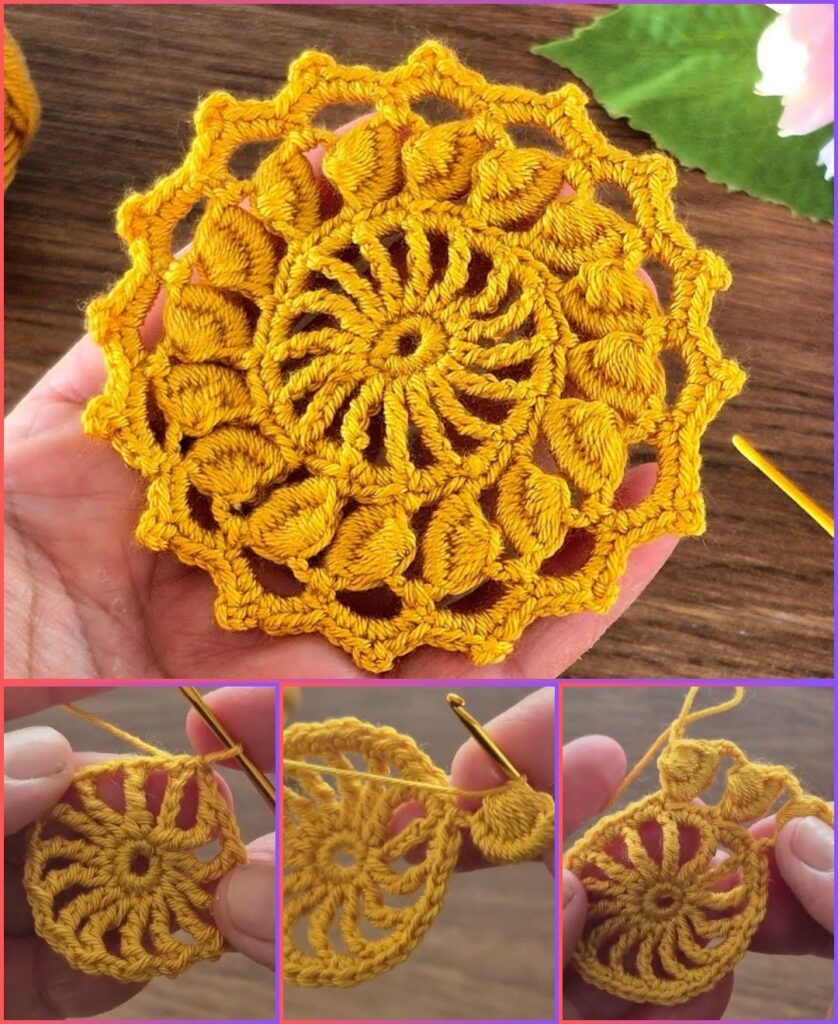
Part 3: Second Petal Layer (Color C – e.g., Purple or a deeper pink)
This layer will sit behind the first layer of petals, giving your flower more fullness and a beautiful three-dimensional appearance. You’ll work into the slip stitches or spaces that are behind the petals of Round 2.
- Join Color C with a sl st into any sl st from Round 2 (these are the slip stitches you made into the Round 1 sc stitches, connecting your petals). You’ll need to insert your hook behind the previously made petals to reach these hidden slip stitches.
- Round 3: Ch 3 (this counts as your first dc). Work (1 dc, 1 tr, 1 dc) all into the same slip stitch where you just joined.
- *Sl st into the next sl st from Round 2 (again, remember to work behind the petals). Ch 3 (counts as 1 dc). Work (1 dc, 1 tr, 1 dc) all into the same sl st.*
- Repeat from * to * 6 more times. Sl st into the next sl st. Join with a sl st to the top of the starting Ch 3.
- (You’ll create 8 larger petals, each made of dc-tr-dc, that appear to “pop up” from behind the first layer.)
- Fasten off Color C, leaving a short tail to weave in.

3. Finishing Your Crocheted Flower Motif (Crucial Step!)
Proper finishing makes your motif look truly professional and ensures it lasts.
- Weave in All Ends NEATLY: This is the most important step for a polished look. Use your yarn needle to carefully weave in every single yarn tail securely into the stitches of your motif. Take your time to hide them well, especially for multi-color flowers, by weaving tails into stitches of the same color. Do not just snip them short, or they may unravel!
- Shape & Block (Optional but Recommended): While small items don’t always require blocking, it can significantly enhance the appearance of your motif by making it lie flat and opening up the stitches.
- Gently wet your finished motif.
- Carefully squeeze out any excess water (do NOT wring!).
- Lay the motif flat on a clean, dry towel or a foam blocking mat. Gently shape it, coaxing the petals into their desired form.
- Allow it to air dry completely.
4. Tips for Making Your Crocheted Flower Motifs Gorgeous
- Experiment with Yarn: Different yarn weights and fibers will give you different looks. A finer yarn (like sport or fingering weight) with a smaller hook will create very delicate flowers.
- Color Combinations: Play with colors! You can try a dark center with light petals, a single color for all layers for a subtle textured effect, or go bold with contrasting colors. Variegated yarns can also create stunning, unique flowers.
- Vary Petal Counts: Once you’re comfortable with this pattern, try creating flowers with 5, 6, or more petals by adjusting the initial stitch count in Round 1 (e.g., for 5 petals, start with 10 sc; for 6 petals, start with 12 sc).
- Change Stitch Types for Petals: Instead of (hdc, dc, hdc), try (sc, hdc, sc) for flatter petals, or (dc, tr, dc, tr, dc) for very tall, dramatic petals.
- Add Embellishments: Once finished, you can sew a bead, a button, or a pearl to the center of your motif for extra sparkle and charm.
- Uses for Your Motifs:
- Sew them onto blankets, hats, scarves, bags, or clothing for a lovely embellishment.
- Glue them to hair clips, headbands, or brooches.
- String them together to make a charming garland or banner.
- Use them to embellish gift wrapping or greeting cards.
- Make a collection of them to form a unique bouquet or wall art!
Crocheting flower motifs is a creative and rewarding process. Don’t be afraid to experiment and make them your own! What kind of project are you hoping to use your crocheted flower motifs for?