 by
by Hello everyone! Here’s a detailed, beginner-friendly guide on how to crochet an easy headband, including a step-by-step pattern, tips, and common questions. Whether you’re brand new to crochet or looking for a quick DIY gift idea, this guide will walk you through it all.
🧶 How to Crochet an Easy Headband for Beginners – Step-by-Step Pattern
Crochet headbands are one of the easiest and most rewarding projects for beginners. They’re quick to make, stylish, and perfect for practicing basic stitches. In this detailed guide, you’ll learn how to crochet a headband step-by-step, even if you’ve never picked up a crochet hook before.
🧵 Supplies You’ll Need
Before you begin crocheting, gather the following materials:
- Yarn: Worsted weight yarn (category 4) – acrylic or cotton is great for beginners.
- Crochet hook: Size H/8 (5.0 mm) – check your yarn label for recommended size.
- Scissors
- Yarn needle (tapestry needle) – to weave in ends.
- Measuring tape – to size your headband.
💡Tip for beginners: Use light-colored yarn so you can clearly see your stitches.
🧠 Know Your Basics (Stitches You’ll Use)
This easy headband pattern uses just one or two basic stitches, so it’s perfect if you’re just starting.
- Chain (ch) – foundation stitch for most crochet projects.
- Single crochet (sc) – basic stitch, dense and firm.
- Slip stitch (sl st) – used to join rounds or finish work neatly.
Optional variation: You can use half double crochet (hdc) if you want a stretchier or softer texture.
📏 How to Measure Your Headband
To ensure your headband fits well:
- Measure around your head where the band will sit (usually above the ears and across the forehead).
- Subtract about 1–2 inches from that measurement for a snug fit (crochet stretches).
- Your final band should be slightly shorter than your head circumference.
✅ Example: If your head is 22 inches, aim for a 20-inch headband before joining.
✨ Easy Crochet Headband – Step-by-Step Pattern
Let’s walk through the actual steps. This will be a flat headband that you can sew together at the end to make a loop. No complex shaping involved!
🧶 Basic Crochet Headband Pattern (Using Single Crochet)
Step 1: Make a Slip Knot and Chain
- Make a slip knot on your hook.
- Chain (ch) 11 (or however wide you want the headband, e.g., 3 inches).
- This will be the width of your headband.
Step 2: Row 1 – Single Crochet Across
- Insert hook into 2nd chain from hook.
- Yarn over, pull up a loop.
- Yarn over again and pull through both loops (you’ve made 1 single crochet).
- Repeat in each chain across.
- You should have 10 single crochets.
- Ch 1 and turn your work.
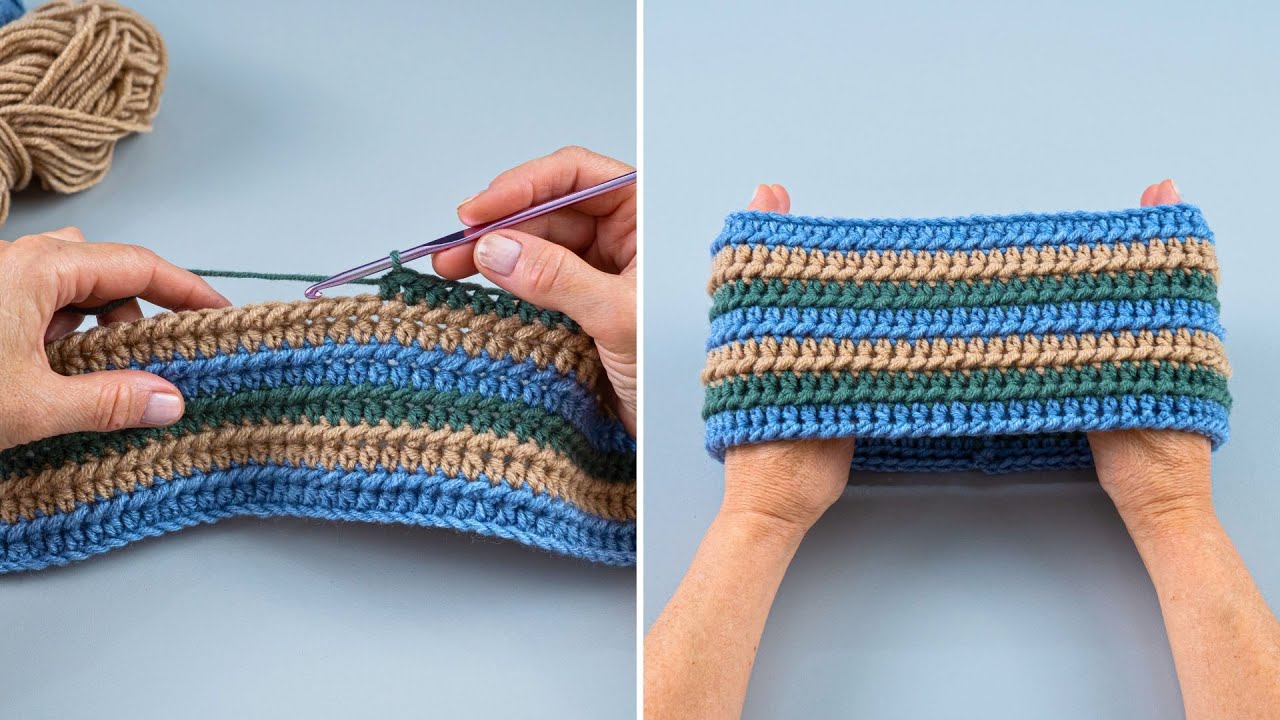
Step 3: Rows 2 and Onward
- In each row, single crochet in each stitch across.
- Chain 1 and turn after every row.
- Continue until the length reaches your desired headband length (e.g., 20 inches).
⏱️ Time-saving tip: This usually takes less than 1 hour!
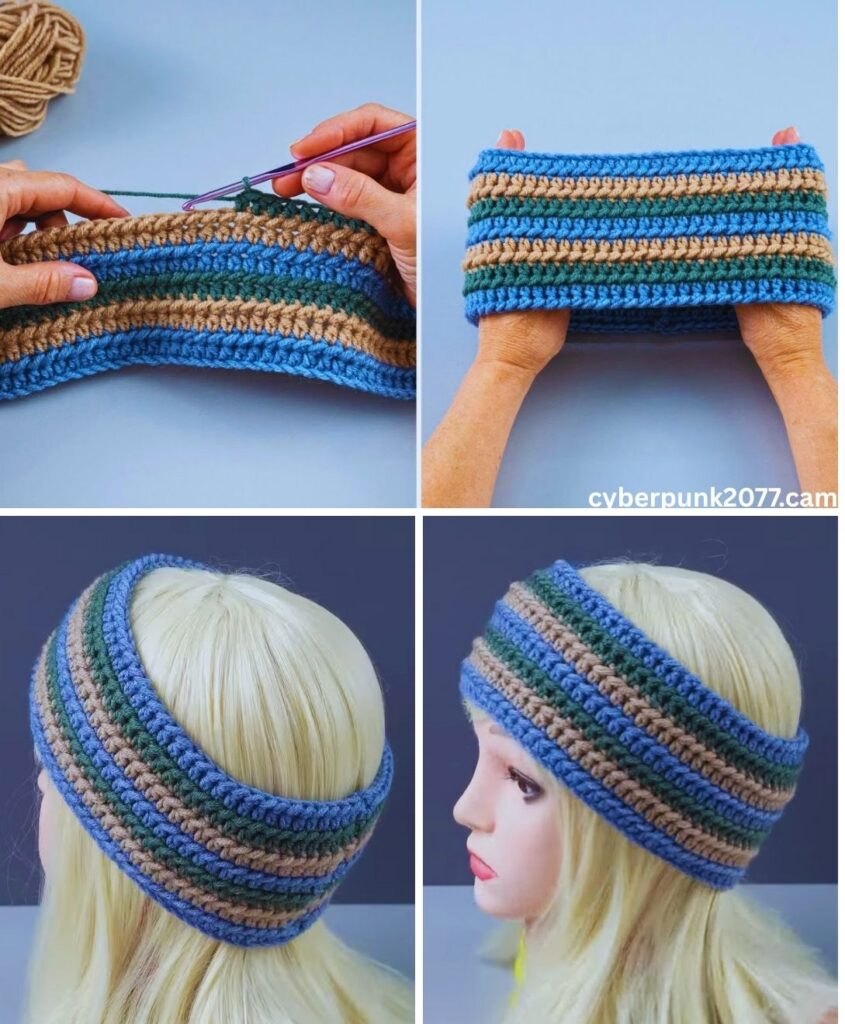
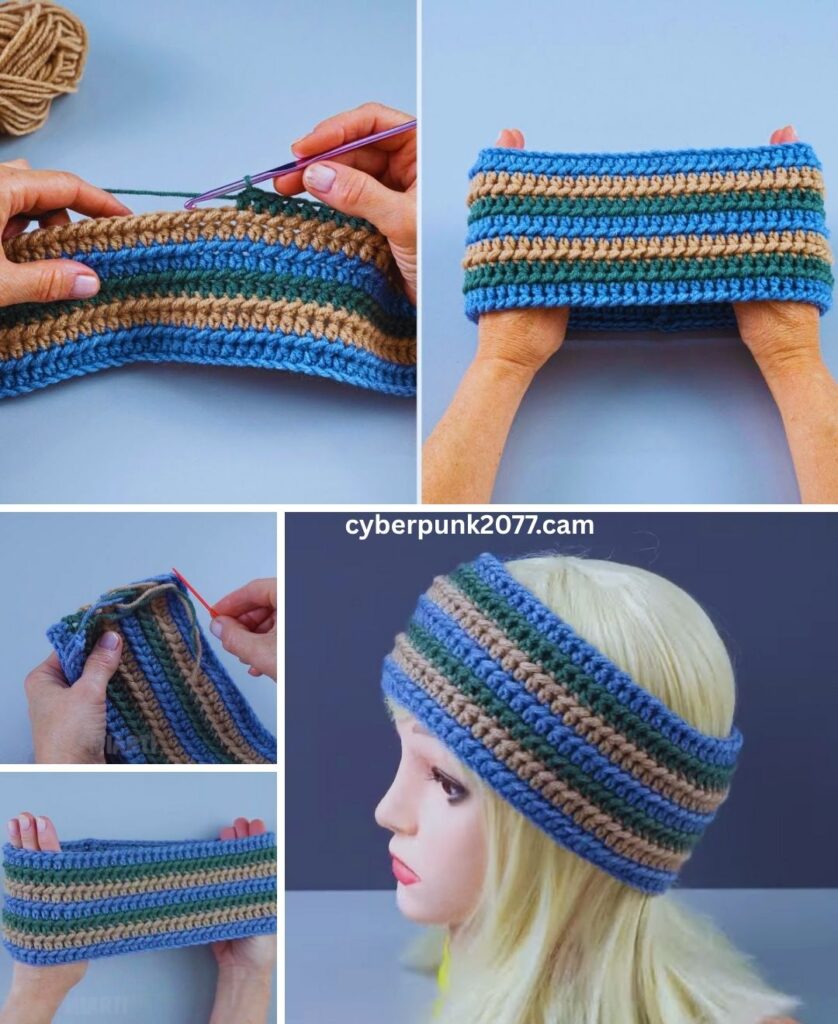
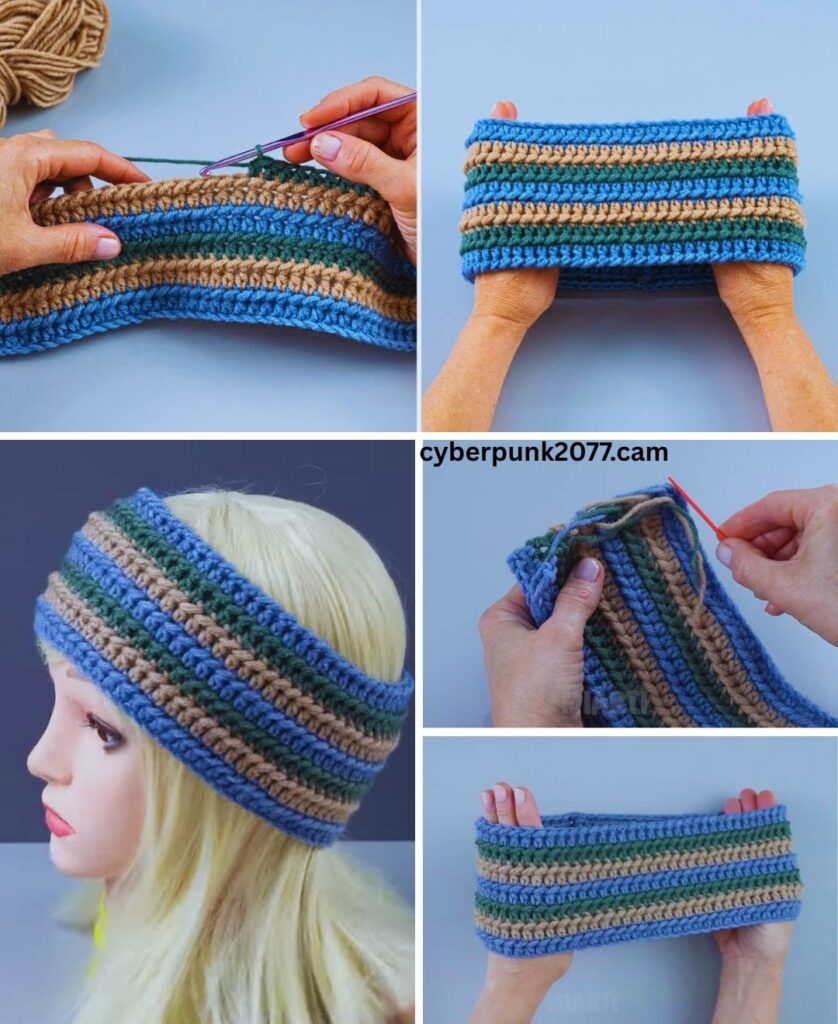
✂️ Step 4: Finishing and Seaming
- When the band is the right length, fasten off, leaving a long tail.
- Use your yarn needle to sew the two short ends together (whip stitch or mattress stitch).
- Weave in your ends.
🎉 Done! You’ve just made your first crochet headband.
🎀 Optional: Add a Twist (Literally)
Want a trendy turban-style twist in the front?
Here’s a simple method:
- Fold both short ends in half (lengthwise).
- Interlock them so each folded end sandwiches the other.
- Sew through all four layers across.
- Turn the seam inside out – the twist will show in front!
This gives your headband a stylish twist and a clean finish.
🧼 Care Instructions
If you’re using acrylic or cotton yarn:
- Machine washable (gentle cycle) or hand wash.
- Lay flat to dry to maintain shape.
💡 Beginner Tips
- Practice your tension on a small swatch first.
- Keep stitches even for a neater look.
- Don’t pull too tightly when chaining or stitching – it should feel smooth.
📋 Pattern Recap (For Quick Reference)
Skill Level: Beginner
Hook: 5.0 mm (H/8)
Yarn: Worsted weight (category 4)
Gauge: Not critical

Pattern:
1. Ch 11
2. Row 1: sc in 2nd ch from hook, sc across (10 sc). Ch 1, turn.
3. Rows 2–X: sc in each st across, ch 1, turn.
4. Repeat until band measures ~2 inches less than head circumference.
5. Fasten off and sew ends together.
6. Optional: Add twist before sewing ends.

Done!
🧶 Yarn Suggestions
Here are a few yarns that work great for beginner headbands:
- Red Heart Soft
- Bernat Softee Chunky (for a warm winter band)
- Caron Simply Soft
- Lily Sugar’n Cream (cotton, ideal for summer)
📸 Project Ideas & Variations
Once you’ve made one, try different variations:
- Add a button or bow.
- Use a ribbed stitch (like half double crochet in back loop only).
- Make a color-blocked version.
- Crochet a matching set (headband + wrist warmers).
❓ Frequently Asked Questions
Q: How long does it take to crochet a headband?
A: About 30 minutes to 1 hour for a simple pattern.
Q: What size should I make the headband?
A: Measure your head and subtract 1–2 inches for a snug fit.
Q: Can I use different yarn weights?
A: Yes, but adjust your hook size and chain count accordingly.
Q: How do I make a child-sized headband?
A: Just reduce the length to fit the child’s head (typically around 18–20 inches for toddlers).
🎁 Final Thoughts
Crocheting your first headband is a fantastic way to start your crochet journey. It’s quick, customizable, and gives you a finished product you can wear or gift with pride. Once you master the basics, you can experiment with new stitches and styles.
So grab your yarn and hook, put on a cozy playlist, and enjoy the relaxing rhythm of crochet. Your first handmade headband awaits!