 by
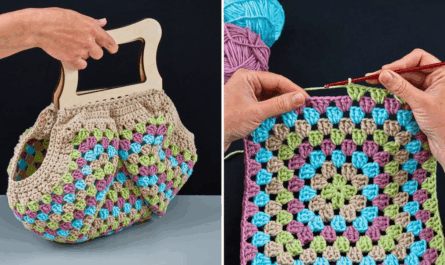
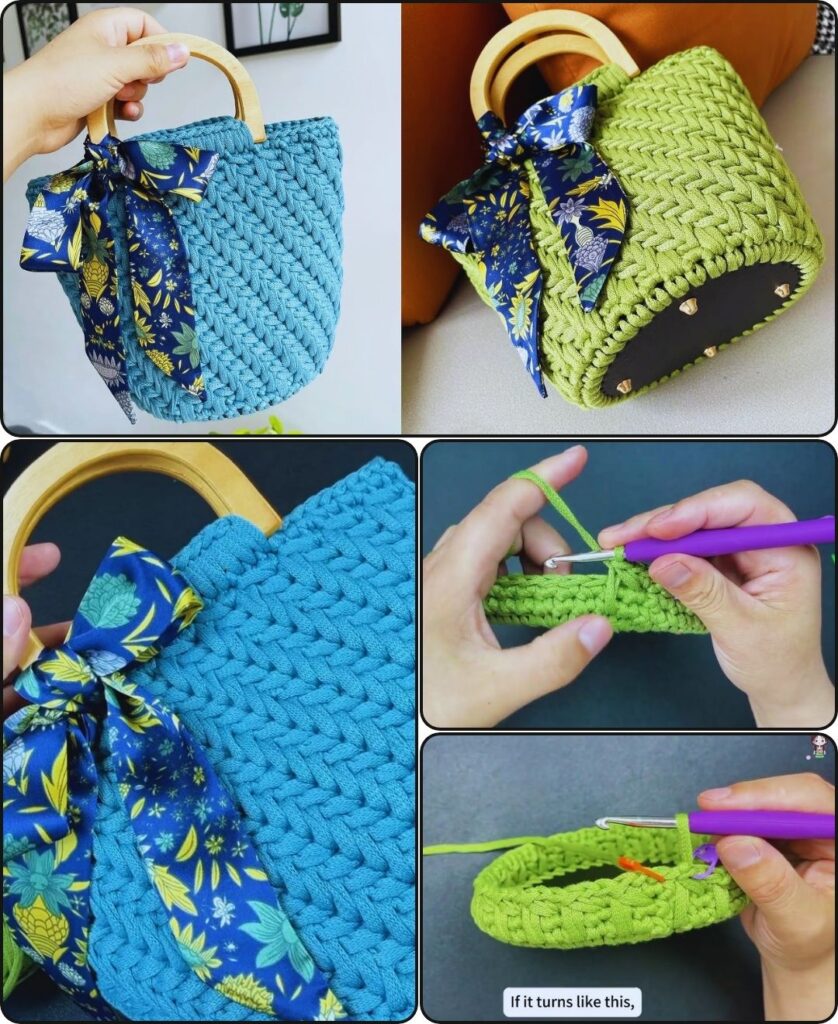
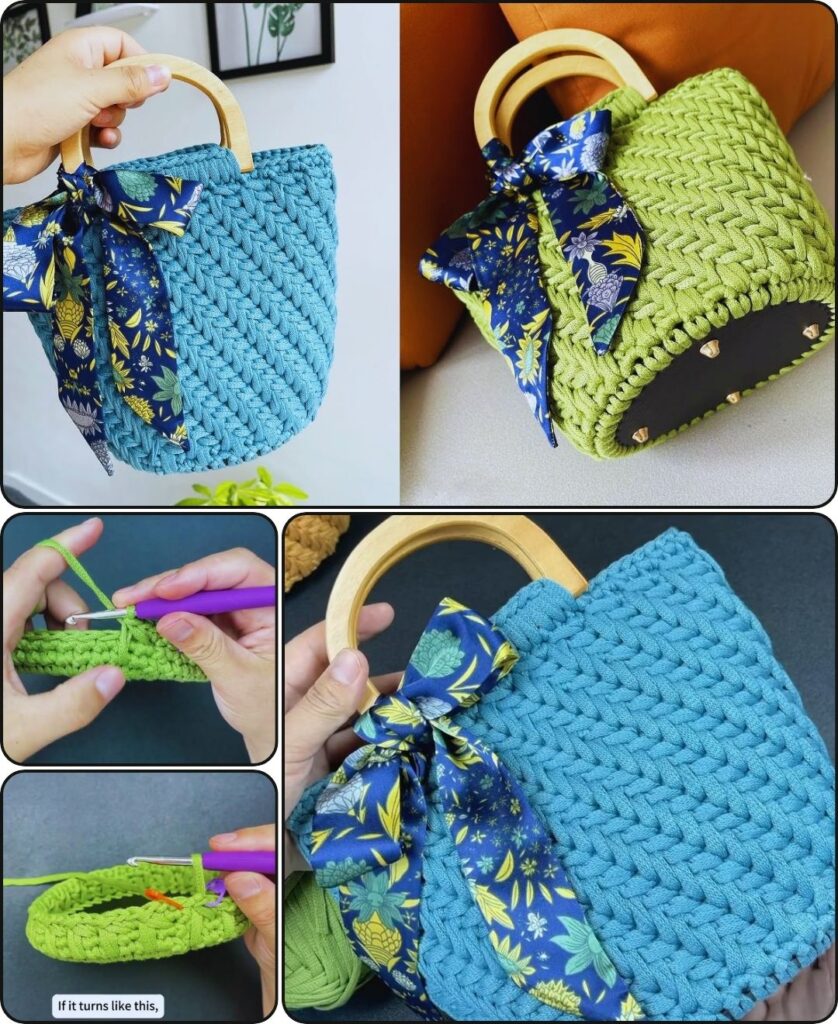
by A handmade crocheted handbag is a perfect accessory to showcase your personal style and craftsmanship. A classic and sturdy handbag can be created using simple stitches and a few key techniques. This comprehensive tutorial will guide you through the process of crocheting a functional and fashionable handbag, from selecting the right materials to adding the finishing touches.
Materials Needed
- Yarn: For a handbag that holds its shape, a durable yarn is essential.
- Cotton or Cotton Blends: Excellent choices as they are sturdy, have good stitch definition, and are not very stretchy.
- T-shirt Yarn (Zpagetti style): Creates a very thick, chunky, and modern bag that works up quickly.
- Raffia or Jute: Perfect for a rustic, summer-style bag.
- Worsted or Bulky Weight Acrylic: A good option for a lighter-weight bag, though it may sag more over time.
- Quantity: You will likely need 250-400 yards (230-365 meters) of yarn, depending on the size of your bag and the yarn weight.
- Crochet Hook: The size will depend on your yarn. For worsted weight yarn, a 4.0mm to 5.5mm (US size G-6 to I-9) hook is a good starting point. For thicker T-shirt yarn, you’ll need a much larger hook (8.0mm to 12.0mm).
- Scissors
- Tapestry Needle: For weaving in ends.
- Optional but Recommended:
- Bag Handles: Wooden, leather, or plastic handles can be purchased from a craft store.
- D-rings or O-rings: To attach a removable strap.
- Magnetic Snap or Zipper: For a bag closure.
- Bag Liner Fabric: To prevent small items from falling through stitches and to add structure.
- Leather or Faux Leather Bottom: A premade bottom can provide excellent structure and a professional finish.
Abbreviations
- ch: chain
- sl st: slip stitch
- sc: single crochet
- hdc: half double crochet
- dc: double crochet
- st(s): stitch(es)
- rep: repeat
- […]: work instructions inside brackets as a group
- BLO: back loop only
Part 1: The Base of the Bag
A solid, sturdy base is the key to a handbag that stands up on its own. A simple rectangular base is a great starting point.
Instructions for a Rectangular Base:
Row 1: Ch 26 (or your desired width). Sc in the 2nd ch from the hook and in each ch across. (25 sc)
Row 2: Ch 1, turn. Sc in the first st and in each st across. (25 sc)
Rows 3 and beyond: Repeat Row 2 until your base is the desired length (e.g., about 10-12 inches long). You will have a flat rectangular piece. Do not cut the yarn.
Tip: For a very strong base, work your stitches into the back loop only (BLO) or a combination of stitches. This creates a ridged texture and adds stiffness.

Part 2: The Body of the Bag
The body of the bag is worked in continuous rounds around the perimeter of the base. This method eliminates seams and builds the bag walls from the foundation you’ve created.
Round 1: Ch 1, do not turn. You will now work around the entire perimeter of the rectangle.
- Work 3 sc in the corner st.
- Work sc evenly down the side of the rectangle (working into the ends of the rows). Place 3 sc in the next corner.
- Work sc evenly down the bottom of the original chain. Place 3 sc in the next corner.
- Work sc evenly up the last side. Place 3 sc in the final corner.
- Sl st to the first sc of the round to join.
Note: The number of stitches will vary based on your starting chain and row count. The key is to add the 3 sc in each of the four corners to create a smooth turn from a flat piece to a 3D bag.
Round 2: Ch 1, sc in each st around. Join with a sl st to the first sc.
Round 3 and beyond: Continue working in rounds. You can choose to use a spiral method (no joining at the end of the round, just place a stitch marker at the beginning of the round) or a joined-round method. The joined-round method creates a more visible seam but can be easier to manage.
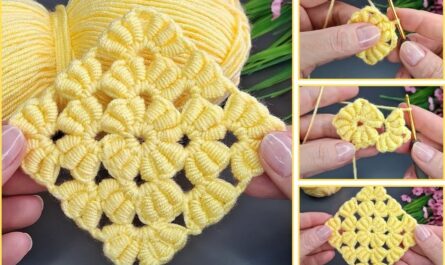
Stitch Pattern Variations for the Body:
- Single Crochet (sc): Creates a very dense, sturdy, and classic-looking bag.
- Moss Stitch (sc, ch 1, skip 1): Provides a wonderful, woven-like texture and works up relatively quickly.
- Herringbone Half Double Crochet (hhdc): Creates a stunning, slanted texture and a very dense fabric. To do this, yarn over, insert hook into stitch, yarn over, pull through the stitch AND the first loop on your hook. Yarn over, pull through both remaining loops.
- Ribbed Texture: Work all stitches in the back loop only (BLO) to create a subtle ribbed look.
Continue working in rounds until your bag is the desired height. A height of 8-10 inches (20-25 cm) is a standard size for a handbag.
Part 3: The Handle(s)
There are a few ways to add handles to your bag.
Option 1: Crocheted Handles
- Ch 1, sc in each st around. Work 1-2 rounds of sc to create a clean top edge.
- For a single handle: Ch a long chain (e.g., 50-60 chs) at the center of the front panel. Sc back down the chain and continue to sc around the top of the bag.
- For two handles: Sc across the top of the bag. When you reach the desired placement for the first handle, ch a long chain (e.g., 20-30 chs) and skip a few stitches. Sc in the next st to create a handle loop. Repeat on the other side.
- Next round: Sc in each st around the bag and work sc stitches into each of the chains you created for the handles. Continue for a few rounds to make the handles sturdy.
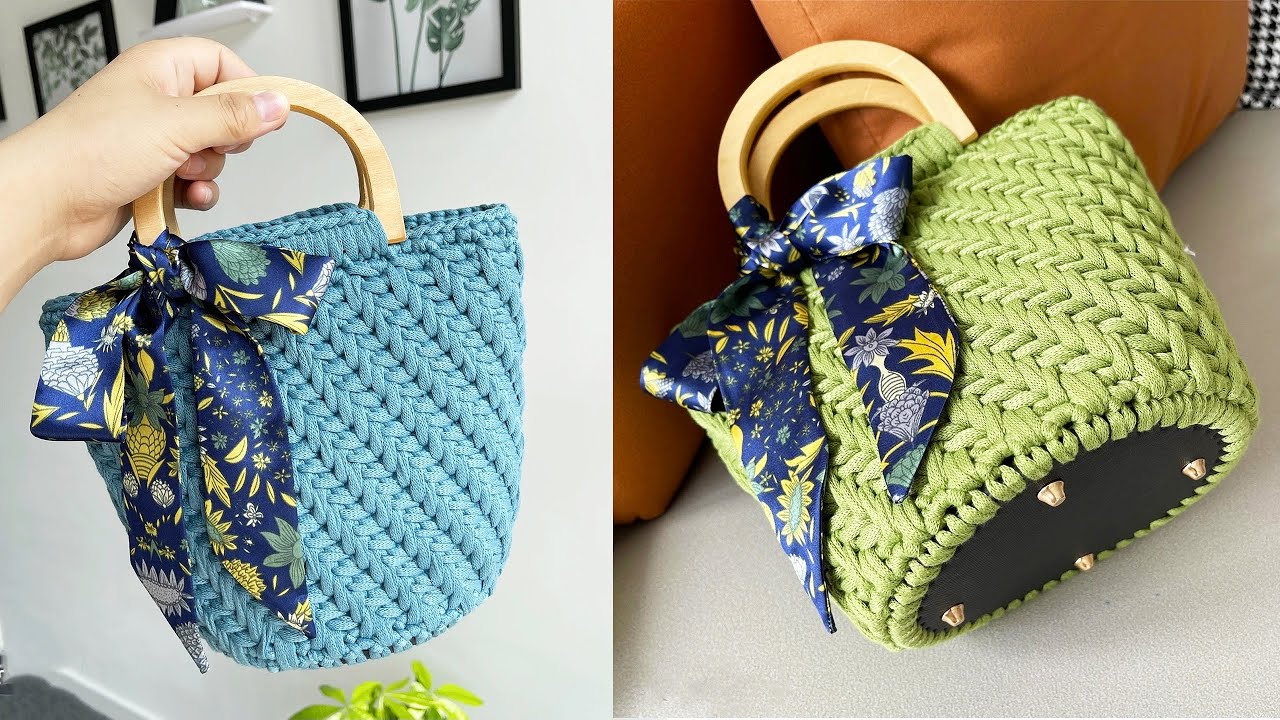
Option 2: Attaching Pre-made Handles
- Work 1-2 rounds of sc around the top of the bag to create a finished edge. Sl st and fasten off.
- Use a tapestry needle and a strong thread or the yarn tail to sew the pre-made wooden or leather handles securely to the top of the bag. You can sew them directly or attach them with D-rings.
Part 4: Finishing Touches
1. Adding a Closure (Optional but Recommended):
- Magnetic Snap: A quick and easy solution. Sew the two pieces of the snap to the inside top edges of the bag, making sure they line up.
- Zipper: For a more secure closure, you can hand-sew a zipper to the inside of the bag.
2. Adding a Liner (Optional but Highly Recommended):
- A fabric liner gives your bag a professional finish and prevents items from slipping out.
- Measure and cut a piece of fabric to match the size and shape of your bag, adding a seam allowance.
- Sew the liner pieces together on a sewing machine or by hand.
- Place the liner inside the bag, folding the top edge under.
- Hand-sew the liner to the inside of the bag with a running stitch.
3. Final Details:
- Weave in all loose ends with your tapestry needle.
- Block your bag if needed to help it hold its shape. You can do this by stuffing it with a towel or tissue paper and letting it sit for a day or two.
Your crocheted handbag is now complete! This detailed pattern can be easily adapted by changing the starting chain, the number of rounds, and the type of yarn and stitches used. Enjoy your unique and beautiful creation!