by
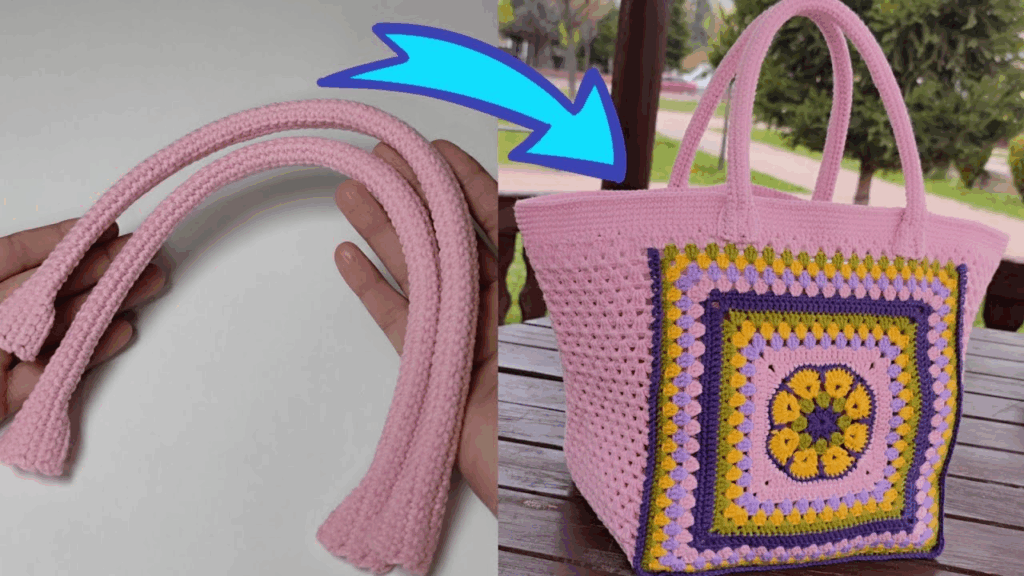
by Crocheting your own bag handles is a fantastic way to ensure your bag is completely handmade and unique! It also gives you full control over the length, width, and style. The biggest challenge with crocheted handles is often preventing them from stretching, especially with heavier items. This tutorial will focus on creating sturdy, non-stretching handles.
Since you’re in Phnom Penh, 100% cotton yarn or a cotton blend is an excellent choice for bag handles. Cotton has good strength, less stretch compared to pure acrylic, and holds its shape well. For maximum durability, you might consider inserting a non-stretch cord (like cotton rope, macrame cord, or even ribbon) inside the crocheted handle, which we’ll cover as an advanced tip.
How to Crochet a Strong and Stylish Bag Handle
This tutorial will outline a method to create a sturdy, flat or tubular handle, focusing on stitches and techniques that minimize stretch.
1. Essential Materials You’ll Need
- Yarn:
- Fiber: 100% Cotton, Cotton Blend, or even Jute/Hemp are excellent for non-stretching handles. A tight-spun worsted weight (Aran / Medium / Category 4) is generally good. Avoid overly stretchy or soft yarns.
- Color: Match your bag or choose a contrasting color for a pop.
- Quantity: About 50-100g per pair of handles, depending on length and thickness.
- Crochet Hook: A hook size appropriate for your yarn, but aim for a slightly smaller hook than you’d normally use for that yarn. This creates a denser fabric, reducing stretch. For worsted weight cotton, a 4.0mm (US G/6) or even 3.5mm (US E/4) can work well.
- Scissors: For cutting yarn.
- Yarn Needle (Tapestry Needle): Essential for weaving in ends and securely attaching the handles to your bag.
- Measuring Tape: To measure your desired handle length.
- Optional for Durability: Non-stretch cord (e.g., cotton rope, macrame cord, strong ribbon) slightly thinner than your crocheted handle’s desired thickness.
2. Basic Crochet Stitches You’ll Use
- Chain (ch): For foundation.
- Slip Stitch (sl st): For neatening edges or joining.
- Single Crochet (sc): Creates a very dense, sturdy fabric, ideal for handles.
- Half Double Crochet (hdc): Slightly taller than sc, but still quite dense.
- Fasten Off: Securely ending your work.
- Weaving in Ends: Hiding tails for a neat finish.
Crochet Handle Pattern: The Sturdy Flat Strap (Make 2)
This method creates a flat strap that can be sewn onto your bag. For even more durability, you can fold and sew it into a tube later.
Abbreviations (US Crochet Terms):
- ch: chain
- sl st: slip stitch
- sc: single crochet
- hdc: half double crochet
Step 1: Determine Handle Length and Width
- Length: Hold your bag and a measuring tape to approximate how long you want the handle. Common lengths are 12-16 inches (30-40 cm) for hand-held, 20-24 inches (50-60 cm) for shoulder bags, and 30-40 inches (75-100 cm) for crossbody (if applicable).
- Width: Decide how wide you want your handle. 1-2 inches (2.5-5 cm) is common. More rows will make a wider handle.
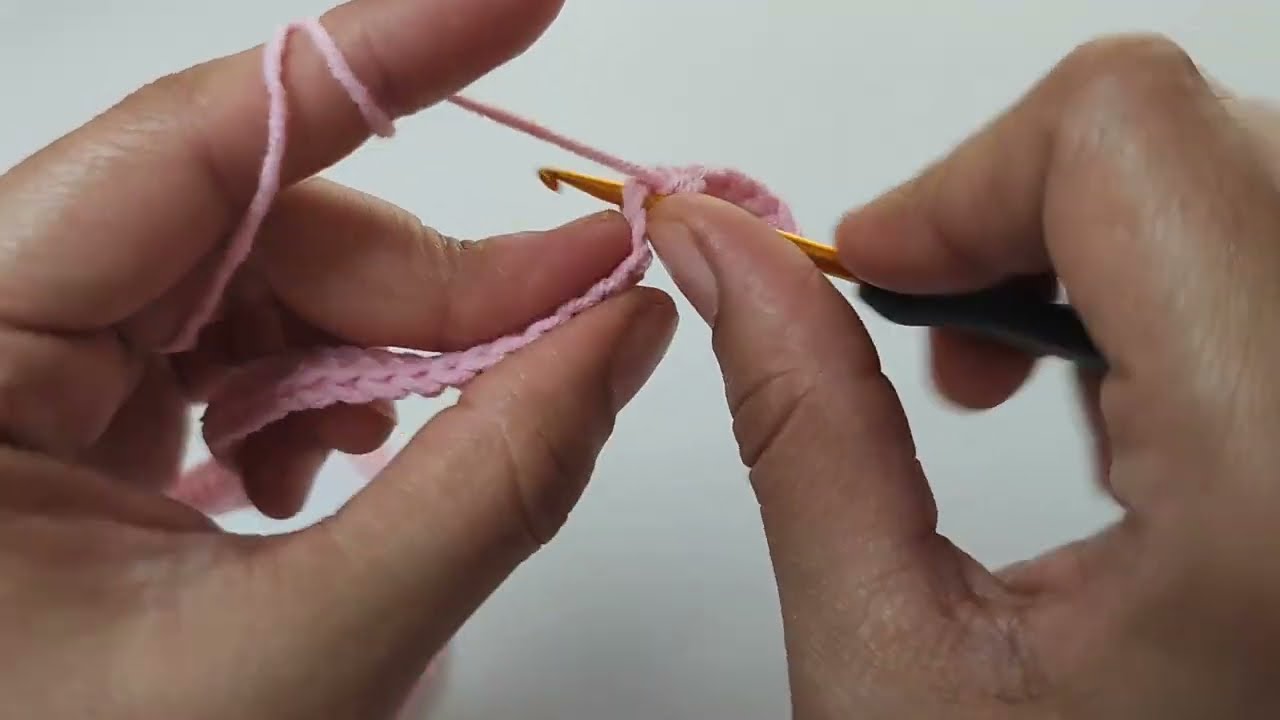
Step 2: Crochet the Handle Strip
We’ll use single crochet for maximum density and minimal stretch.
- Foundation Chain: Ch a chain slightly longer than your desired handle length. For example, if you want a 20-inch (50 cm) handle, chain about 80-100 stitches, depending on your gauge. It’s better to make it a bit longer and cut off excess later if needed.
- Row 1: Sc in the 2nd ch from hook and in each ch across to the end. (You’ll have [starting chain – 1] sc stitches).
- Row 2: Ch 1, turn. Sc in each sc across.
- Repeat Row 2: Continue repeating Row 2 until your handle reaches the desired width.
- For a 1-inch wide handle, this might be 4-6 rows of sc.
- For a 2-inch wide handle, this might be 8-12 rows of sc.
- The more rows, the sturdier and wider the handle will be.
- Fasten off, leaving a very long tail (at least 12-18 inches / 30-45 cm) for sewing the handle to your bag.
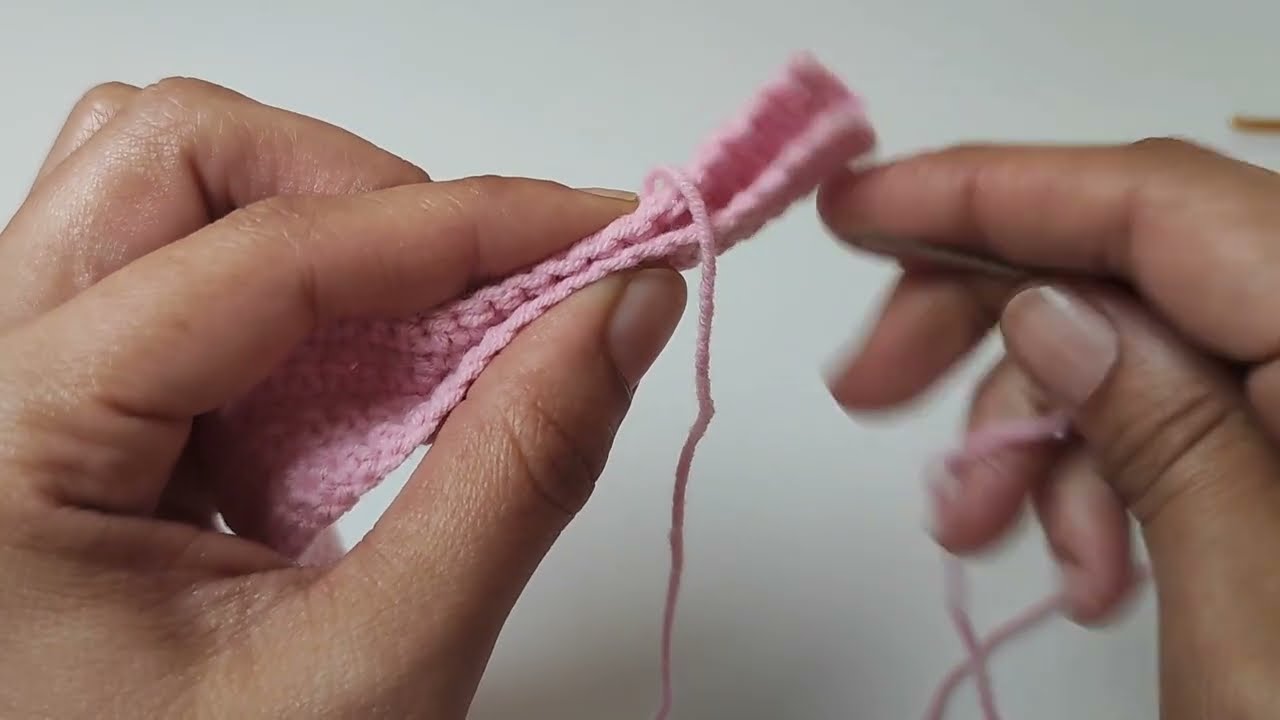
Step 3: Optional: Reinforce for Extra Strength (Highly Recommended!)
This step prevents stretching over time, especially with heavier bags.
- Internal Cord Method:
- Cut a length of non-stretch cord (cotton rope, macrame cord, or strong ribbon) slightly shorter than your crocheted strip.
- Place the cord along the center of your crocheted strip.
- Fold the crocheted strip in half lengthwise over the cord.
- Using your yarn needle and a new piece of yarn (or the starting/ending tail if long enough), whip stitch or sl st the two long edges of the crocheted strip together, encasing the cord inside. Stitch all the way to the ends, but leave the ends of the cord slightly exposed for sewing onto the bag later (or trim flush if you prefer). This creates a strong, non-stretching tubular handle.
- Stiff Stitch Pattern (Alternative to Internal Cord):
- Thermal Stitch: This stitch is incredibly dense and creates a very thick, non-stretching fabric. It’s more advanced but highly effective. Search for “crochet thermal stitch” tutorials if interested.
- Split Single Crochet (SSC) / Knit Stitch: Creates a fabric that mimics knitting, which is often dense and less stretchy. Work sc stitches by inserting your hook into the center of the ‘V’ of the stitch below, rather than under both loops.
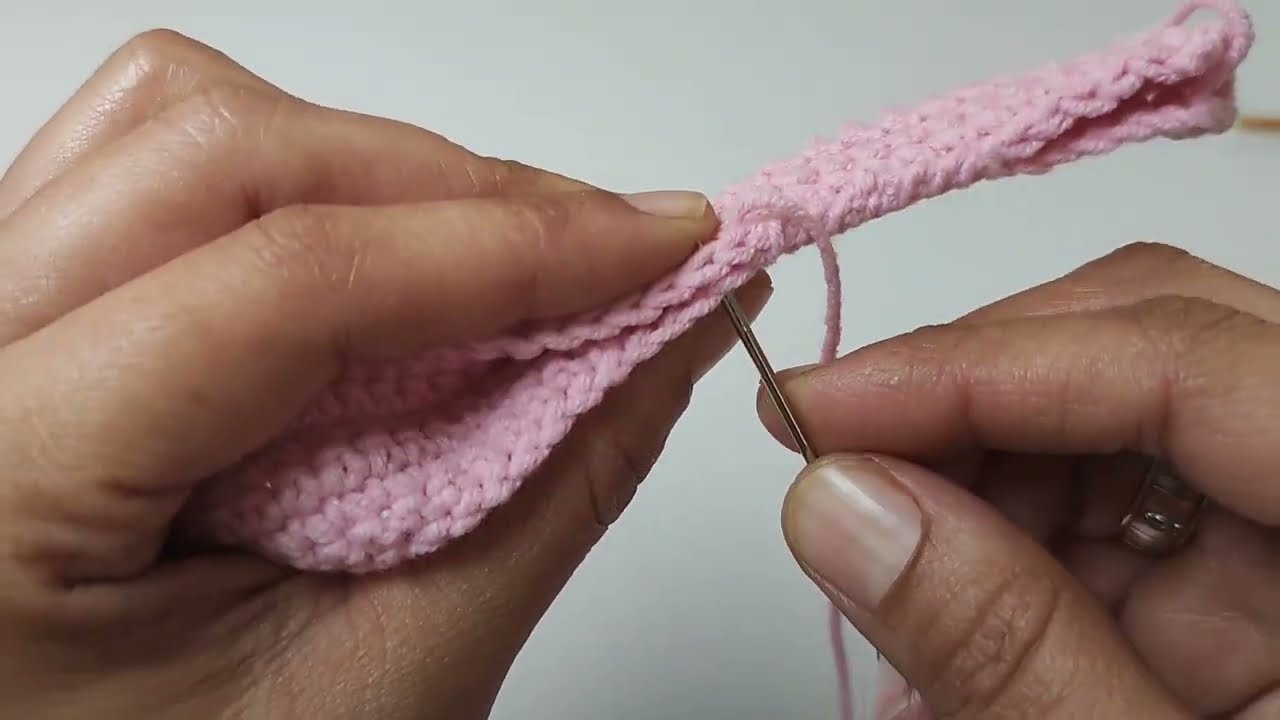
Step 4: Attach Handles to Your Bag
This is a critical step for bag durability.
- Placement: Lay your bag flat. Determine where you want your handles to be. Typically, they are placed equidistant from the side seams, on the front and back of the bag. Use stitch markers to mark the attachment points.
- Secure Sewing: Thread the long tail from your handle onto your yarn needle.
- Position the end of the handle onto the inside top edge of your bag.
- Sewing Strategy: Stitch through multiple layers of your bag’s top border and handle. Use small, strong stitches. Go back and forth several times, creating a tight “X” pattern or straight lines, ensuring the handle is very firmly attached.
- If you used an internal cord, try to stitch directly through the cord as you attach the handle to the bag for ultimate security.
- Work around all edges of the handle’s attachment point.
- Once satisfied with the security, weave in any remaining yarn tail very securely into the bag’s stitches.
- Repeat for all Handle Ends: Attach the other end of the first handle, then repeat the entire process for the second handle.
5. Finishing Tips for Professional Handles
- Consistent Tension: Maintain even tension throughout the handle to ensure it looks uniform and doesn’t have weak spots.
- Blocking (Optional): For flat handles, a light steam block can help them lay perfectly flat and smooth.
- Test Strength: Before using the bag with heavy items, gently pull on the handles to ensure they are firmly attached.
- Alternatives to Crocheted Handles: If crocheting handles seems too daunting or you want a different look, consider these options:
- Pre-made Handles: You can buy wooden, bamboo, leather, or metal handles that can be sewn or clipped onto your bag.
- Fabric/Leather Straps: You can make or buy fabric or leather straps and attach them to your bag using D-rings or by sewing.
- Integrated Handles: Some bag patterns incorporate the handles directly into the top portion of the bag, making them part of the overall structure and often very sturdy.

By following these steps and paying attention to detail, you can crochet strong, durable, and beautiful handles that will make your handmade bag truly stand out!