 by
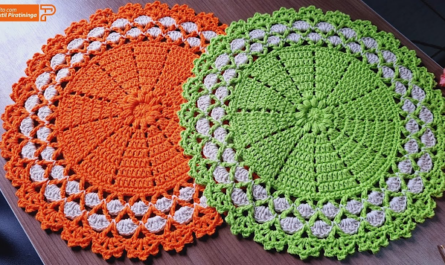
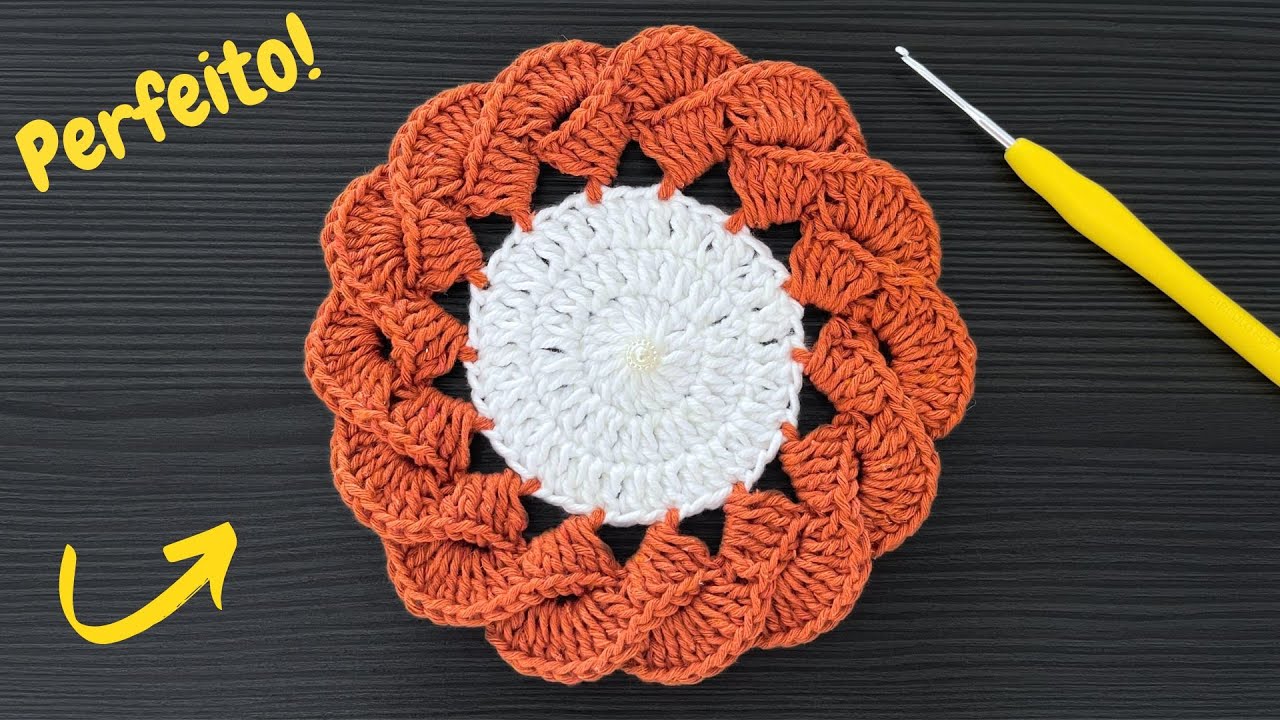
by If you are new to crochet and wondering where to start, a crochet coaster is one of the best beginner projects you can choose. Coasters are small, quick, practical, and fun to make. They allow beginners to practice basic stitches without feeling overwhelmed, and the results are useful and beautiful.
In this detailed guide, you will learn how to crochet a super easy coaster, step by step, using simple stitches and easy techniques that are perfect for beginners.
🌟 Why Crochet Coasters Are Ideal for Beginners
Crochet coasters are popular beginner projects because they:
- Are small and quick to finish
- Use very little yarn
- Help you practice basic stitches
- Allow you to learn working in the round
- Are useful household items
- Make great handmade gifts
Even your very first coaster can look neat and professional.
🧶 Materials Needed
You only need a few basic supplies to get started.
Yarn
- Cotton yarn is highly recommended
- Medium-weight yarn (worsted weight)
- Cotton absorbs moisture and holds shape well
✨ Tip: Avoid very stretchy yarns like wool for coasters.
Crochet Hook
- 4 mm to 5 mm crochet hook
- Check the yarn label for the recommended size
Other Supplies
- Scissors
- Yarn needle (for weaving in ends)
- Stitch marker (optional)
🪡 Basic Crochet Stitches Used
This super easy crochet coaster uses only basic stitches, making it perfect for beginners:
- Slip knot
- Chain (ch)
- Slip stitch (sl st)
- Single crochet (sc)
- Double crochet (dc)
Once you learn these stitches, you can crochet many other projects.
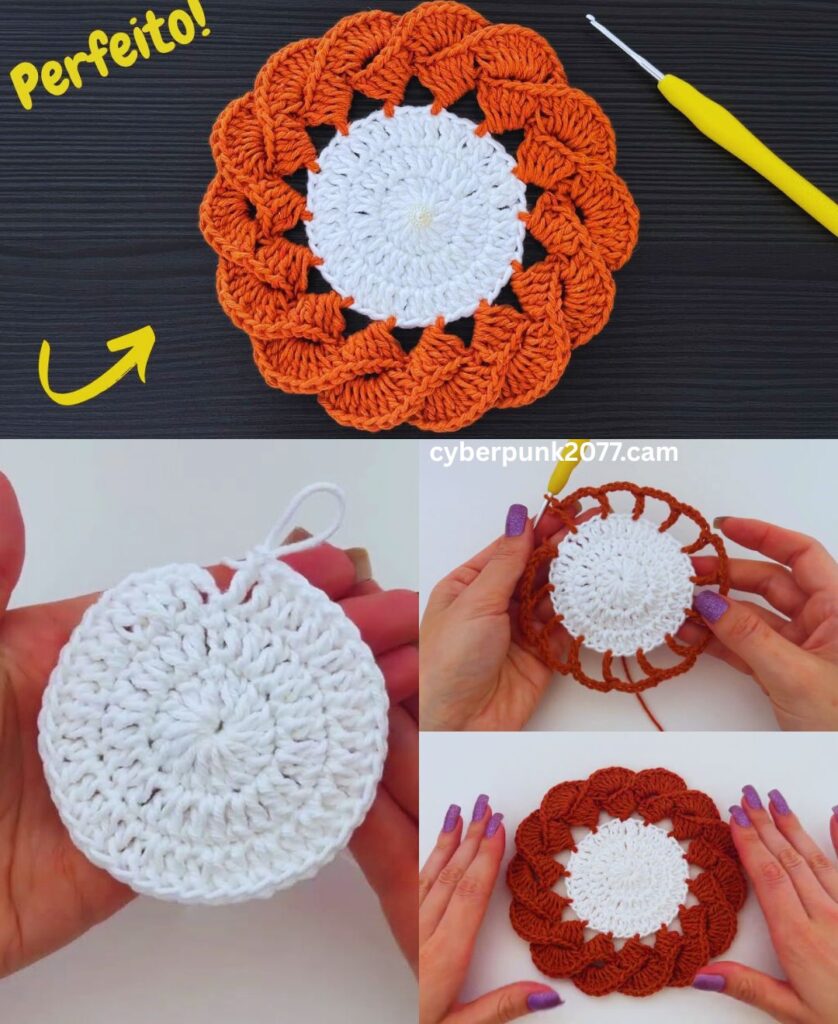
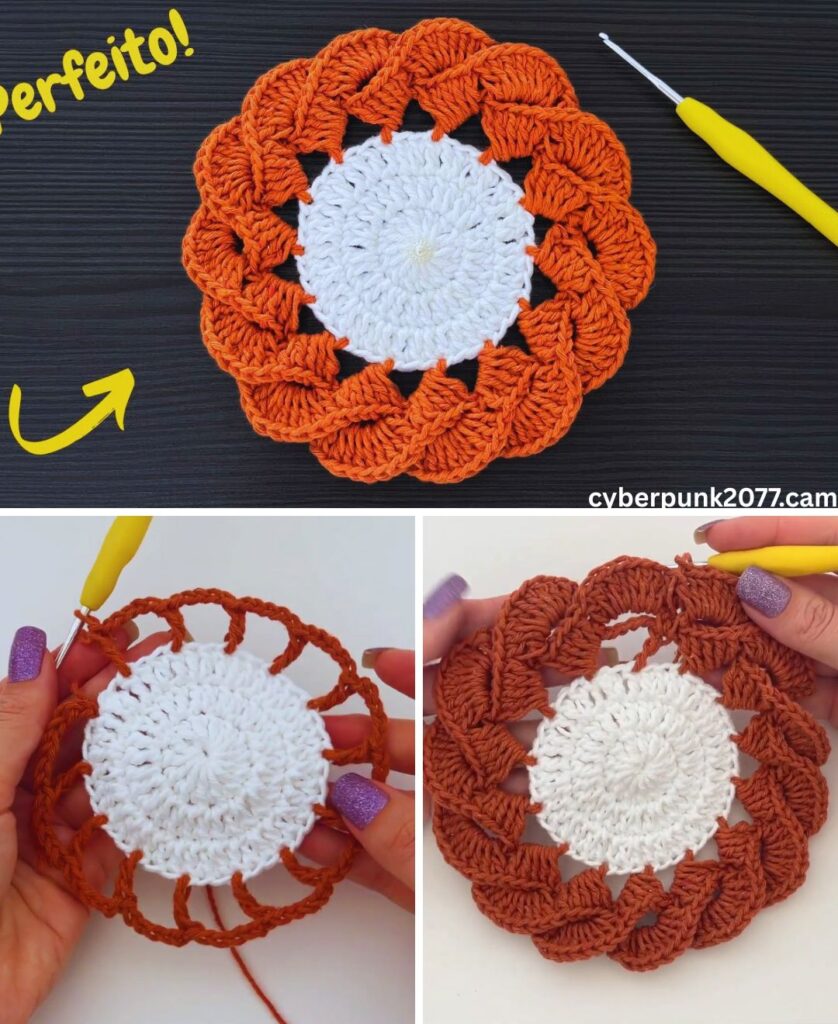
🧵 Step-by-Step: How to Crochet a Super Easy Coaster
Step 1: Start with a Magic Ring or Chain Ring
You can choose either method:
Magic Ring Method
- Create a magic ring and secure it
Chain Ring Method (Beginner-Friendly)
- Chain 4
- Join with a slip stitch to form a ring
This forms the center of your coaster.
Step 2: Round 1 – Create the Base
- Chain 3 (counts as first double crochet)
- Work 11 double crochets into the ring
- Join with a slip stitch to the top of chain 3
You should have 12 double crochets in total.
Step 3: Round 2 – Increase for Flat Shape
- Chain 3
- Work 2 double crochets into each stitch around
- Join with a slip stitch
This round helps the coaster lie flat.
Step 4: Round 3 – Add Texture (Optional)
For a simple and pretty texture:
- Chain 1
- Work 1 single crochet into each stitch
- Join with a slip stitch
This creates a neat border and strengthens the coaster.
Step 5: Fasten Off and Finish
- Cut yarn, leaving a small tail
- Pull through and tighten
- Use a yarn needle to weave in ends neatly
Your crochet coaster is now complete!
🎨 Easy Variations for Beginners
Once you master the basic coaster, you can try:
- Changing yarn colors each round
- Using half double crochet for a different texture
- Adding a picot or scalloped edge
- Making square or flower-shaped coasters
Small changes create big design differences.
💡 Beginner Tips for Perfect Coasters
- Keep stitches tight for durability
- Use cotton yarn for heat resistance
- Count stitches each round
- If coaster curls, add more increases
- Block coaster if edges are uneven
Practice makes your stitches neater over time.
🎁 Crochet Coasters as Gifts
Crochet coasters make thoughtful handmade gifts for:
- Housewarming parties
- Birthdays
- Holidays
- Teachers or coworkers
Make a matching set of 4 or 6 and tie them with a ribbon for a lovely presentation.
🧼 Care Instructions
- Cotton coasters are machine washable
- Wash in cool water
- Lay flat to dry
Proper care keeps your coasters looking fresh and neat.
🌈 Skill Level
- Absolute Beginner Friendly
- Fast and easy project
- Builds crochet confidence
- Great practice for working in the round
✨ Final Thoughts
Learning super easy crochet for beginners through a crochet coaster project is the perfect way to start your crochet journey. With simple stitches, minimal materials, and quick results, coasters help you build skills while creating something useful and beautiful.
Once you finish your first coaster, you’ll be excited to make more—and ready to try bigger projects with confidence. 🧶💖
Happy Crocheting and Enjoy Every Stitch!