 by
by How to Crochet a Circle Flower: A Beginner-Friendly Tutorial
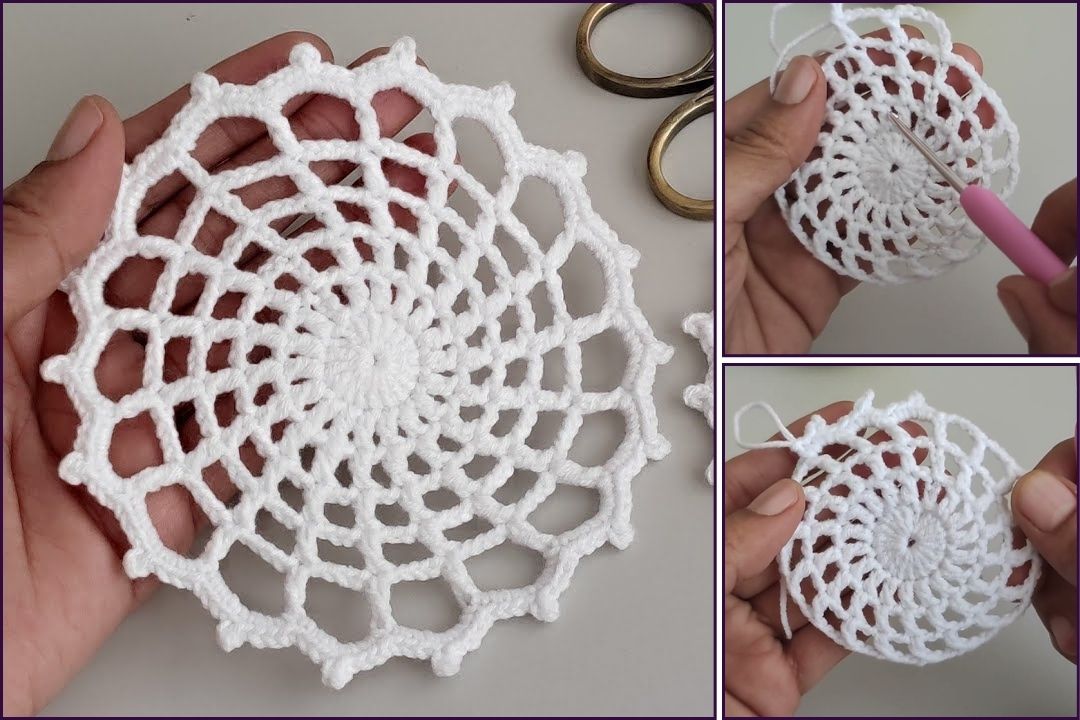
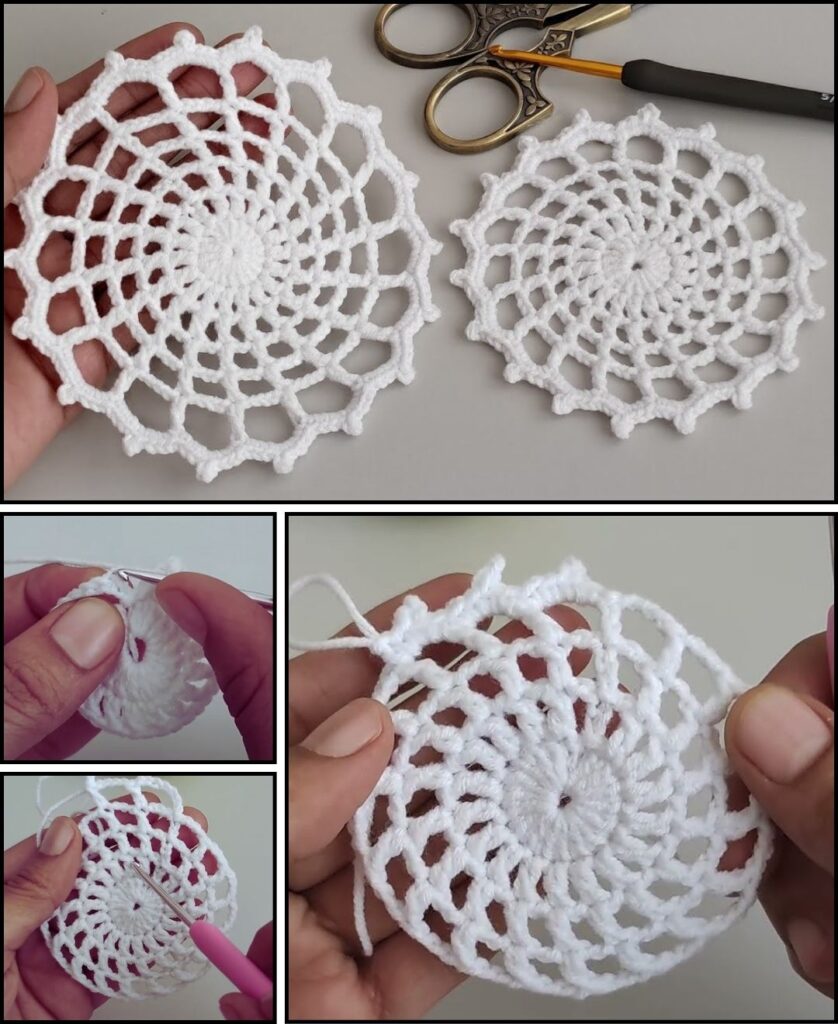
Crocheting a circle flower is a delightful and simple project, perfect for beginners! These little motifs are incredibly versatile – you can use them as appliqués on hats, bags, or blankets, create a garland, or even join several together to form a larger project. They’re quick to make and use very little yarn, making them great for busting scraps.
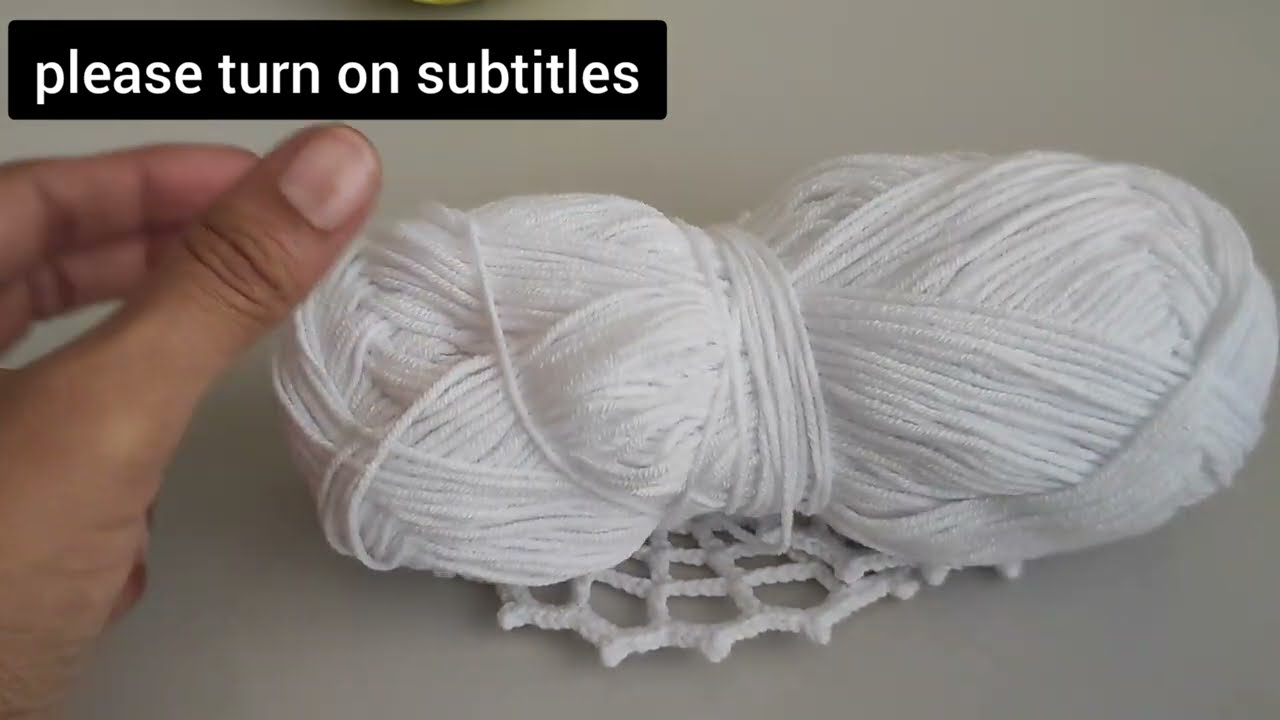
Since you’re in Phnom Penh, where it’s warm, 100% cotton yarn or a soft cotton blend is an excellent choice for your circle flowers. Cotton is durable, has great stitch definition, and comes in a vibrant array of colors, making your petals pop.
1. Essential Materials You’ll Need
- Yarn:
- Center Color (CC): For the middle of the flower (e.g., yellow, brown). Worsted Weight (Aran / Medium / Category 4) is a good standard.
- Petal Color (PC): For the petals (any color you like!). Worsted Weight, matching your center yarn.
- You’ll only need small scraps, usually less than 10-20g per flower.
- Crochet Hook:
- A 4.0mm (US G/6) or 5.0mm (US H/8) hook. Choose a hook size appropriate for your yarn weight. For a more delicate flower, you can go down a hook size.
- Scissors: For cutting yarn.
- Yarn Needle (Tapestry Needle): Essential for weaving in ends.
2. Basic Crochet Stitches You’ll Use
This pattern uses fundamental crochet stitches and techniques, making it very accessible for beginners:
- Magic Ring (MR) / Adjustable Ring: (Highly Recommended!) Creates a tight, hole-free center for your flower. If you’re not familiar, a
ch 2and working into the 2nd ch from hook also works. - Chain (ch): Used for starting and creating spaces.
- Slip Stitch (sl st): For joining rounds and neatening.
- Single Crochet (sc): A short, dense stitch, often used for the flower’s center.
- Half Double Crochet (hdc): A medium-height stitch, good for petals.
- Double Crochet (dc): A taller stitch, also great for petals.
- Triple/Treble Crochet (tr): The tallest stitch, for longer petals.
- Working in Rounds: You’ll build the flower in circles from the center out.
- Fasten Off: Securely ending your work.
- Weaving in Ends: Hiding yarn tails for a neat finish.
Crochet Circle Flower Pattern (Basic Version)
This pattern creates a simple, multi-petal flower, perfect for learning the technique.
Abbreviations (US Crochet Terms):
- CC: Center Color
- PC: Petal Color
- MR: Magic Ring
- Rnd: Round
- ch: chain
- sl st: slip stitch
- sc: single crochet
- hdc: half double crochet
- dc: double crochet
- tr: triple crochet
- st(s):: stitch(es)
- sp: space
(...): work stitches into the same stitch or space

Part 1: The Flower Center (CC)
We’ll start by making the small, round center of your flower.
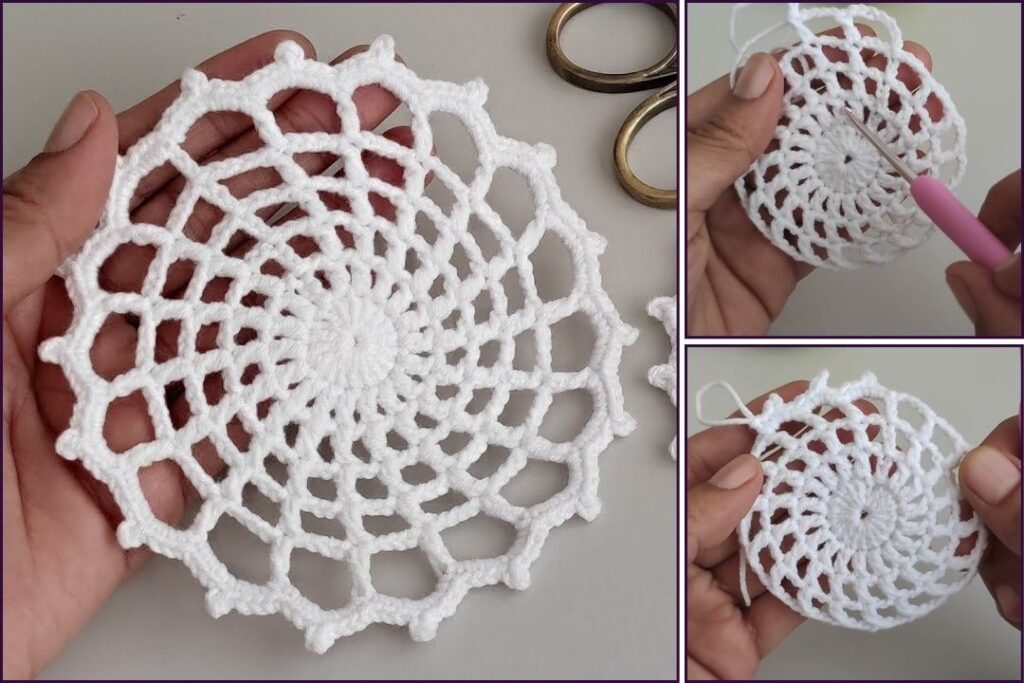
- Rnd 1: With your Center Color (CC) yarn, create a Magic Ring (MR). Work 8 sc into the MR. Pull the tail to close the ring tightly. (8 sc)
- If not using MR: Ch 2, 8 sc in 2nd ch from hook. Join with a sl st to the first sc.
- Join with a sl st to the first sc of the round.
- Fasten off CC, leaving a small tail for weaving in.
Part 2: The Petals (PC)
Now we’ll add the colorful petals!
- Join PC: With your Petal Color (PC) yarn, join with a sl st into any single crochet stitch from Rnd 1 of the center.
- Rnd 2 (Creating Petals):
*Ch 2 (counts as first hdc). Work (1 hdc, 1 dc, 1 hdc) all into the same stitch where you joined.- Sl st into the next sc stitch from Rnd 1.
* - Repeat from
*to*7 more times. You will have a total of 8 petals. - After the last petal, sl st into the base of the very first petal to secure.
- Fasten off PC, leaving a small tail for weaving in.
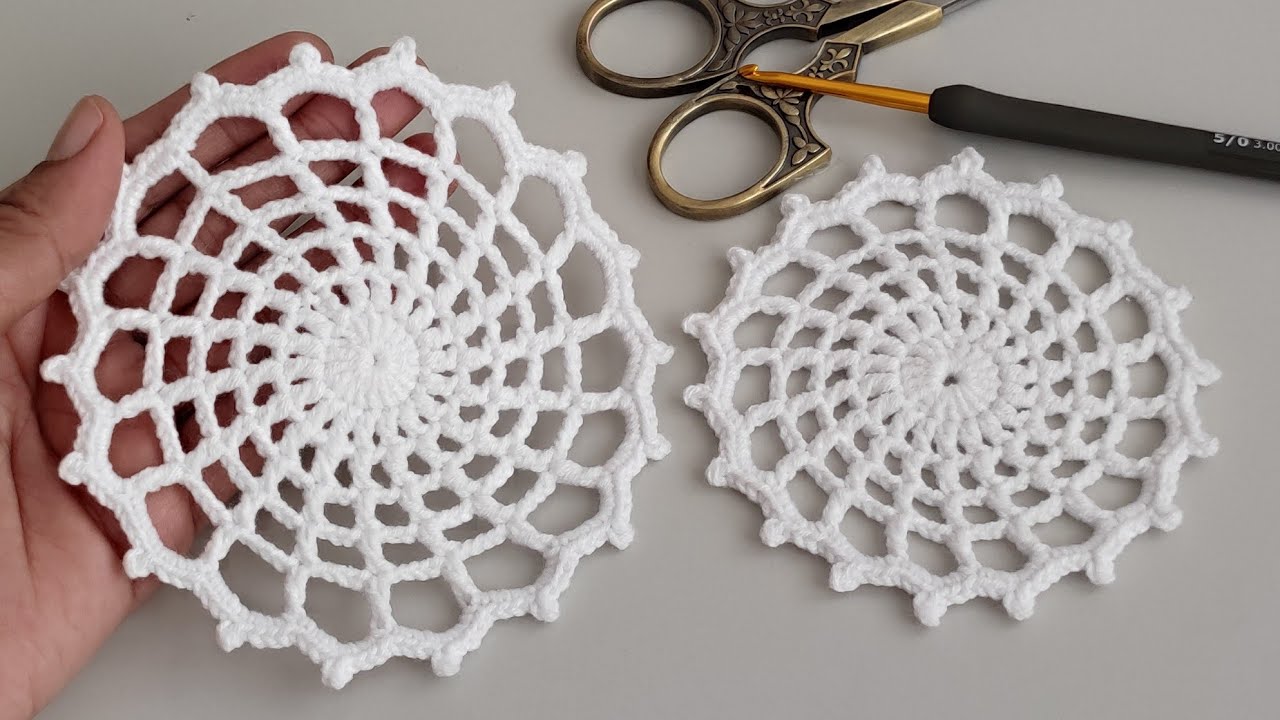
Part 3: Finishing Your Circle Flower
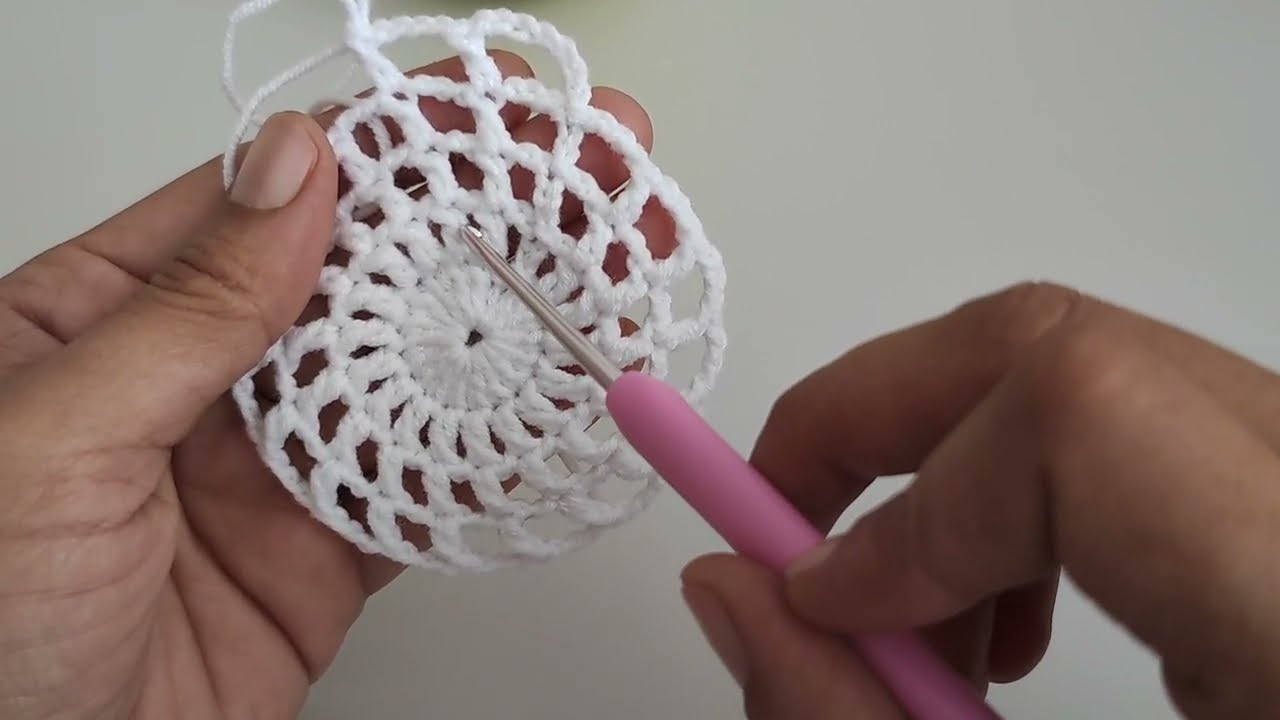
- Weave in All Ends NEATLY: This is crucial for a clean, professional-looking flower. Use your yarn needle to carefully weave in every single yarn tail securely into the stitches on the back of your flower. Take your time to hide them well.
- Flatten/Shape: Gently flatten and shape your flower with your hands to make the petals lie nicely. You can gently tug on the individual petals to make them symmetrical.
4. Variations for Your Circle Flower (Once You’re Comfortable)
Once you’ve mastered the basic circle flower, you can easily experiment with different looks!
- Petal Stitch Variations:
- Smaller Petals: Use all
scorhdcstitches for the petals (e.g.,(2 sc, ch 1) in same st, sl st in next st). - Larger, Pointier Petals: Use taller stitches like
trordcfor the middle of the petal (e.g.,(ch 3, 2 dc, ch 3, sl st) in same st). - More Petals: Start your Rnd 1 with more stitches (e.g., 10 sc or 12 sc) and then make a petal in each stitch.
- Fewer Petals: Start Rnd 1 with fewer stitches (e.g., 6 sc) or skip a stitch between petals to create larger, more spaced-out petals.
- Smaller Petals: Use all
- Layered Flowers:
- After completing your first layer of petals, you can work a second layer of petals behind the first, often by joining yarn into the unworked “back loops” of the center round, or by crocheting into the chain spaces between petals of the first layer. This creates a fuller, more dimensional flower.
- Embellishments:
- Sew a small bead, button, or a contrasting color French knot into the center of the flower.
- Embroider veins onto the petals with a yarn needle.
You now have a detailed guide on how to crochet a charming and easy circle flower! What colors will you choose for your first blooming creations?