by
by How to Crochet a Simple Pumpkin for Beginners
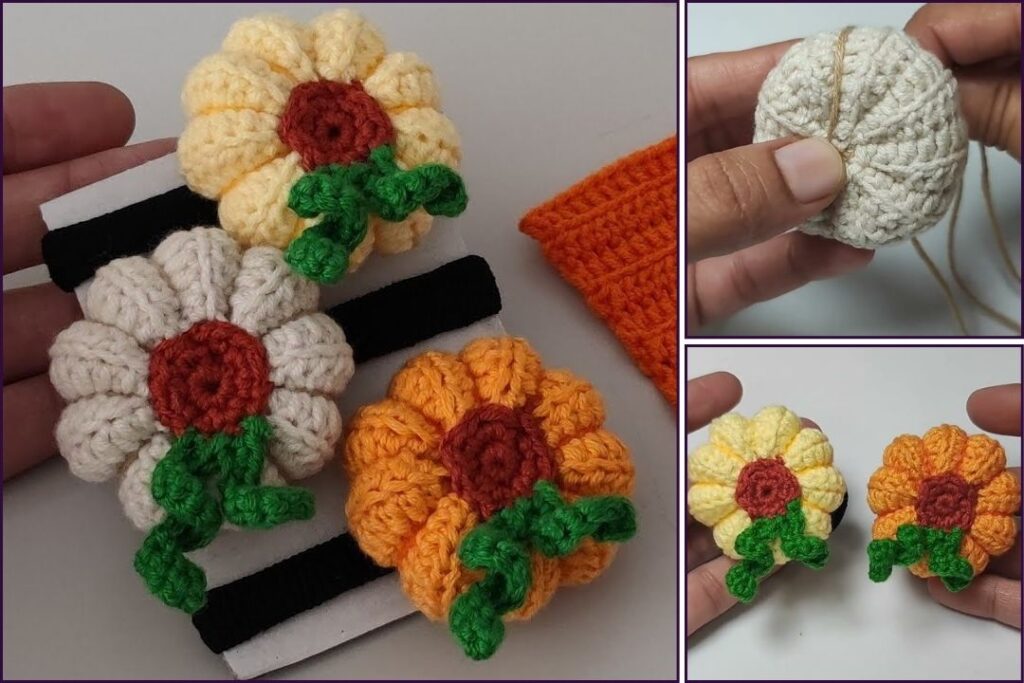
Crocheting a pumpkin is a fantastic project for beginners! It’s relatively quick, uses basic stitches, and the result is a charming, squishy decoration perfect for autumn, Halloween, or simply adding a cozy touch to your home. You’ll learn to crochet a flat rectangle and then shape it into a 3D pumpkin.
Since you’re in Phnom Penh, where it’s warm, 100% cotton yarn or a soft cotton blend is an excellent choice. Cotton is breathable, durable, and its stitch definition will make your pumpkin look neat. A soft acrylic yarn also works wonderfully, as it’s squishy and comes in a huge range of colors.
1. Essential Materials You’ll Need
- Yarn:
- Main Color (MC): For the pumpkin body (e.g., orange, burnt orange, cream, white, green). Worsted Weight (Aran / Medium / Category 4) is ideal. You’ll need about 20-50g depending on pumpkin size.
- Stem Color (SC): Brown or green for the stem (tiny scrap).
- Crochet Hook:
- A 4.0mm (US G/6) or 5.0mm (US H/8) hook. Choose a hook size that makes your stitches fairly dense so the stuffing doesn’t show through too much, but not so tight that your fabric is stiff.
- Scissors: For cutting yarn.
- Yarn Needle (Tapestry Needle): Essential for sewing up the pumpkin and weaving in ends.
- Stuffing: Polyester fiberfill (Poly-fil) or yarn scraps for stuffing your pumpkin.
- Stitch Marker (Optional but helpful): To mark the first stitch of a row, especially for beginners.
2. Basic Crochet Stitches You’ll Use
This project uses very fundamental stitches, making it perfect for those just starting out. We’ll stick to a simple back-and-forth row technique.
- Chain (ch): Used to start your project.
- Single Crochet (sc): Creates a tight, dense fabric, ideal for a firm pumpkin.
- How to: Insert hook into stitch, yarn over (YO), pull up a loop (2 loops on hook). YO, pull through both loops on hook.
- Half Double Crochet (hdc): A medium-height stitch, for a slightly quicker and softer fabric.
- How to: YO, insert hook into stitch, YO, pull up a loop (3 loops on hook). YO, pull through all 3 loops on hook.
- Working in Rows: You’ll create a flat rectangle.
- Fasten Off: Securely ending your work.
- Weaving in Ends: Hiding yarn tails for a neat finish.

Crochet Pumpkin Pattern (Beginner-Friendly)
This pattern will make a small-to-medium sized pumpkin, roughly 3-4 inches (7.5-10 cm) tall and wide, depending on your tension and chosen yarn/hook.
Abbreviations (US Crochet Terms):
- MC: Main Color (Pumpkin)
- SC: Stem Color
- ch: chain
- sc: single crochet
- hdc: half double crochet
- st(s): stitch(es)
- FO: Fasten Off
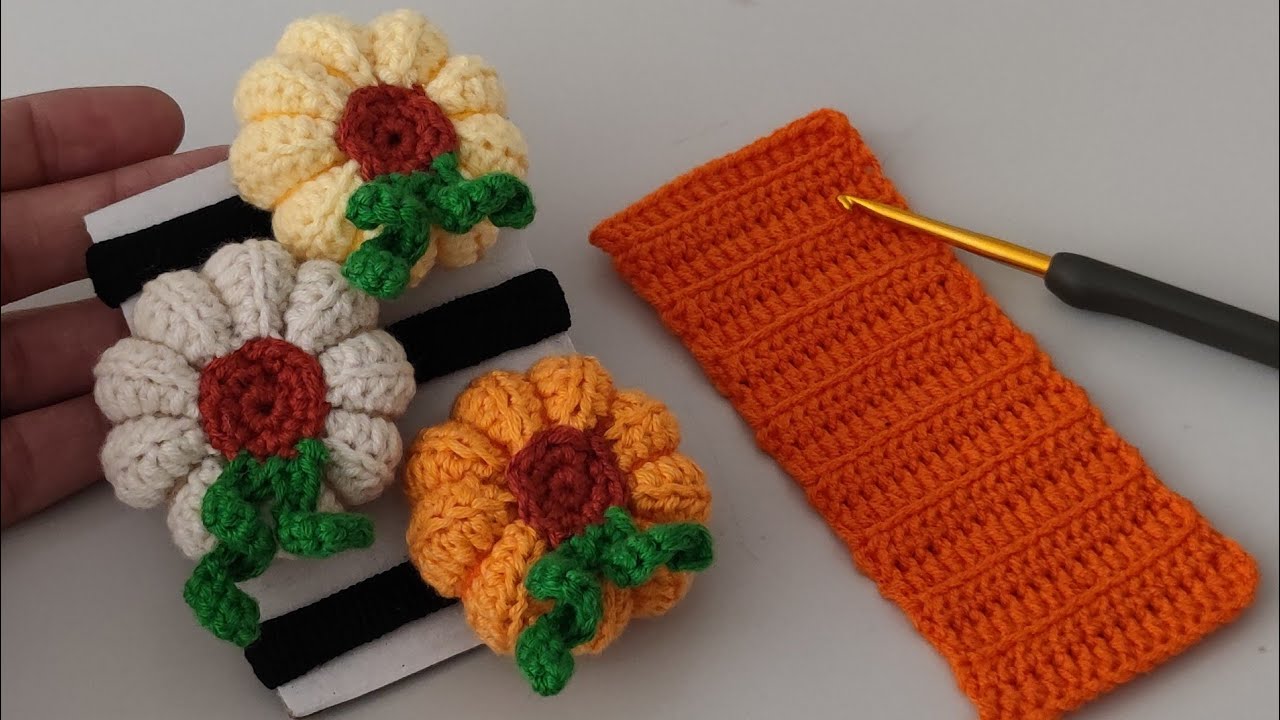
Part 1: Crocheting the Pumpkin Body (MC)
We’ll create a flat rectangle that will be gathered and shaped into a pumpkin. You can choose to use either single crochet (sc) for a firmer pumpkin or half double crochet (hdc) for a slightly softer one that works up faster.
Option A: Using Single Crochet (for a firm, dense pumpkin)
- Foundation Chain: Ch 21. (This determines the height of your pumpkin. For a taller pumpkin, chain more; for a shorter one, chain less).
- Row 1: Sc in the 2nd ch from hook and in each ch across. (20 sc)
- Row 2: Ch 1 (does not count as a stitch), turn. Sc in each st across. (20 sc)
- Repeat Row 2 until your rectangle measures about 6-7 inches (15-18 cm) long. This will be the circumference of your pumpkin. The more rows you make, the wider your pumpkin will be. Count your rows as you go (it will likely be around 25-35 rows).
- Fasten off MC, leaving a very long tail (at least 20 inches / 50 cm) for seaming and shaping.
Option B: Using Half Double Crochet (for a slightly softer, quicker pumpkin)
- Foundation Chain: Ch 16. (This determines the height of your pumpkin. Hdc stitches are taller, so you’ll need fewer chains).
- Row 1: Hdc in the 2nd ch from hook and in each ch across. (15 hdc)
- Row 2: Ch 2 (does not count as a stitch), turn. Hdc in each st across. (15 hdc)
- Repeat Row 2 until your rectangle measures about 6-7 inches (15-18 cm) long. This will be the circumference of your pumpkin. Count your rows as you go (it will likely be around 15-20 rows).
- Fasten off MC, leaving a very long tail (at least 20 inches / 50 cm) for seaming and shaping.
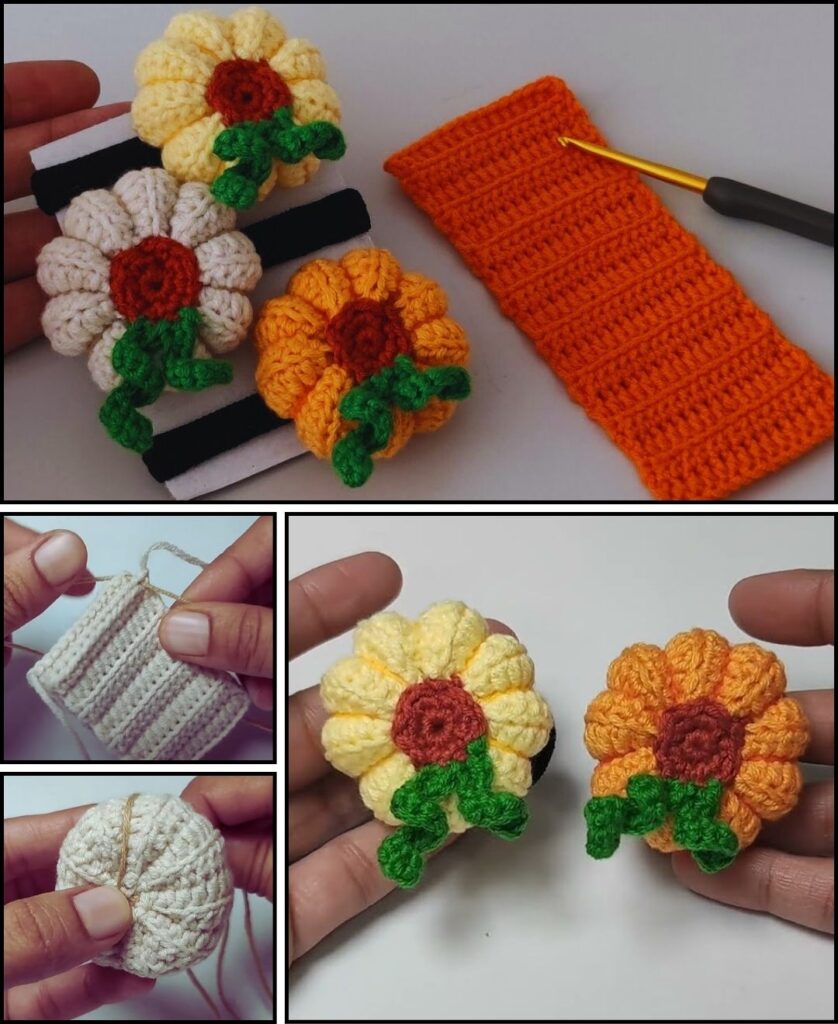
Part 2: Assembling and Shaping the Pumpkin Body
This is where your flat rectangle transforms into a 3D pumpkin!
- Form the Tube: Fold your crocheted rectangle in half lengthwise, so the two short ends meet.
- Seam the Side: Using the long tail you left and your yarn needle, sew the two short ends together using a whip stitch or a slip stitch join. Stitch through both loops of each corresponding stitch to create a neat seam. You’ve now formed a tube.
- Close the Bottom: With the same long tail, thread your yarn needle. Weave the needle in and out through the stitches along one of the open edges of the tube. Go through every stitch (or every other stitch) all the way around the opening.
- Pull to Cinch: Gently but firmly pull the yarn tail to gather and cinch the opening tightly closed. Stitch back and forth a few times across the cinched hole to secure it completely and prevent any stuffing from escaping. Weave in this tail securely inside the pumpkin.
- Stuff the Pumpkin: Turn your tube right-side out (if you seamed it inside out). Begin stuffing your pumpkin firmly with polyester fiberfill or yarn scraps. Fill it until it’s plump and round, but leave a little room at the top for gathering.
- Close the Top: Now, using the remaining long tail (the one from where you fastened off), thread your yarn needle. Just like you did for the bottom, weave the needle in and out through the stitches around the top open edge of the pumpkin.
- Cinch and Shape: Pull the yarn tail to gather and cinch this top opening tightly closed. Stitch across the hole to secure it. Do not cut the yarn tail yet!
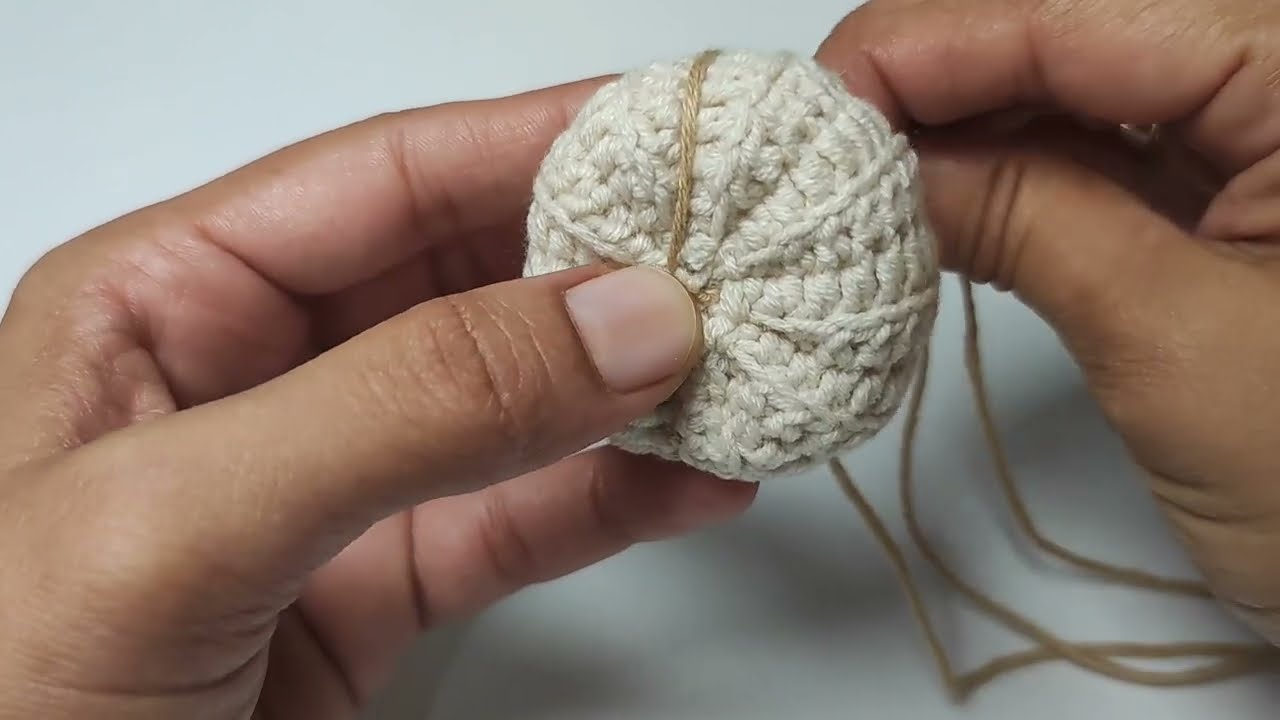
- Create Pumpkin Ridges (Optional but Recommended):
- With the same long tail still attached, insert your yarn needle through the center of the pumpkin’s top (where you just cinched it). Push the needle all the way down through the pumpkin and out through the center of the bottom (where you cinched the other side).
- Pull the yarn tail firmly to indent the top and bottom of the pumpkin.
- Now, wrap the yarn tail around the outside of the pumpkin, going from the bottom center to the top center. Pull firmly again. This creates one “ridge.”
- Repeat this process 3-5 more times, evenly spacing the wraps around the pumpkin’s circumference. Each wrap creates a new ridge. Pull firmly after each wrap to deepen the indents.
- Once you have your desired number of ridges, secure the yarn tail by stitching it into the top center of the pumpkin. Weave in the remaining tail.

Part 3: Adding the Stem (SC)
- Make the Stem:
- With your Stem Color (SC) yarn, ch 6.
- Sc in the 2nd ch from hook and in each of the next 4 ch. (5 sc)
- Ch 1, turn. Sc in each of the 5 sc across. (5 sc)
- Repeat this row 2-3 more times to make your stem as tall as you like.
- Fasten off SC, leaving a tail of about 8-10 inches (20-25 cm) for sewing.
- Attach Stem:
- Position the crocheted stem on the very top center of your pumpkin.
- Using your yarn needle and the tail from the stem, sew the stem securely to the top of the pumpkin. Stitch through the base of the stem and into the top stitches of the pumpkin multiple times to ensure it’s firmly attached and stands upright.
- Weave in the remaining tail securely into the pumpkin.
4. Tips for a Perfect Beginner Pumpkin
- Yarn Weight and Hook: Using a worsted weight yarn with a hook on the smaller side of its recommended range (e.g., 4.0mm) will give you a firmer pumpkin. A larger hook will result in a softer, squishier pumpkin.
- Stuffing Firmness: Stuff your pumpkin well! A firmly stuffed pumpkin will hold its shape better and look plumper. Don’t be afraid to really push the fiberfill in.
- Ridge Count: Experiment with the number of ridges you create. Fewer ridges make a plumper, more rounded pumpkin, while more ridges create a flatter, more segmented look.
- Embellishments (Optional):
- Vines: You can chain a length of green yarn (about 15-20 stitches), then work 2 slip stitches into each chain back down. This will make it curl into a vine! Sew it near the stem.
- Leaves: A simple crocheted leaf can be made by chaining a few stitches and working different heights of stitches (sl st, sc, hdc, dc, hdc, sc, sl st) into the chain.
- Cinnamon Stick: For a natural look and lovely scent, you can use a short cinnamon stick instead of a crocheted stem! Just hot glue it securely in place.
You now have all the details to crochet an adorable and easy pumpkin! Enjoy decorating your space for autumn.