by
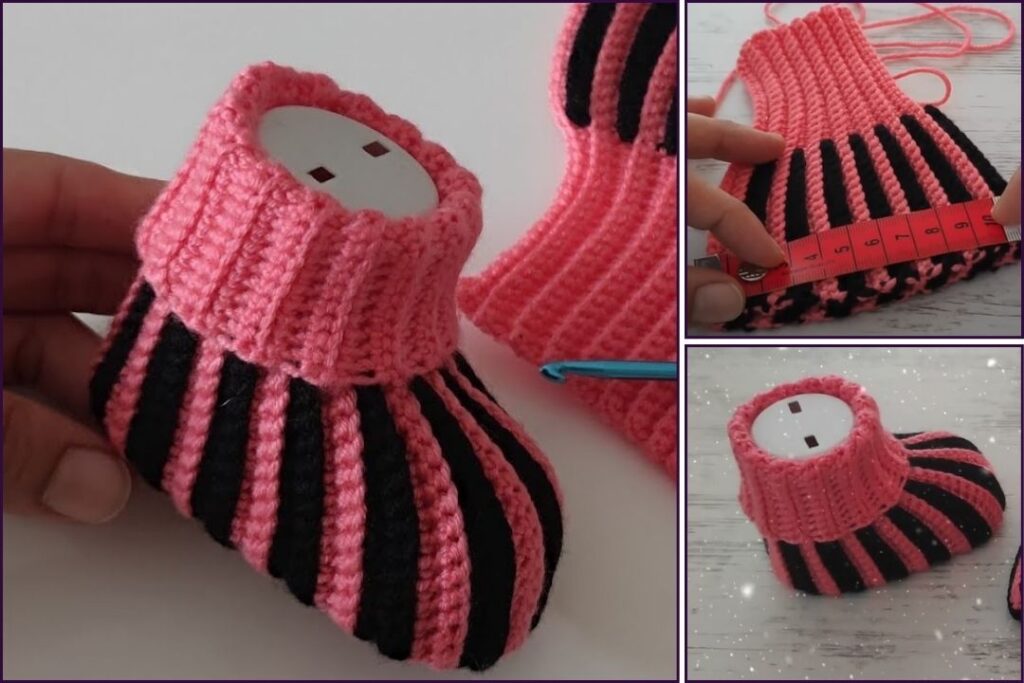
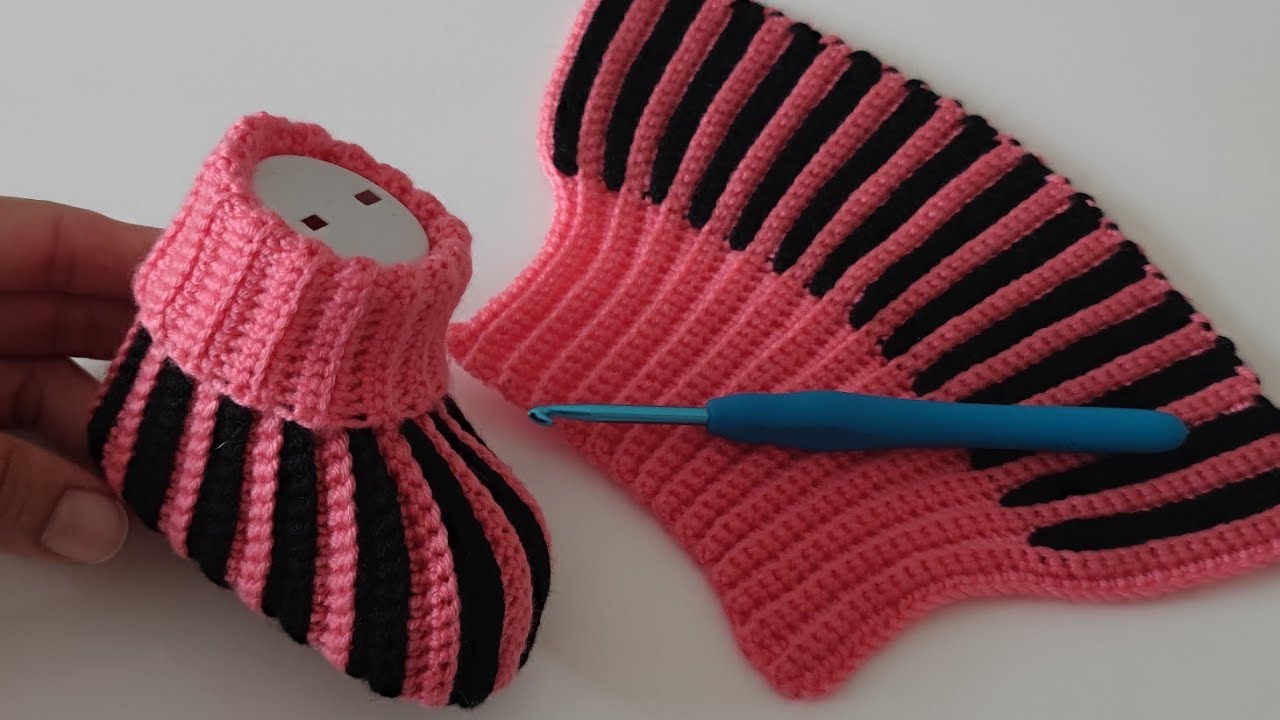
by A “3D mesh” in crochet often refers to a stitch pattern that creates an open, net-like fabric, providing breathability and a distinct texture. For baby shoes, this can be lovely for warmer climates like Phnom Penh, allowing air circulation. When combined with a solid sole and a few shaping rounds, it creates a very cute and practical little shoe.
For beginners, the key is to simplify the mesh to basic stitches like chains and single crochets or double crochets.
How to Crochet 3D Mesh Baby Shoes: A Beginner-Friendly Pattern
This tutorial will guide you through creating a simple baby shoe with a mesh-like upper. We’ll start with a solid sole, build up the sides, and then introduce the mesh pattern for the main body of the shoe.
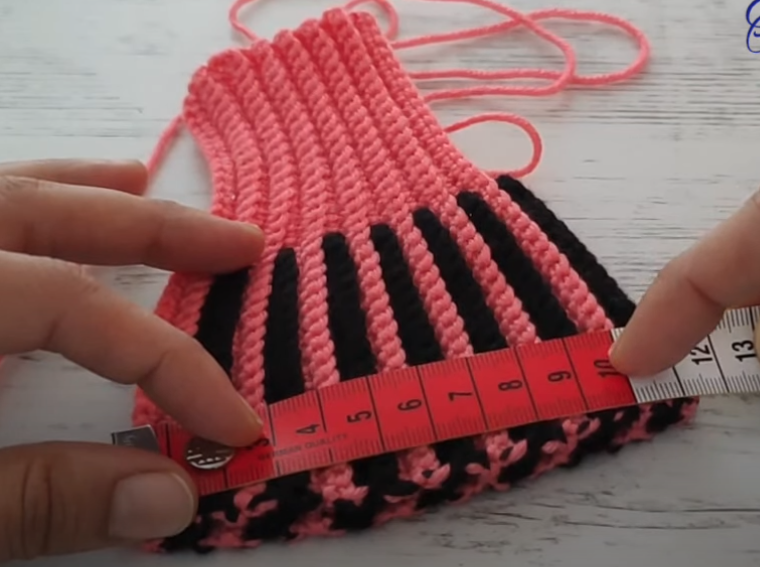
Sizing: This pattern is for newborn to 3-month size (approx. 3.5 – 3.75 inches / 9 – 9.5 cm foot length). I’ll provide notes on how to adjust the size.
1. Essential Materials You’ll Need
- Yarn:
- 100% Cotton yarn is highly recommended for baby items, especially in warm climates, as it’s soft, breathable, durable, and washable.
- DK (Double Knitting) weight or Sport weight yarn. You’ll only need a small amount, typically less than 50g per pair.
- Choose a color you love!
- Crochet Hook:
- For DK weight yarn, a 3.5mm (US E/4) or 4.0mm (US G/6) hook is a good starting point.
- For Sport weight yarn, a 3.0mm (US C/2) or 3.5mm (US E/4) hook.
- Important: Check your yarn label for recommended hook size, but adjust if needed to get a firm but not stiff fabric for the sole, and a slightly looser, more open fabric for the mesh.
- Scissors: For cutting yarn.
- Yarn Needle (Tapestry Needle): Essential for weaving in ends.
- Stitch Marker (Optional but Recommended): To mark the beginning of rounds, especially when working in a spiral.

2. Basic Crochet Stitches You’ll Use
This pattern uses fundamental crochet stitches, making it suitable for beginners:
- Chain (ch): Used for the foundation and mesh spaces.
- Slip Stitch (sl st): For joining rounds and neatening.
- Single Crochet (sc): A short, dense stitch, great for the sole.
- Half Double Crochet (hdc): A medium-height stitch, also good for the sole.
- Double Crochet (dc): A taller stitch, used in the mesh.
- Single Crochet Two Together (sc2tog) / Decrease: Decreases the stitch count by working two stitches together (for shaping).
- Working in Rounds: You’ll build the sole and upper in circular fashion.
Crochet 3D Mesh Baby Shoes Pattern (Newborn – 3 Months)
This pattern is worked in rounds, starting with the sole, then forming the solid lower part of the sides, and finally introducing the mesh pattern for the upper.
Abbreviations (US Crochet Terms):
- ch: chain
- sl st: slip stitch
- sc: single crochet
- hdc: half double crochet
- dc: double crochet
- sc2tog: single crochet 2 stitches together (decrease)
- st(s): stitch(es)
(...): work stitches into the same stitch/space[...]: repeat instructions in brackets
Part 1: The Sole (Work in Oval Rounds)
The sole forms the flat base of the bootie. Keep your tension consistent for a symmetrical sole.
- Chain 11. (This will be the base for a newborn-3 month size sole. Adjust this number if you need a different size. Keep it an odd number if you want a symmetrical start).
- Round 1:
- Work 2 hdc into the 2nd ch from hook.
- Work 1 hdc in each of the next 8 chains.
- In the last chain, work 5 hdc.
- Now, working down the opposite side of the foundation chain: Work 1 hdc in each of the next 8 chains.
- Work 2 hdc into the very last stitch (which is also where you started the round).
- Join with a sl st to the top of the first hdc. (25 hdc)
- Round 2:
- Ch 1 (does not count as a stitch).
- Work 2 hdc in the first st. Work 2 hdc in the next st. (Increases at the toe end).
- Work 1 hdc in each of the next 8 sts.
- Work 2 hdc in each of the next 5 sts. (Increases around the curved toe).
- Work 1 hdc in each of the next 8 sts.
- Work 2 hdc in the next st.
- Join with a sl st to the top of the first hdc. (34 hdc)
- Round 3 (Creating the Defined Edge):
- Ch 1.
- Work 1 sc in the back loop only (BLO) of each stitch around. This creates a defined edge for the sole and makes the bootie stand up.
- Join with a sl st to the first sc. (34 sc)
- Do not fasten off.
Part 2: The Solid Lower Upper
This section forms the solid base of the shoe, ensuring it holds its shape around the foot.

- Round 4:
- Ch 1.
- Work 1 sc in each stitch around.
- Join with a sl st to the first sc. (34 sc)
- Round 5 (Start Shaping Toe):
- Ch 1.
- Work 1 sc in each of the first 8 sts.
- Work (sc2tog) 6 times. (This creates the toe shaping).
- Work 1 sc in each of the remaining 8 sts.
- Join with a sl st to the first sc. (28 sc)
- You should now see the shoe taking shape, with a clear toe and heel.
Part 3: The Mesh Upper
This is where we create the open, breathable mesh effect.
- Round 6 (Mesh Base):
- Ch 3 (counts as 1 dc). Skip the first st.
- [Dc in the next st, ch 1, skip 1 st] repeat around until you reach the beginning.
- Dc in the last stitch (if needed to complete the repeat). Join with a sl st to the 2nd ch of the beginning ch-3. (This round should have 14 dc stitches and 14 ch-1 spaces, or approximately half your stitch count in dc and half in ch-1 spaces).
- Self-correction note: For a smooth transition and even mesh, it’s often easier to have an even stitch count after the previous decrease round. If your count (28) isn’t perfectly divisible by 2 for the mesh pattern, adjust the last few stitches of Round 5 by working one more sc2tog or adding an extra sc to get an even number that’s easily divisible by 2 for the [dc, ch 1, skip 1] pattern. Let’s assume you adjusted to 28 for simplicity, which works perfectly here.
- Round 7 (Mesh Pattern):
- Ch 3 (counts as 1 dc).
- Work 1 dc into each ch-1 space and 1 dc into each dc stitch from the previous round.
- Join with a sl st to the 2nd ch of the beginning ch-3. (28 dc)
- Round 8 (Repeat Mesh Base for more height):
- Ch 3 (counts as 1 dc). Skip the first st.
- [Dc in the next st, ch 1, skip 1 st] repeat around.
- Dc in the last stitch (if needed). Join with a sl st to the 2nd ch of the beginning ch-3. (14 dc stitches and 14 ch-1 spaces)
- Repeat Round 7 and 8 as many times as you like for a taller or shorter mesh upper. One repeat (Rounds 6-8) creates a nice height for a baby shoe.

Part 4: The Ankle/Cuff
This final section creates the opening for the baby’s foot and can be a simple edge or a small cuff.
- Round 9 (Finishing Edge):
- Ch 1.
- Work 1 sc in each dc stitch and 1 sc in each ch-1 space around. This will bring your stitch count back to the original total before the mesh (28 sc).
- Join with a sl st to the first sc. (28 sc)
- Fasten Off: Cut your yarn, leaving a tail of about 6 inches (15 cm). Yarn over your hook, pull the tail completely through the loop on your hook, and pull tight to secure.
Part 5: Finishing
- Weave in Ends: Use your yarn needle to carefully weave in all loose yarn tails. Go back and forth through stitches several times to secure them neatly and invisibly. This is important for both aesthetics and durability, especially for baby items.
- Make the Second Shoe: Repeat all steps to create a matching pair!
Customizing Your 3D Mesh Baby Shoes
- Size Adjustments:
- For larger sizes (3-6 months, 6-9 months): Increase the initial chain length for the sole (e.g., ch 13 for 3-6 months) and add an extra increase round or two to the sole to make it wider. Also, increase the number of stitches in your subsequent rounds proportionally.
- Hook Size: Adjusting your hook size (larger for bigger shoes, smaller for tighter fabric) can also help.
- Mesh Density:
- Denser Mesh: Instead of [dc, ch 1, skip 1], try [hdc, ch 1, skip 1] or even [sc, ch 1, skip 1] for a tighter mesh.
- Looser Mesh: Use taller stitches like
trordtr(double treble crochet) for a more open, lacy look, but be mindful of the holes being too big for baby’s toes.
- Cuff Variations:
- Ribbed Cuff: After Round 9, you can work a few rounds of front post/back post single crochet or half double crochet for a ribbed effect, or work rows of single crochet in the back loop only, then seam them and attach.
- Fold-over Cuff: Work a few extra rounds of sc or hdc after Round 9, and they will naturally fold down.
- Straps or Ties:
- Simple Chain Tie: After Round 9, chain a long length (e.g., 50-60 stitches), then thread it through one of the mesh rounds or a round of the solid upper for a tie closure.
- Button Strap: Create a small strip of single crochet (e.g., 5 sc wide, 10-15 rows long). Sew a button on one side of the shoe and attach the strap to the other side, creating a buttonhole on the strap if desired.
- Color Changes: Use a contrasting color for the sole, the mesh, or the cuff for a unique look.

Tips for Success with Baby Shoes
- Softness is Key: Always prioritize soft yarn that won’t irritate a baby’s delicate skin. Cotton and bamboo blends are excellent.
- Washable Yarn: Babies are messy! Choose yarn that is machine washable and dryable for easy care.
- Secure Ends: For baby items, make sure all ends are woven in very securely to prevent unraveling and potential hazards.
- Left and Right: Ensure you make two identical shoes! Sometimes people find they inadvertently create a subtle left and right if their tension changes or they don’t count stitches precisely.
- Try on (if possible): If you’re making them for a specific baby, having them try on the sole before you build up the sides can ensure a better fit.
You’re all set to crochet adorable 3D mesh baby shoes! Enjoy creating a breathable and stylish pair for a little one.