 by
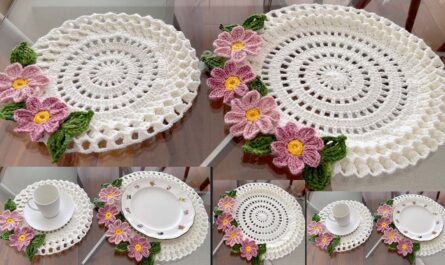
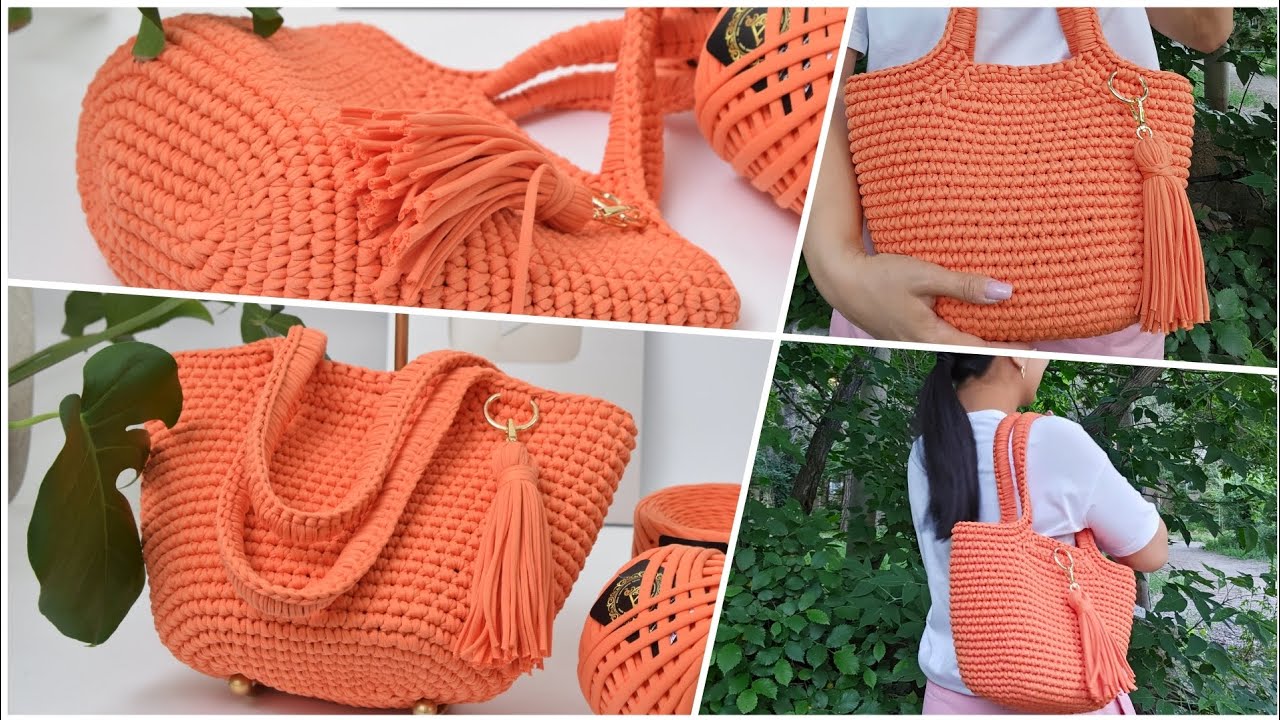
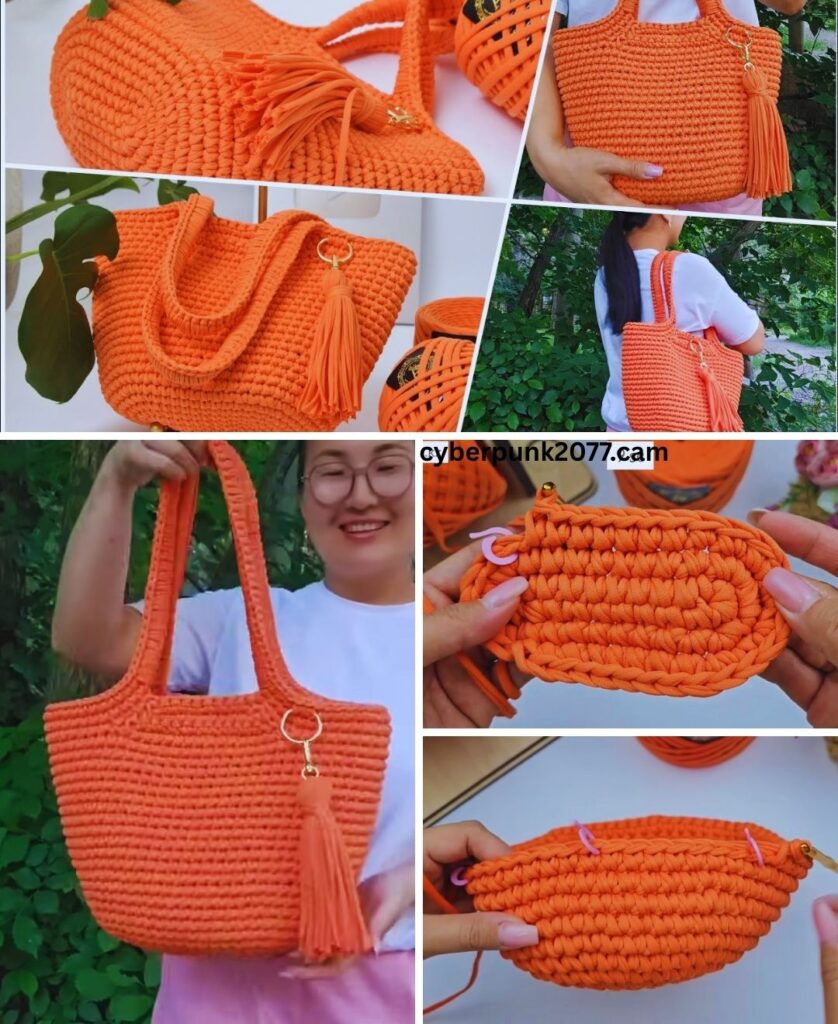
by Shopper Bag | Trapezoid Shape | Light Pattern | Beautiful Design (Step-by-Step Guide)
If you’re looking for a stylish and eco-friendly crochet project that’s both functional and beautiful, a crochet shopper bag made from T-shirt yarn is a perfect choice. With just two skeins of T-shirt yarn, you can create a trendy trapezoid-shaped tote that’s lightweight, durable, and ideal for everyday use — whether for groceries, the beach, or just a casual day out.
This guide walks you through the entire process — from materials to finishing — with a light, elegant pattern that is beginner-friendly and visually striking.
🧶 Why Use T-Shirt Yarn?
T-shirt yarn, also known as yarn ribbon or trapilho, is made from recycled fabric. It’s:
- Eco-friendly and sustainable
- Stretchy, which gives your bag flexibility
- Durable, perfect for load-bearing projects
- Quick to crochet due to its bulk
Plus, it gives the finished product a modern and minimalistic texture.
🧵 Materials You’ll Need
Here’s what you need to make this project:
| Material | Details |
|---|---|
| Yarn | 2 skeins of T-shirt yarn (approx. 800g total) |
| Hook | 8mm – 10mm crochet hook (depending on yarn thickness) |
| Needle | Large-eyed tapestry needle |
| Scissors | For cutting yarn |
| Stitch Markers | Optional, but helpful |
| Handles (Optional) | Wooden rings, leather straps, or crochet handles |
📐 Finished Bag Size (Approximate)
- Width at top: 16 inches (40 cm)
- Width at bottom: 10 inches (25 cm)
- Height: 13 inches (33 cm)
- Depth: 2–3 inches (due to stretch)
📝 You can easily scale the pattern up or down by adding more chains or rounds.
🪡 Skills Required
- Chain stitch (ch)
- Single crochet (sc)
- Half double crochet (hdc)
- Slip stitch (sl st)
- Working in rounds and rows
- Basic increases and decreases
This pattern is perfect for advanced beginners or intermediate crocheters.
🧺 Pattern Overview: Trapezoid Shopper Bag
This pattern is designed to create a trapezoid shape, wider at the top and slightly tapered at the base. We will crochet it flat from the bottom up, then seam the sides to shape the bag.
🔷 STEP-BY-STEP INSTRUCTIONS
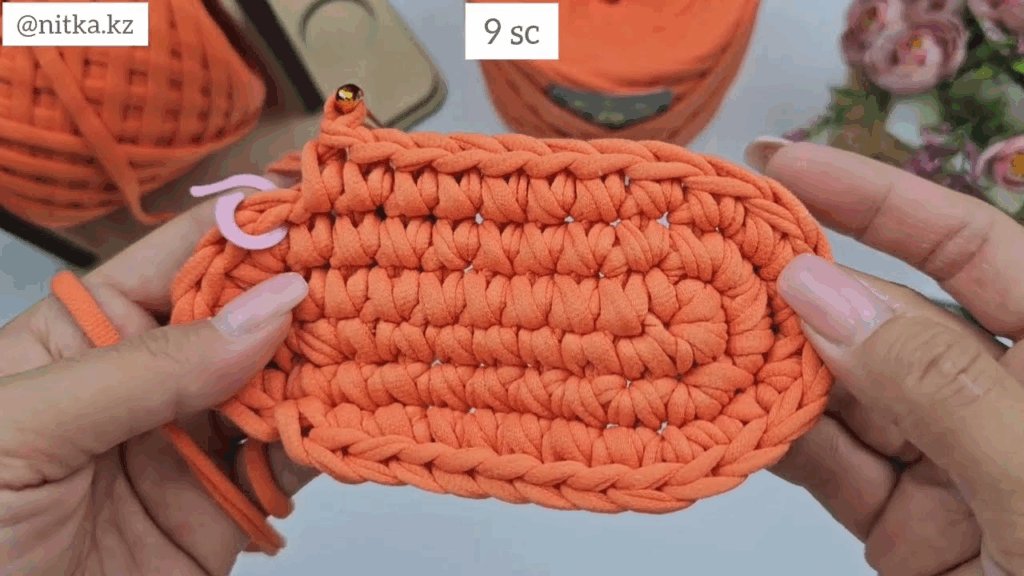
🧵 STEP 1: The Foundation Base (Bottom Width)
This bag starts with a rectangle base, worked in rows.
🧶 Pattern:
- Ch 16 (adjust to desired bottom width).
- Row 1: Hdc in 2nd ch from hook and in each across. (15 hdc)
- Rows 2–6: Ch 1, turn, hdc in each stitch across.
- This forms a rectangle that is the bottom of the bag.
📝 You can add or remove rows here to make the bag deeper or shallower.
🧵 STEP 2: Build the Body (Trapezoid Shape)
Now that the base is done, we’ll build the sides upward — increasing the width as we go to form a trapezoid shape.
🧶 Pattern:
- Row 7:
- Ch 1, turn.
- Increase by working 2 hdc in the first stitch, 1 hdc across to last stitch, 2 hdc in last stitch.
- (You increased by 2 sts)
- Rows 8–20 (or more):
- Repeat Row 7.
- Each row will be 2 stitches wider than the previous row.
- Continue increasing until the bag reaches your desired top width (e.g., 40–45 cm / ~16–18 in).
📝 You should now have a flat trapezoid piece.
🧵 STEP 3: Make the Second Panel (Back Side)
Repeat Steps 1–2 to make another identical trapezoid panel. You now have a front and back.
🧵 STEP 4: Seam the Sides
Once both panels are done, we’ll seam them to form the bag.
🧶 Pattern:
- Place both panels together, wrong sides facing in.
- Use slip stitch or whip stitch along the sides and bottom to join.
- Leave the top open!
- Make sure stitches are tight for durability.
📝 Optional: add a row of single crochet around the top edge for a clean finish.
🧵 STEP 5: Add Handles
You can crochet your own handles or attach pre-made ones.
Option 1: Crochet Handles
- On the front panel, count 5–7 stitches from the edge.
- Attach yarn and ch 20–25 (depends on how long you want the handle).
- Skip corresponding stitches and sl st to the other side.
- In the next row, sc over the chain to strengthen the handle.
Repeat on the back panel.
Option 2: Attach Leather or Wooden Handles
- Use a tapestry needle and yarn or waxed thread to stitch on store-bought handles.
🧹 Finishing Touches
Once the bag is assembled:
- Weave in all loose ends securely.
- If your bag has stretched, shape it with a towel inside and let it rest.
- Optionally, add:
- A button or magnetic snap
- Tassel or charm
- Inner fabric lining (hand-sewn or glued in)
🎨 Design Variations
Want to make it your own? Try these:
- Color Block: Use one skein for the base and another for the body.
- Textured Stitch: Use half double crochet in back loops only (hdc-BLO) for ribbing.
- Granny Square Insert: Add a decorative square to the front.
- Drawstring Closure: Thread a long chain through eyelets near the top.
🧼 Care Tips for T-Shirt Yarn Bags
- Hand wash in cold water with mild detergent
- Reshape while damp
- Do not tumble dry
- Avoid hanging with heavy items to prevent overstretching
✅ Quick Recap: Crochet Trapezoid T-Shirt Yarn Bag
| Step | Description |
|---|---|
| 1 | Crochet a rectangular base |
| 2 | Work increasing rows to form a trapezoid |
| 3 | Make a second panel |
| 4 | Seam sides and bottom |
| 5 | Add handles |
| 6 | Finishing and decoration |
🧵 Approximate Yarn Usage
| Section | Yarn Used (est.) |
|---|---|
| Base (2 panels) | ~25% |
| Body | ~60% |
| Handles + Border | ~15% |
🧶 2 skeins (400g each) of T-shirt yarn are usually sufficient.
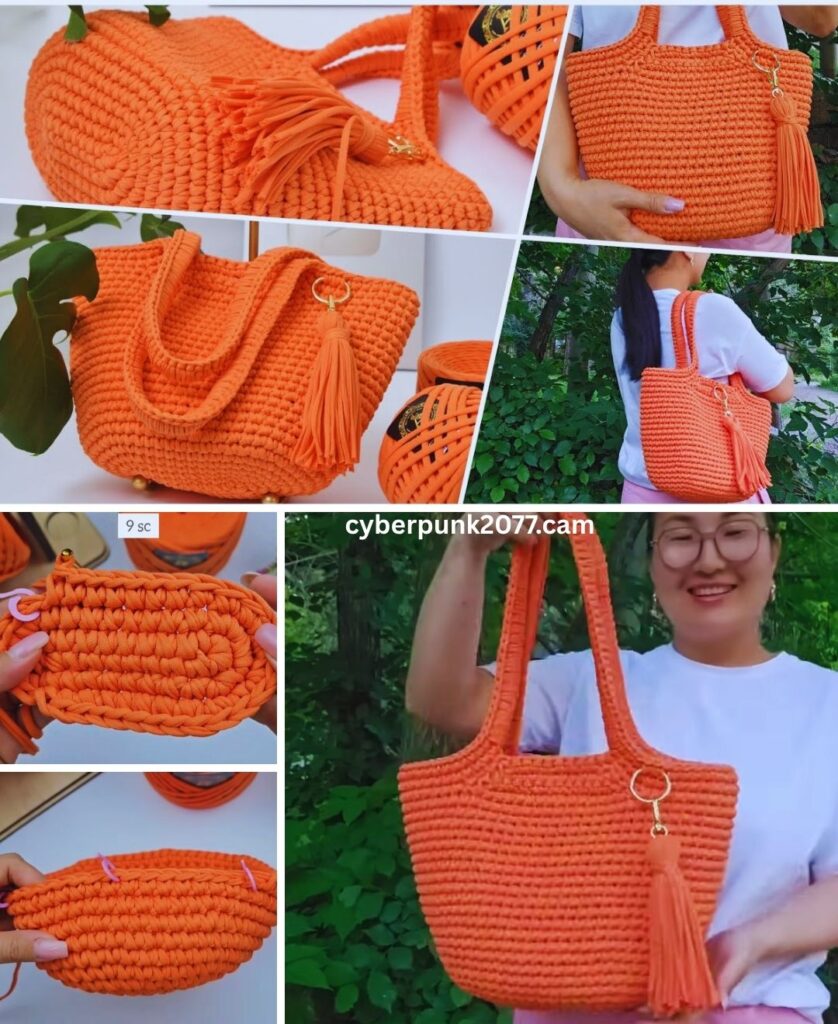
🧵 Final Thoughts
Creating a trapezoid-shaped crochet shopper bag from T-shirt yarn is a fantastic way to blend sustainability with fashion. It’s a stylish, beginner-friendly project that doesn’t require complicated shaping or expensive materials. The soft-yet-structured texture of T-shirt yarn combined with the elegant trapezoid silhouette results in a functional and fashionable bag you’ll love to carry.
Whether you’re using it for shopping, a market trip, or a stylish everyday accessory, this bag will turn heads and spark conversations — especially when you say “I made it myself!”