by
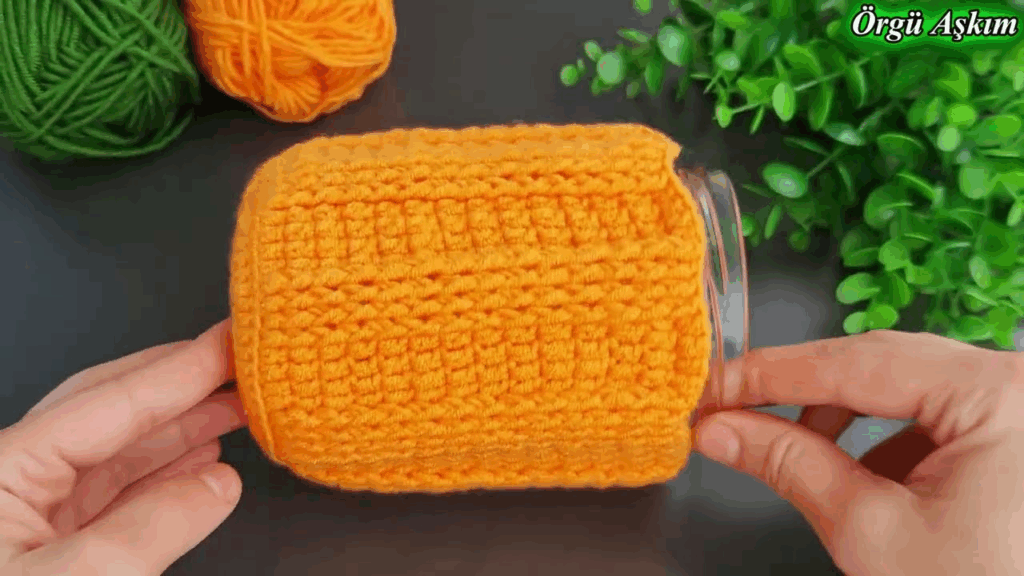
by Absolutely! Here’s a detailed, step-by-step beginner-friendly guide on how to crochet a Mini Pumpkin Box — a cute, seasonal, and functional project that’s perfect for fall, Halloween, or Thanksgiving décor. This tutorial includes everything from materials and techniques to customizations, so whether you’re a beginner or just looking for a cozy weekend project, you’ll love making this adorable pumpkin container.

🎃 Step-by-Step Pattern for Beginners
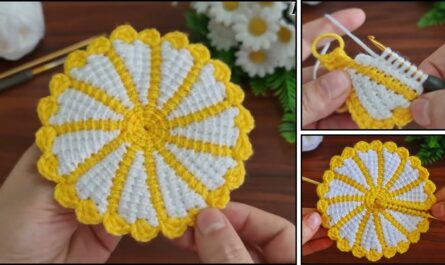
Crochet pumpkin boxes are as charming as they are useful. They serve as cute home décor, fun candy holders, or tiny trinket boxes. The project is made in two parts: the base (bowl) and the lid (with stem). You’ll be using basic crochet stitches, working in the round, and shaping a simple box with a snug-fitting top.
🧶 Why You’ll Love This Project
- ✅ Quick and beginner-friendly
- 🎨 Easy to customize (colors, size, decoration)
- 🧵 Uses small amounts of yarn (great scrap yarn project)
- 🍬 Functional and festive (holds candy, jewelry, or keepsakes)
- 🧡 Perfect for fall markets, gifts, or seasonal decorations
📦 Supplies You’ll Need
To make one mini pumpkin box:
| Item | Description |
|---|---|
| Yarn | Worsted weight (medium #4) yarn in orange, green, and brown |
| Hook | 4.0 mm (G) crochet hook |
| Scissors | For trimming ends |
| Yarn needle | For sewing and weaving in tails |
| Stitch marker | To mark the beginning of rounds |
| Fiberfill stuffing (optional) | For stuffing the stem or making the lid firmer |
✅ Cotton yarn gives more structure, while acrylic gives a softer finish.
🧵 Crochet Terms & Abbreviations (US Terms)
| Abbreviation | Meaning |
|---|---|
| ch | chain |
| sl st | slip stitch |
| sc | single crochet |
| inc | increase (2 sc in 1 stitch) |
| dec | decrease (sc 2 stitches together) |
| BLO | back loop only |
| st | stitch |
| FO | fasten off |
📏 Finished Size (Approximate)
- Diameter: 3 inches (7.5 cm)
- Height: 2.5–3 inches (with lid on)
You can adjust the size by using a larger hook or thicker yarn.
🧺 Part 1: The Pumpkin Base (Bottom Box)
We’ll begin with a flat circular base and build up the sides to form a small bowl.
🍊 Rnd 1:
- Make a magic ring (or ch 2, work into first ch)
- 6 sc into the ring
- Sl st to first sc to join
(6 sts)
🍊 Rnd 2:
- Ch 1, 2 sc in each st around
(12 sts)
🍊 Rnd 3:
- Ch 1, sc in next st, 2 sc in next, repeat around
(18 sts)
🍊 Rnd 4:
- Ch 1, sc in next 2 sts, 2 sc in next, repeat
(24 sts)
🍊 Rnd 5:
- Ch 1, sc in next 3 sts, 2 sc in next, repeat
(30 sts)
🍊 Rnd 6:
- Ch 1, sc in next 4 sts, 2 sc in next, repeat
(36 sts)
✅ This forms a flat circle — the base of your box. You can stop increasing earlier for a smaller box or continue for a larger one.
🧱 Building the Sides:
🍊 Rnd 7:
- Sc in BLO in each st around
- Sl st to join
(36 sts)
BLO creates a sharp crease, helping the sides stand up.
🍊 Rnds 8–13:
- Sc in each st around (both loops)
- Sl st to join each round
Repeat for 6 rounds
🧵 Add more rounds for a deeper bowl.
🍊 Finish:
- FO, weave in the end.
✅ The base is now complete!
🎩 Part 2: The Pumpkin Lid
The lid mirrors the base but is slightly shallower, so it can sit snugly on top.
🍊 Rnd 1:
- Magic ring, 6 sc into ring
(6 sts)
🍊 Rnd 2:
- 2 sc in each st around
(12 sts)
🍊 Rnd 3:
- Sc in next st, 2 sc in next, repeat
(18 sts)
🍊 Rnd 4:
- Sc in next 2 sts, 2 sc in next, repeat
(24 sts)
🍊 Rnd 5:
- Sc in next 3 sts, 2 sc in next, repeat
(30 sts)
🍊 Rnd 6:
- Sc in next 4 sts, 2 sc in next, repeat
(36 sts)
🍊 Rnd 7:
- Sc in BLO of each stitch
(36 sts)
🍊 Rnds 8–9:
- Sc in each st around (both loops)
(2 rounds)
✅ You can add a 10th round if your lid seems too short.
🍊 Finish:
- FO, leave a long tail if you want to sew on a stem afterward.

🌱 Part 3: The Stem
Use brown or green yarn for a realistic or fun look.
🌰 Rnd 1:
- Magic ring, 6 sc into ring
(6 sts)
🌰 Rnds 2–4:
- Sc in each st around
(6 sts)
Optional: Stuff with a tiny bit of fiberfill
🌰 Finish:
- FO, leave a tail for sewing
- Stitch the stem to the center of the lid
✅ Your pumpkin lid is now complete!
🍃 Optional: Vine or Leaf Decoration
Use green yarn for extra flair.
Mini Vine:
- Ch 20–25
- Turn, work 2 sc in each chain across for a curly effect
- FO and sew near the stem
Simple Leaf:
- Ch 6, sc in 2nd ch from hook, hdc, dc, hdc, sc, ch 1
- Work on opposite side of the chain: sc, hdc, dc, hdc, sc
- FO and attach beside the stem
🧺 Assembly Tips
- Test the fit of the lid: it should sit snugly on top of the base.
- Adjust height of the lid or base if needed by adding/removing rounds.
- Use contrasting yarns for fun pumpkin color combos: white pumpkins, yellow stems, etc.
🎨 Ideas for Customizing
| Idea | Description |
|---|---|
| 🧡 White Pumpkin | Use white or cream yarn for a farmhouse look |
| 🎃 Jack-o’-Lantern | Add felt or embroidered face |
| 🧵 Stitch Details | Embroider pumpkin lines down the sides |
| ✨ Glitter Yarn | Add sparkle for decorative use |
| 📦 Storage | Use to hold earrings, rings, coins, or candies |
| 🎁 Gift Box | Place small gifts or treats inside for Halloween |

🧼 Washing & Care
- Spot clean with a damp cloth
- Reshape while damp if needed
- Lay flat to dry
- Store in a dry, cool place
✅ Quick Pattern Recap
| Part | Technique |
|---|---|
| Base | Magic ring + sc increases to round 6, then 6 rounds of even sc |
| Lid | Same as base but shallower (1–2 rounds fewer) |
| Stem | Small cylinder (6 sc around x 3–4 rounds) |
| Optional | Add curly vine or leaf |
🎉 Final Thoughts
You’ve just created a mini crochet pumpkin box — cute, cozy, and full of fall charm! These are great for decorating your home, gifting friends and family, or selling at fall craft fairs. Even better? They’re fast and beginner-friendly, so you can make a bunch in just a weekend.
💬 Want More?
Would you like:
- A printable PDF of this pattern?
- A matching crochet acorn or apple box?
- A video tutorial for this pumpkin box?
Let me know, and I’ll help you expand your festive crochet collection!
Happy hooking and happy fall! 🍁🧶🎃