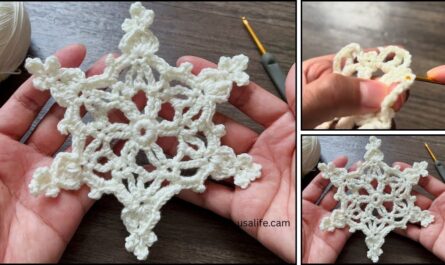
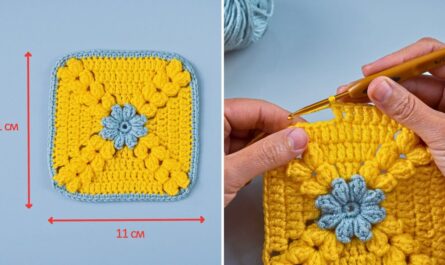
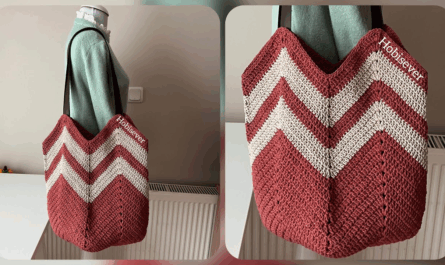
Absolutely! Here’s a long, step-by-step guide on How to Make Beautiful Crochet Decorative Baskets, designed specifically for beginners. These baskets are practical, stylish, and fun to make — perfect for organizing your home, giving as gifts, or adding a handmade touch to your space.
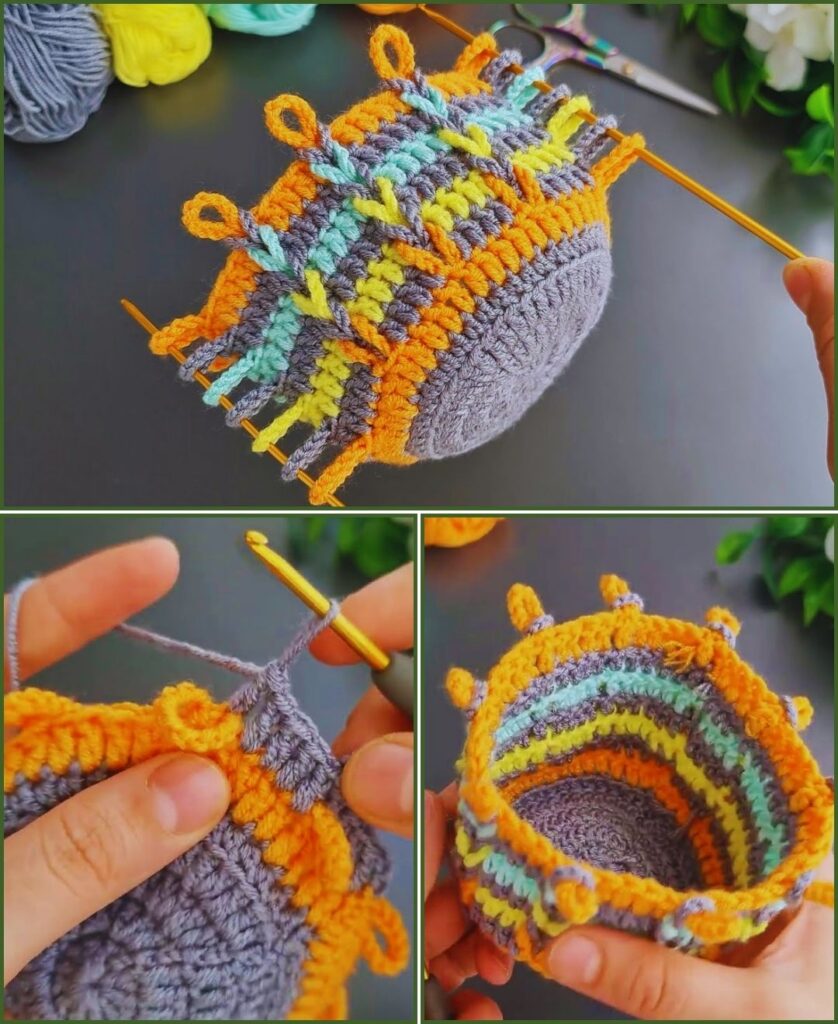
🧺 Step-by-Step Pattern for Beginners
Crochet baskets are the perfect DIY home décor project — they’re functional, stylish, and fully customizable. Whether you’re organizing bathroom toiletries, yarn, craft supplies, toys, or keys, a crochet basket adds charm and texture to your space.
Even better? You don’t need to be a crochet expert to make one. This beginner-friendly tutorial will walk you through making a beautiful crochet basket from the base up to the sides, including handles and tips to help you customize it just the way you like.
🧶 Why You’ll Love This Project
- ✅ Great beginner project
- 🎨 Fully customizable (size, color, texture)
- 🧵 Helps you practice working in the round
- 🧺 Useful for every room: bathroom, kitchen, office, nursery
- 💝 Makes great handmade gifts!
📦 Materials You’ll Need
To make one decorative crochet basket (approx. 6–8 inches in diameter and 5–6 inches tall), you’ll need:
- Yarn: T-shirt yarn, chunky cotton rope yarn, or 2 strands of worsted weight yarn held together
(T-shirt yarn or braided cord gives structure — ideal for baskets) - Crochet hook: 6.5 mm to 9 mm (depending on yarn weight; match your yarn label)
- Stitch marker (optional but helpful)
- Yarn needle
- Scissors
🧶 Pro tip: The thicker the yarn, the sturdier your basket will be. T-shirt yarn is a favorite for decorative baskets.
🧵 Crochet Stitches & Abbreviations (US Terms)
- ch = chain
- sc = single crochet
- sl st = slip stitch
- st(s) = stitch(es)
- inc = increase (2 sc in one stitch)
- BLO = back loop only
- FO = fasten off
These basic stitches make this a perfect first “in-the-round” project.
📏 Basket Size Overview
| Basket Base Diameter | Basket Height | Yarn Required |
|---|---|---|
| 6–7 inches | 5–6 inches | ~150–200g T-shirt yarn |
| 8–10 inches | 6–8 inches | ~250–300g T-shirt yarn |
You can easily resize your basket by adjusting the number of rounds on the base or the height.
🪡 Step-by-Step Crochet Basket Pattern
🔹 Step 1: Make the Base (Circle)
We’ll begin by crocheting a flat round base using single crochet stitches.
Rnd 1:
- Start with a magic ring (or ch 2 and work into first chain)
- Work 6 sc into the ring
- Pull tight, sl st to first sc
(6 sts)
Rnd 2:
- Ch 1, 2 sc in each st around, sl st to join
(12 sts)
Rnd 3:
- Ch 1, (sc in next st, 2 sc in next st) repeat around, sl st
(18 sts)
Rnd 4:
- Ch 1, (sc in next 2 sts, 2 sc in next st) repeat, sl st
(24 sts)
Rnd 5:
- Ch 1, (sc in next 3 sts, 2 sc in next) repeat, sl st
(30 sts)
Rnd 6:
- Continue increasing until the base is the diameter you want.
Each round adds 6 stitches. Follow this logic:
| Round | Increase Pattern | Stitch Count |
|---|---|---|
| 6 | sc 4, 2 sc | 36 |
| 7 | sc 5, 2 sc | 42 |
| 8 | sc 6, 2 sc | 48 |
✅ Stop when your base is the desired width. A good size is around 7–8 inches for medium baskets.
🔹 Step 2: Build the Basket Walls
Once the base is complete, we stop increasing and start building the basket’s height.
Transition Round (Creates a defined bottom edge):
- Sc in BLO (back loop only) of each st around, sl st to join
This gives the basket a neat edge where the base meets the side.

Side Rounds (Repeat Until Desired Height):
- Ch 1, sc in each st around, sl st to join
Repeat this round until your basket is about 5–6 inches tall (or your desired height).
🧵 You can switch yarn colors partway up for stripes or color blocking!
🔹 Step 3: Add Handles (Optional but useful)
Handles make your basket more functional and decorative!
Handle Round (after sides are complete):
- Ch 1, sc in next 8 sts (or desired placement), ch 5, skip next 5 sts (creates handle space), sc in next 12 sts, ch 5, skip 5, sc to end, sl st
Final Round (to reinforce handles):
- Ch 1, sc in every sc and 5 sc into each ch-5 space (filling the handle gaps)
- Sl st to join, FO
👜 Handles can be small loops, longer straps, or left out altogether.
✂️ Finishing Up
- Cut yarn, leaving a 6” tail
- Use a yarn needle to weave in all ends securely
- Gently shape the basket with your hands
- Optional: Lightly block using steam if edges curl or base isn’t flat
🎨 Customization Ideas
Want to take your basket to the next level? Try these fun ideas:
🧶 Textures:
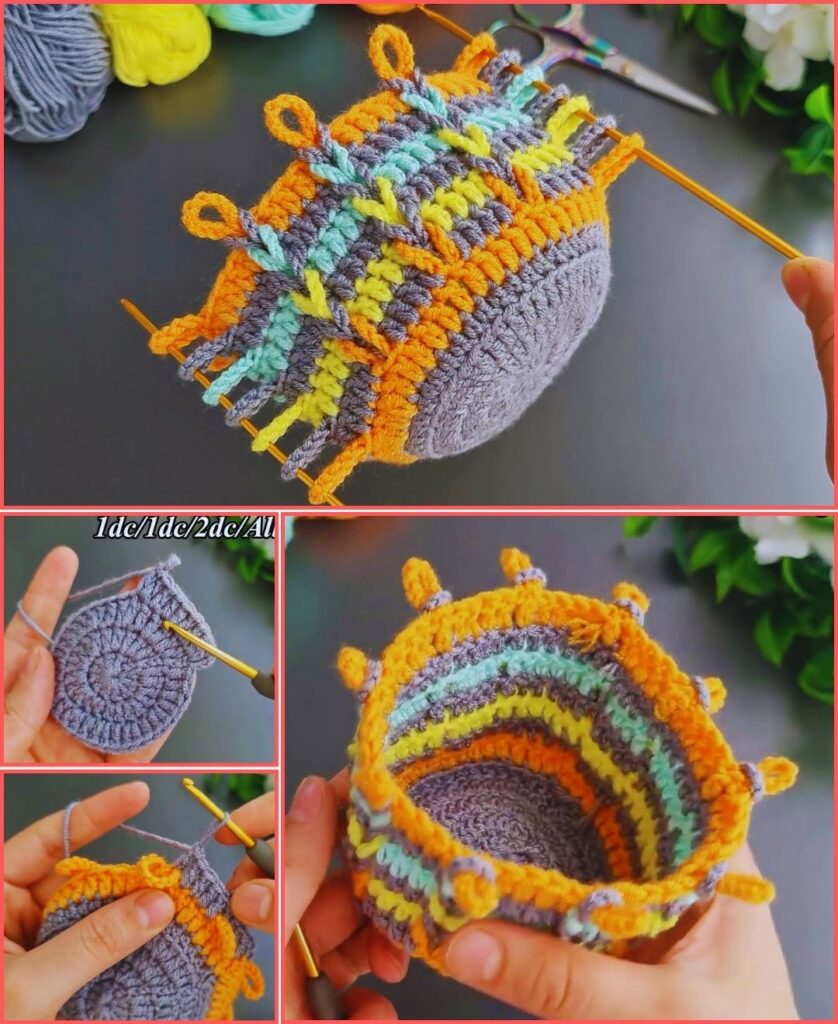
- Use waistcoat stitch (knit stitch) for a tight, knit-like finish
- Try half double crochet for a denser fabric
- Mix in puff or bobble stitches for texture
🎨 Color Play:
- Use 2 or 3 colors for color blocking
- Change colors every few rows for stripes
- Use ombre or gradient yarn for a stunning finish
🧵 Add-ons:
- Sew on leather or crochet handles
- Add a fabric lining
- Stitch on a label or patch
- Add buttons, beads, or embroidery
💡 Tips for Best Results
- 🧶 Use tight stitches: Looser stitches will result in a floppy basket
- 🧺 Use sturdy yarn: Cotton, rope yarn, or T-shirt yarn work best
- 📏 Keep track of stitches: Use a stitch marker to track round beginnings
- 🚫 Avoid increasing too quickly: The base might ripple
🧼 Care Instructions
- Hand wash or spot clean with cold water
- Gently reshape while damp
- Lay flat to dry
- Avoid excessive stretching or hanging with weight inside
✅ Quick Pattern Recap
| Section | Instructions |
|---|---|
| Base | Magic ring, increase rounds in sc to desired size |
| Walls | Sc in BLO for 1 round, then sc normally for height |
| Handles | Chain loops, then sc over for strength |
| Finishing | Weave in ends, block if needed |
🏁 Final Thoughts
And that’s it — you’ve just made a beautiful, handmade crochet decorative basket! Whether it sits on your coffee table filled with remote controls, on your bathroom shelf holding skincare, or on your craft table full of yarn, it adds both charm and function to your space.
This pattern is endlessly versatile and rewarding. Once you’ve made one, you’ll want to create more in different sizes, colors, and styles!

