 by
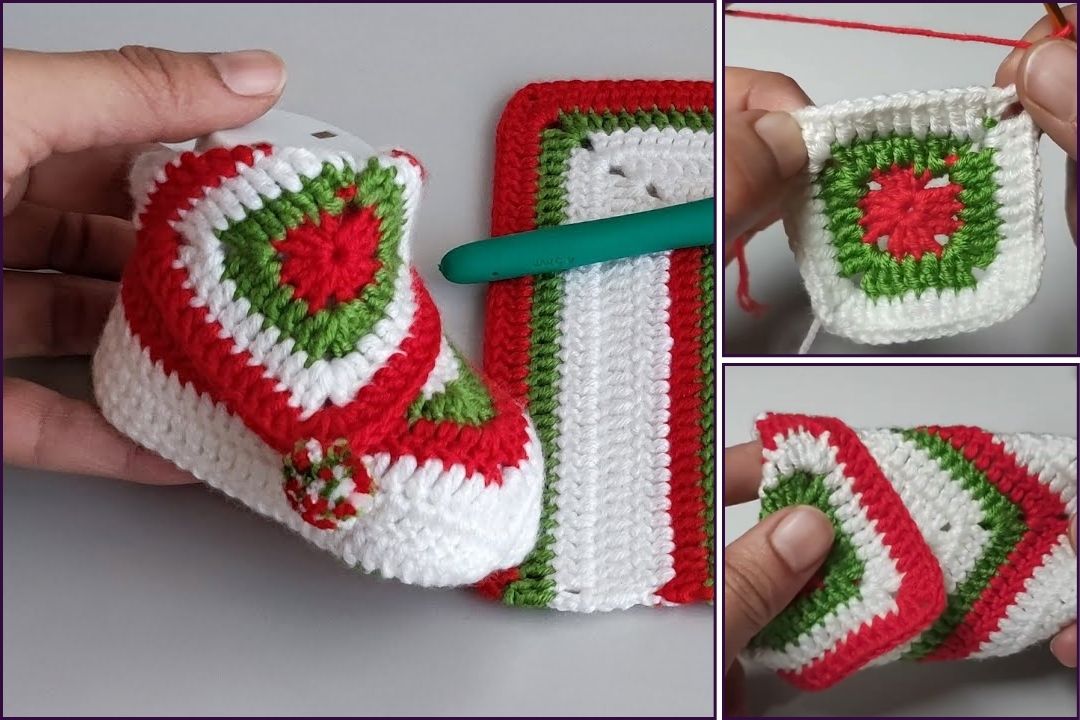
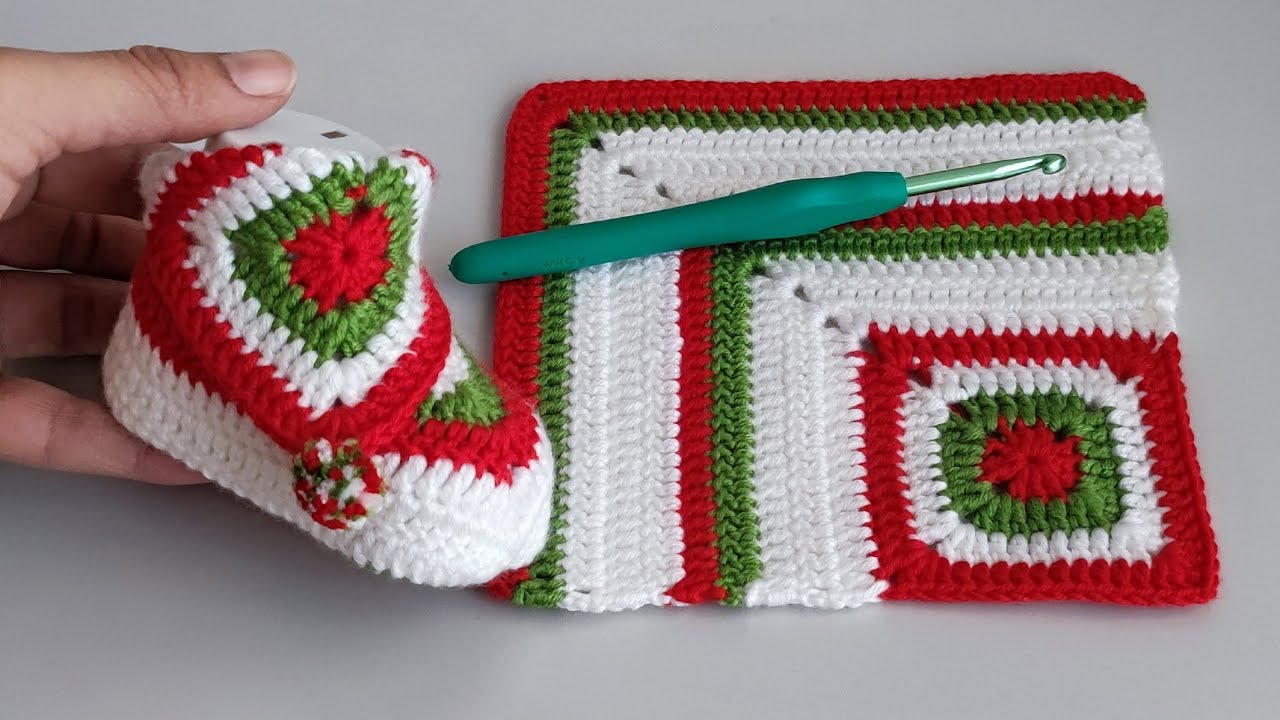
by It’s wonderful you want to learn how to crochet baby booties! This is a classic and very rewarding beginner project. Not only are they incredibly cute, but they’re also quick to make and perfect for gifting. To clarify, crochet uses a single hook to create stitches, while knitting uses two needles. This guide will focus entirely on how to crochet baby booties for beginners.
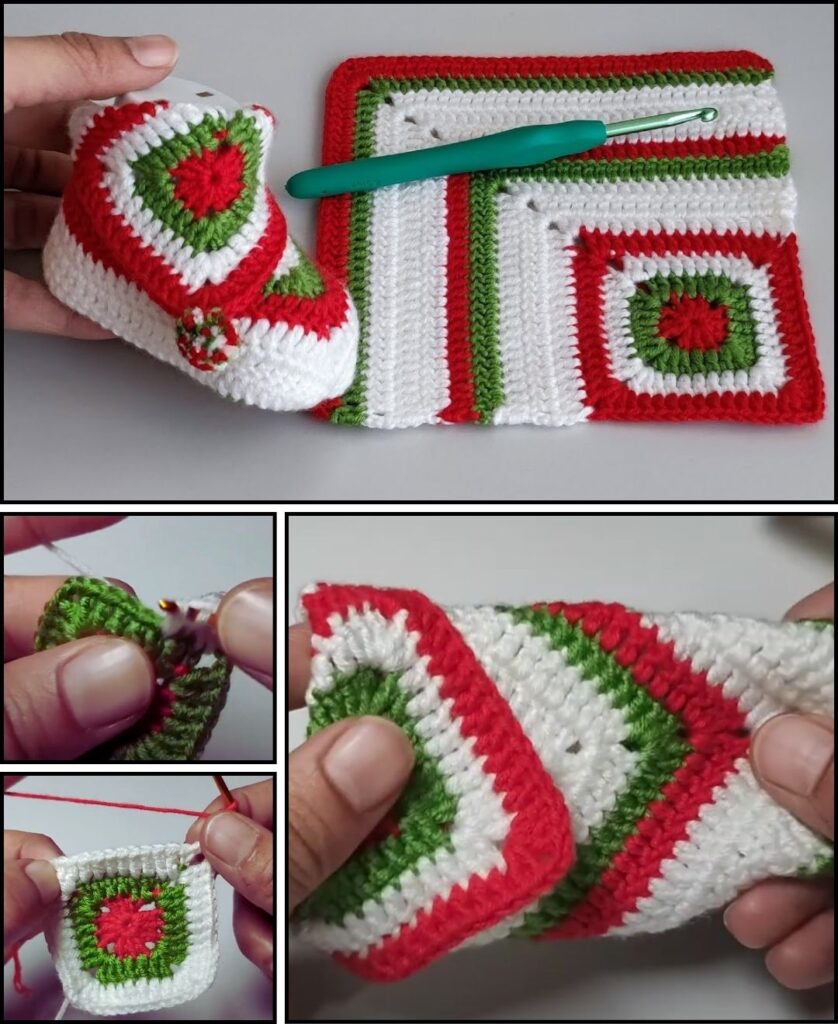
Given that you’re in Phnom Penh, 100% cotton yarn or a soft cotton blend is an excellent choice for baby items. Cotton is breathable, gentle on sensitive skin, and easy to wash, which is perfect for babywear.

How to Crochet Beginner Baby Booties
This tutorial will guide you through creating a simple pair of baby booties, starting with the sole and working your way up to the ankle. This pattern is designed to be straightforward and uses common stitches, making it perfect for someone new to crochet.
1. Essential Materials You’ll Need
- Yarn:
- Fiber: 100% Cotton, Cotton Blend, or soft Acrylic yarn are all great choices for baby items. Look for “baby” specific yarns, which are usually softer.
- Weight: DK (Double Knitting / Light Worsted / Category 3) or Worsted Weight (Aran / Medium / Category 4). DK weight will make smaller, more delicate booties, while worsted will make slightly larger, chunkier ones. Match your yarn weight to the recommended hook size.
- Color(s): Choose any color you like! Pastels are classic for babies, but a bright pop of color can also be fun. You might want a main color and a contrasting color for the trim.
- Quantity: You’ll only need about 20-30g of yarn per pair of booties, making this a great stash-busting project.
- Crochet Hook:
- For DK weight yarn, a 3.5mm (US E/4) or 4.0mm (US G/6) hook.
- For Worsted weight yarn, a 4.0mm (US G/6) or 4.5mm (US 7) hook.
- Always check your yarn label for the recommended hook size, then choose a hook that creates a fabric with a good drape but isn’t too loose (we don’t want baby’s toes poking through!).
- Scissors: For cutting yarn.
- Yarn Needle (Tapestry Needle): Essential for weaving in ends and sewing up any seams.
- Stitch Markers (Highly Recommended!): Very helpful for marking the first stitch of a round or specific stitches, especially when shaping.
- Measuring Tape: To check the size of your sole.

2. Basic Crochet Stitches You’ll Use
This pattern uses fundamental crochet stitches:
- Chain (ch): Used to begin your work.
- How to: Yarn over (YO) your hook, pull through the loop on your hook.
- Slip Stitch (sl st): For joining rounds and neatening.
- How to: Insert hook into the stitch, YO, pull through the stitch AND the loop on your hook.
- Single Crochet (sc): Creates a dense, sturdy fabric.
- How to: Insert hook into stitch, YO, pull up a loop (2 loops on hook). YO, pull through both loops on hook.
- Half Double Crochet (hdc): A medium-height stitch, good for general fabric.
- How to: YO, insert hook into stitch, YO, pull up a loop (3 loops on hook). YO, pull through all 3 loops on hook.
- Double Crochet (dc): A taller stitch, used for some shaping.
- How to: YO, insert hook into stitch, YO, pull up a loop (3 loops on hook). YO, pull through 2 loops (2 loops on hook). YO, pull through remaining 2 loops.
- Increase (inc): Work 2 stitches into the same stitch.
- Decrease (dec / hdc2tog): Half Double Crochet 2 Together.
- How to hdc2tog: YO, insert hook into first stitch, YO, pull up a loop. YO, insert hook into next stitch, YO, pull up a loop (4 loops on hook). YO, pull through all 4 loops on hook.
- Working in Rounds/Rows: You’ll start with rows for the sole, then work in rounds for the body of the bootie.
- Fasten Off: Securely ending your work.
- Weaving in Ends: Hiding tails for a neat finish.
Crochet Baby Bootie Pattern (0-6 Months Size)
This pattern is for a standard 0-6 month size. The finished sole should measure approximately 3.5-3.75 inches (9-9.5 cm). You can adjust hook or yarn size for slightly different sizes.
Abbreviations (US Crochet Terms):
- ch: chain
- sl st: slip stitch
- sc: single crochet
- hdc: half double crochet
- dc: double crochet
- inc: increase (2 sts in next st)
- hdc2tog: half double crochet 2 together (decrease)
- st(s): stitch(es)
(...): work stitches into the same stitch/space[...]: repeat instructions in brackets

Part 1: The Bootie Sole
We’ll start by crocheting an oval shape for the sole, working around a foundation chain.
- Start: Ch 12.
- Rnd 1:
- Work 2 hdc in the 3rd ch from hook (counts as 3 hdc in total at this end). Place a stitch marker in the first hdc of these 3.
- Hdc in the next 8 ch.
- Work 5 hdc in the last ch (this creates the rounded toe end). Place a stitch marker in the first hdc of these 5.
- Now, turn your work and continue crocheting down the opposite side of the foundation chain (into the bottom loops).
- Hdc in the next 8 ch.
- Work 3 hdc in the last ch (this completes the heel end).
- Join with a sl st to the top of the first hdc you made (where your first stitch marker is). (26 hdc total)
- This completes your first round, forming a flat oval.
- Rnd 2: Ch 2 (does not count as st).
- 2 hdc in the same st (where you joined).
- 2 hdc in the next st.
- Hdc in the next 8 sts.
- [2 hdc in next st] 5 times.
- Hdc in the next 8 sts.
- [2 hdc in next st] 2 times.
- Join with a sl st to the top of the first hdc of the round. (36 hdc total)
- Rnd 3: Ch 2 (does not count as st).
- [Hdc 1, inc] 2 times.
- Hdc in the next 8 sts.
- [Hdc 1, inc] 5 times.
- Hdc in the next 8 sts.
- [Hdc 1, inc] 2 times.
- Join with a sl st to the top of the first hdc of the round. (45 hdc total)
- Your sole should now be a good oval shape, approximately 3.5-3.75 inches long. If it’s too big/small, adjust hook size or check your tension.

Part 2: Forming the Bootie Sides
Now we’ll start building up the sides of the bootie.
- Rnd 4: Ch 1 (does not count as st).
- Work 1 sc in the back loop only (BLO) of each st around. (This creates a defined edge for the sole).
- Join with a sl st to the first sc. (45 sc total)
- Rnd 5: Ch 1 (does not count as st).
- Sc in each st around.
- Join with a sl st to the first sc. (45 sc total)
- The bootie should now begin to curve upwards from the sole.
Part 3: Shaping the Toe
This is where we’ll decrease stitches to form the front of the bootie.
- Rnd 6: Ch 1 (does not count as st).
- Sc in the first 12 sts.
- [Hdc2tog] 8 times (this creates the toe shaping).
- Sc in the next 17 sts.
- Join with a sl st to the first sc. (37 sts total)
- Rnd 7: Ch 1 (does not count as st).
- Sc in the first 12 sts.
- [Hdc2tog] 4 times (further shaping the toe).
- Sc in the next 17 sts.
- Join with a sl st to the first sc. (33 sts total)
- Your bootie should now clearly have a defined toe area.
Part 4: The Ankle Cuff
This forms the opening for the baby’s foot.
- Rnd 8: Ch 1 (does not count as st).
- Sc in each st around.
- Join with a sl st to the first sc. (33 sc total)
- Rnd 9 (Optional Trim): If you want a contrasting color cuff, change to your Accent Color here.
- Ch 1 (does not count as st).
- Sc in each st around.
- Join with a sl st to the first sc. (33 sc total)
- Fasten off, leaving a tail about 6 inches (15 cm). Weave in this tail neatly.
3. Finishing Your Crochet Baby Booties
- Weave in All Ends NEATLY: This is crucial for a polished, professional-looking bootie. Use your yarn needle to carefully weave in every single yarn tail securely into the stitches on the inside of the bootie. Take your time to hide them well.
- Make the Second Bootie: Repeat all the steps to create an identical second bootie.
- Optional Embellishments:
- Drawstring/Tie: Ch a long chain (about 40-50 ch) with your main or accent color. Weave this chain through the stitches of Rnd 8 or 9, around the ankle, and tie a bow. This also helps keep the bootie on baby’s foot.
- Small Bow/Flower: Crochet a tiny bow or a small flower and sew it onto the front of the bootie for decoration.
- Buttons: Sew decorative buttons onto the side (ensure they are very securely attached).
4. Tips for Beginner Success with Baby Booties
- Practice Stitches First: If you’re completely new to crochet, practice the basic stitches (ch, sc, hdc, dc) until you’re comfortable and your tension is fairly even.
- Use Stitch Markers: They are your best friend! Especially when working in rounds and doing increases/decreases, marking your first stitch and key shaping points will save you a lot of counting and frustration.
- Count Your Stitches: After each round, quickly count your stitches to ensure you have the correct number. This helps catch mistakes early.
- Read the Pattern Carefully: Go through each step slowly. If a term is unfamiliar, look it up or search for a video tutorial.
- Don’t Be Afraid to Undo: Crochet is very forgiving. If you make a mistake, don’t hesitate to “frog” (unravel) your work back to the error and try again.
- Check Gauge (Optional but helpful): If you want to ensure your booties are the correct size, you can make a small gauge swatch (e.g., 4 inches x 4 inches of hdc) and check how many stitches and rows you get per inch compared to the pattern’s suggested gauge.
- Make a Pair! Remember you need two! The first one is often a learning curve, and the second one will fly by.
- Wash Care: Since these are for a baby, use yarn that is easily washable. Provide washing instructions if gifting.
Crocheting baby booties is a heartwarming experience. Enjoy creating these adorable little treasures for the special little one in your life!