How to Crochet a Puff Stitch Baby Blanket for Beginners 🧶💖💖❤❤
 by
by Creating a crochet puff stitch baby blanket is a fantastic project for beginners! The puff stitch adds a lovely, squishy texture that’s perfect for a …
We share crochet and knitting ideas✨🧵🧶
Creating a crochet puff stitch baby blanket is a fantastic project for beginners! The puff stitch adds a lovely, squishy texture that’s perfect for a …
You’re looking to crochet a beautiful flower-patterned table runner for beginners! This is a fantastic project that can add a charming, handmade touch to your …
A crochet baby blanket is a truly special and heartwarming project, perfect for beginners to practice their skills while creating a cherished keepsake. Given the …
You’re looking to combine the beloved baby blanket with a beautiful flower pattern for beginners! That’s a wonderful idea. A blanket with integrated or appliqued …
A crochet baby blanket is a truly special and heartwarming project, perfect for beginners! It’s a wonderful way to practice your basic crochet stitches while …
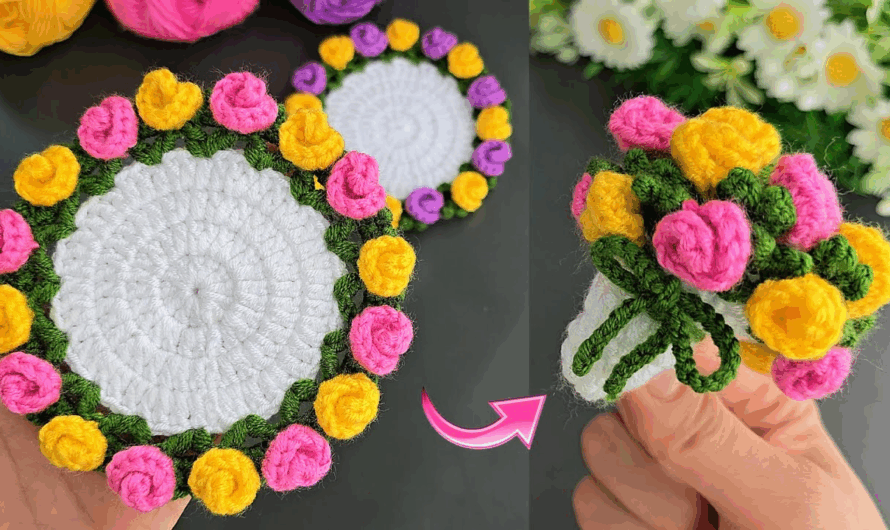
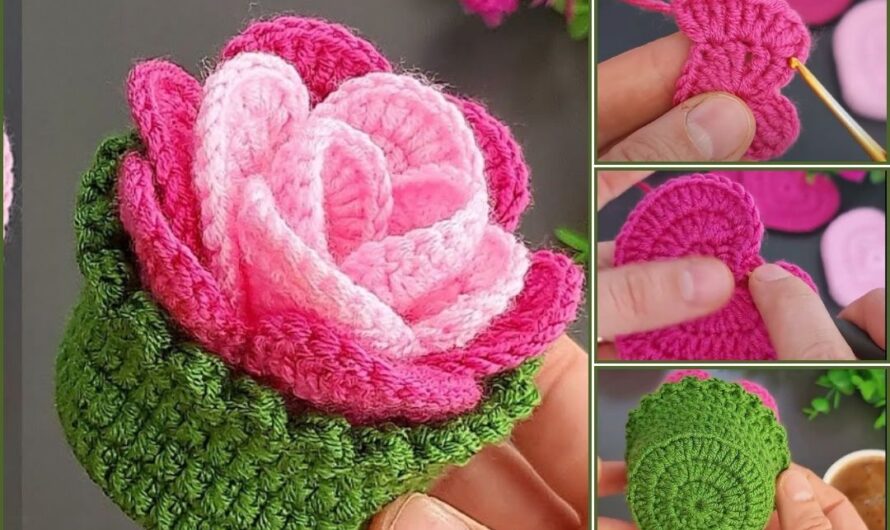
You’re ready to dive into making those lovely Colorful Flower Coasters for Coffee Cups! This is a fantastic project because it’s both practical for protecting …
Crafting a mini bag purse keychain is an incredibly charming and useful project! It’s perfect for holding a tiny coin, a folded bill, a small …
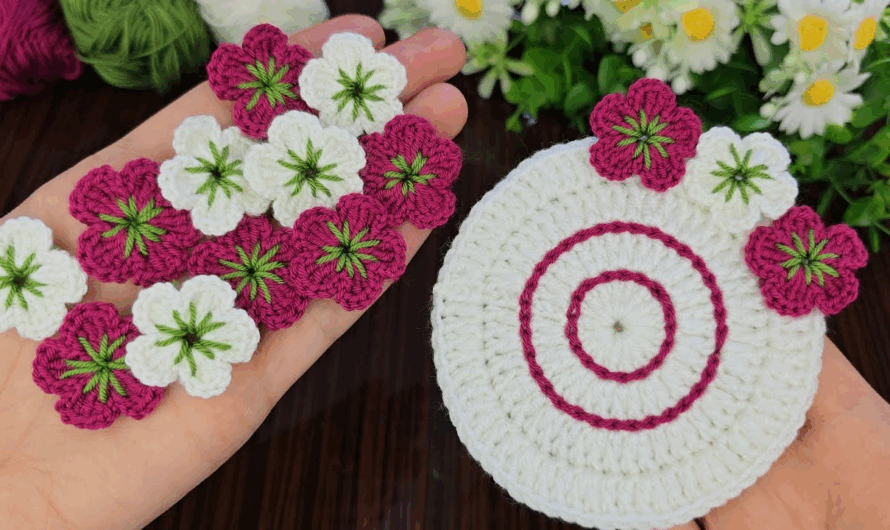
You’re looking to crochet a beautiful flower coaster! This is a lovely project that’s both functional for protecting your surfaces from coffee cups and decorative, …
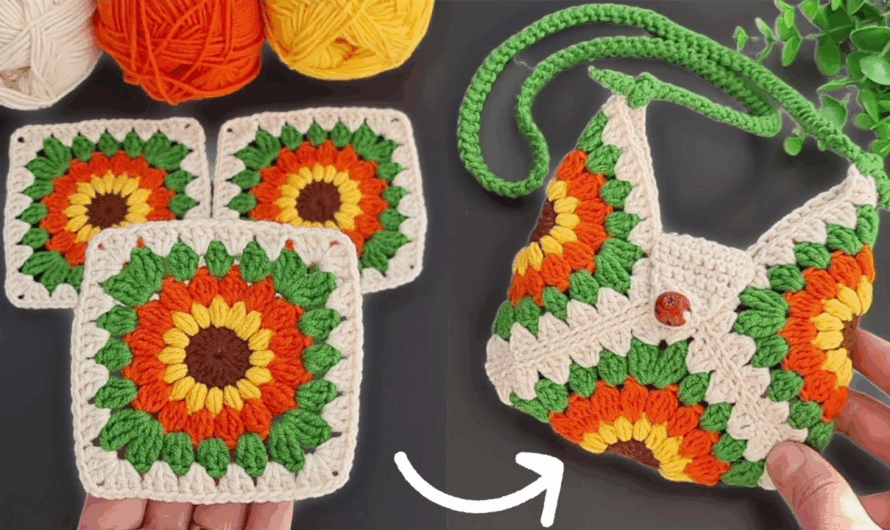
A crochet granny square handbag is a truly timeless and versatile project, perfect for adding a handmade touch to your style or creating a thoughtful …
A “Colorful Flower Coaster for Coffee Cups” sounds like a wonderful project to brighten up any coffee break! This project combines functionality with decorative flair, …