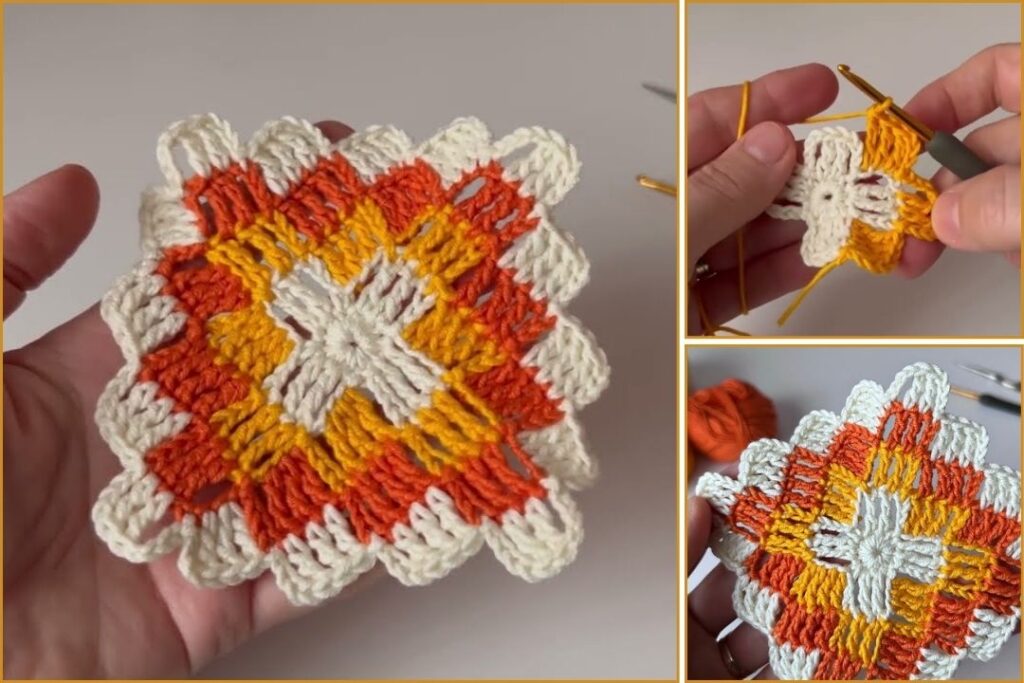
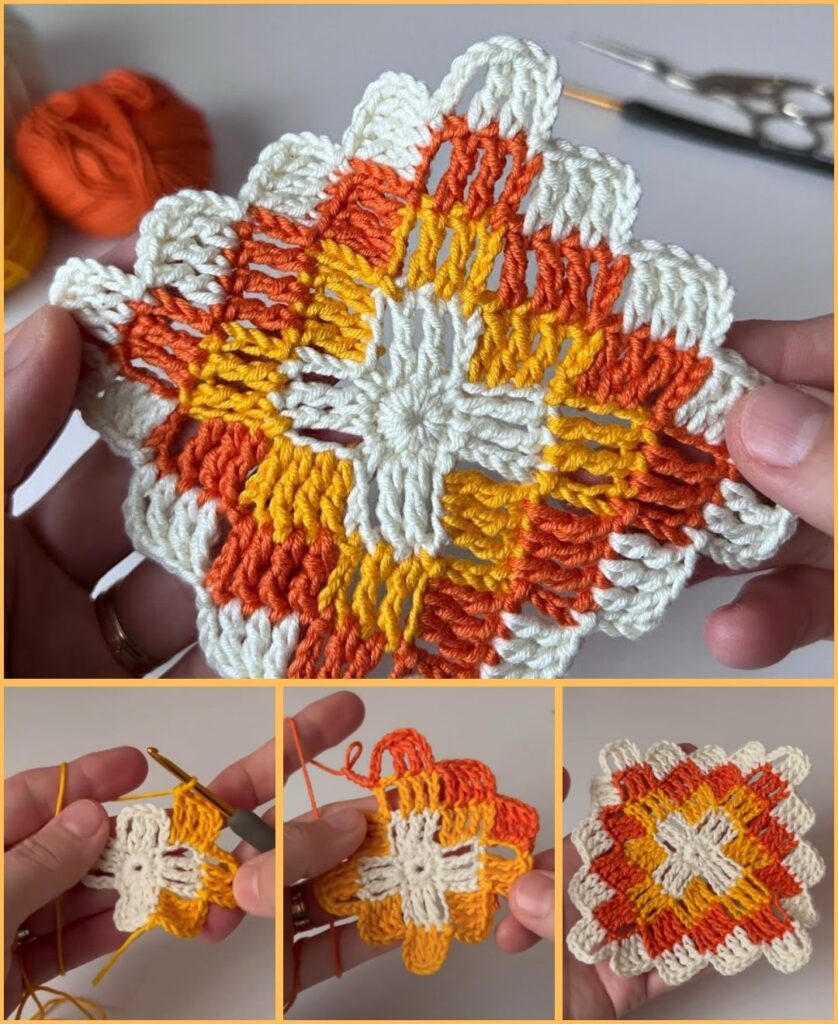
A crochet baby blanket is a truly special and heartwarming project, perfect for beginners! It’s a wonderful way to practice your basic crochet stitches while creating something beautiful, practical, and full of love. The repetitive nature of blanket patterns can be very relaxing, and watching your fabric grow is incredibly rewarding.
For a baby blanket, especially in a warm climate like Phnom Penh, 100% cotton yarn or a cotton blend (like cotton-acrylic) is highly recommended. These fibers are soft against a baby’s delicate skin, breathable, durable, and most importantly, machine washable and dryable – a must-have feature for any baby item! You’ll want to avoid anything too bulky or scratchy.

How to Crochet a Baby Blanket Pattern for Beginners (Simple Double Crochet Blanket)
This detailed guide will walk you through making a soft, warm, and beautiful baby blanket using primarily one of the most fundamental and versatile crochet stitches: the double crochet (dc). This pattern is often called a “Solid Double Crochet Blanket” or can become a “Granny Stripe Blanket” if you introduce multiple colors.
1. Essential Materials You’ll Need
- Yarn:
- Fiber: Choose 100% Cotton, a Cotton Blend, or a soft Acrylic Yarn. Look for yarn specifically labeled “baby yarn” or yarn that feels incredibly soft to the touch.
- Weight: DK (Double Knitting / Light Worsted / 3) or Worsted Weight (Aran / Medium / 4) are excellent choices. They work up at a good pace and create a lovely drape for a blanket.
- Colors: This is your chance to get creative! You can use one solid color for a minimalist look, or use 2-4 (or more!) colors for cheerful stripes. Baby blankets look adorable in pastels, brights, or even modern neutral tones.
- Quantity: For a standard baby blanket size (approximately 30×35 inches or 75×90 cm), you’ll typically need around 800-1200 yards (730-1100 meters) of yarn. If you’re using multiple colors for stripes, plan accordingly (e.g., 200-300 yards per color for a four-color striped blanket).
- Crochet Hook:
- For DK weight yarn, a 4.0mm (US G/6) or 4.5mm (US 7) hook is usually appropriate.
- For Worsted weight yarn, a 5.0mm (US H/8) or 5.5mm (US I/9) hook is a good starting point.
- Always check your specific yarn label for its recommended hook size, and feel free to go up or down half a size to achieve your desired drape. For a blanket, you want a fabric that’s flexible and soft, not too stiff or rigid.
- Scissors: For cutting your yarn.
- Yarn Needle (Tapestry Needle): This is essential for neatly weaving in all your yarn ends.
2. Basic Crochet Stitches You’ll Use
This pattern focuses on just a few fundamental crochet stitches, making it perfect for beginners:
- Chain (ch): Used to start your blanket (the foundation) and to create turning chains at the beginning of each row.
- Double Crochet (dc): This is the main stitch used to create the bulk of your blanket’s fabric.
- Slip Stitch (sl st): (Optional) You might use this for neatening edges or when joining new yarn if you’re changing colors.

The Simple Double Crochet Baby Blanket Pattern
This pattern creates a rectangular blanket by working back and forth in rows.
Abbreviations (US Crochet Terms):
- ch: chain
- dc: double crochet
- st(s): stitch(es)
- ea: each
Step 1: Determine Your Blanket Size and Starting Chain
The number of chains you start with determines the width of your blanket.
- For a standard baby blanket (approximately 30 inches / 75 cm wide):
- If using Worsted Weight (4) yarn and a 5.0mm hook: Chain approximately 112 stitches. This will give you about 110 double crochet stitches across.
- If using DK (3) yarn and a 4.0mm hook: Chain approximately 132 stitches. This will give you about 130 double crochet stitches across.
- To calculate your own width:
- Make a small swatch (a practice rectangle) with your chosen yarn and hook. Chain about 15 stitches, then work a few rows of double crochet (follow Row 1 and Row 2 instructions below).
- Measure how many double crochet stitches fit within 4 inches (or 10 cm).
- Divide your desired blanket width (e.g., 30 inches) by your stitches-per-inch measurement. This will give you a rough number of stitches.
- Then, add 2 more chains to that number for the starting chain of this pattern. (The first 3 chains you skip count as your first dc).
Let’s use a specific example for this tutorial, aiming for a blanket around 30 inches wide:
Using your main color (e.g., White):
- Foundation Chain: Ch 112. (This chain count provides a good width for a baby blanket. Remember that your actual width may vary slightly based on your personal tension and chosen yarn/hook.)

Step 2: Crocheting the Main Body of the Blanket
You’ll work back and forth in rows, turning your work at the end of each row.
- Row 1: Work 1 dc into the 4th chain from your hook. (The 3 chains you skipped at the beginning of the row count as your very first double crochet stitch for this row).
- Work 1 dc into each remaining chain across the entire foundation chain.
- At the end of this row, you will have 110 dc stitches (or 2 less than your starting chain count).
- If you’re using one solid color: Ch 3 (these 3 chains will count as your first dc for the next row) and turn your work.
- If you’re changing colors after this row: Fasten off your current yarn, leaving a tail of about 6 inches (15 cm). Then, attach your new color by making a sl st into the top of the very last dc you just made, ch 3 with the new color, and turn your work.
- Row 2 (and all subsequent rows):
- Work 1 dc into the first dc of the previous row (this is the stitch directly below your turning chain-3).
- Work 1 dc into each dc stitch across the row, all the way to the end.
- Make sure to work your last dc stitch into the top of the turning chain-3 from the previous row. This is crucial for keeping your blanket edges straight and even.
- At the end of this row, you will still have 110 dc stitches.
- If staying with the same color: Ch 3 and turn your work to begin the next row.
- If changing colors: Fasten off your current yarn, leaving a tail. Attach your new color with a sl st to the top of the last dc you just made, ch 3 with the new color, and turn your work.
- Repeat Row 2: Continue repeating Row 2 until your blanket reaches your desired length (e.g., 35 inches or 90 cm), or until you’re happy with the size and/or run out of yarn!
- A typical finished baby blanket length is usually around 35-40 inches (90-100 cm).
- If you’re making stripes: A popular choice is to change colors after every 2-4 rows for a classic striped look. You can also experiment with different stripe widths for a unique design.

Step 3: Finishing the Blanket
Once your blanket reaches the desired size, it’s time for the final touches to make it perfect.
- Fasten Off: After completing your last row, cut your yarn, leaving a tail of about 6-8 inches (15-20 cm). Pull the tail completely through the loop that’s still on your hook and pull it tight to secure the last stitch.
- Weave in All Ends: This is a vital step for a professional-looking and durable blanket. Use your yarn needle to carefully weave in every single yarn tail – from your starting chain, from fastening off, and from all your color changes. Hide them securely within the stitches of your blanket. This prevents them from unraveling and makes the blanket look neat and tidy.
- Optional: Add a Border (Highly Recommended for a Polished Look):
- A simple border can give your blanket a beautifully finished edge. A single crochet (sc) border is easy and effective.
- Join yarn (either your main color or a contrasting one) with a sl st into any corner stitch of your blanket.
- Round 1 (Border):Ch 1 (does not count as a stitch).
- Work single crochet stitches evenly around the entire blanket.
- When you reach a corner, work (2 sc, ch 2, 2 sc) into that corner to help it turn neatly and stay flat.
- Along the sides of the blanket (where you see the ends of your dc rows), try to work 2 sc into the side of each double crochet stitch to create an even edge.
- After working all the way around, join with a sl st to the top of the first sc you made in this border round.
- Optional Round 2 (For a Thicker Border): If you want an even more substantial border, you can add another round. Ch 1. Work 1 sc in each sc stitch around, remembering to work (2 sc, ch 2, 2 sc) in each corner’s ch-2 space. Join with a sl st.
- Fasten off and weave in any remaining ends from your border.
- Blocking (Optional but Highly Recommended):
- Gently wet your entire blanket (you can spray it with water or lightly immerse it in cool water).
- Carefully squeeze out any excess water (do NOT wring or twist the blanket!).
- Lay the blanket flat on a clean towel or a foam blocking mat. Gently stretch and shape it to the correct dimensions, making sure all edges are straight and the corners are square. If you have rust-proof pins, you can use them to hold the blanket in place while it dries.
- Allow it to air dry completely. Blocking is a magical step that helps to even out your stitches, relax the yarn, and gives your blanket a beautifully polished drape and shape.

Tips for Beginner Blanket Crocheters
- Practice Your Tension: Try to keep your stitches consistent throughout the blanket. This ensures your fabric is uniform and doesn’t get wider or narrower as you go. Don’t worry if it’s not perfect on your first try – consistency improves with practice!
- Count Your Stitches: Especially in the early rows, take a moment to count your stitches at the end of each row. This simple habit helps ensure you’re maintaining the correct width and your edges stay straight. Accidentally missing a stitch or adding an extra one is very common for beginners.
- Straight Edges: Always working your last double crochet stitch into the top of the turning chain-3 from the previous row is the key to maintaining straight, neat edges on your blanket.
- Relax and Enjoy! Don’t be afraid to pull out stitches (this is called “frogging”) if you make a mistake. Crochet is very forgiving, and it’s all part of the learning process. Focus on enjoying the repetitive motion and the satisfaction of seeing your beautiful blanket grow.
- Washing Instructions: If you’re making this blanket as a gift, it’s always a thoughtful touch to include washing instructions for the specific yarn you used (e.g., “Machine wash cold, tumble dry low”).
You’ve now got a comprehensive guide to crochet a beautiful and cherished baby blanket! This is a project that will be treasured for years to come.


