 by
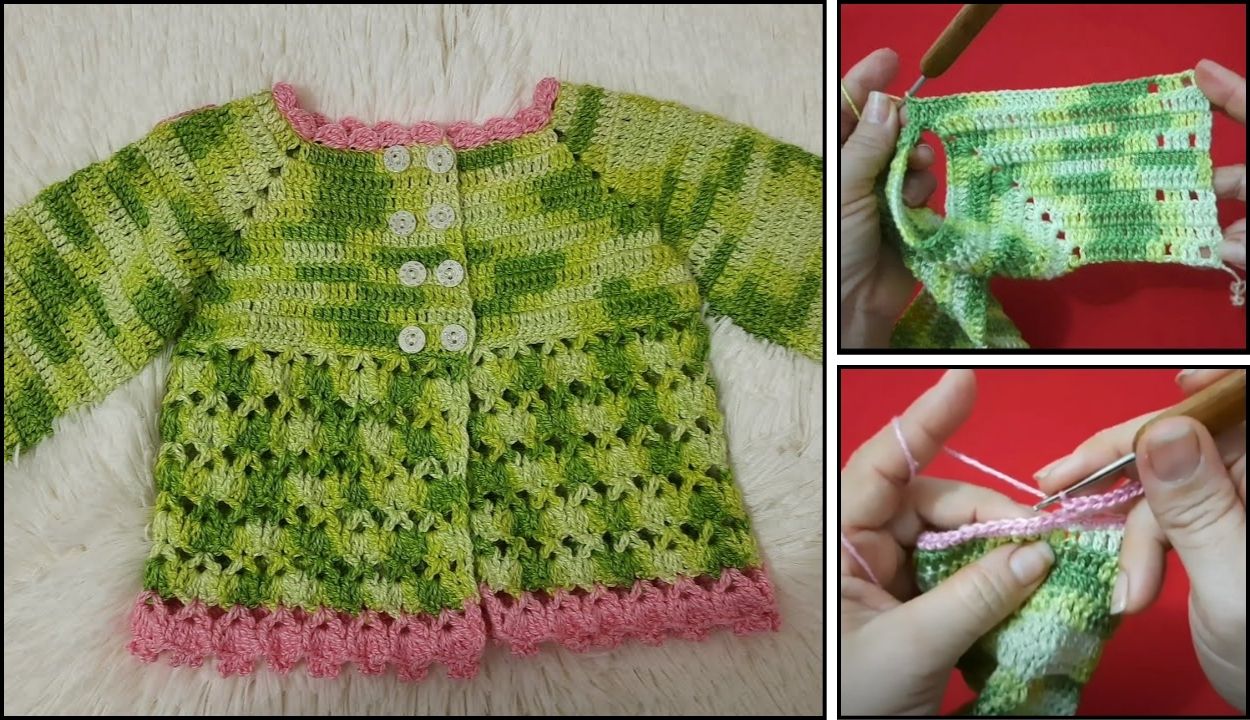
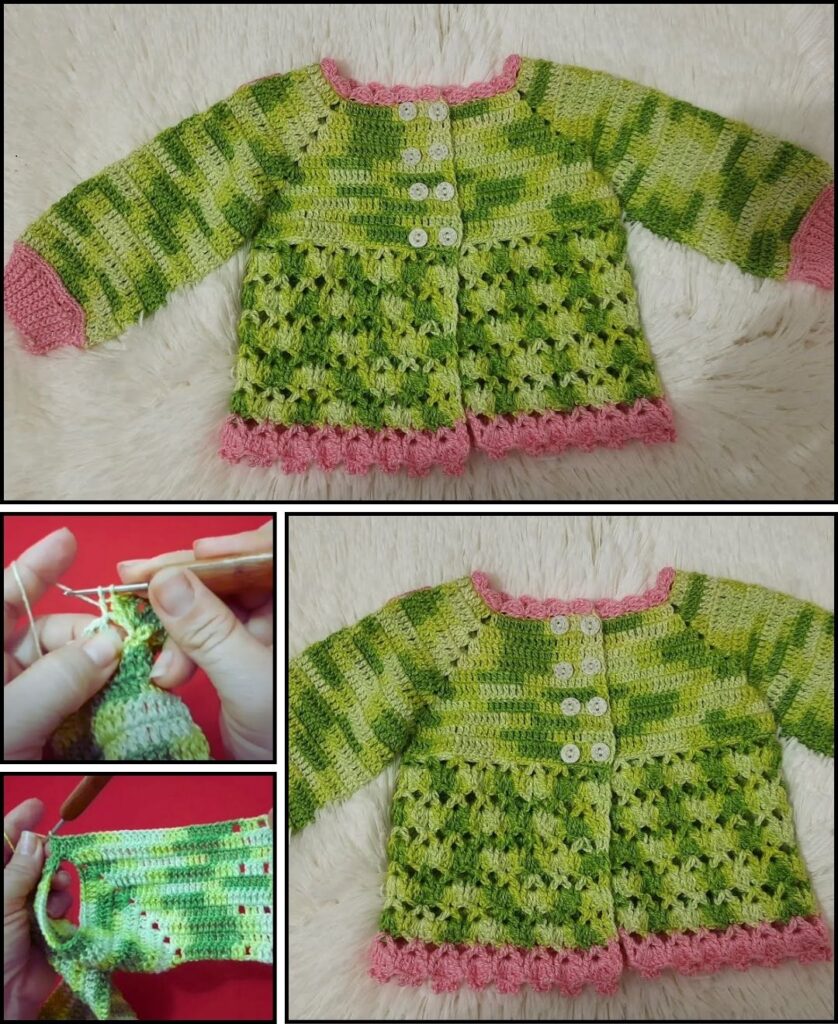
by Crocheting a coat for a child or newborn is a deeply rewarding project, creating a cozy, handmade garment that will be cherished. Unlike smaller projects, a coat requires more attention to sizing, shaping (especially for armholes and neckline), and finishing details like buttons or a hood.
Since you’re in Phnom Penh, where it’s currently warm, selecting the right yarn is crucial to ensure the coat is comfortable and not too heavy.
Choosing the Right Yarn for a Crochet Coat in a Warm Climate
For children’s and newborn’s coats in a warm climate like Phnom Penh, prioritize breathable, lightweight, and washable yarns. Avoid wool or heavy acrylics, which will be too warm and potentially itchy for sensitive baby skin.
Here are the best options:
- 100% Cotton: This is often the top choice for warm weather. It’s breathable, absorbent, soft, durable, and generally machine washable. Cotton yarn comes in various weights; for a coat, a DK (Double Knitting) weight / Light Worsted (Category 3) or Worsted Weight (Aran / Medium / Category 4) would be suitable. DK weight will produce a lighter fabric, while worsted will be a bit more substantial.
- Cotton Blends (Cotton/Bamboo, Cotton/Acrylic):
- Cotton/Bamboo: Bamboo yarn is incredibly soft, has a lovely drape, and is very breathable. A blend combines the best qualities of both fibers.
- Cotton/Acrylic: A good quality acrylic blended with cotton can offer softness, durability, and easier care (often machine washable and dryable) while maintaining some breathability from the cotton content.
- Linen/Linen Blends: Linen is known for its incredible breathability and ability to keep cool. It starts a bit stiff but softens beautifully with washing and wear. It creates a lovely drape.
- Baby-Specific Yarns: Many brands offer yarns specifically labeled “baby yarn.” These are usually very soft, often hypoallergenic, and designed for frequent washing. Check the fiber content, as many baby yarns are soft acrylics or cotton blends.
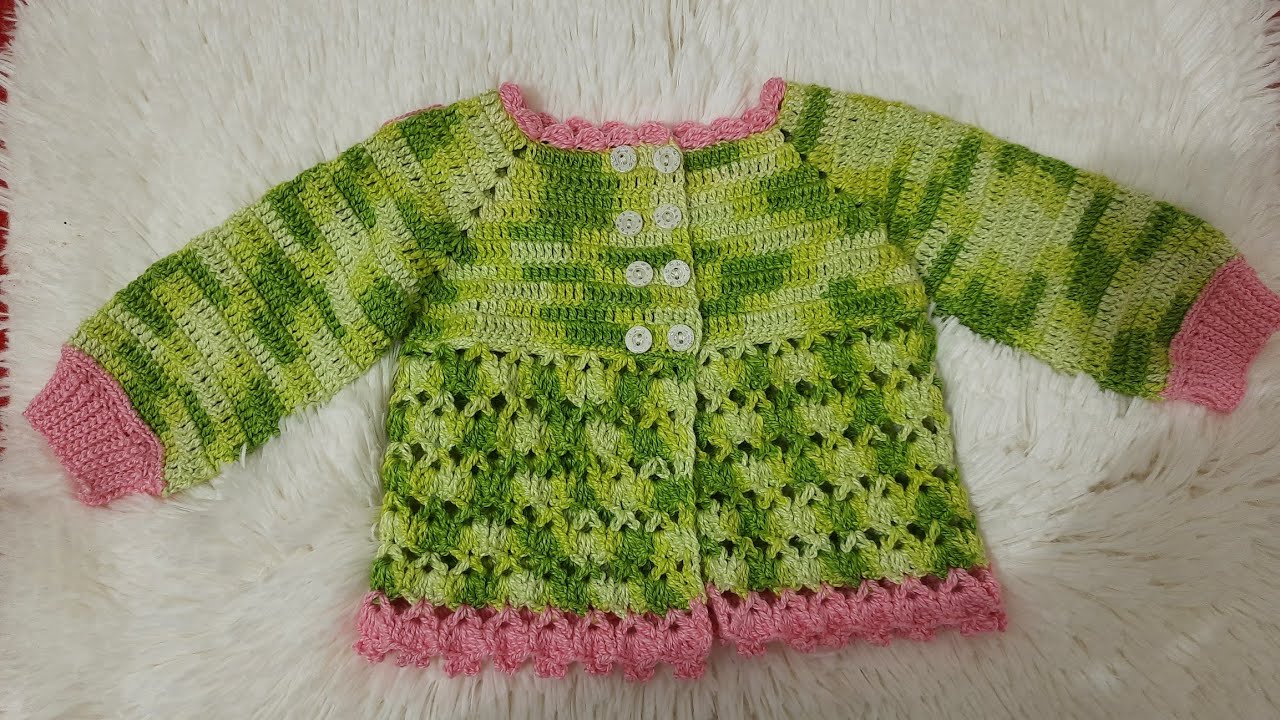
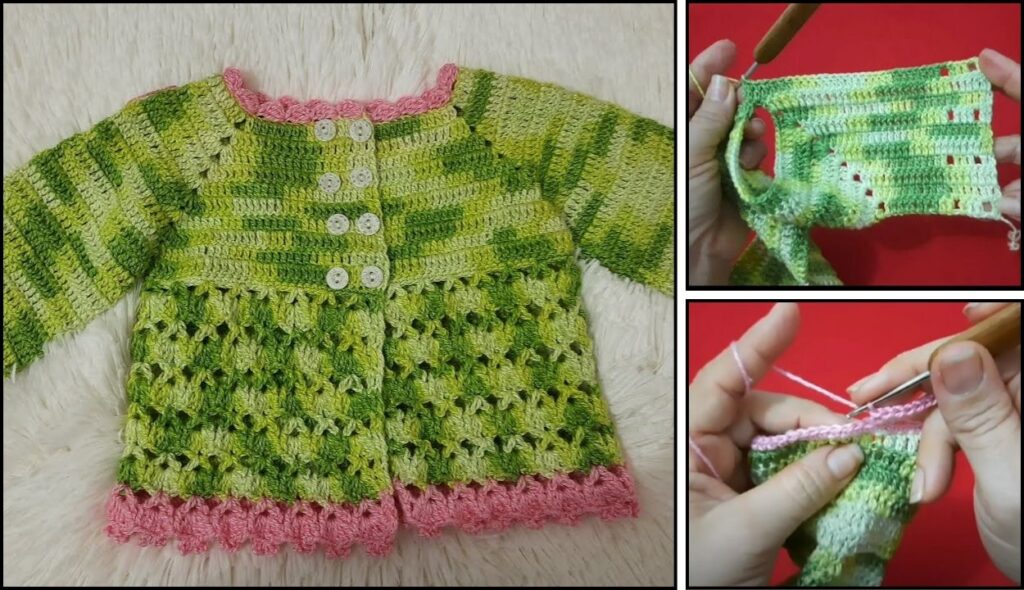
How to Crochet a Children’s/Newborn Coat (Top-Down Raglan Style)
The top-down raglan construction is a popular and relatively simple method for crocheting baby garments. You start at the neck, work the yoke (the top part that covers the shoulders and chest), divide for sleeves and body, and then continue downwards. This method allows for easy adjustments to size and minimizes seaming.
This tutorial provides a general approach. For a specific size, I highly recommend finding a dedicated pattern from a reliable source (like Ravelry, Etsy, or yarn company websites) that includes exact stitch counts for different age groups (e.g., Newborn, 3-6 months, 6-12 months, etc.). This outline will help you understand the construction.
1. Essential Materials You’ll Need
- Yarn: Chosen yarn type and weight (e.g., DK or Worsted weight cotton). Refer to a specific pattern for exact yardage, but estimate 200-400 yards for a newborn to 12-month size.
- Crochet Hook: Size appropriate for your yarn (e.g., 3.75mm (F/5) for DK, 4.0mm (G/6) or 4.5mm (7) for Worsted).
- Scissors: For cutting yarn.
- Yarn Needle (Tapestry Needle): For weaving in ends and seaming.
- Stitch Markers (at least 4): Crucial for marking raglan increase points.
- Buttons: 3-5 buttons, appropriate size for a baby (approx. 0.5 – 0.75 inches / 1.25 – 2 cm).
- Measuring Tape: For checking gauge and size.

2. Basic Crochet Stitches You’ll Use
- Chain (ch): For starting the foundation and chain spaces.
- Slip Stitch (sl st): For joining and neatening.
- Single Crochet (sc): Good for borders or dense fabric.
- Half Double Crochet (hdc) or Double Crochet (dc): Often used for the main fabric of the coat, as they work up quicker than sc and provide good drape. We’ll use HDC for this example.
- Increase (inc): Working multiple stitches into one to add stitches.
- Working in Rows: You’ll turn your work at the end of each row.
- Fasten Off: To secure your work.
- Weaving in Ends: Hiding yarn tails.
3. Understanding Gauge (Crucial!)
Gauge is the number of stitches and rows per inch/cm using your chosen yarn and hook. It’s essential for garments to ensure the finished item is the correct size.
- Make a Swatch: Chain about 20 stitches, then work in your chosen main stitch (e.g., hdc) for about 10-15 rows.
- Measure: Measure a 4×4 inch (10×10 cm) square within your swatch.
- Adjust: If you have too many stitches/rows, use a larger hook. If you have too few, use a smaller hook. Keep adjusting until your gauge matches the pattern’s recommendation (or your desired density).
Crochet Coat Pattern Outline (Newborn Size Example)
This is a simplified outline. A full pattern would include specific stitch counts for different sizes.
Assumptions: This pattern starts with a relatively wide neck opening that will create a comfortable neckline for a newborn. Main Stitch: Half Double Crochet (hdc) Raglan Increase: (hdc, ch 1, hdc) in one stitch/space.
Part 1: The Yoke (Top-Down Construction)
The yoke is the flat section at the top that forms the neck, shoulders, and upper chest.
- Foundation Chain: Ch a multiple of stitches that fits around the baby’s neck (plus a few for the front opening).
- Newborn Example: Ch 42. (This provides a base for 4 sections: Front Panel 1, Sleeve 1, Back, Sleeve 2, Front Panel 2).
- Mark Raglan Points:
- Place a stitch marker in the 7th ch from the hook (for Front Panel 1).
- Place a stitch marker in the 15th ch from the hook (for Sleeve 1).
- Place a stitch marker in the 29th ch from the hook (for Back).
- Place a stitch marker in the 37th ch from the hook (for Sleeve 2).
- The remaining stitches are for Front Panel 2.
- Adjust these numbers based on the desired size and how many stitches you started with.
- Row 1: Hdc in the 3rd ch from hook (counts as 1st hdc). Hdc in each ch until 1 ch before the first marker.
*(Hdc, ch 1, hdc) in the marked ch (this is your first raglan increase). Hdc in each ch until 1 ch before the next marker.*Repeat from*to*3 more times.- Hdc in each remaining ch until the end of the row.
- Ch 2 (counts as 1st hdc for next row). Turn.
- Subsequent Yoke Rows (Rows 2-8 or until desired yoke depth):
- Hdc in each hdc until you reach the ch-1 space of the first raglan increase.
*(Hdc, ch 1, hdc) in the ch-1 space (this is where you make your increases). Hdc in each hdc until you reach the next ch-1 space.*Repeat from*to*3 more times.- Hdc in each remaining hdc until the end of the row.
- Ch 2, Turn.
- Continue these rows until the yoke (measured from neck to underarm) is the correct depth for your chosen size. For newborns, this might be around 4-5 inches (10-12.5 cm).
Part 2: Dividing for Body and Sleeves
Once your yoke is complete, you’ll separate the work into three sections: body, left sleeve, and right sleeve.
- Row (Dividing Row):
- Ch 2, Turn.
- Hdc in each hdc across the first front panel until you reach the first ch-1 space.
- Skip the stitches of the first sleeve:
(Hdc, ch 1, hdc)in the ch-1 space. Chain 2 or 3 (this creates the underarm space) and skip all hdc stitches until the next ch-1 space. - Hdc in each hdc across the back panel until you reach the next ch-1 space.
- Skip the stitches of the second sleeve:
(Hdc, ch 1, hdc)in the ch-1 space. Chain 2 or 3 and skip all hdc stitches until the next ch-1 space. - Hdc in each hdc across the second front panel until the end of the row.
- Ch 2, Turn.
- You have now created the armholes. You will no longer work into the sleeve stitches for the body.
Part 3: The Body
Now you’ll work in rows to create the main part of the coat.
- Continue Working: Hdc in each hdc across the entire body section (including the chains you made for the underarm).
- Ch 2, Turn.
- Repeat these rows until the coat reaches the desired length for the child/newborn.
- Newborn Example: For a simple hip-length coat, this might be another 6-8 inches (15-20 cm) or more, depending on preference.
- Optional Border: Once the body length is achieved, you can add a simple single crochet (sc) border around the entire bottom edge for a neat finish.
- Fasten off and weave in ends.
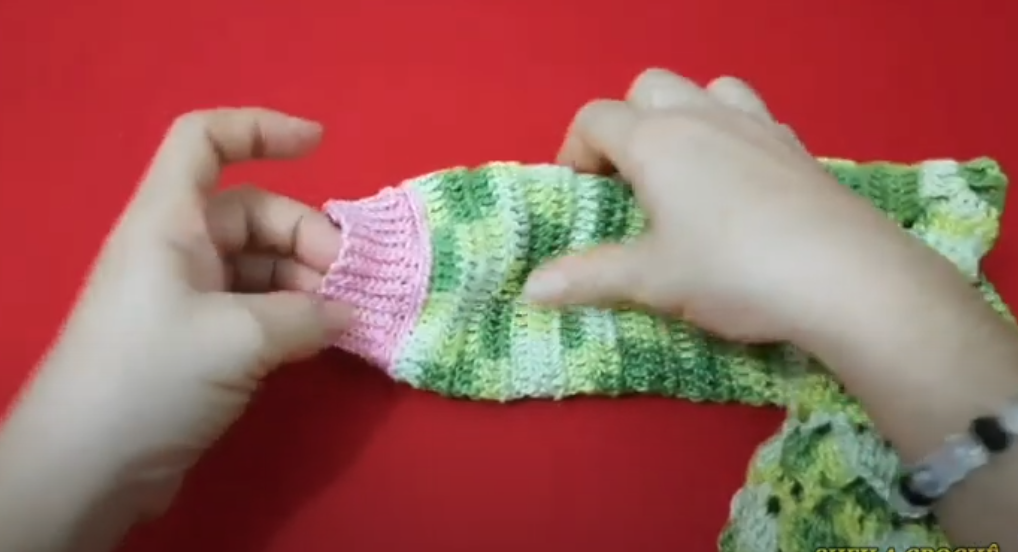
Part 4: The Sleeves (Make 2)
You’ll rejoin yarn to the armholes to create the sleeves.
- Rejoin Yarn: Join yarn with a sl st to the underarm chain space (or nearest stitch) of one armhole.
- Round 1: Ch 2. Hdc evenly around the armhole opening, working into the stitches of the sleeve and into the chains of the underarm. Join with a sl st to the first hdc.
- Continue Working in Rounds: Ch 2. Hdc in each hdc around. Join with a sl st to the first hdc.
- Repeat these rounds until the sleeve reaches the desired length. You can also add a decrease round every few rows if you want the sleeve to taper slightly.
- Newborn Example: Sleeves might be around 6-8 inches (15-20 cm) from the underarm to the wrist.
- Cuff (Optional): For a neat cuff, you can switch to sc or a ribbed stitch for the last 2-3 rounds.
- Fasten Off and weave in ends.
- Repeat for the second sleeve.
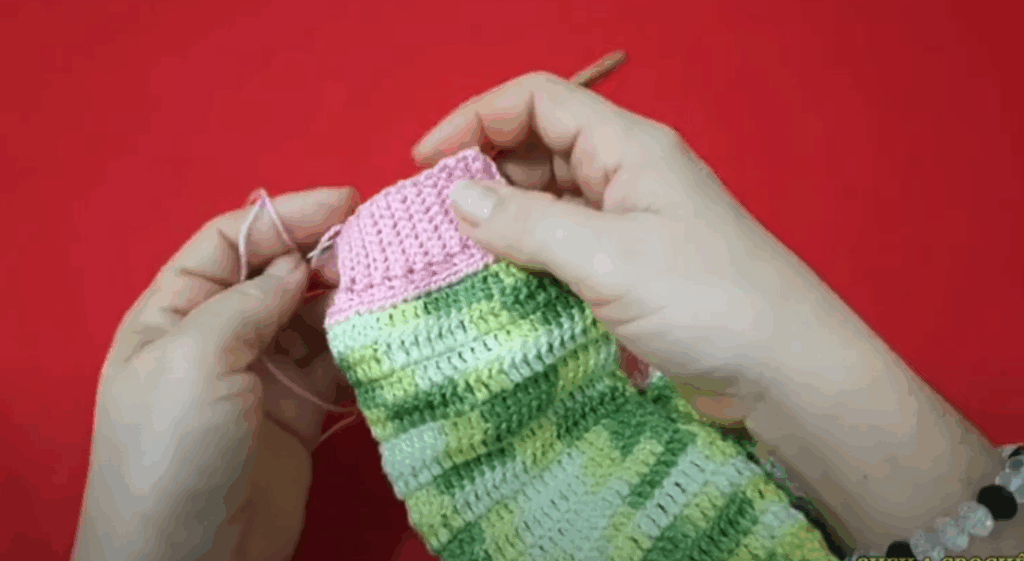
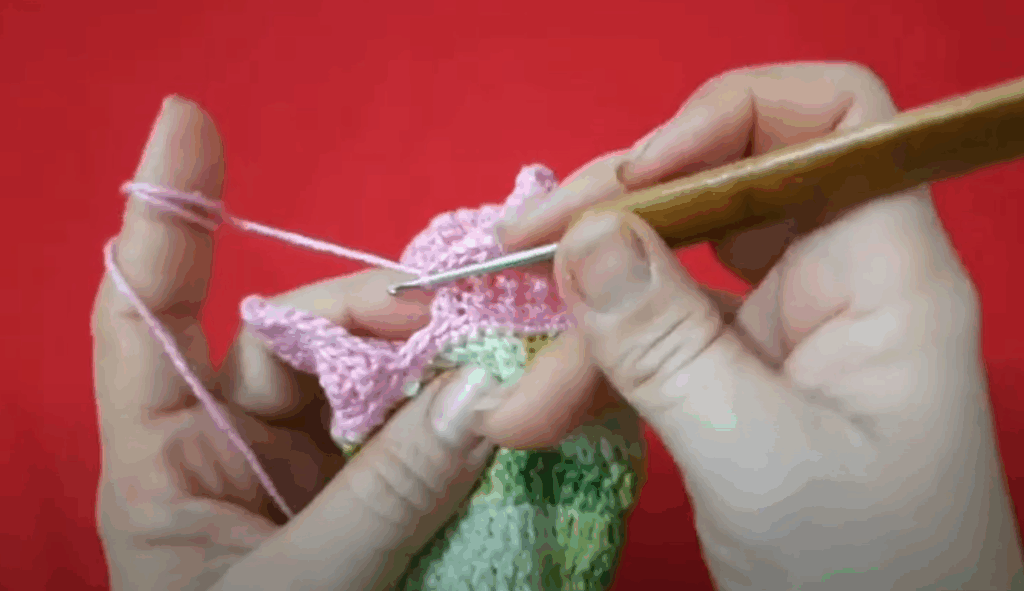
Part 5: Finishing Details
- Front Bands/Button Bands:
- Rejoin yarn to the bottom corner of one front opening.
- Ch 1. Work sc evenly up the entire front opening, around the neck opening, and down the other front opening. This creates a neat edge.
- Buttonhole Band: On one of the front bands (decide if it’s left or right based on whether it’s for a boy or girl, or just preference), you’ll create buttonholes on a subsequent row.
- Buttonhole Row: Work
scuntil you reach where you want a button.Ch 2, skip 2 sc(adjust chain and skipped stitches based on your button size). Continue sc. Repeat for desired number of buttonholes (e.g., 3-5 evenly spaced).
- Buttonhole Row: Work
- Button Band: The opposite front band will just be solid sc rows.
- Work 1-2 more rows of sc on both bands to solidify them.
- Sew on Buttons: Once the buttonhole band is complete, align your coat and mark where the buttons should go on the opposite band. Securely sew on your buttons.
- Weave in ALL Remaining Ends: This is the most important step for a professional finish. Take your time to hide every single yarn tail securely.
- Blocking (Recommended for Cotton): Gently wet the finished coat. Pin it to shape on a flat surface or blocking mat. Allow it to air dry completely. Blocking helps to even out your stitches, open up the fabric, and give the coat a beautiful drape and professional appearance.
Tips for Crocheting Baby Coats
- Read the Pattern Thoroughly: If using a purchased pattern, read it completely before you start to understand the construction.
- Check Gauge Religiously: Seriously, don’t skip this. It’s the difference between a coat that fits and one that’s too big or too small.
- Softness is Key: For newborns and young children, always choose the softest yarn you can find.
- Easy Care: Machine washable and dryable yarn is a huge plus for baby garments.
- Button Safety: Ensure buttons are sewn on very securely, or use alternative closures like ties or snaps if you have concerns about small parts.
- Growth: Children grow quickly! When in doubt, crochet a slightly larger size. Oversized baby coats are cute and allow for longer wear.
Crocheting a coat is a wonderful accomplishment, and for a child, it’s a truly special gift from the heart. Happy hooking!