by
by That’s a fantastic idea! Crocheting around plastic water bottle caps is a wonderful way to upcycle and reuse them, transforming what would be waste into something beautiful and functional. It’s a fun and easy project for beginners, allowing you to practice basic stitches while creating sturdy, unique pieces.
Since you’re in Phnom Penh, where recycling might not be as widespread for all plastics, this is an especially impactful way to divert plastic from landfills!
How to Crochet Around Plastic Water Bottle Caps: A Detailed Guide
This guide will show you how to securely crochet around a standard plastic water bottle cap, creating a durable and decorative disc. Once you master this, the possibilities for what you can make are endless!
1. Essential Materials You’ll Need
- Plastic Water Bottle Caps: Collect a few clean, dry plastic bottle caps (e.g., from water bottles, soda bottles, milk jugs). Standard 28mm (about 1 inch) caps work great.
- Yarn:
- Worsted Weight (Aran / Medium / Category 4) Cotton or Acrylic Yarn: Cotton is excellent for this as it’s durable and holds its shape well. Acrylic also works. You’ll need very small amounts per cap, making it perfect for scrap yarn.
- Crochet Hook:
- A 3.0mm (US C/2) or 3.5mm (US E/4) hook. You want your hook to be smaller than usual for worsted weight yarn to create a very tight fabric that completely covers the cap and holds it securely. This prevents the cap from wiggling inside.
- Scissors: For cutting yarn.
- Yarn Needle (Tapestry Needle): Essential for weaving in ends and sometimes for the initial starting stitch.
- Strong Glue (Optional, but Recommended for Durability): Craft glue like E6000 or a strong fabric glue can be used to secure the finished crochet cover to the cap for extra durability, especially if the item will be handled a lot.

2. Basic Crochet Stitches You’ll Use
This project focuses on fundamental, simple stitches:
- Magic Ring (MR) / Adjustable Ring: (Highly Recommended for the first side) Creates a tight, hole-free center. Alternatively, you can
ch 2, then work all stitches of Round 1 into the 2nd ch from the hook. - Chain (ch): Used for starting.
- Slip Stitch (sl st): For joining rounds.
- Single Crochet (sc): This will be your primary stitch, creating a dense, sturdy fabric.
- Increase (inc): Work 2 sc into the same stitch to add stitches (essential for making the circle flat).
- Working in Rounds (Joined Rounds): You’ll work in rounds, joining with a slip stitch at the end of each round. This creates a neat finish, especially important when crocheting around a fixed object.
- Fasten Off: To securely end your work.
- Weaving in Ends: Hiding yarn tails for a neat and professional finish.
How to Crochet Around a Plastic Water Bottle Cap
You’ll essentially crochet two flat circles that are the same size as the top of your bottle cap. One circle will cover the top, and the other will cover the bottom. Then, you’ll join them around the cap.
Abbreviations (US Crochet Terms):
- MR: Magic Ring
- ch: chain
- sc: single crochet
- st(s): stitch(es)
- inc: increase (work 2 sc into the same stitch)
- sl st: slip stitch
(...): work stitches into the same stitch or space[...]: repeat instructions in brackets- FO: Fasten off

Part 1: Crocheting the Top Piece (Make 1)
This piece will cover the top flat surface of your bottle cap.
- Round 1: Create a MR. Ch 1. Work 8 sc into the MR. Join with a sl st to the first sc. (8 sc)
- Round 2: Ch 1. Inc in each st around. Join with a sl st to the first sc. (16 sc)
- Round 3: Ch 1.
*Sc in the next st, inc in the next st.*Repeat from*to*around. Join with a sl st to the first sc. (24 sc)- Check Size: Place this crocheted circle on top of your bottle cap. It should lay perfectly flat and be just slightly larger or the exact same size as the top surface of the cap. If it’s too small, add another increase round (e.g., Round 4:
Ch 1. *Sc in the next 2 sts, inc in the next st.* Repeat around. Join with sl st. (32 sc)). If it’s too big or wavy, you might need a smaller hook or fewer stitches in Round 1. - Do NOT Fasten Off. Keep the yarn attached.
- Check Size: Place this crocheted circle on top of your bottle cap. It should lay perfectly flat and be just slightly larger or the exact same size as the top surface of the cap. If it’s too small, add another increase round (e.g., Round 4:
Part 2: Crocheting the Bottom Piece (Make 1)
This piece will cover the bottom flat surface of your bottle cap.
- Repeat Part 1 (Rounds 1-3 or more, as needed) to create an identical second flat circle.
- Fasten Off this piece, leaving a long tail (about 12-18 inches / 30-45 cm) for joining later.
Part 3: Joining Around the Cap
Now you’ll combine the two crocheted pieces around your plastic cap.
- Position the Cap: Place the plastic bottle cap between your two crocheted circles. Align them perfectly. The side with the yarn still attached will be your “active” top piece.
- Starting the Join:
- Method 1 (Single Crochet Join – Sturdier, More Visible Seam):
- With the yarn still attached to your top piece, insert your hook through a stitch on the edge of the top piece, and then immediately through the corresponding stitch on the edge of the bottom piece.
- Yarn over and pull up a loop through both layers. Yarn over and pull through both loops on your hook to complete a single crochet (sc).
- Continue working sc through both layers (one stitch from the top piece, one stitch from the bottom piece) around the entire edge of the cap. Ensure you’re working into each stitch, not just the chain spaces of corners if you adapted from a granny square.
- Method 2 (Slip Stitch Join – Flatter, Less Visible Seam):
- With the yarn still attached to your top piece, insert your hook through a stitch on the edge of the top piece, and then immediately through the corresponding stitch on the edge of the bottom piece.
- Yarn over and pull through all three loops on your hook to complete a slip stitch (sl st).
- Continue working sl st through both layers around the entire edge.
- Method 1 (Single Crochet Join – Sturdier, More Visible Seam):
- Final Join: When you reach your starting point, sl st into the first joining stitch to secure the round.
- Fasten Off: Cut your yarn, leaving a 4-6 inch tail. Yarn over and pull the tail completely through the loop on your hook. Pull tight to secure.
4. Finishing Your Crocheted Cap
- Weave in All Ends NEATLY: This is crucial for a clean finish. Use your yarn needle to carefully weave in every single yarn tail. Go back and forth through stitches several times on the inside of the joined cap to ensure they’re hidden and won’t unravel.
- Optional: Secure with Glue: If you want extra durability, particularly if the cap will be a button or heavily used, you can apply a thin layer of strong craft glue (like E6000) to the flat surfaces of the cap before joining the crocheted pieces, or even afterwards around the edges of the plastic peeking through. Let it dry completely according to the glue’s instructions.

5. Ideas for Using Your Crocheted Bottle Caps
Once you’ve mastered crocheting around a single cap, a world of creative possibilities opens up!
- Coasters for Small Cups: Join several caps together for a decorative and absorbent coaster.
- Trivets/Hot Pads: Join many caps together for a larger, heat-resistant surface.
- Appliqués/Buttons: Use them as decorative elements on bags, hats, headbands, or even as chunky, unique buttons on a cardigan (sew through the center or outer edge).
- Play Food: Create realistic-looking play food pieces for children’s kitchens (e.g., small cookies, candies, or even base for tiny fruit slices).
- Magnets: Glue a small magnet to the back for fridge decorations.
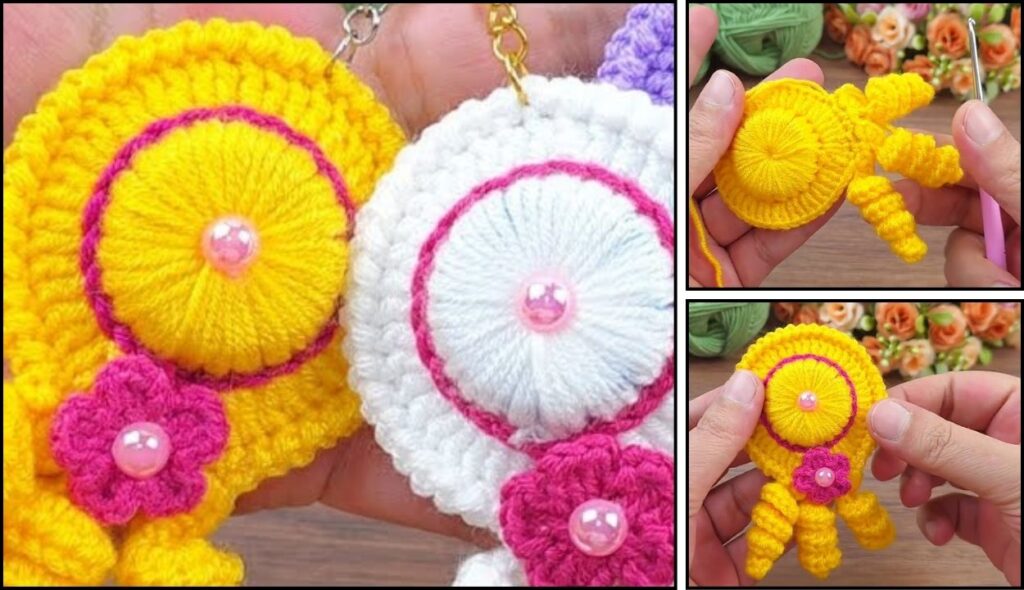
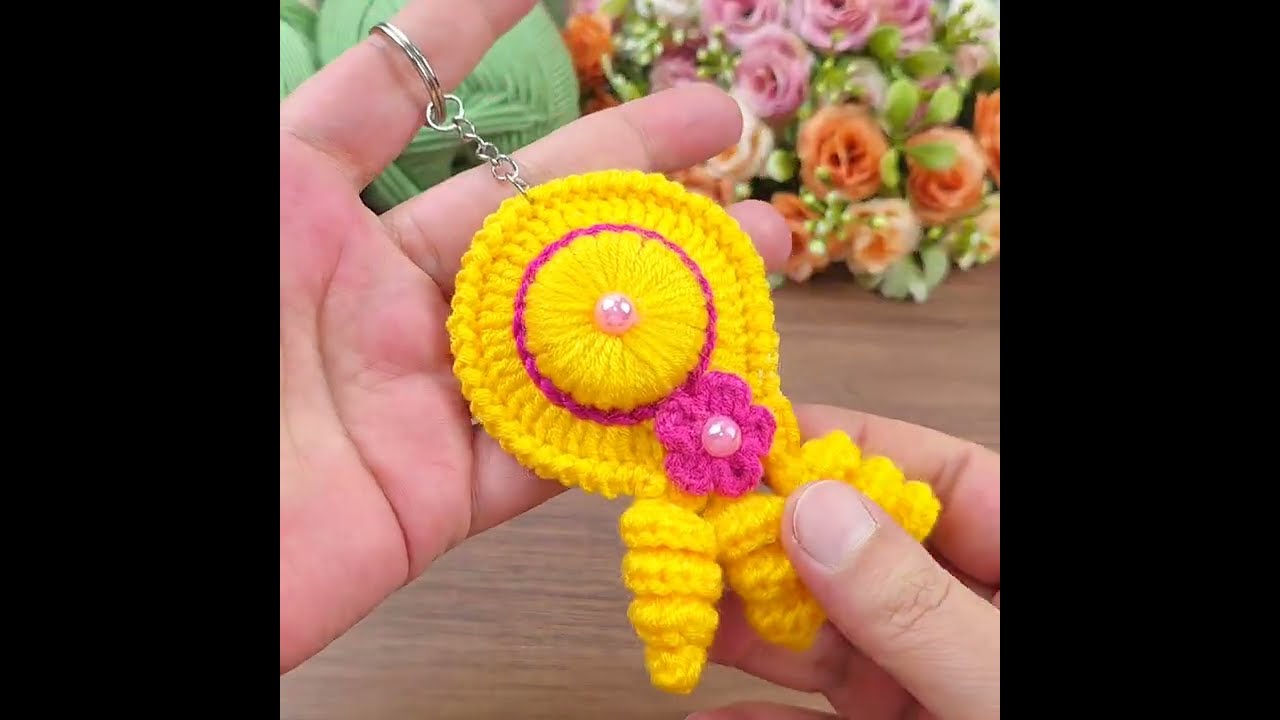
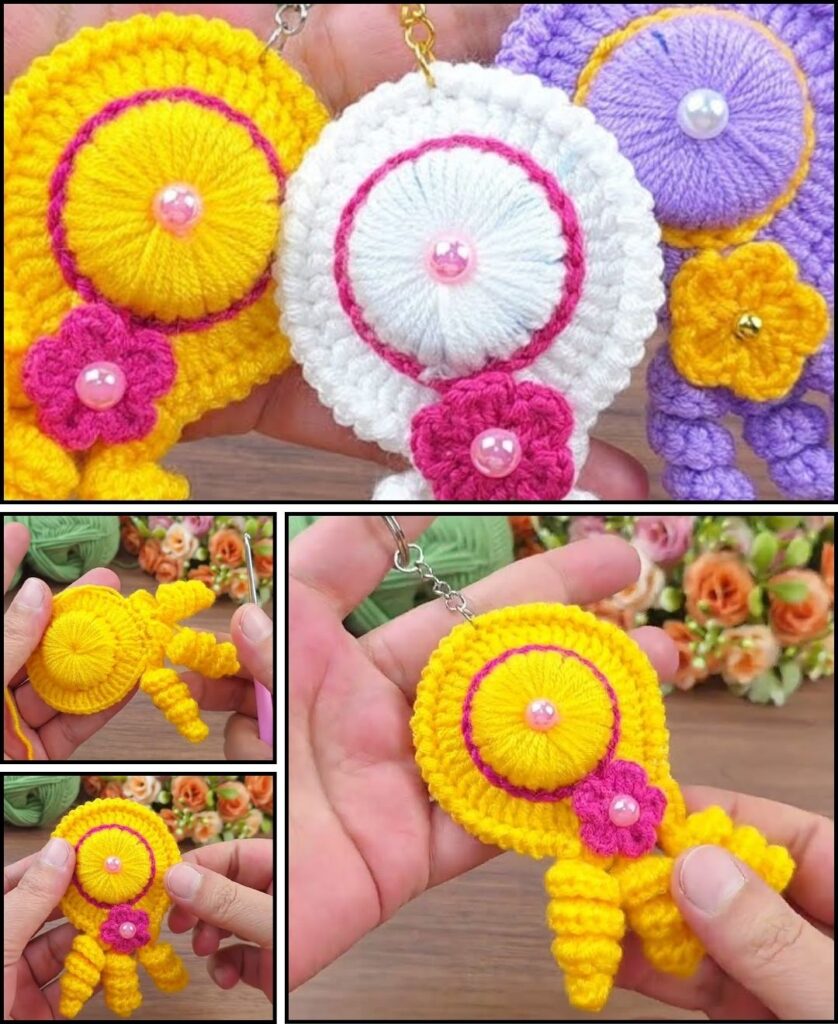
- Keychains: Add a loop and a keychain ring for a cute accessory.
- Garlands/Banners: Connect several caps with chains or strips of crochet to make decorative garlands.
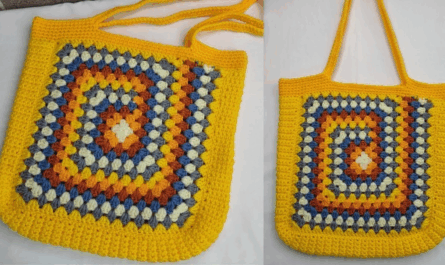
- Sturdy Bag Bases/Feet: Crochet larger caps and use them as sturdy feet for the bottom of crocheted bags.
- Amigurumi Eyes/Details: For larger amigurumi, a crocheted cap can form a firm base for an eye or other rigid detail.
This is a fantastic zero-waste crochet project that’s both fun and incredibly versatile. What kind of project do you have in mind for your crocheted bottle caps?