 by
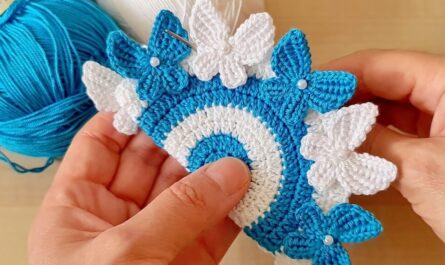
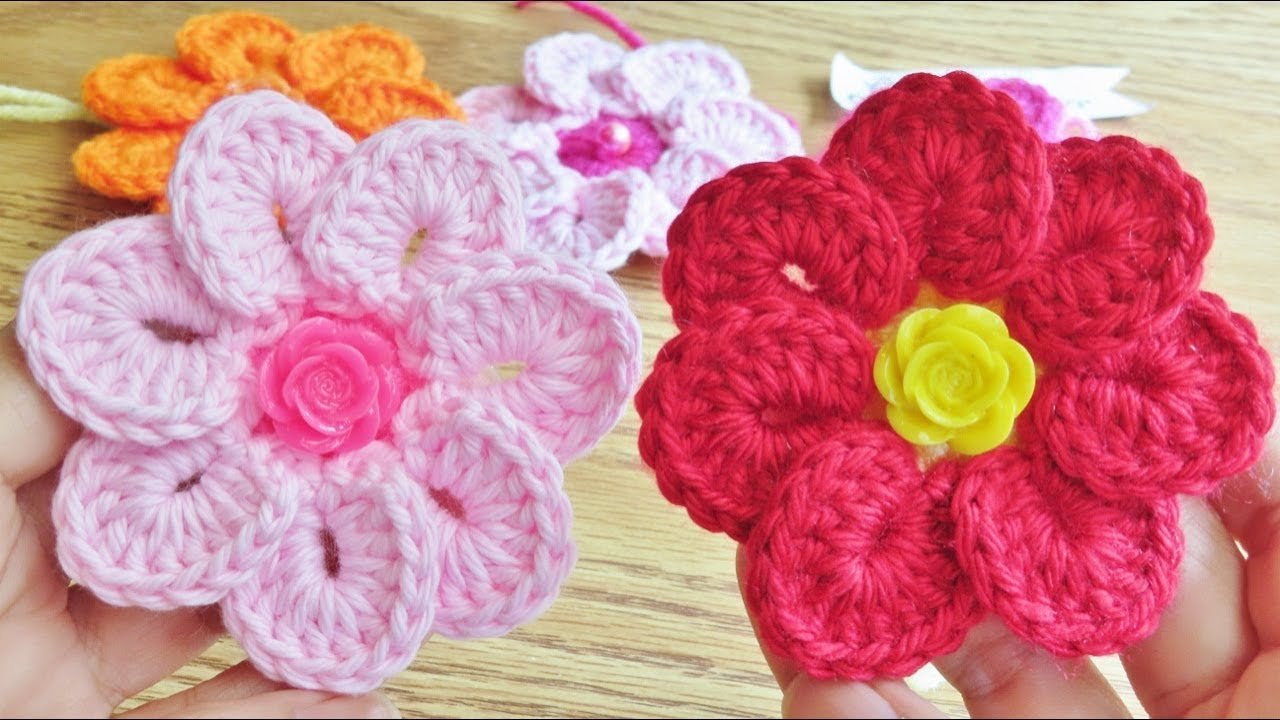
by A beautiful 7-petal crochet flower is a charming and unique embellishment! While 5 or 6-petal flowers are common, a 7-petal design adds a touch of whimsy and distinctiveness. This tutorial will guide you through making a lovely, simple 7-petal flower, perfect for beginners and a delightful accent for any project.
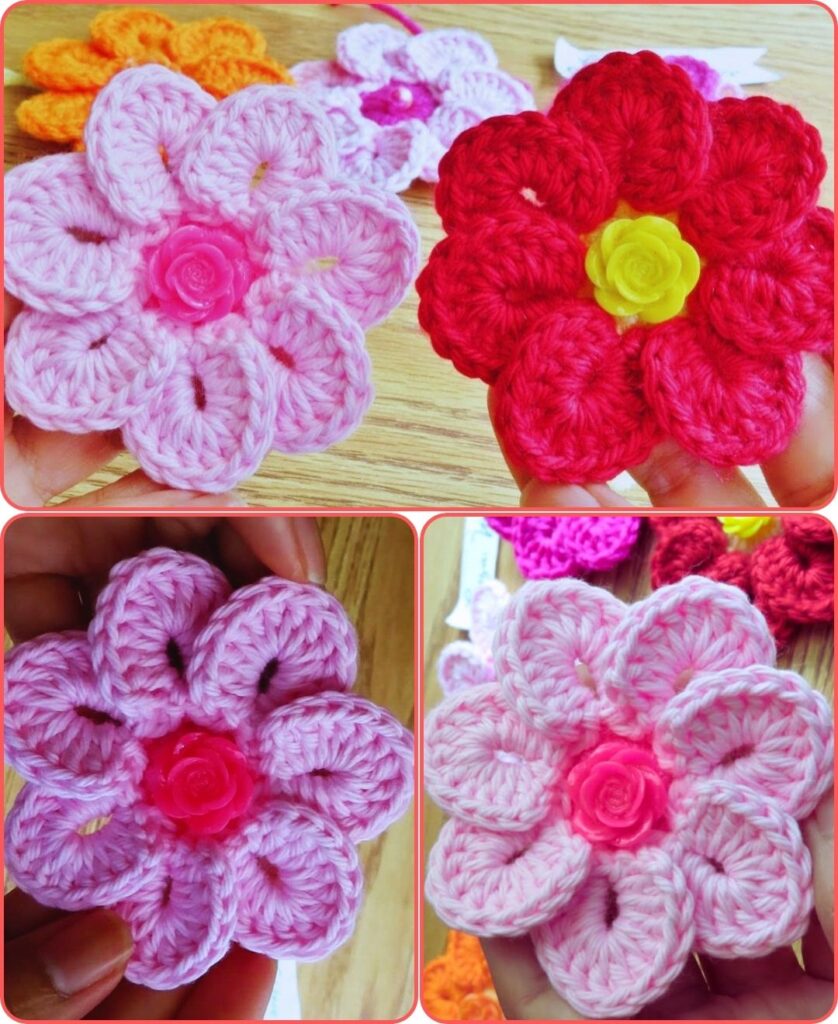
Pattern: How to Make a Beautiful Crochet 7-Petals Flower
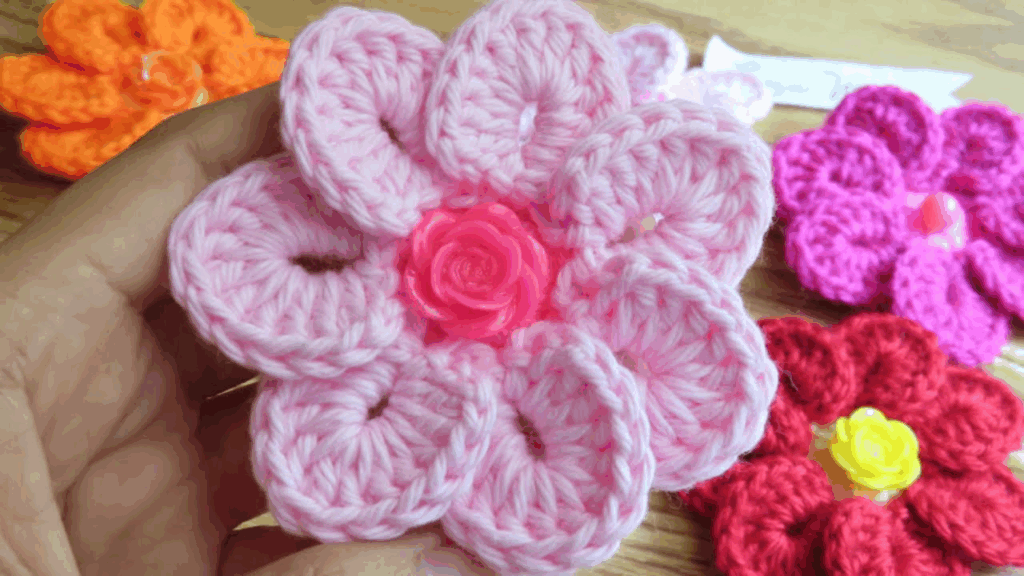
Project Overview: This pattern creates a lovely, flat flower with seven distinct petals radiating from a central core. It’s quick to make and ideal for embellishing headbands, hats, blankets, bags, garments, or for making garlands.
Skill Level: Beginner (Requires knowledge of basic stitches: ch, sl st, sc, dc).
Finished Flower Size (Approximate):
- Using Worsted Weight yarn and G/4.0mm hook: Approx. 2.5 – 3 inches (6.5 – 7.5 cm) in diameter.
- Size will vary based on your gauge and chosen yarn/hook.
Materials You’ll Need:
- Yarn:
- Small amount of Worsted Weight (Medium #4) Yarn:
- Color A: For the flower center (e.g., Yellow, Brown, or a contrasting color).
- Color B: For the petals (e.g., Pink, White, Red, Blue – any color you desire for your petals!).
- Why Worsted Weight? It’s easy to work with for beginners and shows stitch definition well. Softer yarns will give a more delicate flower, while cotton will give a crisper look.
- Small amount of Worsted Weight (Medium #4) Yarn:
- Crochet Hook:
- Size G/4.0mm (or a size suitable for your chosen yarn, aiming for a fabric that holds its shape but isn’t stiff).
- Yarn Needle (Tapestry Needle): For weaving in ends.
- Scissors
- Stitch Marker (Optional): Can be useful for marking the first stitch of the round, but for this pattern’s joined rounds, it’s not strictly necessary.
Abbreviations Used:
- ch: chain
- sl st: slip stitch
- sc: single crochet
- dc: double crochet
- st(s): stitch(es)
- MR: magic ring (or magic circle)
- FO: fasten off
Understanding the Flower Construction
This 7-petal flower is constructed in two main parts:
- The Flower Center: A small, flat circle that forms the base from which your petals will grow. It’s crucial that this first round has a number of stitches that allows for exactly 7 petals to be evenly spaced.
- The Petals: Each petal is worked into a single stitch of the center round.
Let’s Start Crocheting Your Beautiful 7-Petals Flower!
Part 1: The Flower Center (Color A)
We’ll start with a small circle that will serve as the base for your 7 petals.
Start: With Color A and G/4.0mm hook.
- Round 1: Create a Magic Ring (MR).
- If you prefer not to use MR: Ch 4, sl st into the 1st ch to form a ring.
- Ch 1 (does NOT count as a stitch). Work 7 sc into the center of the ring (or into the ch-4 ring).
- Sl st into the first sc to join the round. (7 sc).
- If using Magic Ring, gently pull the starting yarn tail to close the center hole tightly.
- FO Color A, leaving a tail to weave in.
- You should now have a small, tight circle with 7 distinct single crochet stitches. These 7 stitches will be the foundation for your 7 petals.
Part 2: Creating the 7 Petals (Color B)
This is where the magic happens and your petals come to life!
Change to Color B.
- Round 2 (Petals): Join Color B with a sl st into any sc stitch from Round 1.
- Work the following sequence of stitches all into the same sc stitch where you just joined:
- Ch 2 (counts as a small starting height, but not a stitch in the final count).
- Work 3 dc into the same sc stitch.
- Ch 2.
- Sl st into the same sc stitch.
- You have now completed one petal!
- To move to the next petal: Sl st into the next sc stitch from Round 1.
- Repeat step 2 (working a petal) into this new sc stitch.
- Repeat steps 4 and 5 until you have worked a petal into each of the 7 sc stitches from Round 1.
- After completing the 7th petal, you will sl st into the base of the very first petal (where you first joined Color B) to finish the round cleanly.
- FO Color B, leaving a tail to weave in.
- You should now have a beautiful 7-petal flower! Each petal should be distinct and evenly spaced around the center.

Part 3: Finishing Your Beautiful 7-Petals Flower
- Weave in All Ends: This is essential for a clean and professional-looking flower. Thread each yarn tail onto your yarn needle and carefully weave it into the stitches on the back of the flower. Take your time to hide them securely so they don’t unravel.
- Optional Blocking: While not always necessary for small appliques, a light blocking can help your flower lay perfectly flat and ensure the petals are evenly shaped.
- Gently mist the flower with water until damp.
- Carefully shape the petals with your fingers.
- Allow it to air dry completely.
Tips for Success:
- Tension: Maintain consistent tension throughout the project. Even tension will ensure your petals are uniform in size and shape.
- Stitch Placement: Pay close attention to where you are inserting your hook, especially when starting each petal into a stitch from Round 1.
- Yarn Choices:
- For a stiffer, more defined flower, use cotton yarn.
- For a softer, more pliable flower, use acrylic or a wool blend.
- Varying the colors for the center and petals can create entirely different looks!
- Experiment with Petal Stitch: Once you’re comfortable, you can experiment with different stitches to create varied petal textures:
- Smaller Petals: Use (ch 1, 2 hdc, ch 1, sl st) per stitch.
- Larger Petals: Use (ch 3, 4 dc, ch 3, sl st) per stitch.
- Puff Stitch Petals: If you know how to make puff stitches, you could make a puff stitch in each of the 7 base stitches, separated by chains, similar to a daisy pattern.
Enjoy making your unique and beautiful 7-petals crochet flowers! They are perfect for adding a handmade touch to almost anything.