 by
by A Complete Step-By-Step Guide for First-Time Crocheters
Crochet bags are one of the most rewarding beginner projects. They work up quickly, require only basic stitches, and can be customized endlessly—colors, size, handles, pockets, texture, everything! Whether you’re looking to make your very first crochet project, a stylish everyday tote, or a handmade gift, this Easy DIY Crochet Bag Tutorial will walk you through each step in clear, friendly instructions.
This long guide covers:
- What materials you need
- Basic stitches for beginners
- A full step-by-step bag pattern
- Optional variations (zippers, pockets, straps, lining)
- Tips for durability
- Ideas for selling your handmade bags
Let’s get started!
🧵 MATERIALS YOU WILL NEED
Yarn
Choose a yarn that is sturdy and holds its shape. Great options:
- Cotton yarn (best) – strong, washable, perfect for bags
- Acrylic yarn – soft, lightweight, versatile
- T-shirt yarn or chunky cord – creates trendy, modern bags
Recommended weight: Worsted (4) or Bulky (5) for beginners (faster and easier to see stitches).
Hook Size
- Use the hook size recommended for your yarn, typically 5.0 mm – 6.5 mm.
- For stiffer bags → go one hook size down for tighter stitches.
Other Tools
- Yarn needle
- Stitch markers
- Scissors
- Optional: bag handles, magnetic button, lining fabric
🪡 BASIC STITCHES YOU NEED TO KNOW
If you’re a complete beginner, here are the stitches used in this project:
Chain (CH)
The foundation of most crochet projects.
Single Crochet (SC)
Tight, dense stitch—great for sturdy bags.
Slip Stitch (SL ST)
Used for joining rounds or finishing edges.
Back Loop Only (BLO) SC (optional for texture)
Creates a ribbed look.
Don’t worry—you’ll practice all of these as you go!
👜 EASY DIY CROCHET BAG PATTERN
A Beginner-Friendly Rectangle-Tote Method
This method is perfect for beginners. You simply:
- Crochet a long rectangle
- Fold it
- Sew up the sides
- Add handles
Let’s go!
🧶 STEP 1 — START WITH THE BASE CHAIN
Chain 41 (or any number to get the width you want).
This will be the width of your bag.
Tip: For a tote-sized bag, aim for 12–15 inches wide.
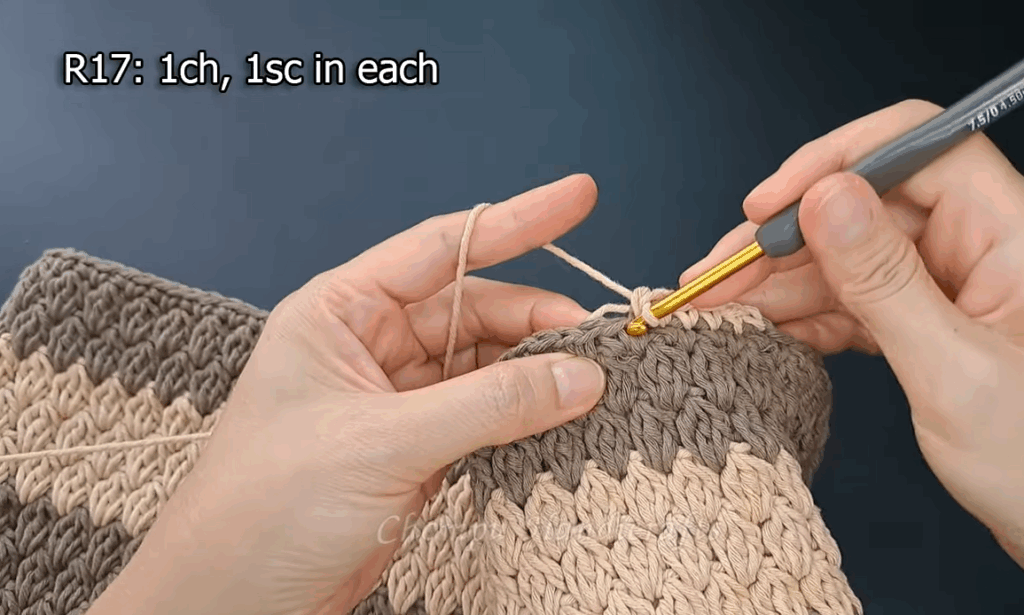
🧶 STEP 2 — ROWS OF SINGLE CROCHET
Starting in the second chain from your hook:
Row 1:
SC in each chain across. (40 stitches)
Row 2:
CH 1, SC in every stitch across.
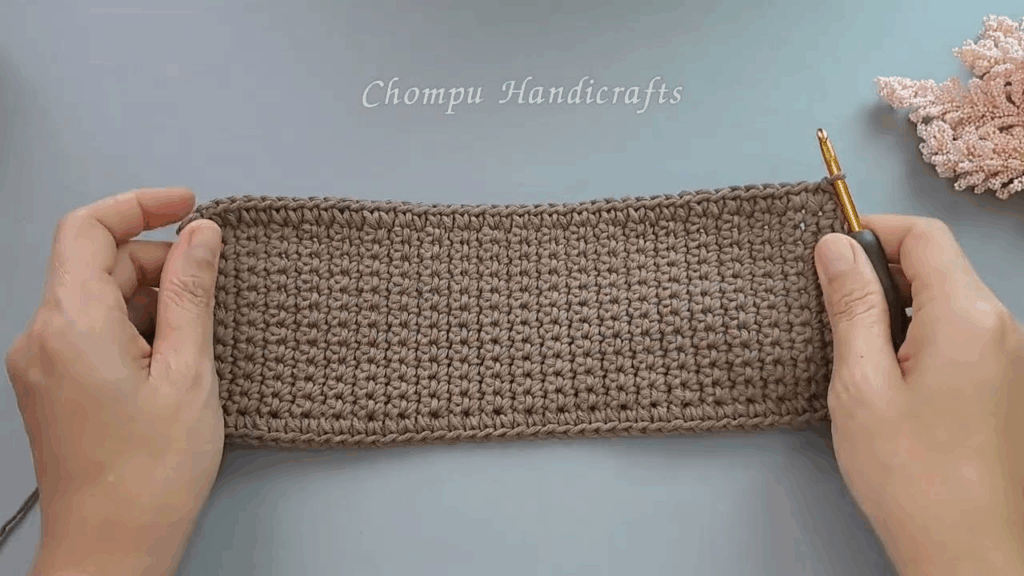
Repeat Row 2 until the rectangle measures double the height you want for your bag.
Example:
If you want a 12-inch tall bag → crochet a 24-inch long rectangle.
This creates the front & back panel in one piece.
🧶 STEP 3 — OPTIONALLY ADD TEXTURE
If you’d like a more decorative design, you can switch to:
- Back Loop Only SC for a ribbed pattern
- HDC rows for a softer texture
- Stripes (switch colors every 3–5 rows)
- Mesh rows (CH 1, skip 1, SC) for a breathable market bag
For the simplest beginner bag: stick to SC rows.
👜 STEP 4 — FOLD THE RECTANGLE
Lay your rectangle flat.
Fold it in half, bringing the short edges together.
This forms the basic bag shape.
🪢 STEP 5 — SEAM THE SIDES
Use a yarn needle or slip stitch method.
Yarn Needle Method (Recommended):
- Thread yarn onto needle
- Whip stitch both sides from bottom → top
- Make sure stitches are tight and clean
Slip Stitch Method:
- Insert hook into both layers
- Slip stitch up the side
- Creates a decorative raised seam
When finished, your bag will now be a pouch with an open top.
👜 STEP 6 — ADD THE TOP EDGE (OPTIONAL BUT CLEAN)
To give the top a clean, professional look:
Round 1:
SC around the top opening (work evenly along both sides)
Round 2:
SC again or SL ST for a firmer edge
This helps your bag keep shape and prevents stretching.
🪤 STEP 7 — ADD HANDLES
You can crochet the handles or attach store-bought ones.
OPTION 1: CROCHETED HANDLES
Short Grab Handles:
(Perfect for totes)
Attach yarn at one top corner.
Row 1:
CH 35 (or desired handle length)
SL ST into the opposite corner.
Turn.
Row 2:
SC across the chain (30–35 SC)
SL ST back into original corner.
Repeat for the other side.
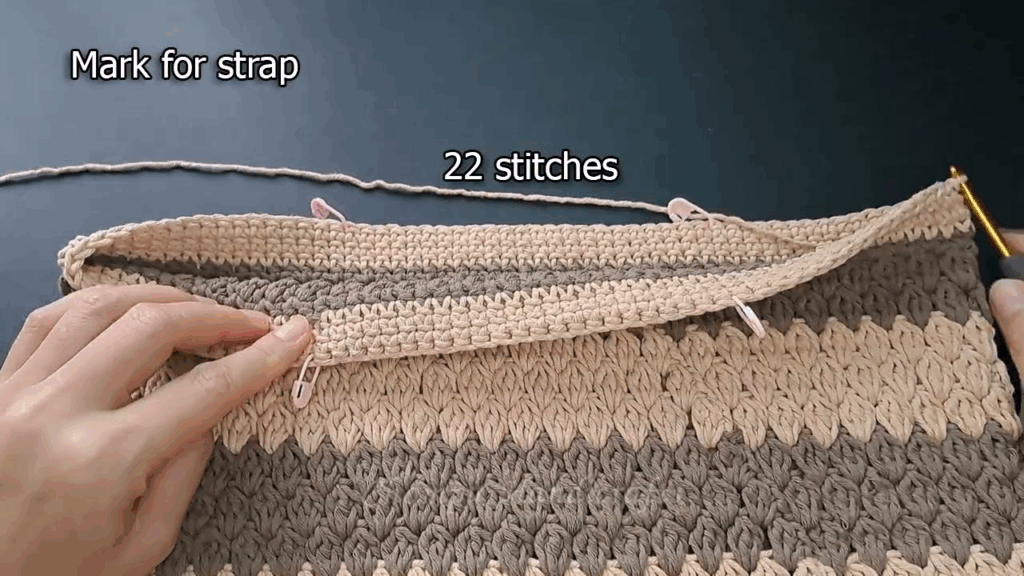
OPTION 2: LONG SHOULDER STRAP
Attach yarn to one side of the bag’s top edge.
Chain 100–120 for a long strap.
SC back across.
Attach to opposite side.
For extra strength: work 2–3 rows of SC.
🧵 STEP 8 — OPTIONAL LINING (BEGINNER-FRIENDLY)
Although optional, lining your crochet bag:
✔ Prevents stretching
✔ Keeps small items from falling out
✔ Adds professional quality
Easy No-Sew Option:
Use a zipper pouch or small organizer inside the bag—done!
Sew-In Option:
- Cut fabric the same size as the bag interior
- Fold and stitch into a pouch
- Hand-sew to the top edge
- Add a magnetic snap or zipper if desired
🎨 CUSTOMIZATION IDEAS
Here are ways to upgrade your simple beginner bag into a beautiful, unique piece:
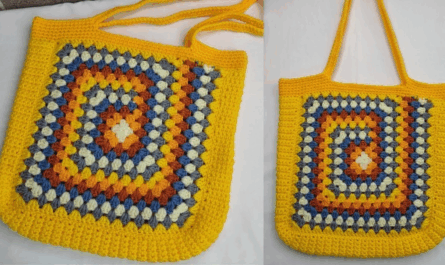
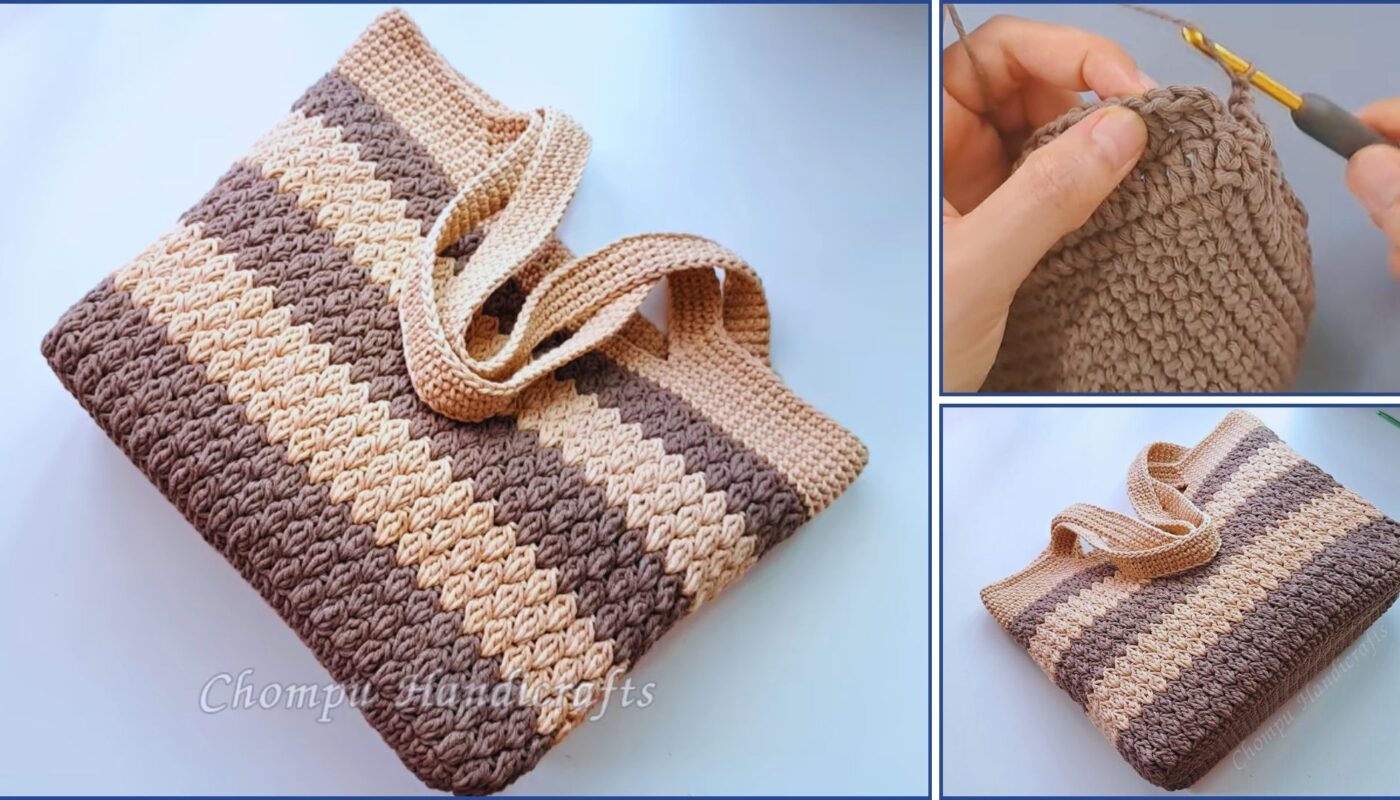
- Color Block (switch colors halfway up)
- Granny Square Front Pocket
- Flower appliqués
- Beads or buttons
- Leather handles
- Tassel charm
- Reinforced bottom using SC BLO rows
💡 TIPS FOR A STRONG & DURABLE BAG
- Use cotton or t-shirt yarn
- Crochet tight stitches
- Reinforce handles with extra rows
- Add a fabric lining
- Avoid loose, open stitch patterns if carrying heavy items
🛍️ WANT TO SELL YOUR CROCHET BAGS?
Crochet bags are a fast-selling item at craft markets, Etsy shops, and local boutiques!
Here are tips to maximize profit:
✔ Popular Selling Styles
- Market bags
- Mini crossbody bags
- Boho shoulder bags
- T-shirt yarn handbags
- Beach totes
- Drawstring pouches
✔ Pricing Guide
- Small bags: $12–$22
- Medium totes: $25–$40
- Large, lined bags: $40–$85+
✔ Branding Tips
- Add a “handmade” wooden tag
- Include care instructions
- Wrap with twine or tissue paper
Presentation increases value instantly.
🎉 FINAL THOUGHTS
This Easy DIY Crochet Bag is an ideal project for beginners. With just simple stitches and a single rectangle, you can create a stylish, functional bag that you’ll be proud to use (or sell!). Once you master this easy technique, you can explore advanced patterns like:
- Round bags
- Granny square bags
- Shell stitch totes
- Ripple bags
- Chunky t-shirt yarn handbags
Crochet is relaxing, beginner-friendly, and endlessly creative—and making your own bag is a wonderful way to build your skills.
If you’d like next:
✅ A printable PDF
✅ A diagram chart
✅ A video script
✅ More bag patterns
Just tell me!