by
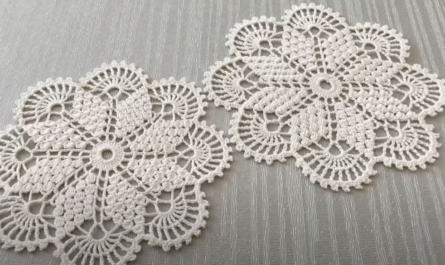
by Crocheting a snowflake is a delightful winter project! These small, intricate motifs are perfect for holiday ornaments, garlands, or gift toppers. They are typically worked with fine yarn or thread and heavily blocked (starched) to achieve their crisp, defined shape.
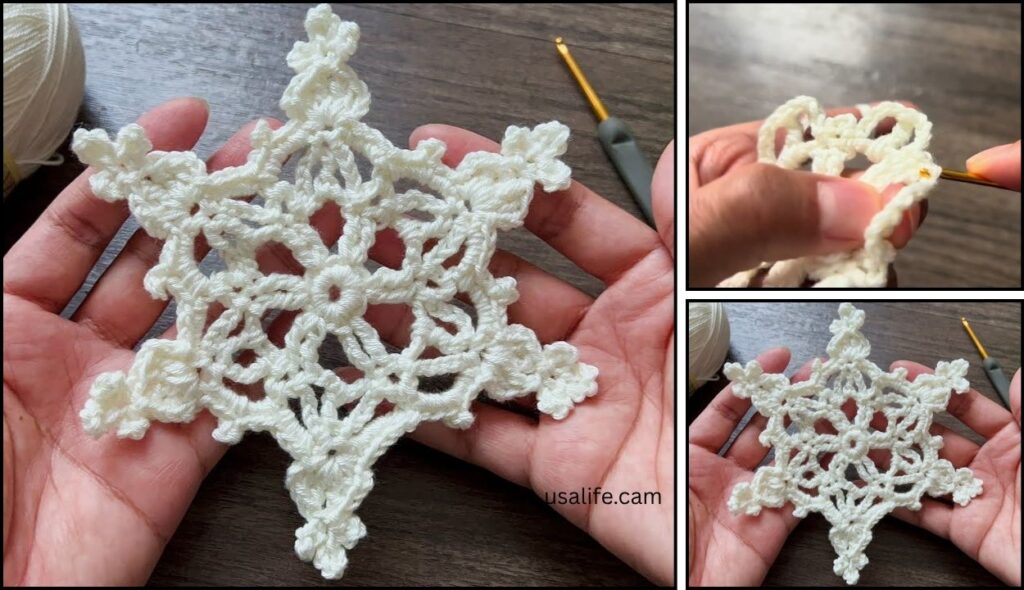
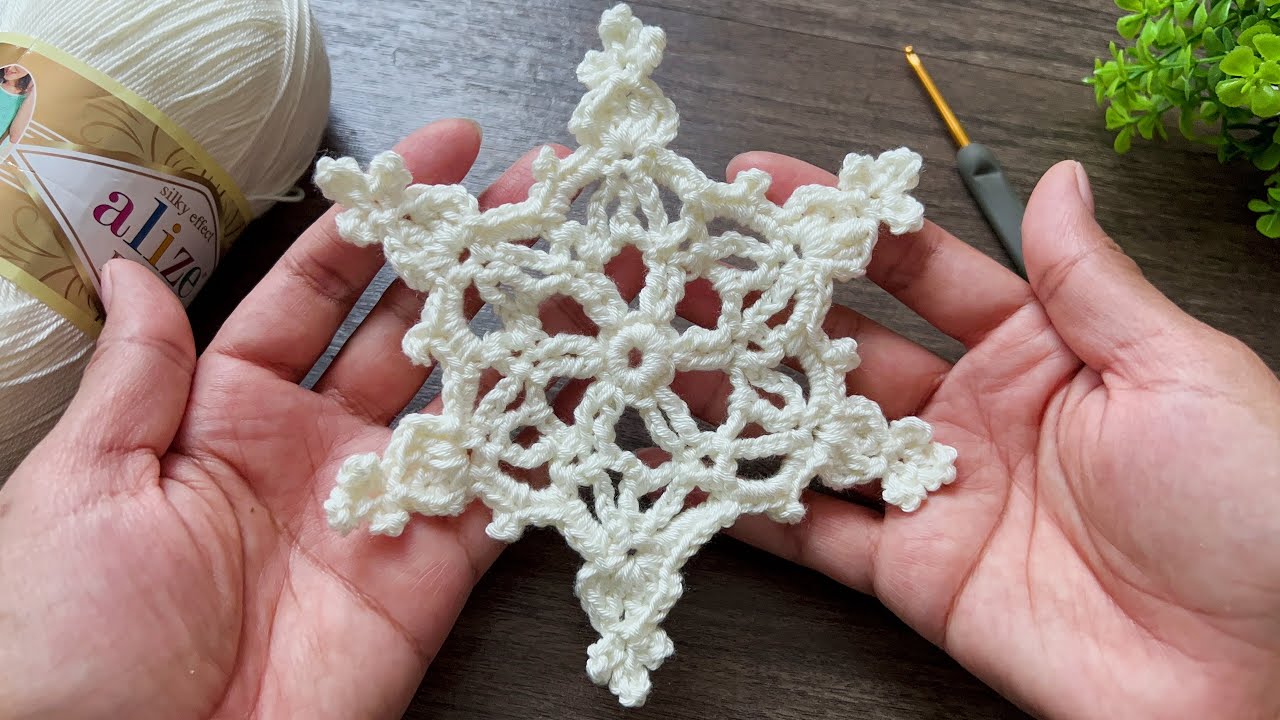
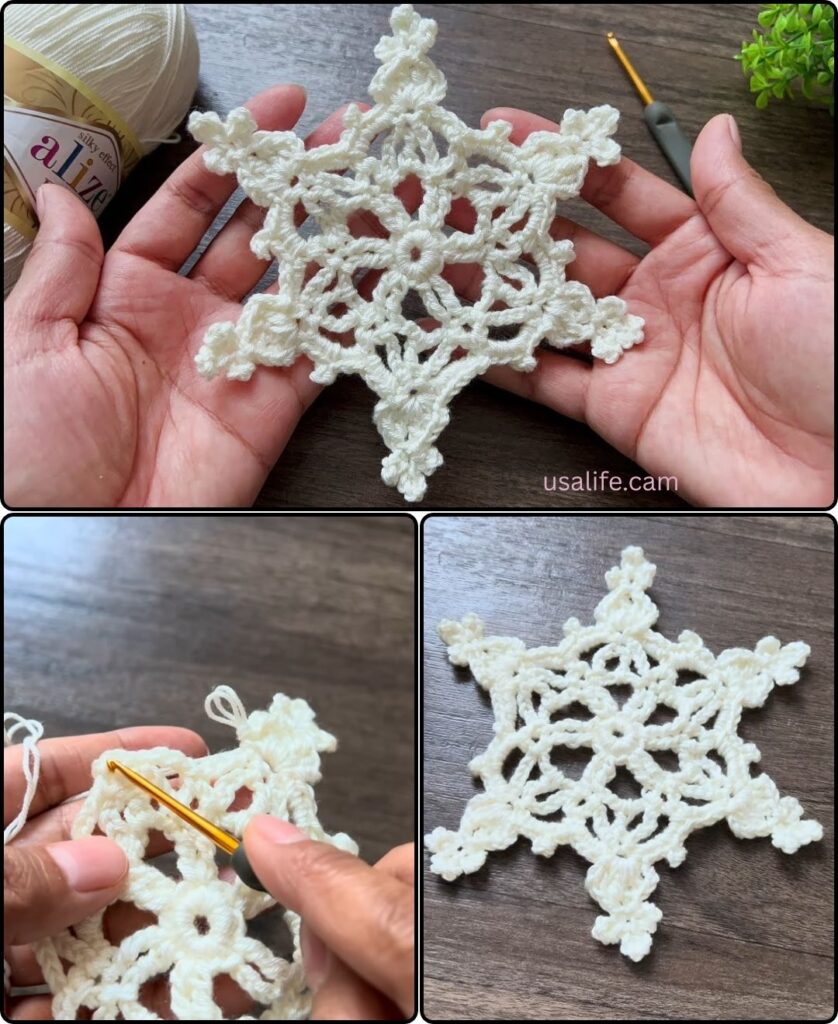
This guide details a beautiful and classic Six-Pointed Crochet Snowflake pattern that uses simple increases and chain spaces to achieve a lacy effect.
Materials Needed
- Thread/Yarn: Use Size 10 cotton thread for a delicate, traditional snowflake, or sport weight yarn (Size 3) for a larger ornament. White or light blue are classic choices.
- Crochet Hook: A small hook appropriate for your thread (e.g., 1.75mm for size 10 thread, or 3.5mm for sport weight yarn).
- Scissors
- Tapestry Needle: For weaving in ends.
- Starch/Stiffener (Crucial!): Liquid starch, a starch spray, or a mix of white glue and water for stiffening.
- Blocking Tools: Blocking board or thick foam, rust-proof pins.

Abbreviations
- ch: chain
- sl st: slip stitch
- sc: single crochet
- dc: double crochet
- tr: treble crochet
- picot: ch 3, sl st into the first ch (creates a small loop/point)
- st(s): stitch(es)
Step-by-Step Snowflake Pattern
Round 1: The Center Ring
- Start: Make a Magic Ring (or ch 4 and sl st to join).
- Base: ch 3 (counts as first dc). Work 11 dc into the ring. (12 sts)
- Finish: Pull the tail to close the ring tightly. Join with a sl st to the top of the beginning ch 3.

Round 2: Creating Anchor Points
This round establishes the six foundation points for the arms of the snowflake.
- Start: ch 1 (does not count as st). sc in the same stitch.
- Loop: ch 5. Skip the next stitch.
- Repeat: [sc in the next st, ch 5, sk 1 st] 5 times. (You should have 6 loops total).
- Finish: Join with a sl st to the first sc.
Round 3: Building the Arms
We will work into the chain loops from the previous round to create the initial arm shape.
- Sl St to Center: sl st into the first 2 chains of the ch-5 loop to center your hook.
- First Arm Base: ch 3 (counts as dc). Work 2 dc into the same ch-5 loop.
- Point Start: ch 5.
- Arm Top: sc into the center st of the next ch-5 loop.
- Point Start: ch 5.
- Arm Base: Work 3 dc into the center st of the next ch-5 loop.
- Repeat: [ch 5, sc into the center st of the next ch-5 loop, ch 5, 3 dc into the center st of the next ch-5 loop] 2 times.
- Finish: Join with a sl st to the top of the beginning ch 3.

Round 4: Defining the Tips
This round builds the final lacy, pointed edges.
- Sl St: sl st across the next two dc stitches to reach the point where the next ch-5 loop begins.
- First Side Point: Work 5 dc into the ch-5 space.
- Main Tip Start: ch 3.
- Center Tip: Work 1 tr into the sc anchor point from the previous round.
- Top Picot: picot (ch 3, sl st into the 1st ch).
- Main Tip End: tr back into the same sc anchor point. ch 3.
- Next Side Point: Work 5 dc into the next ch-5 space.
- Repeat: [sl st to the next arm cluster, 5 dc in the next ch-5 sp, ch 3, 1 tr in the sc anchor point, picot, 1 tr in the sc anchor point, ch 3, 5 dc in the next ch-5 sp] 2 times.
- Finish: Join with a sl st to the starting sl st. Fasten off, leaving a 12-inch tail.
Finishing and Stiffening (Crucial Steps!)
For your snowflake to look like a true snowflake, it must be stiffened.
1. Weave in Ends
Use the tapestry needle to weave in all starting and ending tails securely. Use the final 12-inch tail to create a hanging loop by chaining 15 stitches and slip stitching back into the same point.
2. Prepare Stiffening Solution
Mix a solution of equal parts white school glue and water, or use liquid starch.
3. Soak and Block
- Saturate: Dunk the crocheted snowflake completely into the stiffening solution. Squeeze out the excess liquid.
- Pin: Lay the wet snowflake on your blocking board or foam mat.
- Shape: Carefully pull out each of the six main points and pin them securely to the board. Pin down every scallop and point to ensure the symmetry is perfect.
- Dry: Allow the snowflake to dry completely, usually 12 to 24 hours.
- Release: Once fully dry and stiff, unpin the snowflake.
Your beautiful, crisp crocheted snowflake ornament is ready to hang! If you’re looking for more holiday motifs, I can show you how to crochet a Christmas tree or a gingerbread man.
Video tutorial: