by
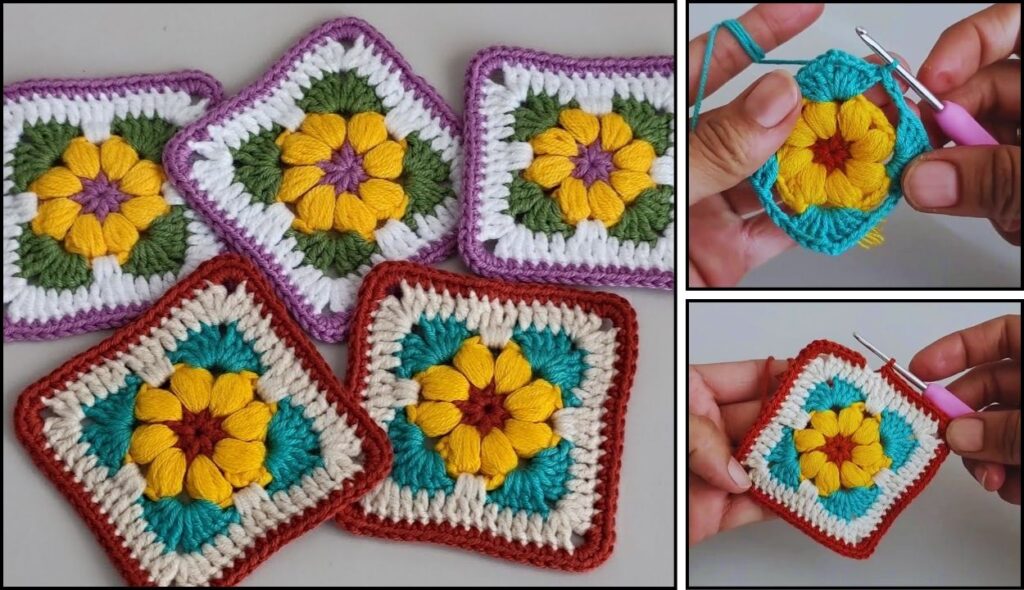
by The crochet granny square is an absolute classic in the world of crochet, and for good reason! It’s incredibly versatile, relatively easy for beginners to master, and offers endless possibilities for color combinations and projects. From blankets and garments to bags and home decor, the granny square is a fundamental building block.
Given that you’re in Phnom Penh, where it’s warm, yarn choice for any project is important. For granny squares, especially if they’re for blankets or garments, 100% cotton yarn or a smooth acrylic yarn are both excellent choices. Cotton offers breathability and great stitch definition, while acrylic is widely available, easy to care for, and comes in a vast array of colors. Both are suitable and durable.
How to Crochet a Granny Square: The Classic Method Step by Step
This tutorial will guide you through creating a traditional granny square, which starts from the center and builds outwards in rounds, naturally forming a square shape with distinct clusters of stitches and open spaces.
1. Essential Materials You’ll Need
- Yarn:
- Worsted Weight (Aran / Medium / Category 4) Cotton or Acrylic Yarn: This is a good weight for learning and for most projects. You can choose one solid color for a classic look, or multiple colors to practice color changes and create a vibrant square. You only need a small amount of yarn for one square.
- Crochet Hook:
- A 5.0mm (US H/8) or 5.5mm (US I/9) hook. This size is typically recommended for worsted weight yarn and creates a comfortable fabric that isn’t too stiff or too loose for a granny square.
- Scissors: For cutting yarn.
- Yarn Needle (Tapestry Needle): Absolutely essential for weaving in yarn tails for a neat and professional finish.
- Stitch Marker (Optional but helpful): To mark the beginning of rounds or corner chain spaces, especially when you’re starting out.
2. Basic Crochet Stitches You’ll Use
This project relies on just a few fundamental crochet stitches:
- Magic Ring (MR) / Adjustable Ring: (Highly Recommended!) Creates a neat, hole-free center for your square. Alternatively, you can
ch 4and thensl stto the first chain to form a ring, and work your first round of stitches into this chain ring. - Chain (ch): Used for starting, creating spaces between stitch clusters, and forming corner spaces.
- Slip Stitch (sl st): Used for joining rounds.
- Double Crochet (dc): Your primary stitch for the “clusters” that form the body of the square.
- Fasten Off: To securely end your work.
- Weaving in Ends: Hiding yarn tails for a neat and professional look.
Classic Granny Square Pattern
This pattern creates a square that starts small and grows larger with each round. You can make it as big or as small as you like by simply adding more rounds.
Abbreviations (US Crochet Terms):
- MR: Magic Ring
- ch: chain
- sl st: slip stitch
- dc: double crochet
- st(s): stitch(es)
- ch-sp: chain space
(...): work stitches into the same stitch or space[...]: repeat instructions in brackets- FO: Fasten off
Understanding Color Changes (Optional)
If you’re using multiple colors for your granny square (which is very common and fun!):
- Change Color at the End of the Round: When you’re making the final
sl stto join the current round, stop before completing thesl st. Insert your hook, yarn over with the current color, and pull through the stitch (you’ll have 2 loops on hook). - Drop the current color. Pick up your new color.
- Yarn over with the new color and pull through both loops on your hook to complete the
sl st. - Now, with the new color,
chup for the next round (usually ch 3). - Cut the old color yarn, leaving a 4-6 inch tail to weave in later.
Step 1: Start the Center (Round 1)
Use your chosen yarn color (Color A).
- Create a MR.
- Ch 3 (this counts as your first dc).
- Work 2 dc into the MR.
- Ch 2 (this creates your first corner space).
- Work 3 dc into the MR.
- Ch 2 (second corner).
- Work 3 dc into the MR.
- Ch 2 (third corner).
- Work 3 dc into the MR.
- Ch 2 (fourth corner).
- Join with a sl st to the top of the beginning ch 3. (You should now have 4 clusters of 3 dc, separated by 4 ch-2 spaces, forming a small square).
- Gently pull the tail of the MR to close the center hole tightly. Weave in this starting tail to secure it.
- Optional: If changing color for Round 2, do so now as you complete the joining sl st.
Step 2: Expand the Square (Round 2)
Now you’ll start working into the chain spaces created in the previous round. This round will establish how the granny square expands.
- Sl st into the next 2 dc to get to the first ch-2 corner space. (This positions your hook at the ideal starting point for the new round).
- If you changed color, you would re-join yarn with a sl st in any ch-2 corner space, then ch 3.
- Ch 3 (counts as your first dc).
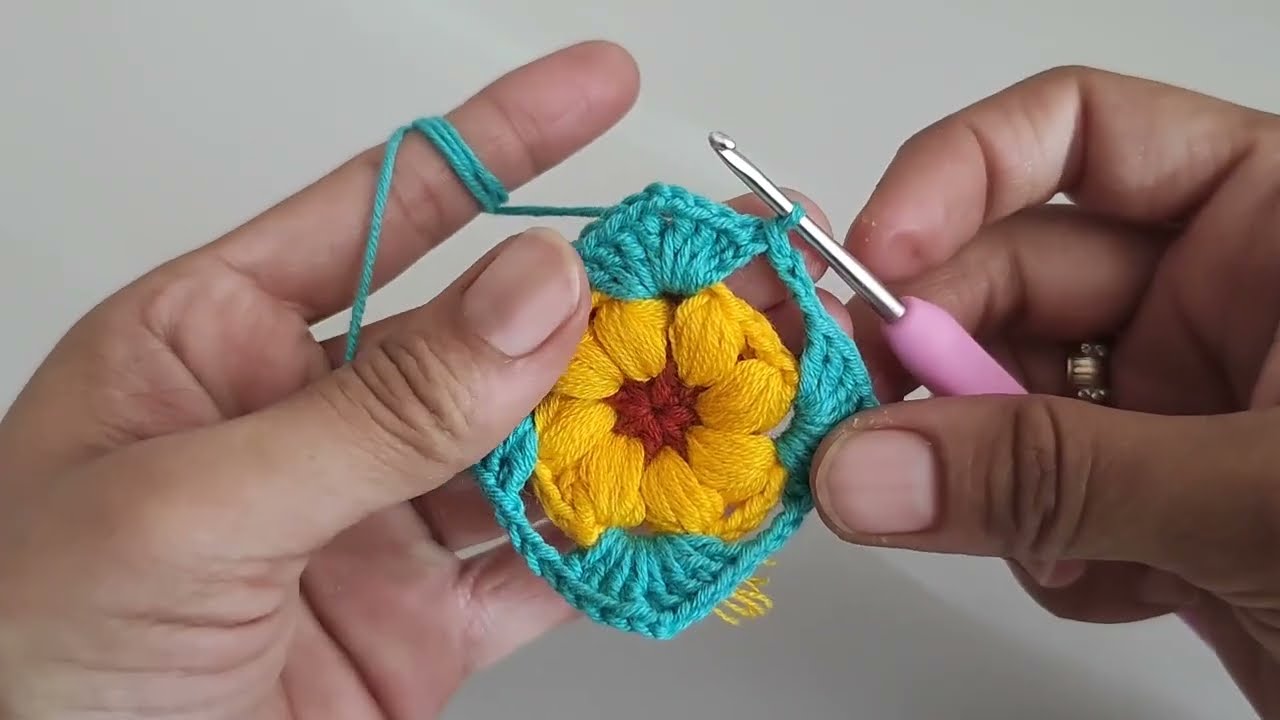
- Work (2 dc, ch 2, 3 dc) into the same ch-2 corner space. (This is your first corner cluster, creating a new corner chain space and a new cluster on each side of it).
*Work (3 dc, ch 2, 3 dc) into the next ch-2 corner space (this forms your next corner).*- Repeat from
*to*two more times. - Join with a sl st to the top of the beginning ch 3. (You now have 8 clusters of 3 dc, with 4 ch-2 corner spaces, and you’ll see a distinct square shape).
- Optional: If changing color for Round 3, do so now as you complete the joining sl st.

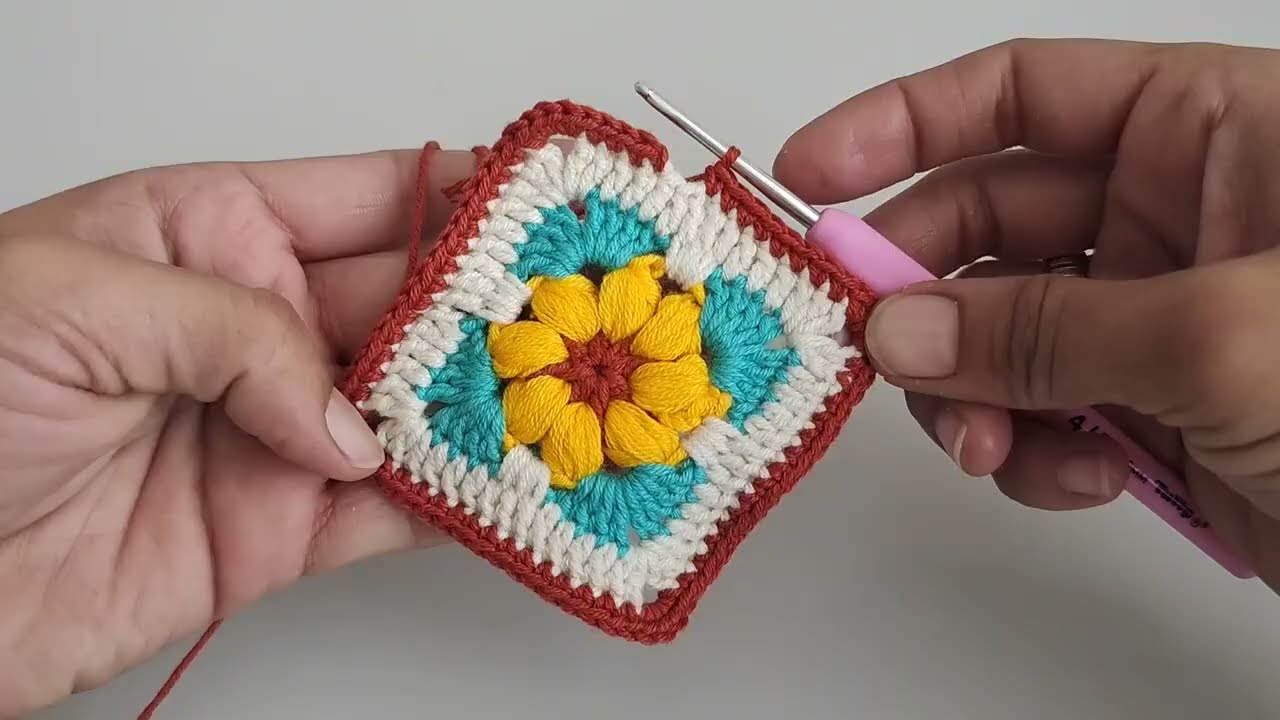
Step 3: Continue Growing Your Square (Round 3 and beyond)
This is the repeating round that will make your granny square grow larger. The fundamental principle is:
- Corners: Always work
(3 dc, ch 2, 3 dc)into the ch-2 corner space. - Sides: Work
3 dcinto any ch-1 space (or the space between 3-dc clusters if you don’t use ch-1 spaces on the sides) along the sides.
For Round 3 (and all subsequent rounds), the full instruction for a repeating round looks like this:
- Sl st into the next 2 dc to get to the first ch-2 corner space.
- If you changed color, you would re-join yarn with a sl st in any ch-2 corner space, then ch 3.
- Ch 3 (counts as 1 dc). Work (2 dc, ch 2, 3 dc) into the same ch-2 corner space.
*Now you’ll work along the side. If there’s a space between the 3-dc clusters from the previous round (which there will be from Round 3 onwards), work 3 dc into that space. (Sometimes people put a ch 1 here too, for a looser square, but for classic granny it’s often omitted between side clusters).- Work (3 dc, ch 2, 3 dc) into the next ch-2 corner space.
* - Repeat from
*to*two more times. - Work 3 dc into any remaining side spaces.
- Join with a sl st to the top of the beginning ch 3.
- Optional: If changing color for the next round, do so now as you complete the joining sl st.
- Continue repeating this pattern for as many rounds as you like until your granny square reaches your desired size. The number of “side clusters” (the single 3 dc groups) will increase by one on each side with every new round.
Step 4: Fasten Off
Once your granny square has reached its desired size:
- After completing your last stitch in the final round, cut your yarn, leaving a tail about 6-8 inches (15-20 cm) long.
- Yarn over your hook, and then pull the cut tail completely through the loop on your hook.
- Pull the tail firmly to create a knot and secure your work.
Step 5: Weave in All Ends
This is a crucial step for a neat, finished granny square, especially if you’ve used multiple colors.
- Thread your yarn needle with each yarn tail individually.
- Carefully weave each tail into the corresponding color’s stitches on the wrong side of the square. Go back and forth through several stitches (about 2-3 inches) to make sure it’s secure and won’t unravel. Avoid pulling too tightly, which can distort the fabric.
Step 6: Blocking (Highly Recommended)
Blocking makes a significant difference for crochet squares. It helps to:
- Even out your stitches and tension.
- Flatten the square so it lies perfectly flat.
- Define the corners and the open, lace-like pattern of the granny square.
- Method:
- Gently wet your finished square (you can submerge it in cool water with a tiny bit of mild soap, then gently squeeze out excess water, or simply mist it thoroughly with a spray bottle).
- Lay it flat on a blocking mat, a clean towel, or any flat, even surface where it can dry undisturbed.
- Gently stretch and shape the square into a perfect square, making sure the corners are sharp. Use rust-proof pins to hold it in place.
- Allow it to air dry completely. This might take several hours or even overnight. Do not use heat (like a hairdryer) as it can distort the yarn and ruin your work.
Tips for a Successful Granny Square
- Consistent Tension: This is the most important factor for a flat, even square that doesn’t buckle or pull. Practice makes perfect!
- Counting Clusters/Spaces: Regularly count your 3-dc clusters and corner ch-2 spaces in each round to ensure you’re maintaining the square shape and not accidentally adding or dropping stitches.
- Neat Color Changes: Mastering the technique of changing colors at the very end of the joining sl st will give you crisp, clean stripes between your rounds.
- Yarn Quality: For projects that will see a lot of use (like blankets), invest in a good quality yarn that’s durable and washable.
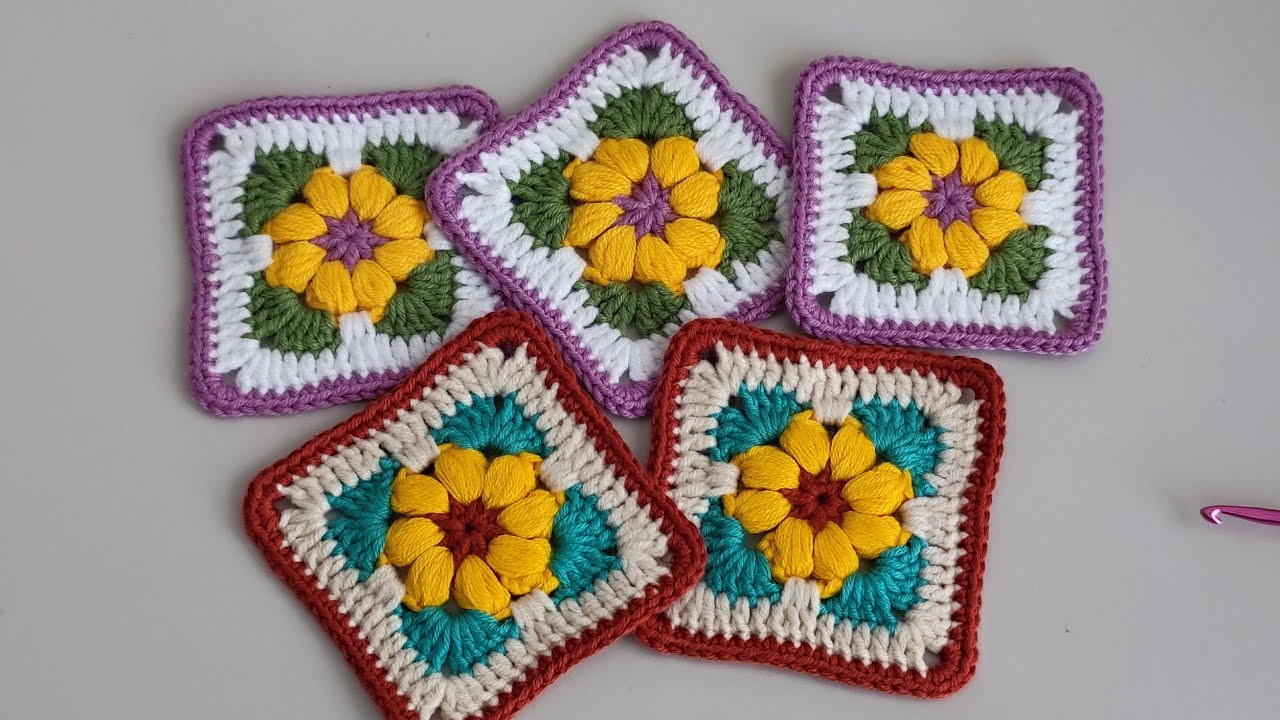
- Experiment with Colors: One of the joys of granny squares is playing with color! Try a solid square, alternating colors every round, or even more complex color patterns.
- Practice: Make several small granny squares before embarking on a large project. This helps you get comfortable with the pattern and perfect your tension.
You’re now ready to crochet your very own classic granny square! These are so satisfying to make, and once you master them, a whole world of crochet projects opens up to you.