by
by It sounds like there might be a slight mix-up in the terminology! Knitting and crochet are both wonderful yarn crafts, but they use different tools and techniques:
- Crochet uses a single hook to create loops and stitches.
- Knitting uses two needles to create a series of interconnected loops.
This guide will focus on how to crochet a flower model, as the initial request asked about “knit crochet flower model.” If you were specifically looking for knitting instructions, please let me know!
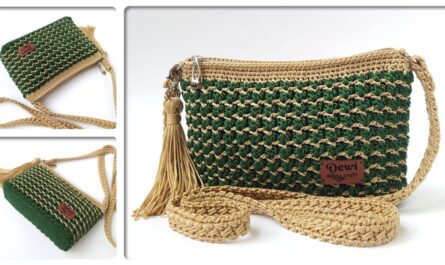
Crocheting a flower is a delightful and quick project, perfect for beginners and a great way to use up small bits of yarn. These little motifs can be used in countless ways: as appliqués on blankets or hats, embellishments on bags, jewelry, hair accessories, or even joined together to form larger pieces.
Choosing the Right Yarn for Your Crochet Flower
For a small decorative item like a flower, you have a lot of flexibility with yarn choice. Since it’s warm in Phnom Penh, consider materials that are easy to work with and hold shape.
- 100% Cotton Yarn: This is often a top choice for small motifs. Cotton provides excellent stitch definition, which is great for showing off petal details. It’s also durable, washable, and readily available in a wide range of colors.
- Acrylic Yarn: A very versatile and budget-friendly option. Acrylic yarn comes in an endless array of colors, is easy to work with, and holds its shape well. Look for a smooth acrylic for cleaner stitch definition.
- Yarn Weight: For a small flower, DK (Double Knitting) weight / Light Worsted (Category 3) or Worsted Weight (Aran / Medium / Category 4) are ideal. Thinner yarns (like sport or fingering weight) will make a smaller, more delicate flower, while thicker yarns will create a larger, more robust one.
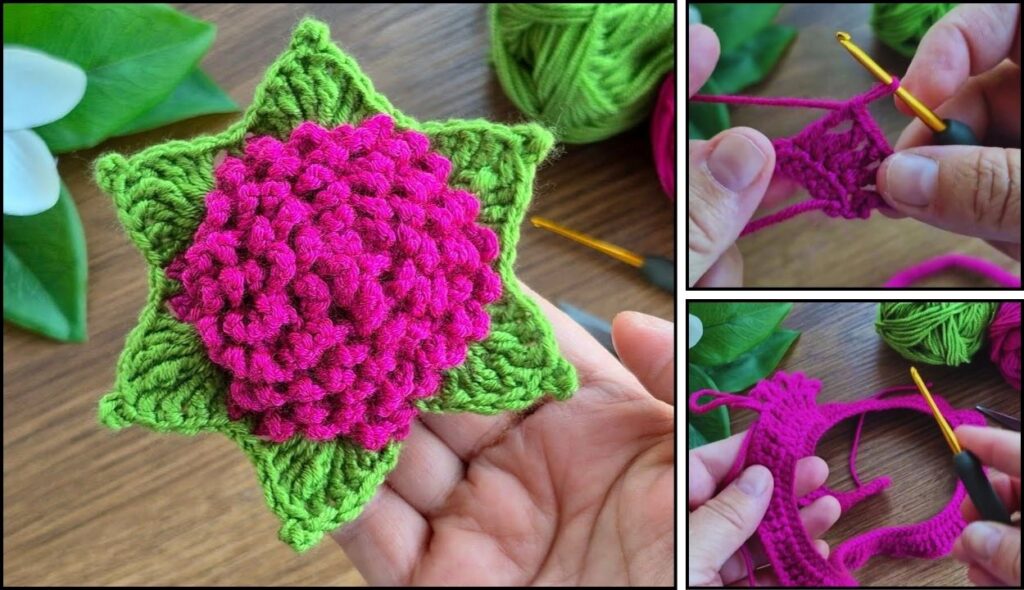
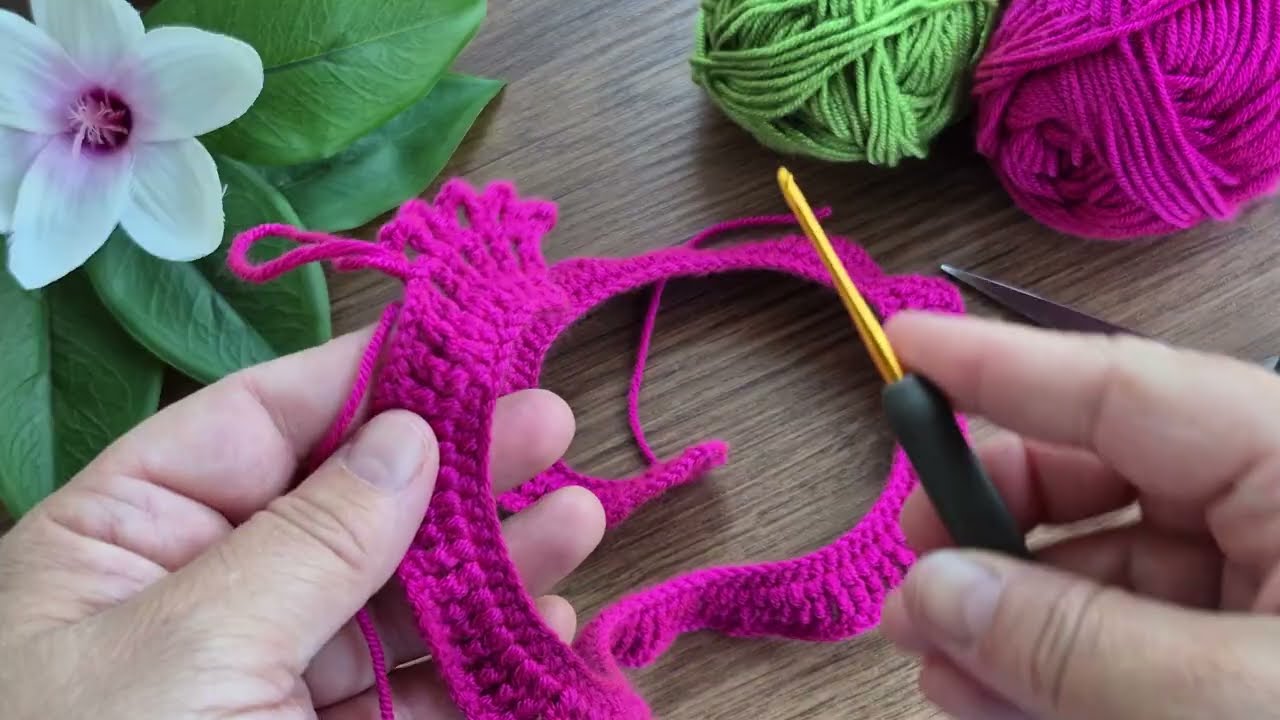
How to Crochet a Flower Model: Simple & Classic Petal Design
This tutorial will guide you through making a very common and easy flower motif that creates a flat, multi-petal design.
1. Essential Materials You’ll Need
- Yarn:
- Color A (Flower Center): A small amount of yarn for the center of your flower (e.g., yellow).
- Color B (Petals): A small amount of yarn for the petals (e.g., pink, red, blue).
- Worsted Weight Cotton or Acrylic Yarn is recommended.
- Crochet Hook:
- A 3.5mm (US E/4) or 4.0mm (US G/6) hook. Choose a hook size that feels comfortable with your yarn and creates stitches that are neither too tight nor too loose.
- Scissors: For cutting yarn.
- Yarn Needle (Tapestry Needle): Essential for weaving in yarn tails for a neat finish.
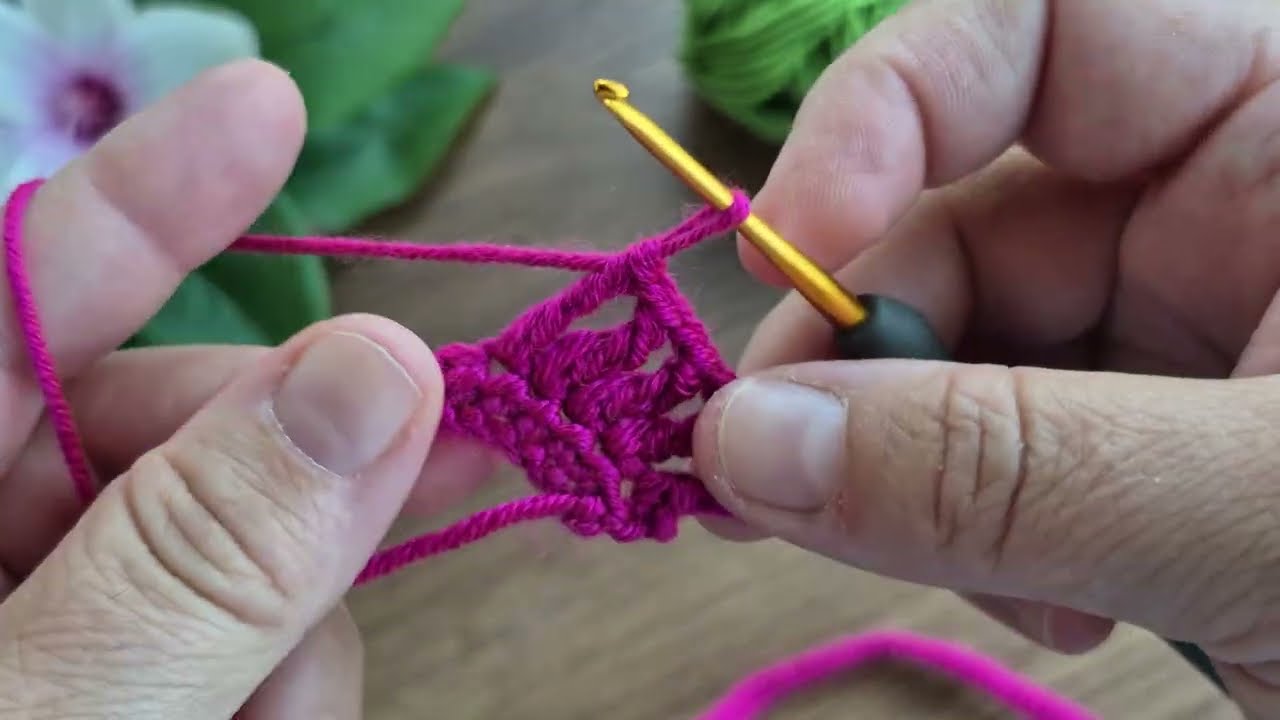
2. Basic Crochet Stitches You’ll Use
This project relies on fundamental crochet stitches and working in the round:
- Magic Ring (MR) / Adjustable Ring: (Highly Recommended!) Creates a tight, hole-free center for your flower. Alternatively, you can
ch 4and thensl stto the first chain to form a ring, and work your first round of stitches into this chain ring. - Chain (ch): Used for starting, creating spaces, and sometimes for petal height.
- Slip Stitch (sl st): Used for joining rounds and neatening.
- Single Crochet (sc): A dense, short stitch.
- Half Double Crochet (hdc): A medium-height stitch.
- Double Crochet (dc): A taller stitch, frequently used for petals.
- Fasten Off: To securely end your work.
- Weaving in Ends: Hiding yarn tails for a neat and professional look.
Crochet Flower Model Pattern
This pattern creates a flower that’s approximately 2-3 inches (5-7.5 cm) in diameter, depending on your yarn and tension.
Abbreviations (US Crochet Terms):
- MR: Magic Ring
- ch: chain
- sl st: slip stitch
- sc: single crochet
- hdc: half double crochet
- dc: double crochet
- st(s): stitch(es)
- FO: Fasten off
Understanding Color Changes in Joined Rounds
When changing colors at the end of a round:
- Work the last stitch of the round (e.g., the last hdc) up to the last yarn over. You should have the final loops on your hook.
- Drop the current color yarn. Pick up your new color yarn.
- Yarn over with the new color and pull through all loops on your hook to complete the stitch.
- Now, with the new color, make your sl st to join the round and then chain up for the next round.
- Cut the old color yarn, leaving a 4-6 inch tail to weave in later.
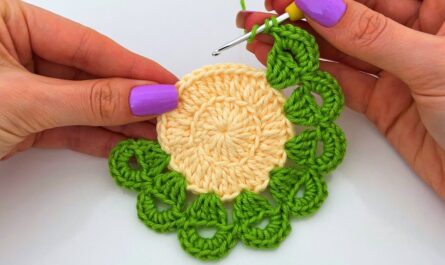
Part 1: Flower Center (Color A)
Use Color A (e.g., Yellow) yarn.
- Round 1: Create a MR. Ch 2 (does not count as a stitch). Work 12 hdc into the Magic Ring. Join with a sl st to the top of the first hdc. (You should have 12 hdc stitches in this round).
- Gently pull the tail of the MR to close the center hole tightly. Weave in this starting tail now to secure it.
- Change color to Color B (e.g., Pink) as you make the last sl st to join this round. FO Color A, leaving a tail for weaving in.
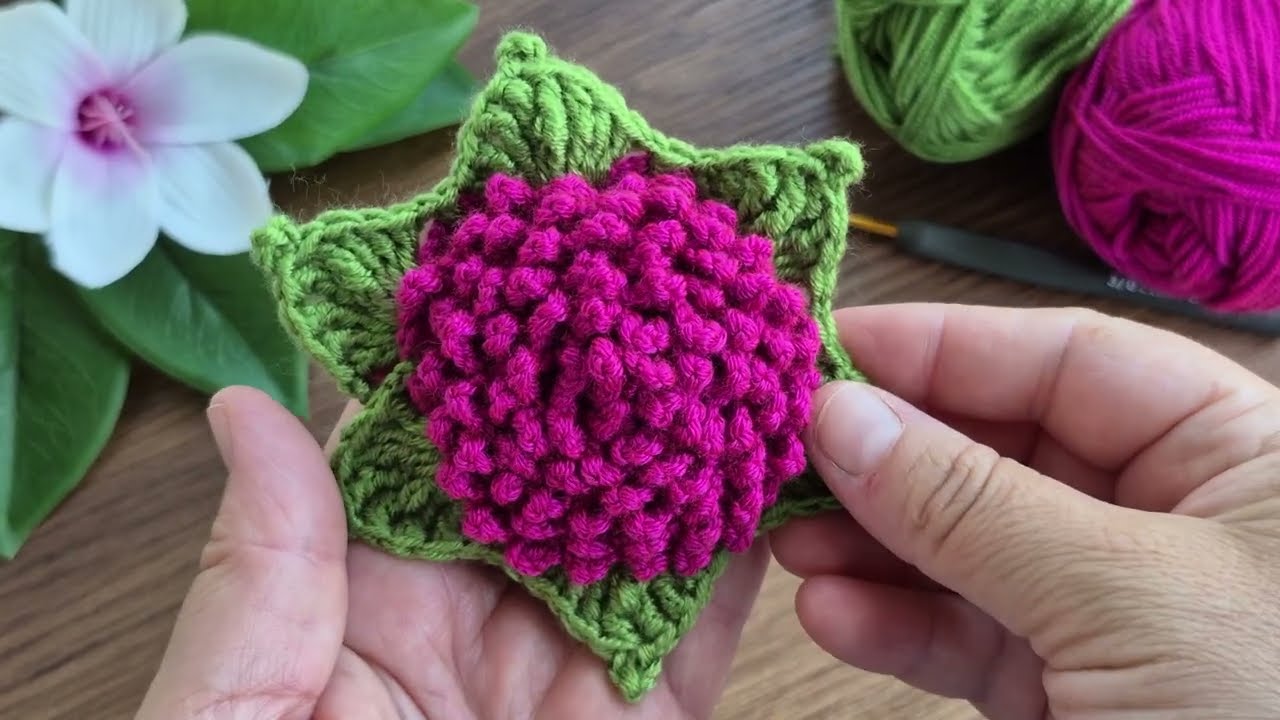
Part 2: Petals (Color B)
Continue with Color B (e.g., Pink) yarn.
- Round 2 (Petals): Ch 1 (does not count as a stitch).
*Work (sc, 2 dc, sc) all into the same stitch (this forms your first petal). Sl st into the very next stitch.*- Repeat from
*to*around the entire circle. You should create 6 distinct petals. - Join with a sl st to the first sc you made at the very beginning of this round (at the base of your first petal). (6 petals and 6 sl sts, totaling 24 stitches if counted individually for the petals, but it’s easier to count petals).
- Fasten Off, leaving a tail about 6 inches (15 cm) long.
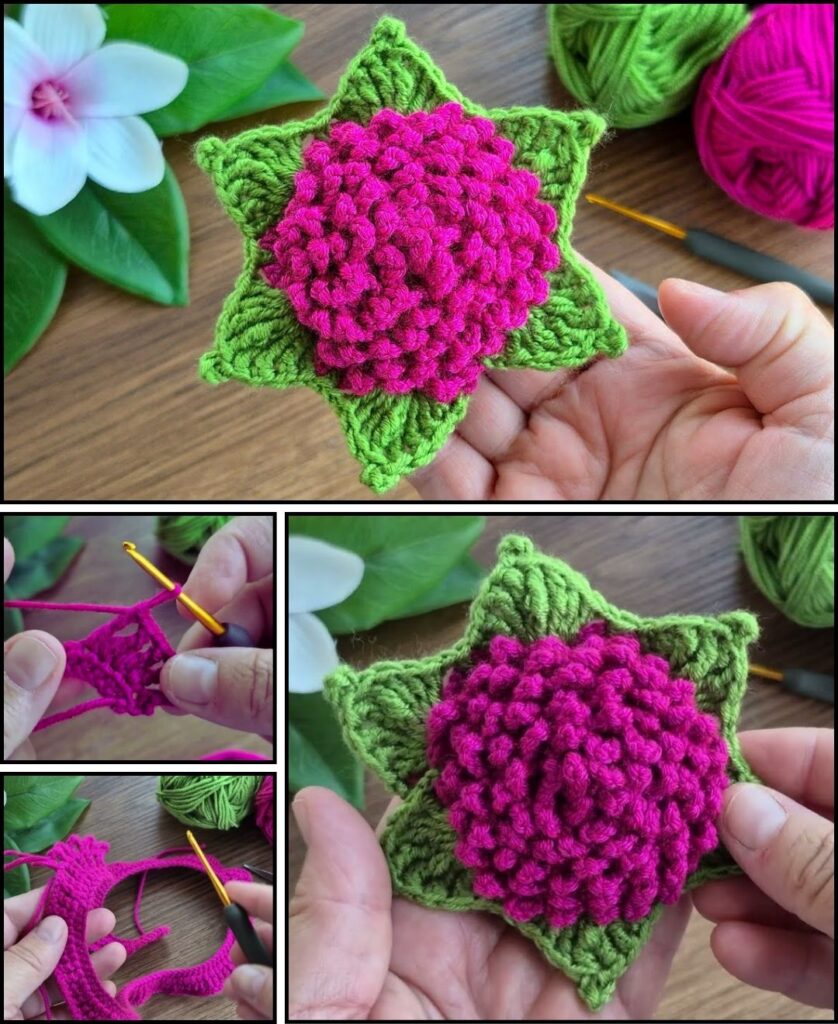
Part 3: Finishing Your Flower
- Weave in All Ends NEATLY: This is crucial for a clean and professional-looking flower, especially with multiple color changes.
- Use your yarn needle to carefully weave in every single yarn tail on the wrong side of your flower. Go back and forth through stitches for at least 1-2 inches to ensure they are hidden and won’t unravel.
- Blocking (Optional but Recommended!): Blocking will help your flower lay perfectly flat and define its petal shape, giving it a more polished look.
- Method: Gently wet your finished flower (you can mist it with a spray bottle). Lay it flat on a blocking mat or a clean towel. Gently stretch and shape the flower into a perfect circle, making sure each petal is distinct. You can use rust-proof pins to hold it in place. Allow it to air dry completely.
Tips for a Beautiful Flower Model
- Consistent Tension: Try to maintain even tension throughout your work. This helps the flower lay flat and look uniform.
- Yarn Choice: Cotton is fantastic for flowers due to its stitch definition. Smooth acrylics also work well.
- Counting Stitches: In Round 1, ensure you have the correct number of stitches (12 hdc) for symmetrical petals.
- Experiment with Petal Stitches: Once you’re comfortable with the
(sc, 2 dc, sc)petal, you can experiment!- For fuller petals: Try
(sc, hdc, dc, hdc, sc)or(sc, 2 dc, sc, 2 dc, sc)in each stitch of Round 1, then sl st into the next stitch. - For pointier petals: Try
(sc, ch 1, dc, ch 1, sc)into each stitch of Round 1, then sl st into the next stitch.
- For fuller petals: Try
- Color Play: Don’t be afraid to try different color combinations! A yellow center with white petals, a vibrant red with a black center, or even multi-colored petals (by changing colors within Round 2) can create unique looks.
- Uses: Once you master this motif, you can use it to decorate almost anything, from headbands to gift wraps!