 by
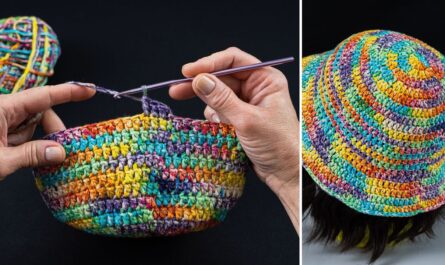
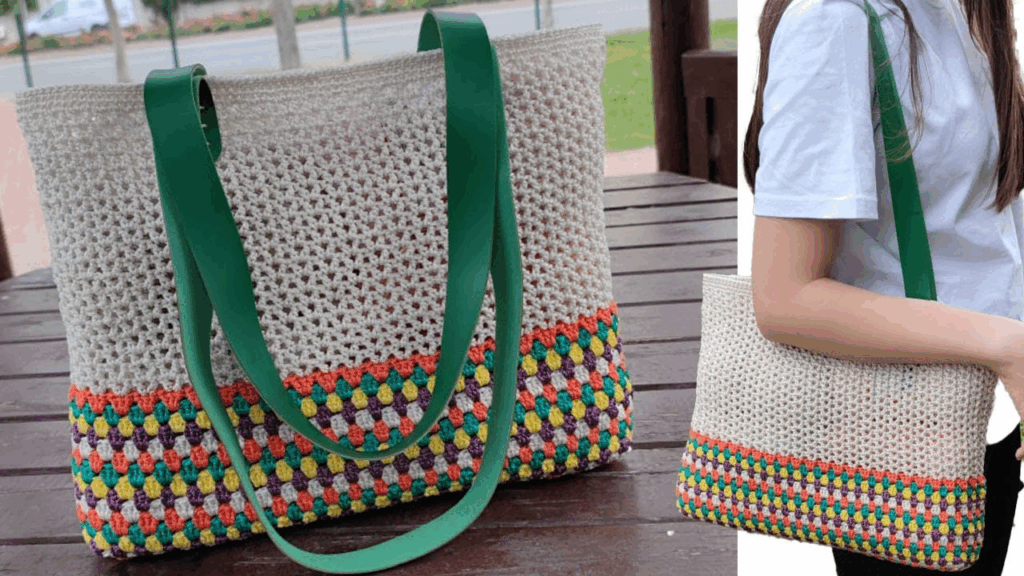
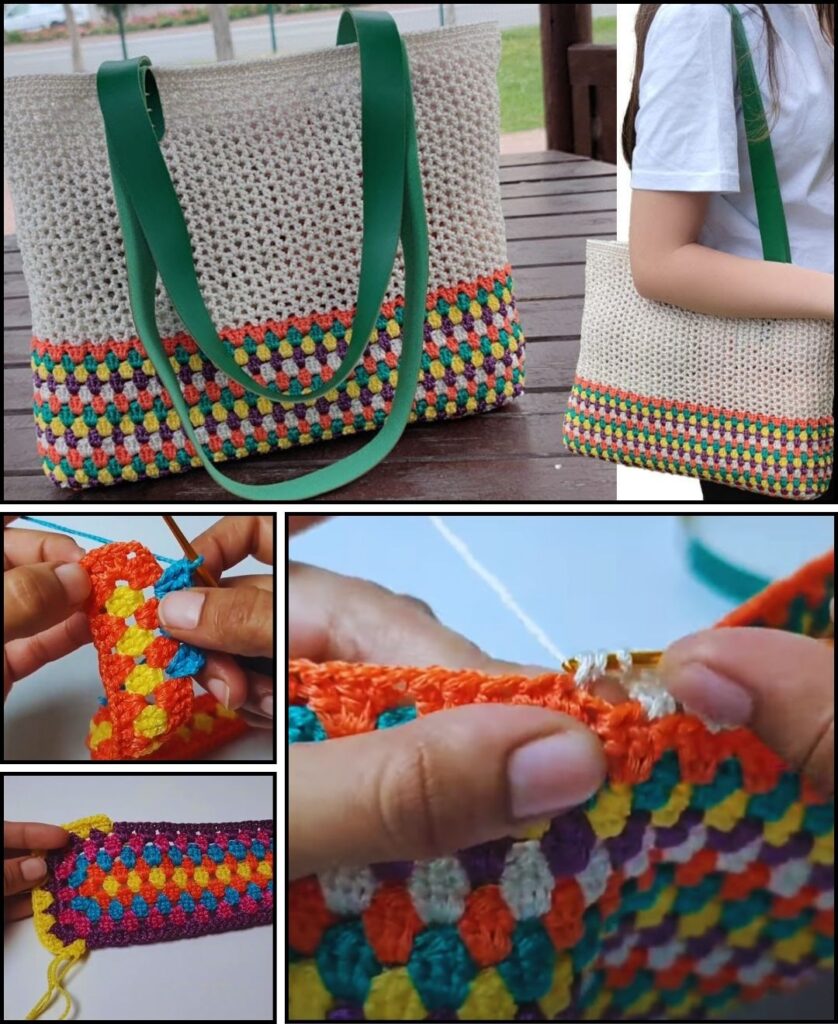
by Creating a stunning rainbow crochet bag is a fantastic project that combines vibrant colors with practical use! It’s a wonderful way to express creativity, perfect for adding a pop of color to your daily outfits, carrying essentials to the market, or simply brightening your day.
Given that you’re in Phnom Penh where it’s warm, choosing the right yarn is key to ensuring your bag is not only beautiful but also practical and durable.
Choosing the Right Yarn for Your Rainbow Crochet Bag
For a crochet bag, especially one with many color changes, durability, stitch definition, and ease of care are important.
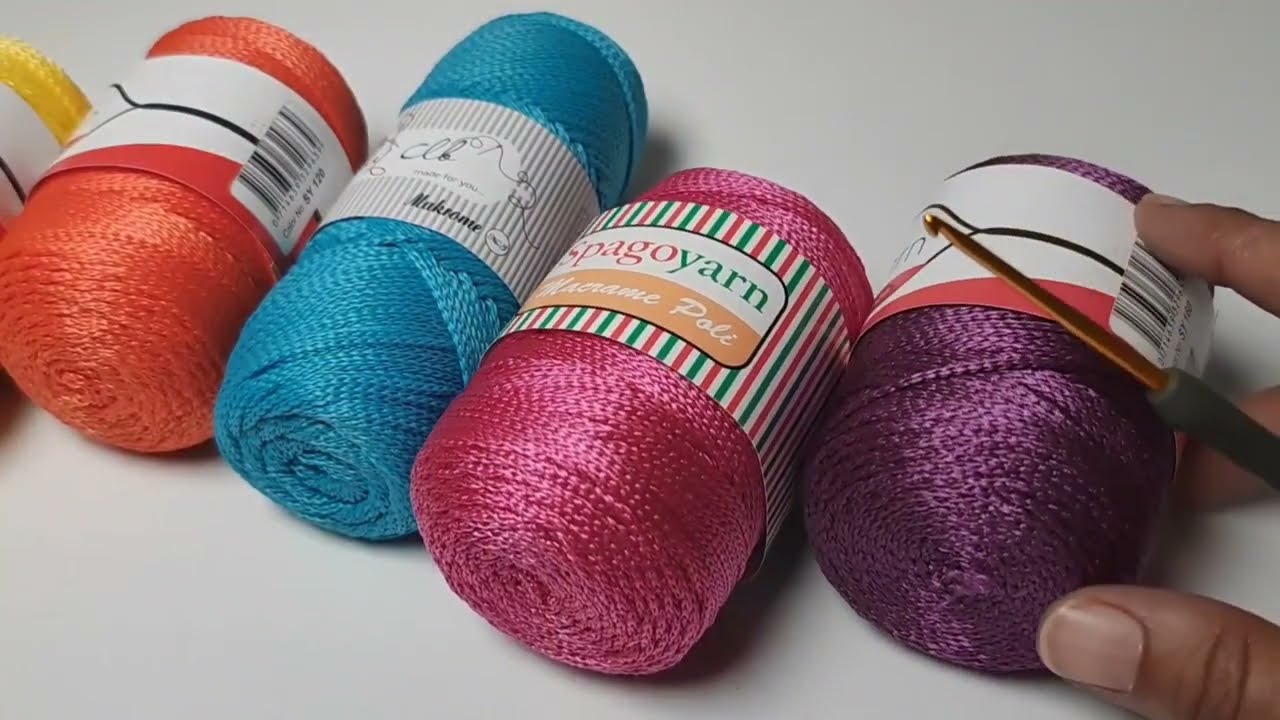
- 100% Cotton Yarn: This is often the top choice for bags. Cotton is strong, holds its shape well, and provides excellent stitch definition, which is perfect for showcasing those vibrant rainbow colors. It’s also breathable and machine washable, making it practical for everyday use. Look for a mercerized cotton for a slightly shinier finish and even better stitch definition.
- Cotton Blends (e.g., Cotton/Acrylic): These blends can offer the best of both worlds – the durability and breathability of cotton combined with the softness and wide color range of acrylic. They are typically easy to work with and care for.
- Smooth Acrylic Yarn: If cotton isn’t readily available or you prefer a lighter-weight bag, a good quality, smooth acrylic yarn can work well. Acrylic is inexpensive, comes in every color imaginable, and is very durable. Avoid fuzzy or “hairy” acrylics, as they can obscure stitch definition and make color changes less crisp.
Yarn Weight: For a sturdy bag, Worsted Weight (Aran / Medium / Category 4) is highly recommended. It works up quickly and creates a dense fabric. If you want a larger, more structured bag, you could even go with a Bulky weight, but be prepared for a heavier finished product.
How to Create a Stunning Rainbow Crochet Bag: A Detailed Tutorial
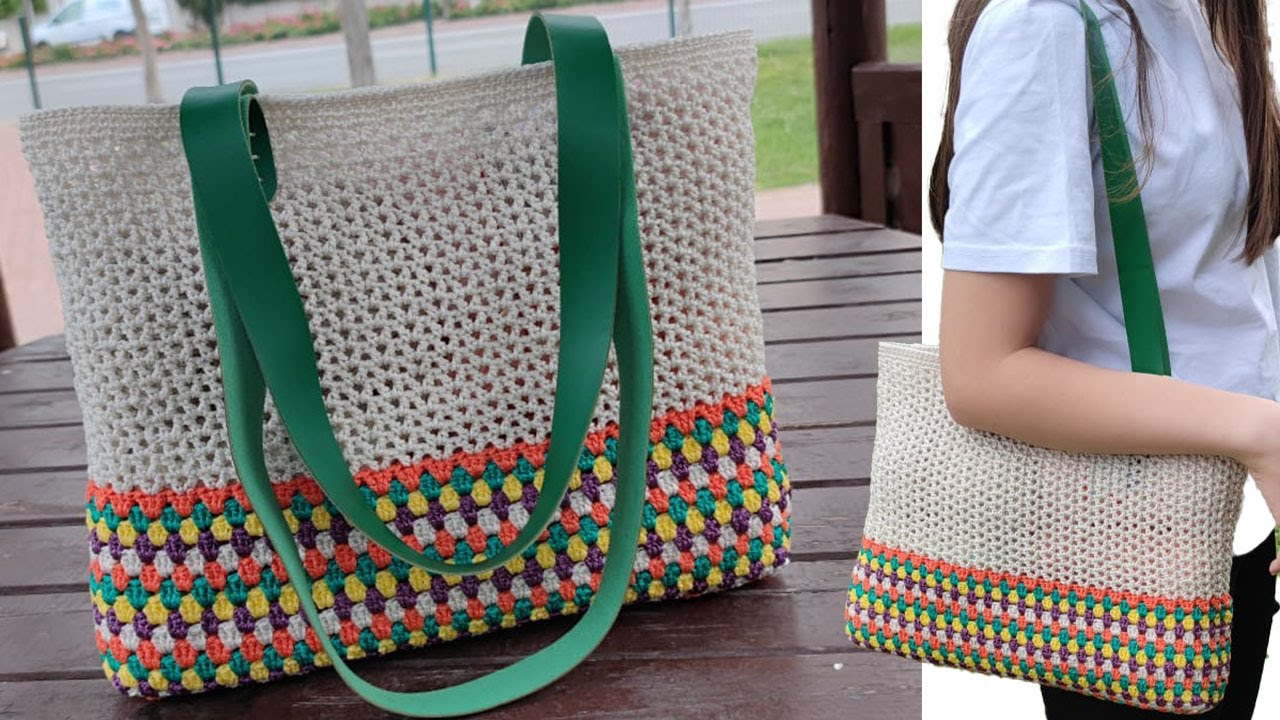
This tutorial will guide you through creating a simple, yet elegant tote-style bag that showcases rainbow stripes. We’ll focus on creating a sturdy base, building up the sides, and adding handles.
1. Essential Materials You’ll Need
- Yarn:
- Rainbow Colors: You’ll need yarn in at least 6-7 vibrant colors (e.g., Red, Orange, Yellow, Green, Blue, Indigo, Violet). Approximately 50-70 grams of each color, or more if you want wider stripes or a larger bag. Worsted Weight Cotton or Cotton Blend is ideal.
- Optional (for base/lining): A neutral color (like cream, black, or grey) for the base or a solid contrasting color for the handles.
- Crochet Hook: A 4.0mm (US G/6) or 4.5mm (US 7) hook. Choose a hook size that creates a firm, dense fabric to ensure your bag holds its shape and isn’t too floppy.
- Scissors: For cutting yarn.
- Yarn Needle (Tapestry Needle): Absolutely essential for weaving in all those colorful ends!
- Stitch Markers (at least 2): Very helpful for marking the beginning of rounds or specific points.
- Optional Accessories:
- Bag Handles: Leather, bamboo, or plastic handles (can be sewn on).
- Fabric for Lining: If you want a more finished look and extra durability.
- Magnetic Snap or Button: For a closure.
2. Basic Crochet Stitches You’ll Use
This project utilizes fundamental stitches, but with an emphasis on working in the round and neat color changes:
- Magic Ring (MR) / Adjustable Ring: (Optional for base, if working in spiral) Creates a tight, hole-free center.
- Chain (ch): For foundation, turning, and forming spaces.
- Slip Stitch (sl st): For joining rounds.
- Single Crochet (sc): Creates a dense fabric, excellent for the base and sturdy sides.
- Half Double Crochet (hdc) or Double Crochet (dc): Can be used for the bag body if you want a quicker project or a looser fabric. (We’ll use sc for maximum sturdiness in this example).
- Increase (inc): Work 2 stitches into the same stitch to expand the fabric.
- Working in Rounds (Continuous Spiral or Joined): Most of the bag will be worked in the round.
- Color Changes: Frequent changes are key to the rainbow effect.
- Fasten Off: To securely end your work.
- Weaving in Ends: Hiding yarn tails for a neat and professional finish.
Crochet Rainbow Tote Bag Pattern (Adjustable Size)
This pattern creates a medium-sized tote bag. You can easily adjust its size by changing the number of stitches in the base and the number of rounds for the height.
Abbreviations (US Crochet Terms):
- ch: chain
- sl st: slip stitch
- sc: single crochet
- inc: increase (work 2 sc into the same stitch)
- st(s): stitch(es)
- FO: Fasten off
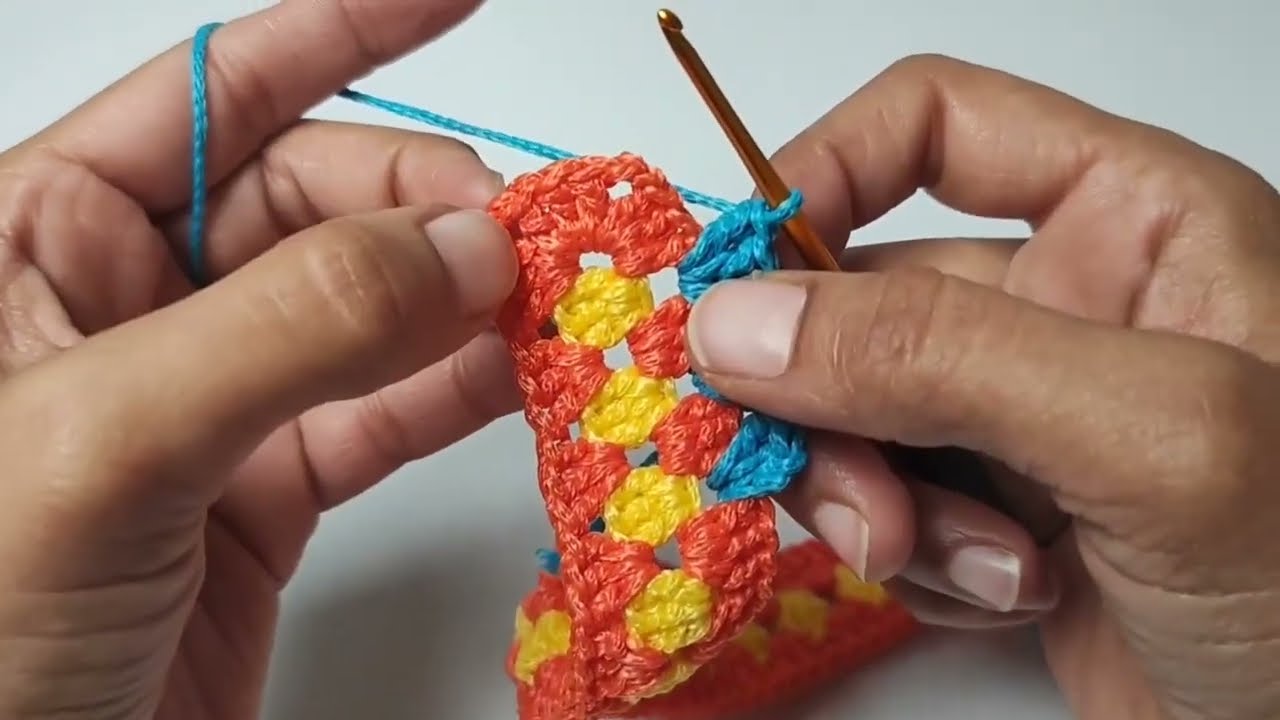
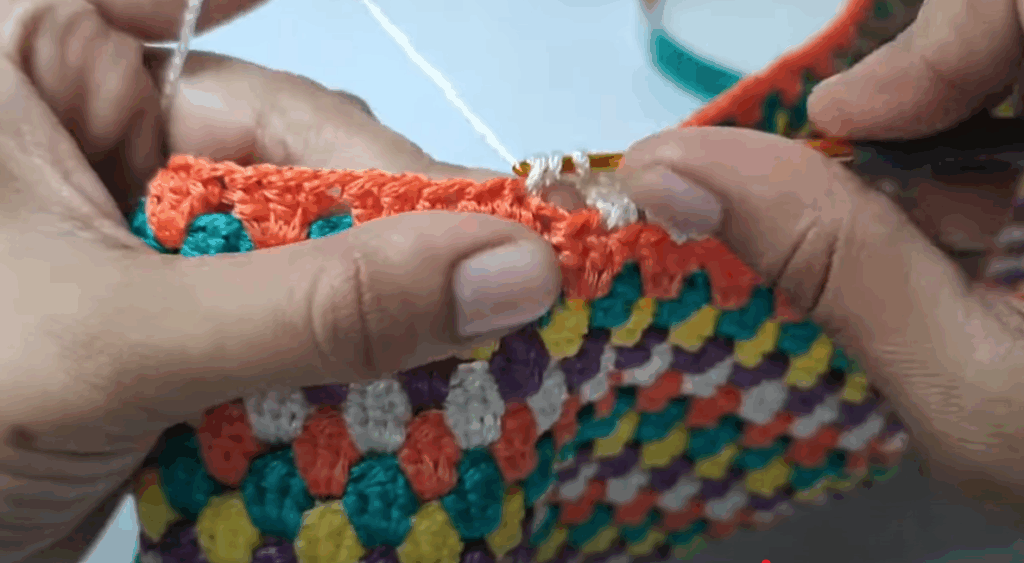
Understanding Color Changes
For a neat, striped bag, you’ll be joining rounds and changing colors at the end of each color section.
How to Change Colors at the End of a Round (when joining with sl st):
- Work the last stitch of the round (e.g., the last sc) up to the last yarn over. You should have 2 loops on your hook.
- Drop the current color. Pick up your new color.
- Yarn over with the new color and pull through both loops on your hook to complete the stitch.
- Now, with the new color, make your sl st to join the round and then chain up for the next round.
- Cut the old color yarn, leaving a 4-6 inch tail to weave in later.
Part 1: The Bag Base (Work in Rows around a Chain)
We’ll create a sturdy oval base. Use a neutral color or your first rainbow color (e.g., Red).
- Foundation Chain: Ch 21. (This will make a base about 7-8 inches long. For a longer base, chain more. For a shorter base, chain less).
- Round 1:
- Work 3 sc in the 2nd ch from hook.
- Sc in the next 18 ch.
- Work 5 sc in the last ch (this forms the curve at the end).
- Now, working down the other side of the starting chain: Sc in the next 18 ch.
- Work 2 sc in the very first ch where you made your first 3 sc (this completes the curve at the beginning).
- Join with a sl st to the first sc. (46 sc)
- Round 2: Ch 1 (does not count as a st).
- Inc sc in the next 3 sts.
- Sc in the next 18 sts.
- Inc sc in the next 5 sts.
- Sc in the next 18 sts.
- Inc sc in the next 2 sts.
- Join with a sl st to the first sc. (56 sc)
- Round 3: Ch 1.
*Sc in the next st, inc sc in the next st.*Repeat 3 times.- Sc in the next 18 sts.
*Sc in the next st, inc sc in the next st.*Repeat 5 times.- Sc in the next 18 sts.
*Sc in the next st, inc sc in the next st.*Repeat 2 times.- Join with a sl st to the first sc. (66 sc)
- Check Base Size: Your base should now be a sturdy oval. If you want a larger base, add another increase round (e.g.,
*Sc in next 2, inc*at the curves, keeping the sides straight). - Change color to your first rainbow stripe color (e.g., Red) as you join the last sl st. FO previous color.
Part 2: The Bag Body (Building the Sides)
This section creates the upright sides of your bag.
- Round 4 (Creating the “Wall”): Ch 1.
- Sc in each st around, working into the Back Loop Only (BLO) of each stitch. This creates a defined edge for the bottom of the bag.
- Join with a sl st to the first sc. (66 sc)
- Round 5 (First Rainbow Stripe): Ch 1.
- Sc in each st around, working through both loops (standard sc).
- Join with a sl st to the first sc. (66 sc)
- Change color to your next rainbow stripe color (e.g., Orange) as you join the last sl st. FO previous color.
- Subsequent Rainbow Stripes (Rounds 6-X): Ch 1.
- Sc in each st around.
- Join with a sl st to the first sc. (66 sc)
- Change color as you join the last sl st. FO previous color.
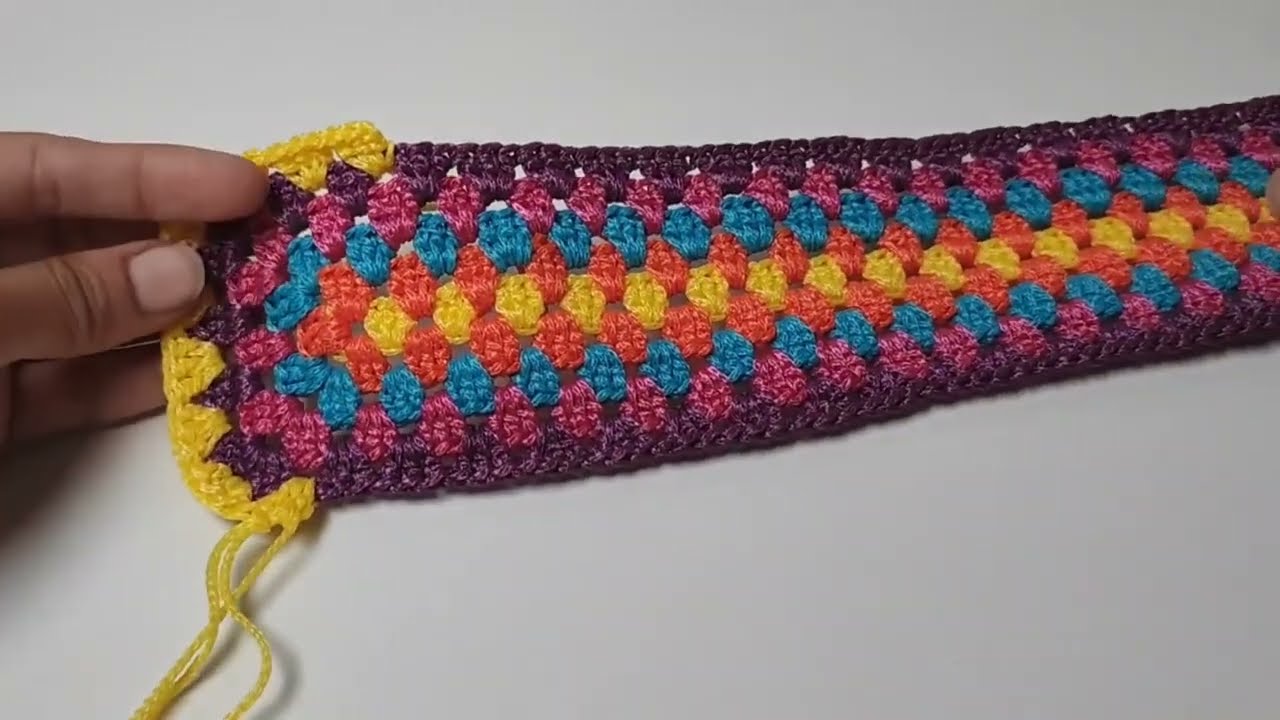
- Repeat this process for each rainbow color (Orange, Yellow, Green, Blue, Indigo, Violet). Work 2-3 rounds of each color for good stripe visibility.
- Continue until your bag reaches the desired height (e.g., 8-10 inches / 20-25 cm from the base). You might repeat the rainbow sequence multiple times or add a solid top border.
Part 3: Creating the Handles (Option 1: Crocheted Handles)
This method creates sturdy crocheted straps directly from the bag.
- Round (Handle Placement – Top Color): After your last rainbow stripe, work one more round of sc in the same color (or a solid neutral color). (66 sc). Join with sl st.
- Round (Handle Creation): Ch 1.
- Sc in the first 10 sts. (This positions the start of the first handle).
- Ch 40 (or desired length for your handle).
- Skip the next 13 sts (this forms the first handle opening).
- Sc in the next 20 sts. (Across the back of the bag).
- Ch 40 (second handle).
- Skip the next 13 sts (second handle opening).
- Sc in the remaining 10 sts.
- Join with a sl st to the first sc.
- Round (Reinforcing Handles): Ch 1.
- Sc in each sc stitch and sc evenly into each chain of both handles. (This means 1 sc per chain).
- Join with a sl st to the first sc.
- Repeat Round 3 for 1-2 more rounds to make the handles thicker and sturdier.
- Fasten Off, leaving a long tail for weaving in.
Option 2: Sewing on Ready-Made Handles
If you’re using pre-made bamboo, leather, or plastic handles:
- After completing the main body of the bag, add 1-2 more rounds of sc in your final stripe color or a neutral color.
- Fasten off, weave in all ends.
- Position your ready-made handles evenly on the top opening of the bag.
- Using a strong sewing needle and sturdy thread (or your yarn needle and matching yarn), securely sew the handles to the bag. Go through multiple stitches for durability.
Part 4: Finishing Your Stunning Rainbow Bag
- Weave in ALL Ends NEATLY: This is the most critical and time-consuming step for a multi-colored bag. Take your time to hide every single yarn tail securely on the inside of the bag. Weave back and forth through stitches for at least 1-2 inches to prevent unraveling.
- Blocking (Recommended for Cotton):
- Gently mist the bag with water or use a steam iron (without touching the yarn directly).
- Stuff the bag with towels or newspaper to help it hold its shape.
- Gently shape the base and sides.
- Allow it to air dry completely. Blocking helps to even out your stitches and give the bag a crisp, professional finish.
- Optional: Add Lining: For extra durability and to prevent small items from falling through stitches, you can sew a fabric lining for your bag. This is a great skill to learn if you enjoy sewing!
- Optional: Add a Closure: Sew a magnetic snap or a simple button and loop closure to the top opening of your bag.
You’ve now got a truly stunning, personalized rainbow crochet bag! It’s a wonderful feeling to carry something you’ve created with your own hands. What will you fill your beautiful new bag with?