by
by Learning to crochet chic hats is a fantastic journey that combines foundational crochet skills with an understanding of shaping, texture, and style. “Chic” can mean many things – from a classic, well-fitted beanie to a stylish slouchy hat, or even a sophisticated beret. The key is often in the details, the choice of yarn, and a polished finish.
Given you’re in Phnom Penh, where it’s warm, you might lean towards lighter, breathable yarns like cotton, bamboo, or linen blends for year-round comfort. However, if you’re making a hat for cooler evenings or as a gift for someone in a colder climate, wool or acrylic blends are excellent choices for warmth and elasticity.
How to Learn to Craft Chic Crochet Hats
To truly craft chic crochet hats, you’ll need to move beyond just following a pattern and start to understand the why behind the stitches and shaping. Here’s a detailed approach:
1. Master the Foundational Skills
Before diving into hats, ensure you’re comfortable with the absolute basics. This will make learning hat-specific techniques much smoother.
- Holding Yarn and Hook: Find a comfortable grip for both that allows for consistent tension.
- Basic Stitches:
- Chain (ch): The building block.
- Slip Stitch (sl st): For joining and neatening.
- Single Crochet (sc): Creates a dense fabric, great for sturdy hats or tight brims.
- Half Double Crochet (hdc): A versatile stitch that works up faster than sc and has good drape.
- Double Crochet (dc): A taller stitch that creates a softer, more pliable fabric, often used for the main body of beanies.
- Working in Rounds: Most hats are crocheted in the round, either in a continuous spiral or by joining rounds.
- Magic Ring (MR) / Adjustable Ring: Essential for creating a tight, hole-free crown. Practice this until it’s second nature.
- Joining Rounds: Using a slip stitch to join the end of a round to the beginning.
- Reading Patterns: Understand standard crochet abbreviations (e.g., sc, hdc, dc, inc, dec, blo, flo) and how to interpret written patterns. Many patterns include diagrams or stitch charts, too.
- Gauge Swatches: This is CRUCIAL for hats. A hat that doesn’t fit is just a pretty bowl! Learn how to make a swatch, measure it, and adjust your hook size to match the pattern’s gauge.

2. Understand Hat Construction & Shaping
Hats generally follow a similar formula, regardless of style:
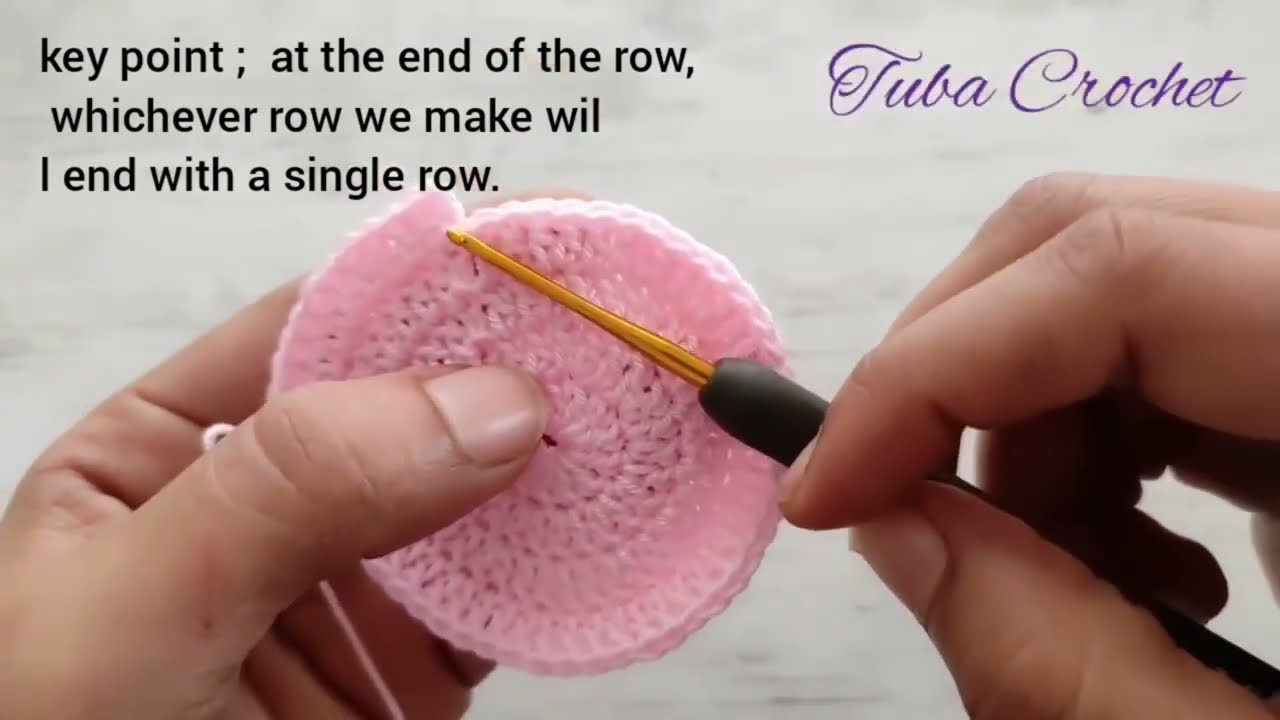
- Crown: The top, flat part of the hat. This is where you begin with increases to create a flat circle that matches the diameter needed for the head size.
- Body (Sides): Once the crown is the correct diameter, you stop increasing and work even rows/rounds to create the sides of the hat, which will extend down to just above or over the ears.
- Brim/Band: The part that sits closest to the head. This can be ribbed, straight, or shaped (like a bucket hat brim).
Key Shaping Techniques:
- Increasing: Primarily used in the crown to make your work expand. Common increase methods involve working 2 stitches into one stitch (e.g.,
sc inc,hdc inc,dc inc) at regular intervals. - Decreasing: Used to shape the crown if working bottom-up, or to taper a slouchy hat. Common methods include
sc2tog(single crochet 2 together),hdc2tog,dc2tog. - Working in the Back Loop Only (BLO) or Front Loop Only (FLO): This technique creates a ribbed texture, often used for stretchy brims that mimic knitting.
3. Explore Different Hat Styles
Once you’re comfortable with the basics, start experimenting with different hat types. Each offers opportunities to learn new techniques and styling elements.
- The Classic Beanie (Beginner-Friendly):
- Construction: Usually worked top-down, starting with a flat circle (crown) and then working straight (body) until desired length.
- Chic Factor: Achieve a chic look with simple stitches (hdc, dc) in a quality yarn. A well-fitted beanie in a solid, rich color is inherently stylish. Add a faux fur pom-pom for a touch of luxury.
- Ribbed Beanie:
- Construction: Often worked flat as a rectangle (using BLO stitches for ribbing) and then seamed, or worked in rounds with post stitches or BLO for continuous ribbing.
- Chic Factor: The knit-look ribbing is timeless. Vary the width of the ribbing for different effects. A folded brim adds extra warmth and a classic touch.
- Slouchy Hat:
- Construction: Similar to a beanie but with more length in the body section to create the “slouch.” Can also involve subtle decreases towards the top of the body for a tapered slouch.
- Chic Factor: Choose a yarn with good drape. Textured stitches (like the grit stitch, moss stitch, or basketweave) can elevate a slouchy hat.
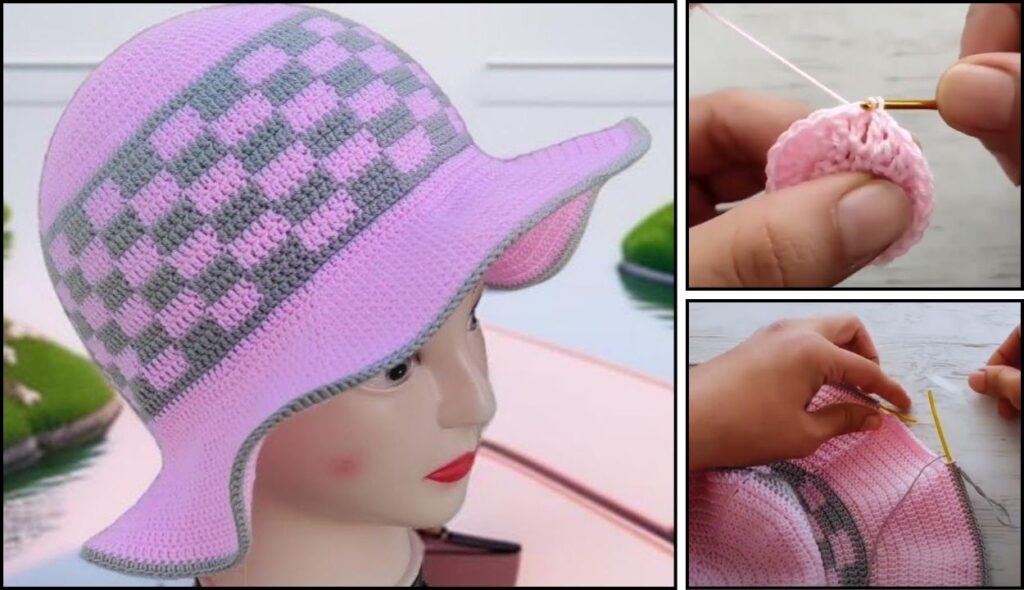
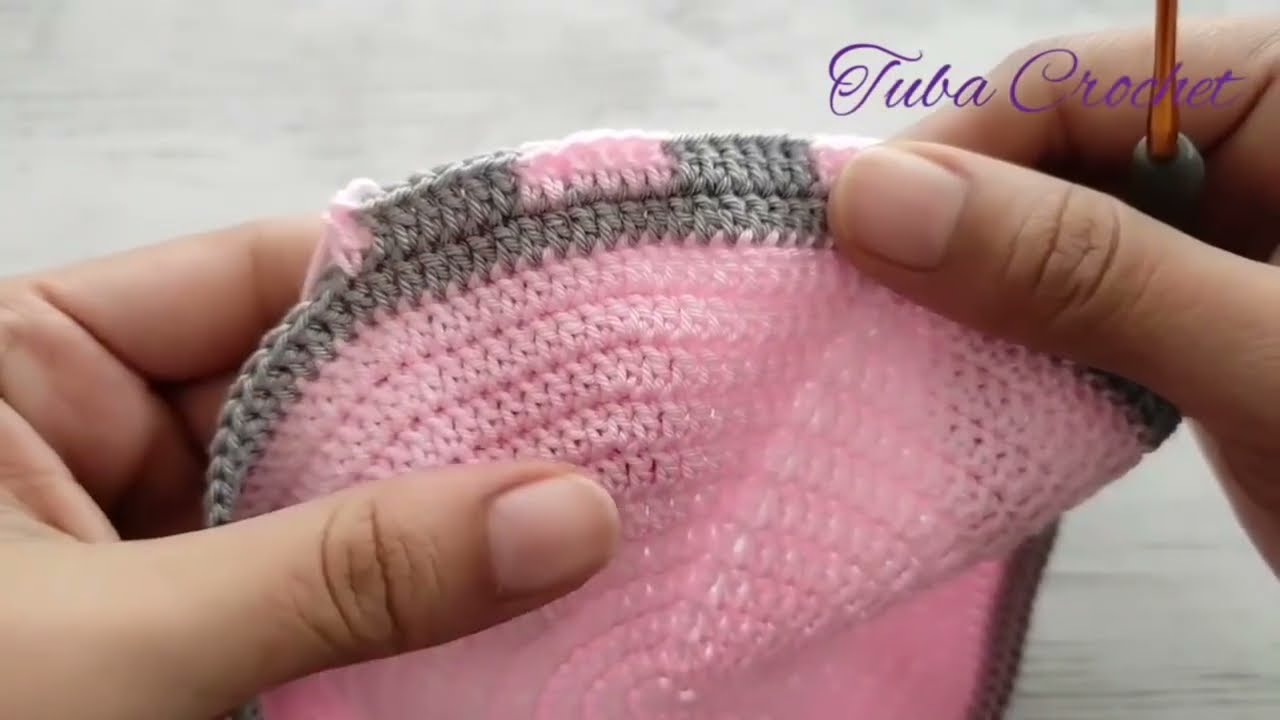
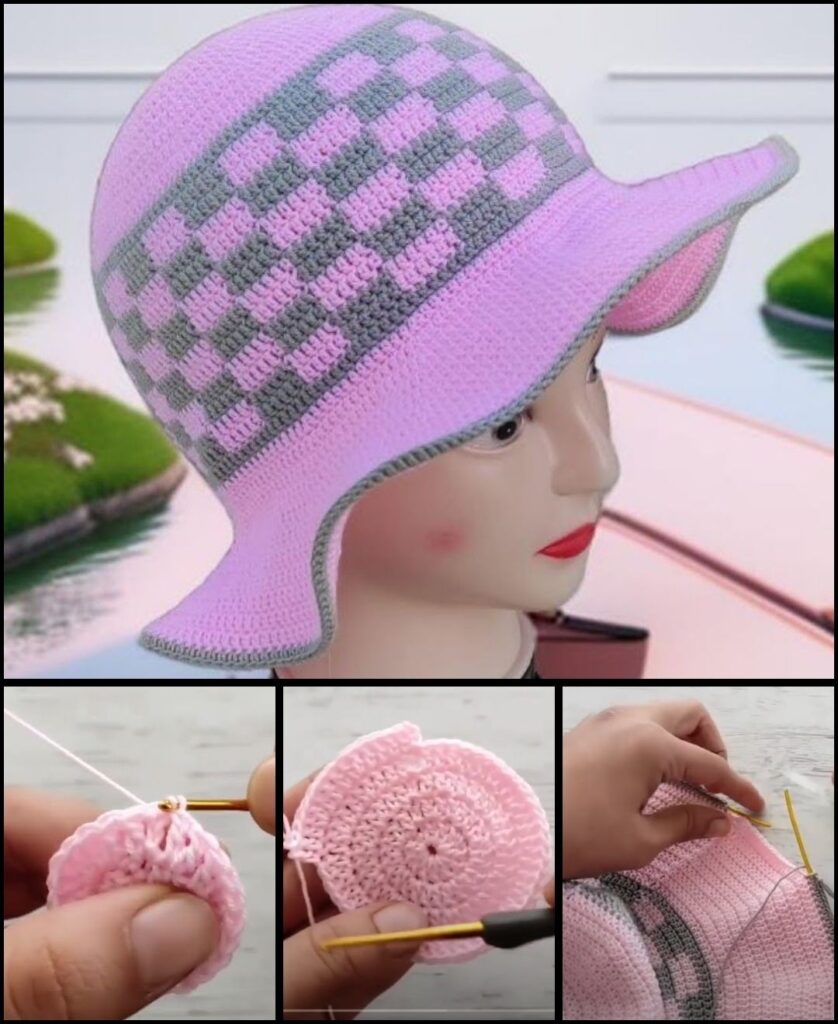
- Bucket Hat (for the Phnom Penh Climate!):
- Construction: Typically worked from the crown, with increases that eventually flatten out, and then a shaped brim that can be stiffened or left floppy.
- Chic Factor: Use cotton or linen yarn for breathability. Experiment with color blocking, stripes, or interesting brim shapes. A firmer stitch (like sc or thermal sc) helps the brim hold its shape.
- Beret:
- Construction: Begins with a wide, flat crown, then a few straight rounds, followed by sharp decreases to create the band that fits snugly around the head.
- Chic Factor: Choose a yarn with excellent drape (like merino wool or alpaca blend) for that classic floppy look. Simple dc stitches with careful shaping are key.
4. Choose Your Yarn Wisely
Yarn choice heavily influences the “chic” factor of your finished hat.
- Fiber Content:
- Cotton/Bamboo/Linen: Best for warmer climates, breathable, good stitch definition, less stretch.
- Merino Wool/Alpaca: Luxurious, soft, warm, excellent drape, but can be more expensive and require special care.
- Acrylic (Premium): Affordable, wide color range, easy care, good elasticity. Modern acrylics can be very soft and mimic natural fibers.
- Blends: Often the best of both worlds, combining properties like softness, durability, and ease of care.
- Yarn Weight:
- DK (Double Knitting) or Worsted Weight: Most common and versatile for hats.
- Bulky/Chunky: Works up quickly for super cozy hats, creates a bold statement.
- Fingering/Sport: For finer, more intricate lace or delicate designs.
- Color: Neutrals (creams, grays, black, navy) are always chic. Rich jewel tones (emerald, sapphire, ruby) or earthy tones can also look very sophisticated. Variegated yarns can be fun but can sometimes obscure stitch definition.
5. Perfect Your Finishing Touches
A truly chic hat isn’t just about the crochet work; it’s also about the details.
- Weaving in Ends: Learn to weave in tails neatly and securely. Loose ends detract from a polished look.
- Blocking: This process is a game-changer for hats! Gently wet your finished hat, shape it to the correct dimensions (you can use a balloon or bowl), and let it dry completely. Blocking evens out stitches, improves drape, and helps the hat hold its intended shape.
- Borders: A simple sc border, reverse sc (crab stitch), or a picot edge can add a refined touch.
- Pom-Poms: Faux fur pom-poms are very popular and instantly elevate a simple beanie. You can also make your own yarn pom-poms. Ensure they are securely attached.
- Tags/Labels: Adding a custom faux leather or fabric tag can make your handmade hat look professional and boutique-ready.
6. Practice, Learn, and Seek Inspiration
- Start with Simple Patterns: Don’t jump into complex lace patterns immediately. Master basic beanies first, then gradually tackle more challenging designs.
- Watch Video Tutorials: Many excellent free tutorials on YouTube demonstrate hat construction, specific stitches, and finishing techniques. Visual learning can be incredibly helpful.
- Join Online Communities: Websites like Ravelry are treasure troves of patterns, where you can browse thousands of free and paid hat patterns, see what others have made, and get inspiration. Social media groups (Facebook, Instagram, Pinterest) are also great for sharing and learning.
- Experiment: Once you understand the basic hat formula (crown diameter + straight sides + brim), you can start to mix and match stitches, create your own variations, and truly develop your “chic” style.
Learning to crochet chic hats is a journey of skill-building and creative expression. By focusing on strong foundations, understanding shaping, making thoughtful yarn choices, and refining your finishing techniques, you’ll be well on your way to crafting stylish and beautiful hats for yourself and others.