 by
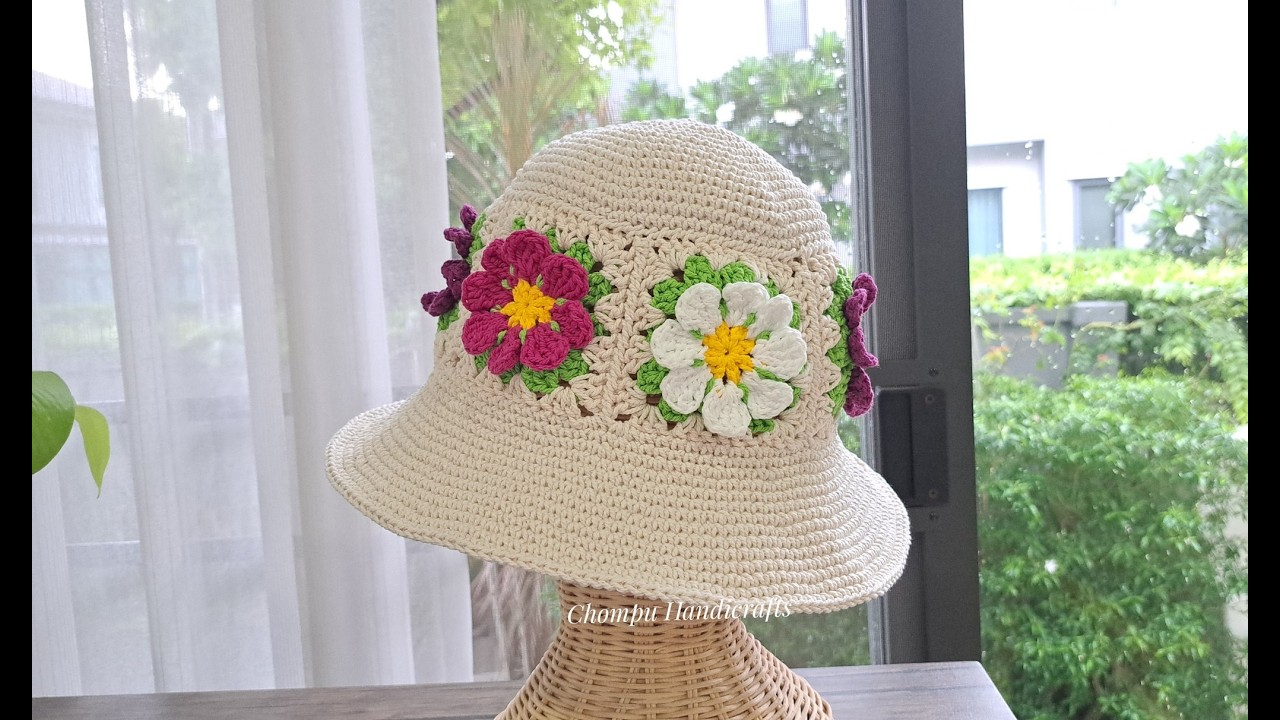
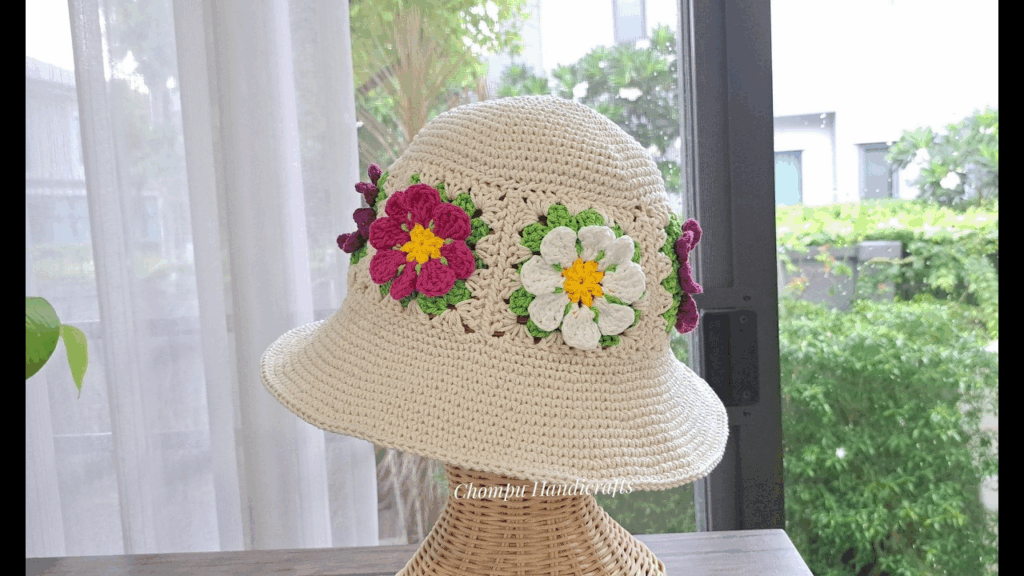
by Here’s a step-by-step Crochet Granny Square Flower Hat Tutorial – a colorful and fun project that combines granny squares (with floral centers) into a wearable hat. This is great for intermediate beginners comfortable with basic stitches.
🧶 Materials Needed:
- Worsted weight yarn (multiple colors for squares & flowers)
- 4.5 mm or 5.0 mm crochet hook
- Scissors
- Yarn needle
- Stitch markers (optional)
- Measuring tape
🧵 Skills You Need:
- Magic ring (or chain ring)
- Chain (ch)
- Slip stitch (sl st)
- Single crochet (sc)
- Double crochet (dc)
- Granny square construction
- Sewing or joining squares
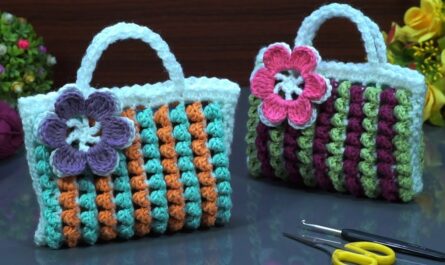
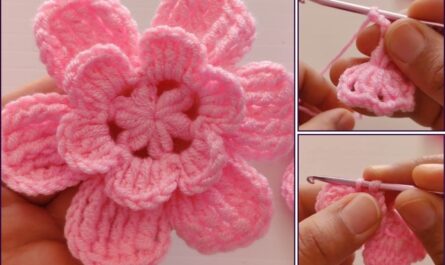
🪻 PART 1: Granny Square Flower Motif
✿ Round 1: Flower Center
plaintextCopyEditMake a magic ring.
Ch 3 (counts as 1st dc), work 11 more dc in ring. Join with sl st. (12 dc)
✿ Round 2: Petals
plaintextCopyEdit*Ch 2, 3 dc in next st, ch 2, sl st in next st* – repeat around (6 petals).
Fasten off and change color.
✿ Round 3: Turning into a Square
Attach new color in any ch-2 space behind a petal.
plaintextCopyEdit*Ch 3 (counts as 1 dc), 2 dc, ch 2, 3 dc in same space (corner made),
ch 1, 3 dc in next space, ch 1,* repeat around to make a square.
Join with sl st. (4 corners, 4 sides)
Make 5–7 of these flower granny squares depending on your head size and desired hat height.
🧷 PART 2: Join Granny Squares for Hat Body
🧩 Layout Options:
- 5 Squares: Wrap around head like a band (adult S-M)
- 6 Squares: Looser fit or larger head

🔗 Join Squares:
Use whip stitch or slip stitch to join squares side to side in a circle.
You now have a granny square tube for the base of your hat.
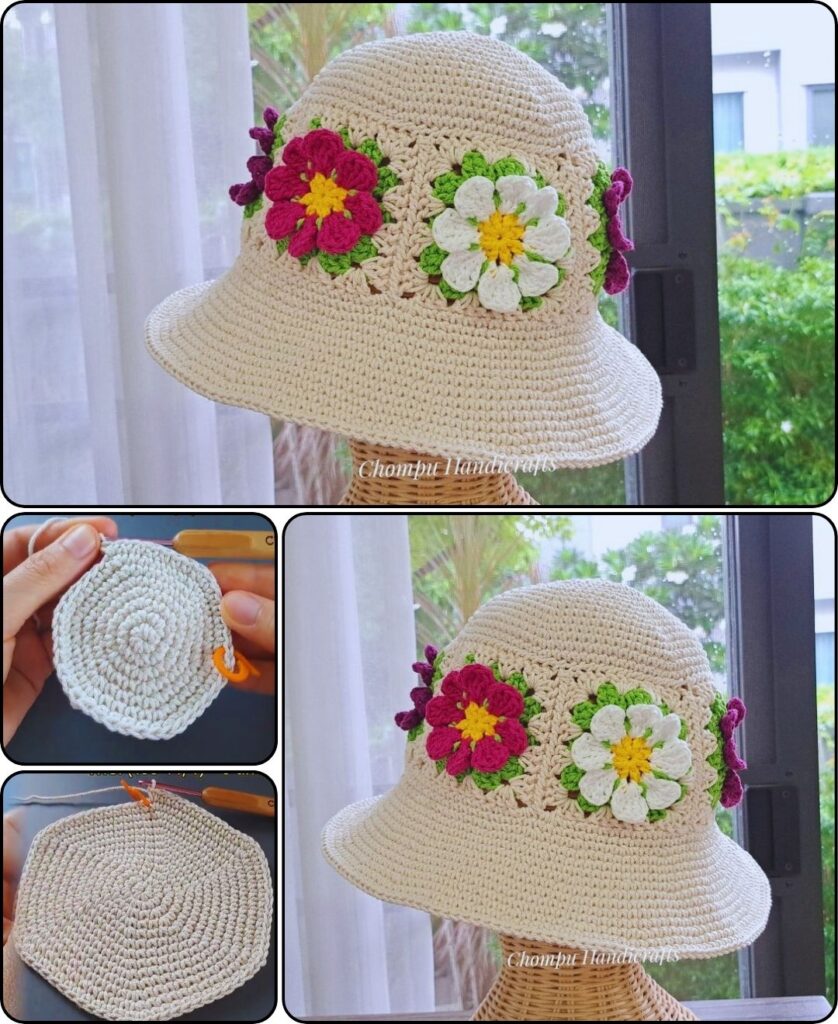
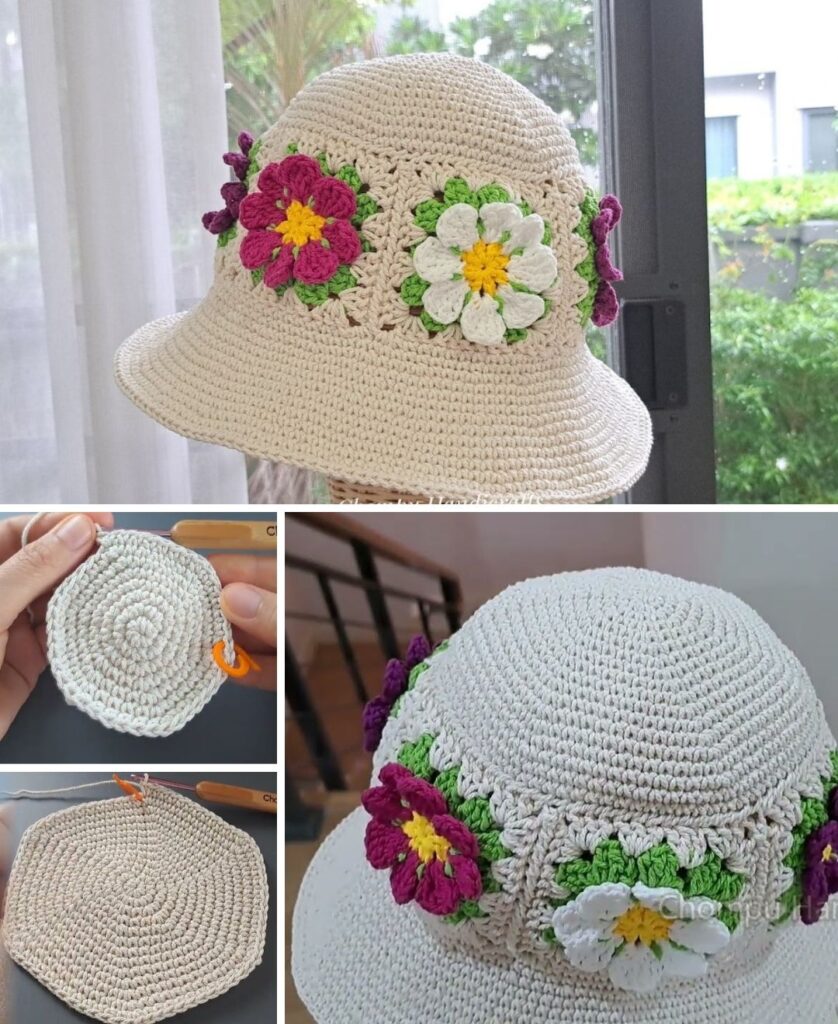
🎩 PART 3: Top of the Hat
Option 1: Simple Circle Top
- Crochet a flat circle (using dc, increase each round) until it matches the size of the square band’s opening.
- Sew or sc the circle onto the top of the band.

Option 2: Square Top
- Make 1 extra flower square.
- Sew this square across the top to close the hat.
You can cinch the top slightly with a yarn drawstring if needed for a rounded shape.
🧶 PART 4: Bottom Ribbing (Optional)
Work sc or front-post/back-post dc stitches around the bottom edge to add a stretchy ribbed brim:
plaintextCopyEditRound 1: Join yarn to bottom edge, sc evenly around, join.
Round 2–4: FPDC, BPDC alternating for a ribbed effect.
Fasten off, weave in ends.

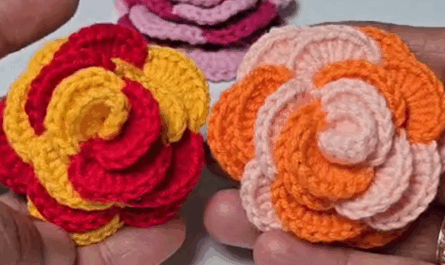
🌸 FINISHING TOUCHES:
- Add a pom-pom or tassel on top.
- Embroider details or add more flowers.
- Try different granny square styles.
📺 Want a Video?
I can find a video tutorial or help you create a PDF printable pattern if you’d like to save it!
Would you prefer a boho, bucket hat, or beanie shape using granny squares?