by
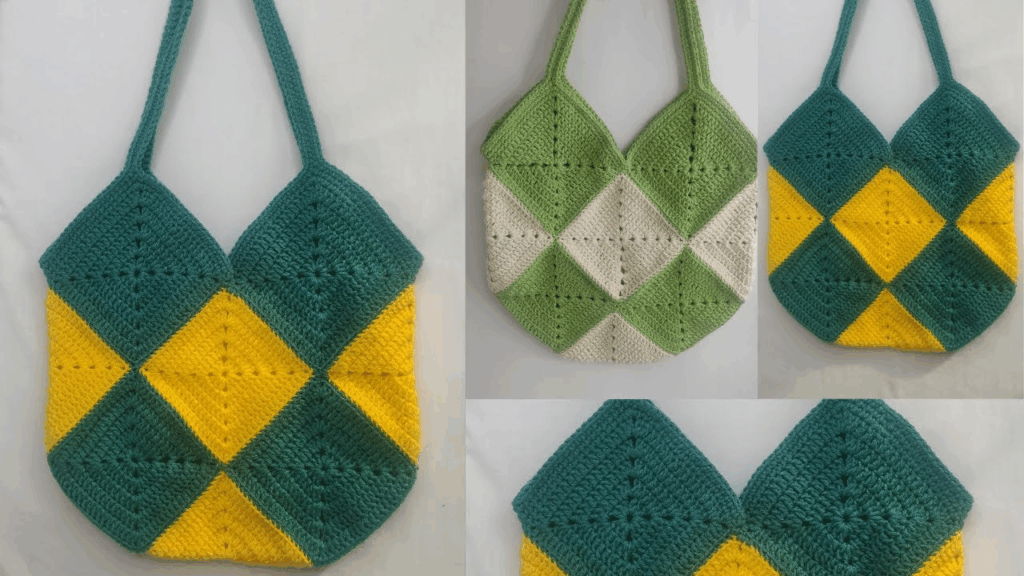
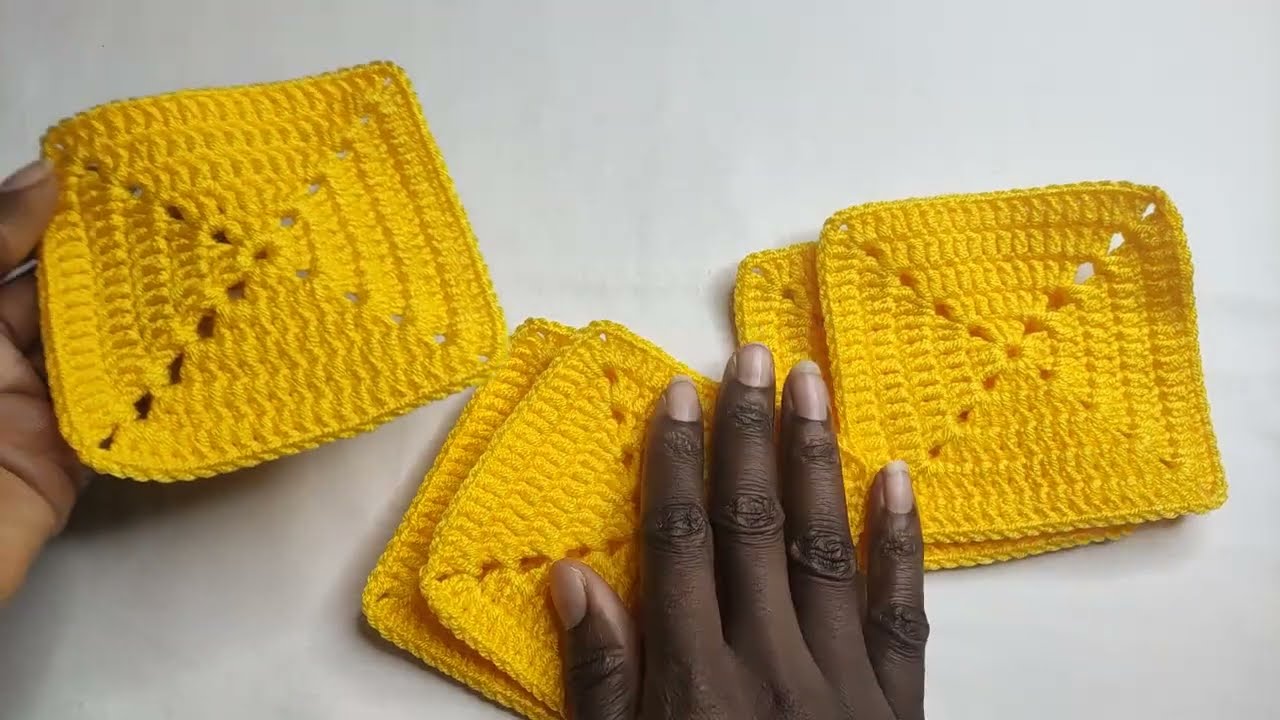
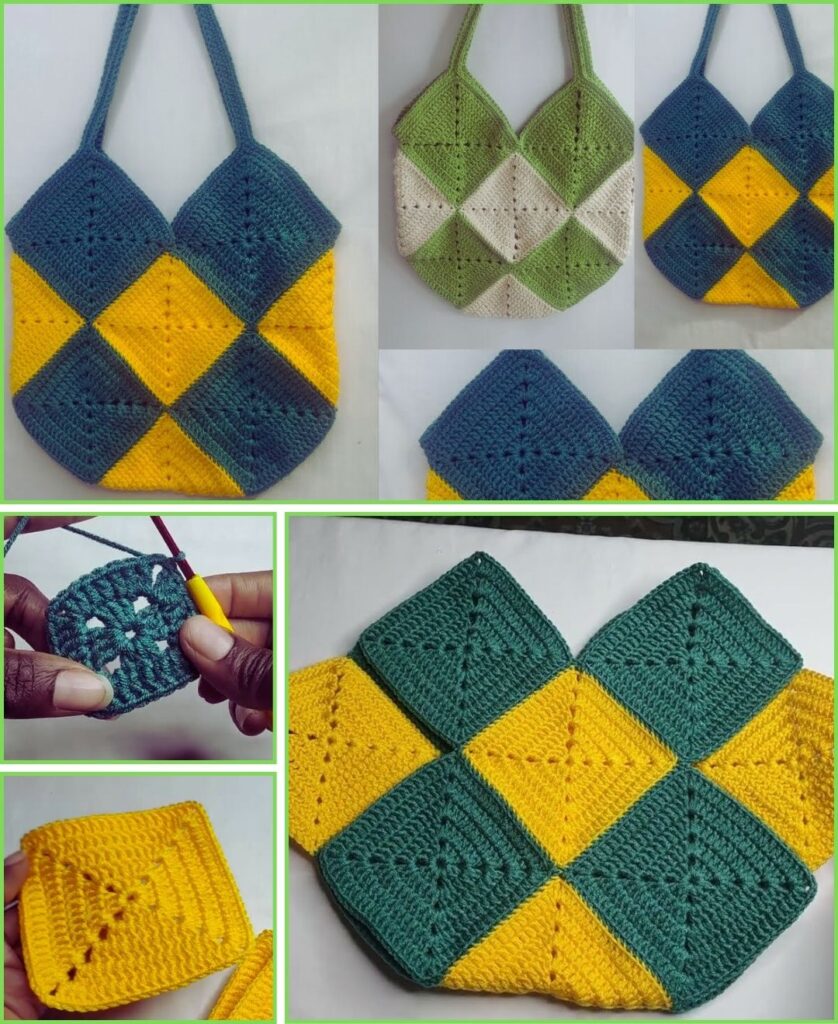
by A crochet square tote bag is an incredibly versatile and satisfying project, perfect for crocheters of all skill levels, including beginners. It’s practical, stylish, and can be customized with endless color combinations, making it a great accessory for market trips, beach days, or everyday use.
Given that you’re in Phnom Penh, where it’s generally warm, 100% cotton yarn or a sturdy cotton blend is an excellent choice for your tote bag. Cotton is durable, holds its shape well (a key feature for a bag), offers excellent stitch definition, and is breathable. It’s also easy to wash, which is very practical for a bag that will see regular use.
How to Crochet a Simple Square Tote Bag
This tutorial will guide you through creating a medium-sized, sturdy tote bag. We’ll construct it by starting with a flat, square base and then working upwards in continuous rounds to form the body. Finally, we’ll add comfortable handles.
1. Essential Materials You’ll Need
- Yarn:
- Main Color (MC): For the body of the bag. Worsted Weight (Aran / Medium / Category 4) is a good standard. For extra sturdiness, you could consider bulky (Category 5) yarn or holding two strands of worsted weight yarn together.
- Quantity: Approximately 200-350g for a medium-sized tote, depending on your chosen yarn thickness and the desired bag dimensions.
- Crochet Hook:
- For worsted weight yarn, a 5.0mm (US H/8) or 5.5mm (US I/9) hook. If you’re holding two strands together or using bulky yarn, you might need a larger hook like a 7.0mm (US K/10.5) or 8.0mm (US L/11).
- The goal is a dense and firm fabric. Your stitches should be tight enough to prevent the bag from stretching excessively or sagging when filled.
- Scissors: For cutting yarn.
- Yarn Needle (Tapestry Needle): Absolutely essential for neatly weaving in all your ends.
- Stitch Markers (Highly Recommended!): Very helpful for marking the corners of your base and the beginning of your rounds, especially when working in a spiral.
2. Basic Crochet Stitches You’ll Use
This pattern relies on fundamental crochet stitches, making it accessible for beginners:
- Chain (ch): Used for your foundation and when creating strap spaces.
- Slip Stitch (sl st): For joining rounds and neatly finishing off.
- Single Crochet (sc): Creates a very dense, sturdy fabric, ideal for the bag’s base and handles.
- Half Double Crochet (hdc): A medium-height stitch that works up relatively quickly, perfect for the main body of the bag.
- Working in Rounds (Continuous/Spiral): You’ll build the bag from the base upwards in a spiral, which creates a seamless look.
- Fasten Off: To securely end your work.
- Weaving in Ends: Hiding yarn tails for a neat and professional finish.
Crochet Square Tote Bag Pattern (Medium Size)
This pattern will create a tote bag that’s roughly 10-12 inches (25-30 cm) wide and tall. You can easily adjust the size by changing your starting chain and the number of increase rounds in the base. We’ll use half double crochet (hdc) for the body, as it provides a good balance of speed and density.
Abbreviations (US Crochet Terms):
- MC: Main Color
- ch: chain
- sl st: slip stitch
- sc: single crochet
- hdc: half double crochet
- st(s): stitch(es)
(...): work stitches into the same stitch or space[...]: repeat instructions in brackets- FO: Fasten off
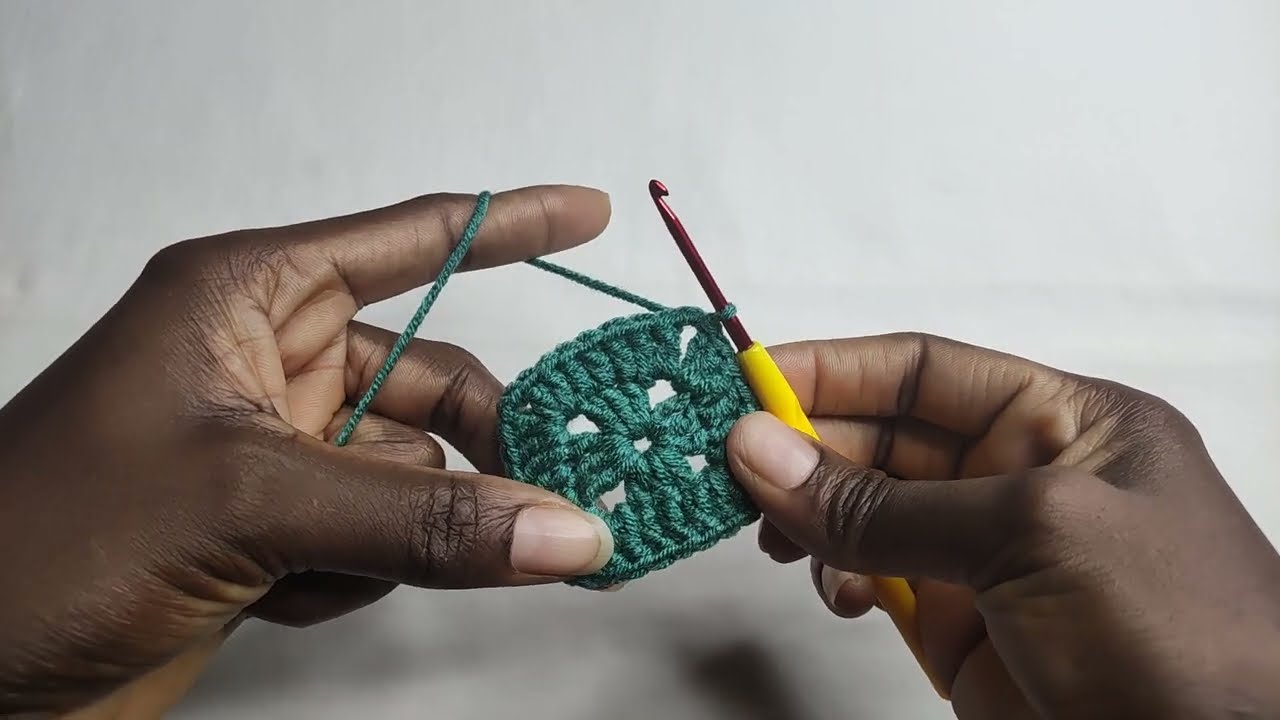
Part 1: The Base of the Bag
You’ll start with a foundation chain and work around it in rounds to create a flat, rectangular (or square, depending on your chain length) base.
- Foundation Chain: Ch 26.
- This chain determines the length of your bag’s base. For a longer base, chain more stitches; for a shorter one, chain less. Aim for an even number for simpler corner alignment.
- Round 1:
- Work 2 hdc into the 2nd ch from hook. (This forms one end’s curve).
- Work 1 hdc in each of the next 23 chains.
- In the last chain, work 5 hdc. (This creates the second end’s curve).
- Now, working down the opposite side of your foundation chain (into the unused loops): Work 1 hdc in each of the next 23 chains.
- In the very last chain (which is also the first chain you worked into), work 3 hdc.
- Join with a sl st to the top of the first hdc. (56 hdc total)
- Place stitch markers in the 3rd of the 5-hdc group and the 2nd of the 3-hdc group at the ends – these will be your corner stitches for the next round.
- Round 2:
- Ch 1 (does not count as a stitch).
- Work 1 sc in each stitch until you reach the stitch marker at the corner.
- In the marked corner stitch, work (sc, ch 2, sc). (This creates a sharp corner and increases your stitch count).
- Work 1 sc in each stitch along the side until you reach the next stitch marker.
- In the marked corner stitch, work (sc, ch 2, sc).
- Continue working 1 sc in each stitch until you reach the beginning of the round.
- Join with a sl st to the top of the first sc.
- Move your stitch markers to the newly created ch-2 spaces for the next round.
- Round 3 (Creating the Defined Edge):
- Ch 1.
- Work 1 sc in the back loop only (BLO) of each stitch around. When you reach a ch-2 corner space, simply skip it and continue to the next stitch.
- Join with a sl st to the first sc. (This round significantly increases the firmness and defines the edge of the base, making the sides stand up crisply).
- Your stitch count will decrease slightly here as you skip the ch-2 spaces, resulting in firm corners.
Part 2: The Body of the Bag
Now you’ll work in continuous rounds, building the sides of your tote bag upwards.
- Round 4 onwards (Building Height):
- Ch 1.
- Work 1 hdc in each stitch around (working through both loops now).
- Join with a sl st to the first hdc.
- Repeat this round until your bag reaches your desired height. For a medium tote, this might be 15-25 more rounds after Round 4. Remember to leave enough height for comfortable handles.
- Keep an eye on your stitch count each round to ensure the bag remains square and doesn’t start to taper or expand unintentionally.
Part 3: Creating the Handles
You’ll create spaces for the handles by chaining across the top opening of the bag, then reinforcing them.
- Handle Placement Round (Using MC):
- Work
sl stto approximately the center of one side of the bag (this will be the front or back). - Ch 1. Sc in each of the first 8 stitches. (Adjust this number to control handle width and spacing).
- Create the first handle chain: Ch 50 (or more/less for desired handle length/drop).
- Skip the next 14 stitches.
- Sc in each of the next 8 stitches.
- Repeat the handle chain and skip process for the second handle on the opposite side of the bag.
- Sc in remaining stitches until you reach the beginning of the round. Join with a sl st to the first sc.
- Adjust chain length and the number of skipped stitches to customize your handle size and placement. You want the handles to be comfortable for carrying.
- Work
- Reinforcing the Top Edge and Handles (Sc rounds):
- Round 1: Ch 1. Sc in each sc stitch and work 1 sc into each chain of the handle. This means you’ll single crochet directly into the chain stitches you made for the handles, which helps to strengthen them.
- Join with a sl st to the first sc.
- Round 2: Ch 1. Sc in each sc around. (This creates a neat and firm top edge).
- Join with a sl st to the first sc.
- Repeat Round 2 for 1-2 more rounds if you want even sturdier or thicker handles and top edge.
- Fasten off MC, leaving a tail for weaving in.

4. Finishing Your Square Tote Bag
- Weave in All Ends NEATLY: This is absolutely crucial for a polished, professional-looking bag that will withstand use. Use your yarn needle to carefully weave in every single yarn tail securely into the stitches on the inside of your bag. Take your time, going back and forth through stitches multiple times to ensure they are hidden and won’t unravel.
- Blocking (Optional but Highly Recommended): Blocking can significantly improve the shape, drape, and overall finished look of your tote bag.
- Gently wet the entire bag (you can immerse it in cool water and gently squeeze out excess).
- Stuff the bag lightly but firmly with towels or plastic bags to help it hold its intended square shape. You can also pin the base flat to a blocking mat if you have one.
- Allow it to air dry completely. Blocking helps to even out your stitches and gives the bag a more crisp, professional appearance.
5. Tips for a Charming & Durable Square Tote Bag
- Yarn Choice & Hook Size are Key: As mentioned, cotton or a cotton blend paired with a slightly smaller hook (to create denser stitches) will yield the best results for a sturdy bag that holds its shape and can carry weight. If your stitches are too loose, the bag will stretch and sag when filled.
- Consistent Tension: Maintain even tension throughout your entire project. This ensures your bag is symmetrical, your stitches are uniform, and the overall look is neat.
- Stitch Count: Always count your stitches at the end of each round, especially on the base, to ensure your bag stays perfectly square and doesn’t become lopsided.
- Handle Comfort: Consider how you’ll use the bag. For heavier loads, wider handles (more rows of single crochet or a denser stitch for the handles themselves) will be much more comfortable on your shoulder or hand.
- Personalize It:
- Stripes: Easily add visual interest by changing colors every few rounds on the bag body.
- Textured Stitches: Once you’re comfortable, experiment with different stitch patterns for the body (e.g., moss stitch, linen stitch, basket weave) to add unique texture.
- Lining (Advanced): For a truly professional finish and to prevent small items from slipping through stitches, you can sew a fabric lining inside your crocheted bag. This requires basic sewing skills.
- Pockets: Crochet a separate flat rectangle in single crochet and sew it to the inside of the bag for a simple interior pocket.
- Embellishments: Add a fun tassel, a pom-pom, or even an embroidered design to personalize your tote.
You’re now ready to crochet a fantastic square tote bag! It’s a highly functional and rewarding project that you’ll be proud to use or gift. Which colors are you envisioning for your first tote?